A kitchen island has to do two jobs at once, and most styling advice only covers one of them. It should look good from the doorway, yes, but it also has to work as a chopping board, a landing pad for hot pans, and a place where someone can stand and cook without bumping into a stool or tripping over a basket. The moment decor takes over the counter, you lose the very space that made an island worth having. Kitchen island decor goes wrong in exactly that way: a tray here, candles there, a vase in the middle, and suddenly there is nowhere to roll dough.
Islands are getting bigger, too — a 2025 Houzz study found 52% of renovating homeowners now choose islands over 7 feet long, which makes clear walkways and an uncluttered top even more important. The ideas below treat looks and workability as one problem. Each one covers what to do, how to size it so it does not steal your prep area, what it roughly costs, what to avoid, and one practical tip you can use this week. Some are free — moving things off the island counts. Others cost a little, like new hardware or a set of pendants. A few are bigger, like a waterfall top or a painted two-tone island. All of them share the same rule: style the edges and the base, keep the middle clear, and measure your walkways before you buy anything. Think of the island in three zones. The work zone is the middle third, where you chop, mix and set down hot pans, and it stays empty. The display zone is one end, where a tray or bowl lives. The storage zone is the base and ends, where colour, hardware and hidden pull-outs do the styling. When each zone has its own job, the island can look dressed and still function as the hardest-working surface in the kitchen.
1. Go Two-Tone: Contrasting Base and Top
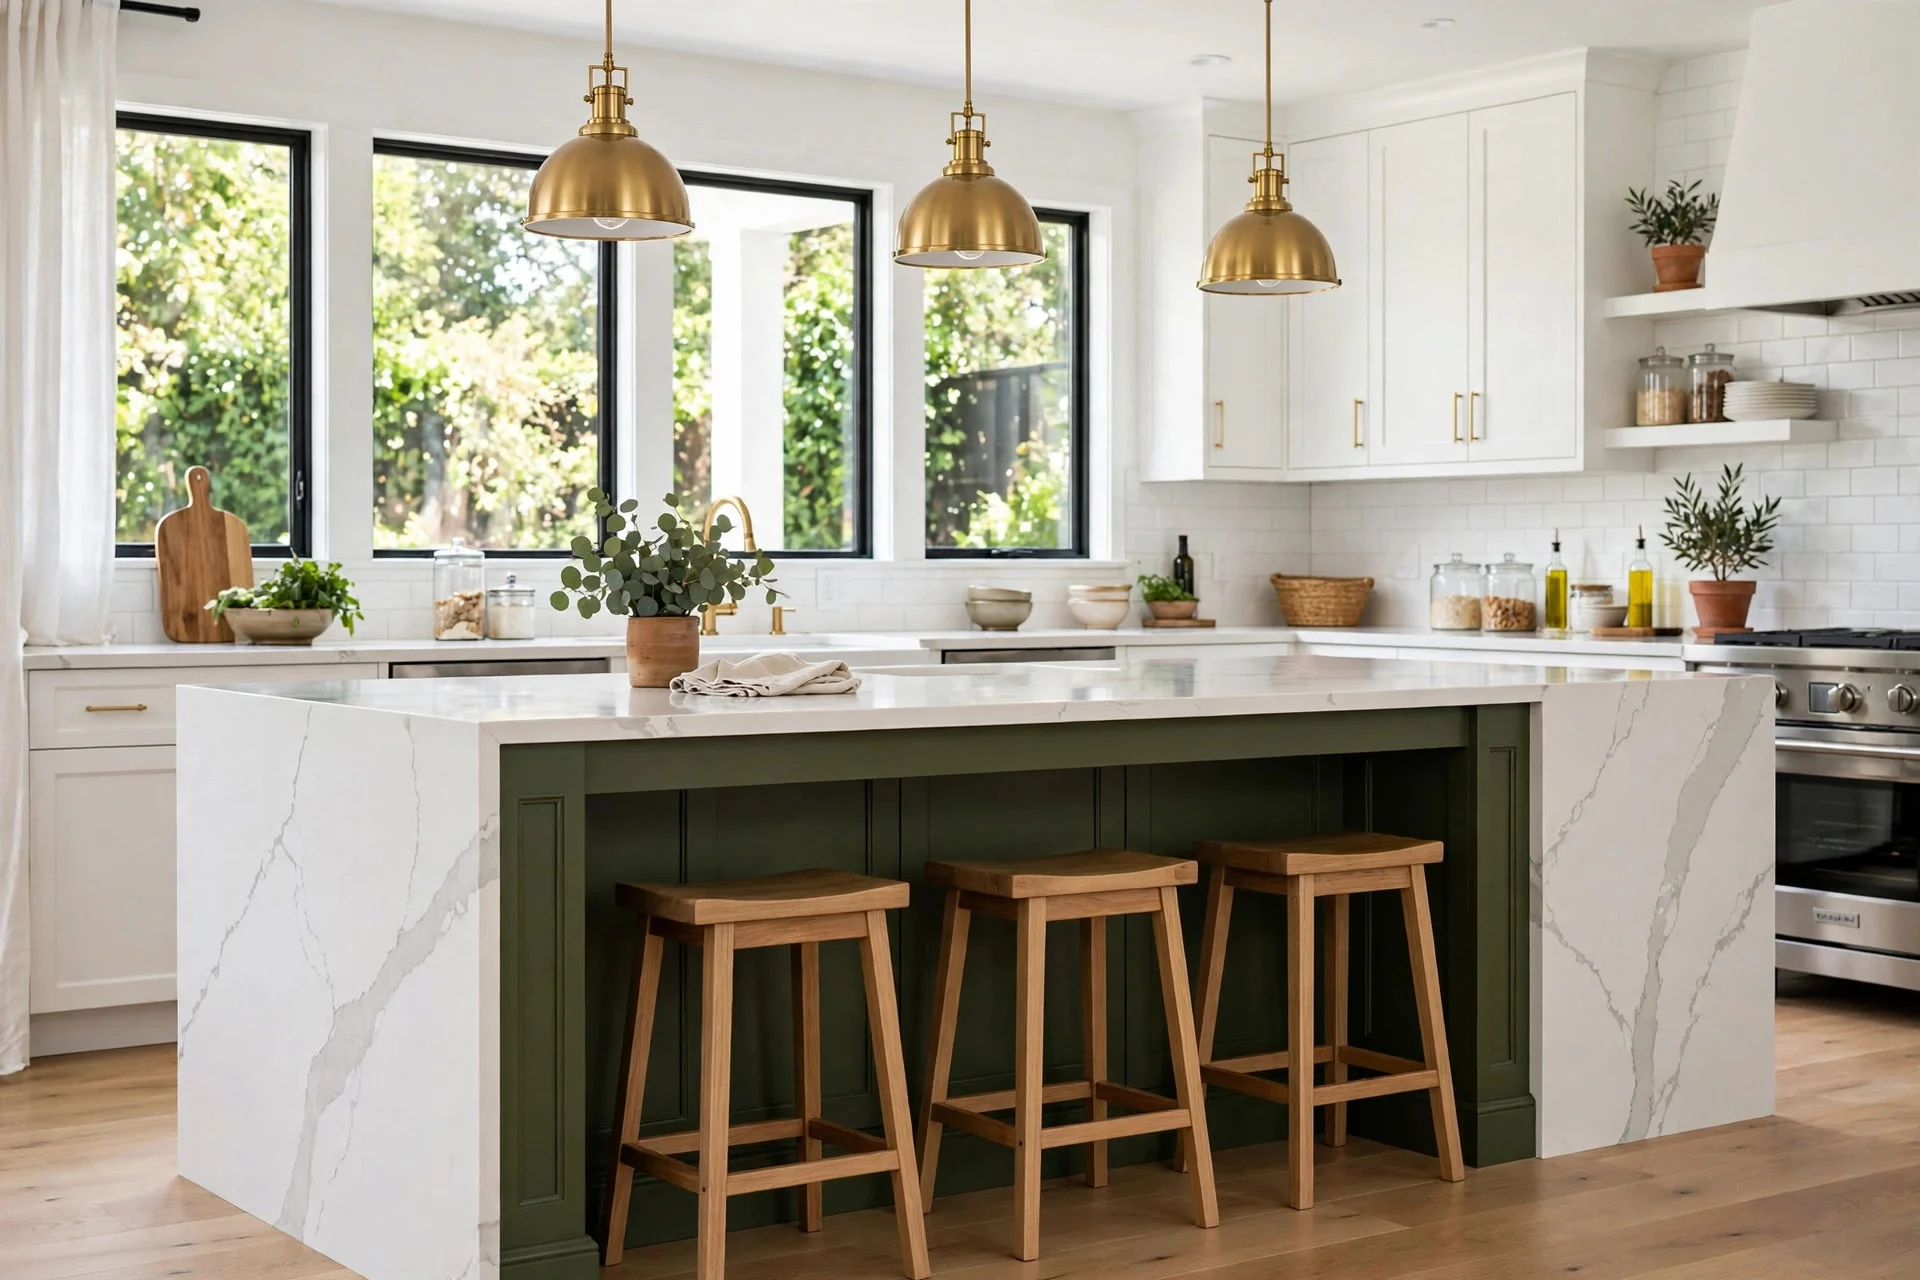
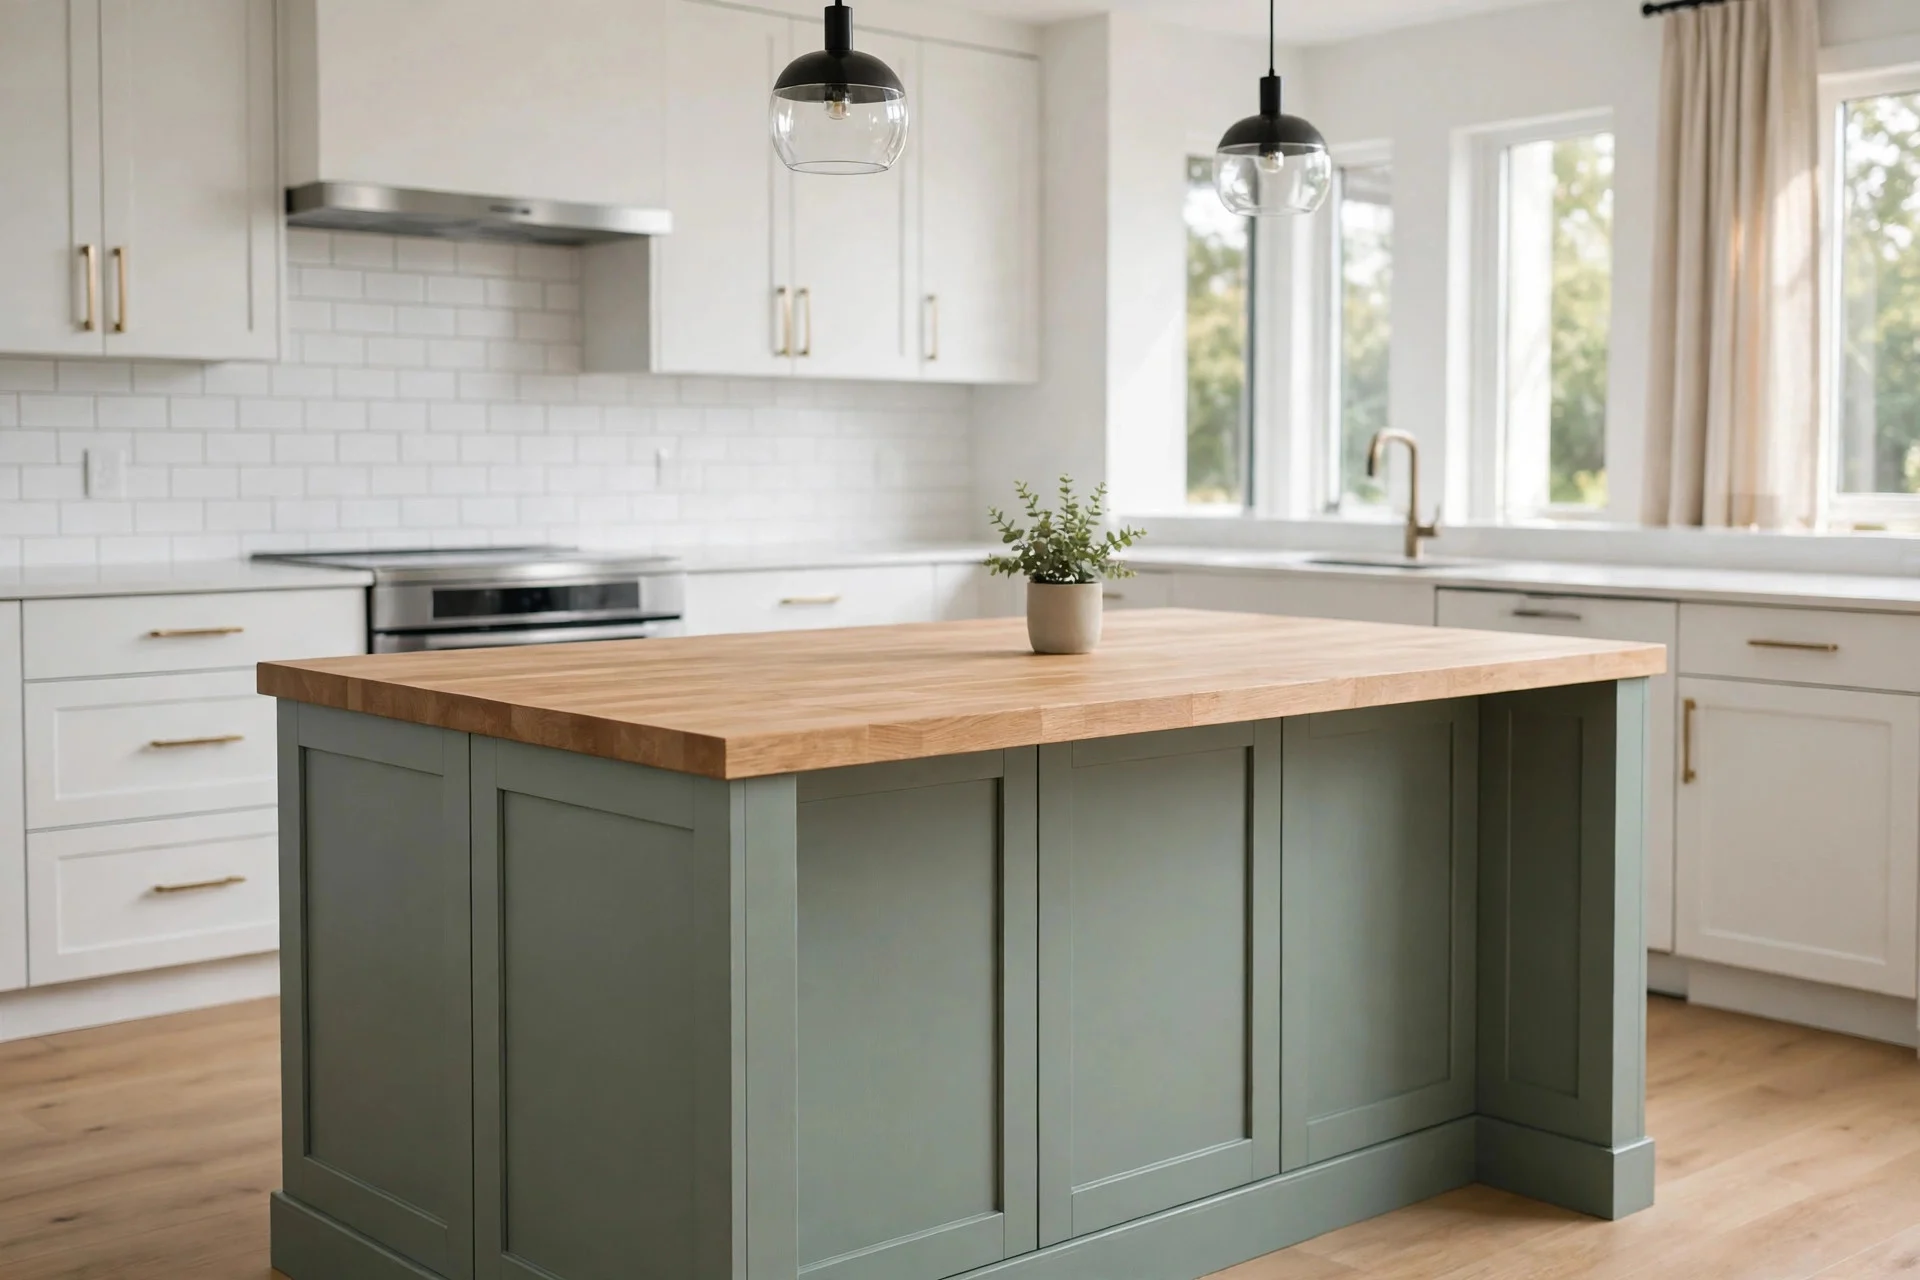
A two-tone island is the most replicated island styling on Pinterest for a reason: it gives you a strong look without adding a single object to the counter. Paint or stain the base one colour and keep the countertop contrasting — deep olive or dusty sage under white quartz, or terracotta under pale butcher block. The contrast does the decorating, so the top stays almost empty. A professional repaint runs around $300 to $900, while a DIY job with good primer costs $60 to $150 in materials. Avoid gloss paint on the base, since scuffs from stool legs and vacuum cleaners show up fast. Make sure the tones read as a pair — pale grey under white looks like a mismatch. Tip: test your two colours on a spare board and check them at night under your kitchen lights before you commit. If you rent, a two-tone look can also come from a washable island runner and matching bar stools, which move with you when you leave.
2. Hang Three Pendant Lights in a Row
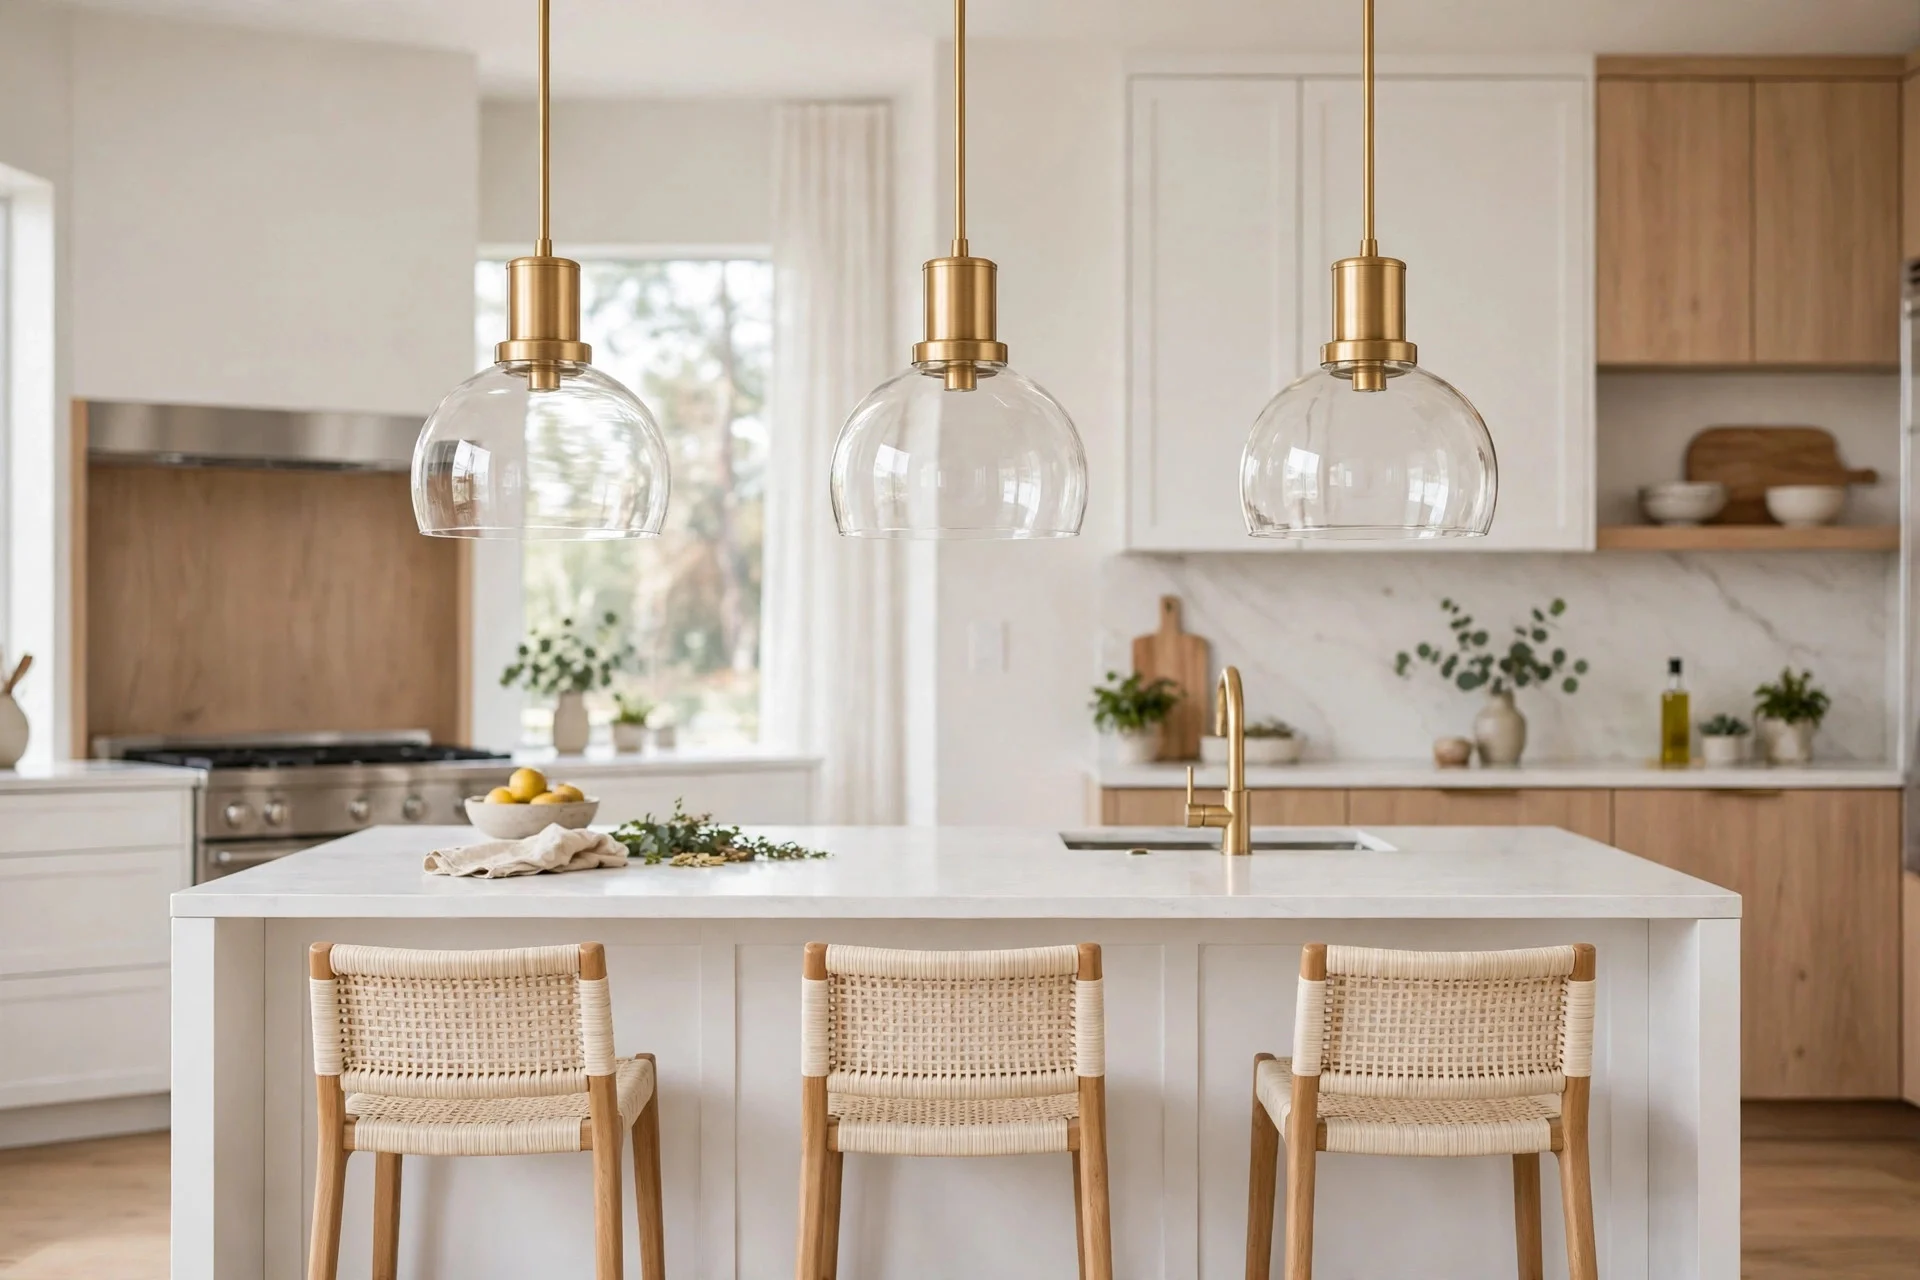
Three pendant lights in a row are the classic island look, and they work because they frame the island without touching it. Space them 24 to 30 inches apart over a typical 8-foot island, hanging them 30 to 36 inches above the countertop so they light the work without blocking your view. Sculptural pendants, clear-glass shades, and rattan, wood or stone shades all suit islands, with brushed-gold finishes warming up white or green bases. A set of three decent pendants costs around $180 to $600 plus $100 to $250 for an electrician if you need new ceiling points. Avoid one oversized pendant on a small island, and avoid hanging them above 40 inches where bulbs glare from the doorway. Tip: if your island is shorter than 6 feet, use two pendants instead of three and keep the same 30-to-36-inch height. Dim the pendants in the evening so they glow rather than glare, and put them on a separate switch from the main kitchen lights.
3. Keep 42 Inches of Clear Walkway on Each Side
No decor idea matters if you cannot walk around the island. The NKBA guideline is 42 inches of clear walkway on each side of an island, and it exists because that is roughly what two people need to pass each other with a hot pan. Measure from the island edge to the nearest cabinet or wall, not to a movable stool. If you have less than 42 inches, skip the breakfast bar overhang and the floor baskets, and keep stools tucked fully under the counter when not in use. This costs nothing, but it may mean rethinking a planned overhang. Avoid pushing stools out into the walkway as a permanent arrangement, and avoid a bin or pet bowl stationed in the gap. If your kitchen is narrow, a 36-inch walkway is the bare minimum for one person, but do not plan a busy family kitchen around it. Tip: tape the walkway on the floor for a week and live with it before you fix stools, bins or a runner in place.
4. Choose a Waterfall Quartz Top — and Keep It Clear
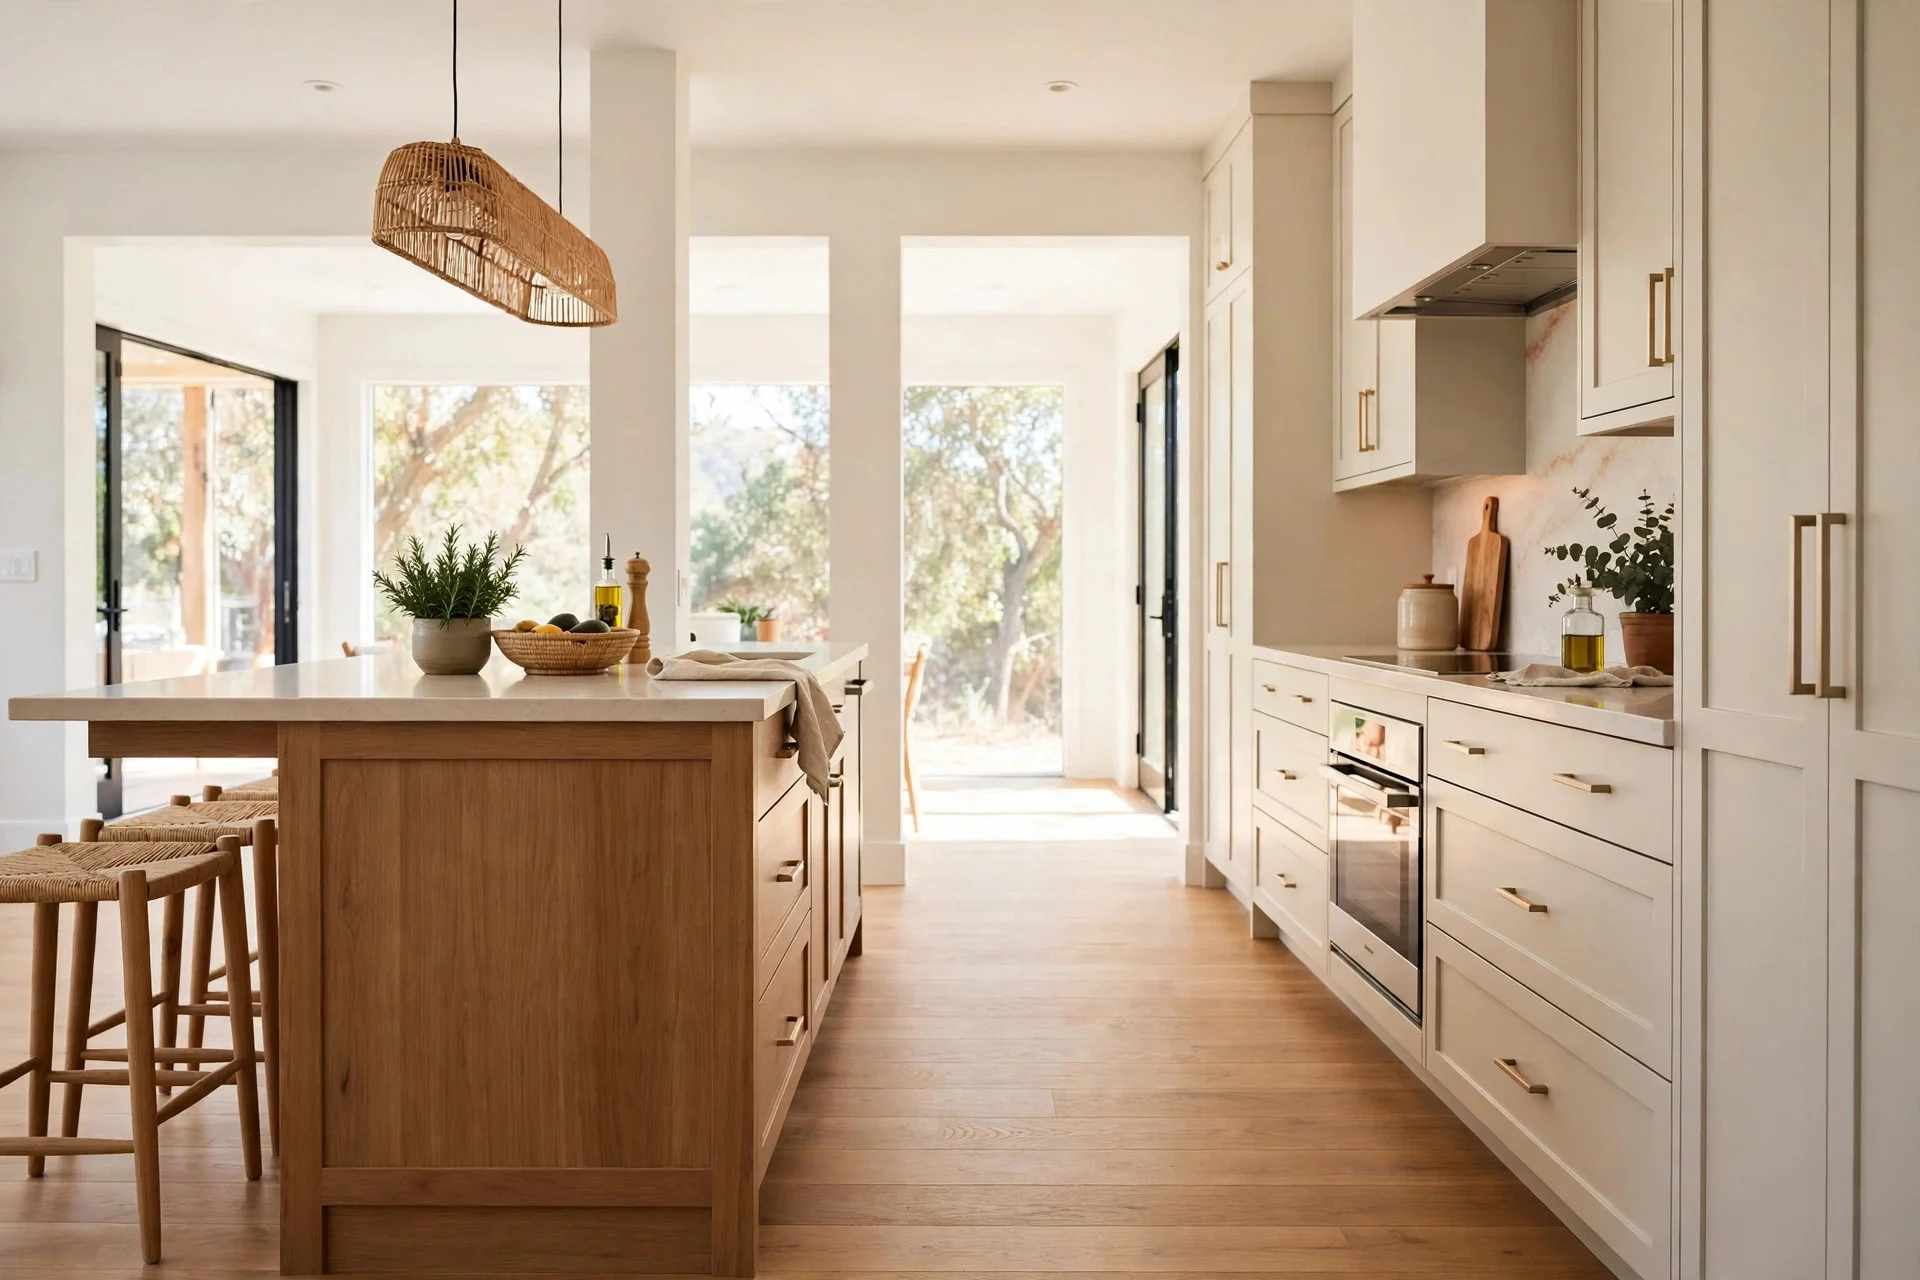
A waterfall quartz countertop, where stone runs down both sides to the floor, looks finished from every angle and needs almost no decor. The stone is the statement, so a fruit bowl and candle are enough. Quartz for a waterfall island typically costs $80 to $140 per square foot installed, which puts a standard 8-foot island around $2,500 to $5,000 depending on the slab and edging. The sides use extra material, so get the full quote before choosing a premium vein. Avoid a busy quartz pattern on a two-tone base, and never lean anything against the waterfall sides. Tip: ask your fabricator for seam placement on paper first, because a badly placed seam on a waterfall side is visible every time you walk past. Also confirm how the waterfall edge will be sealed against the floor, since a gap there collects crumbs and is hard to clean.

5. Paint the Island Deep Olive, Dusty Sage or Warm Terracotta
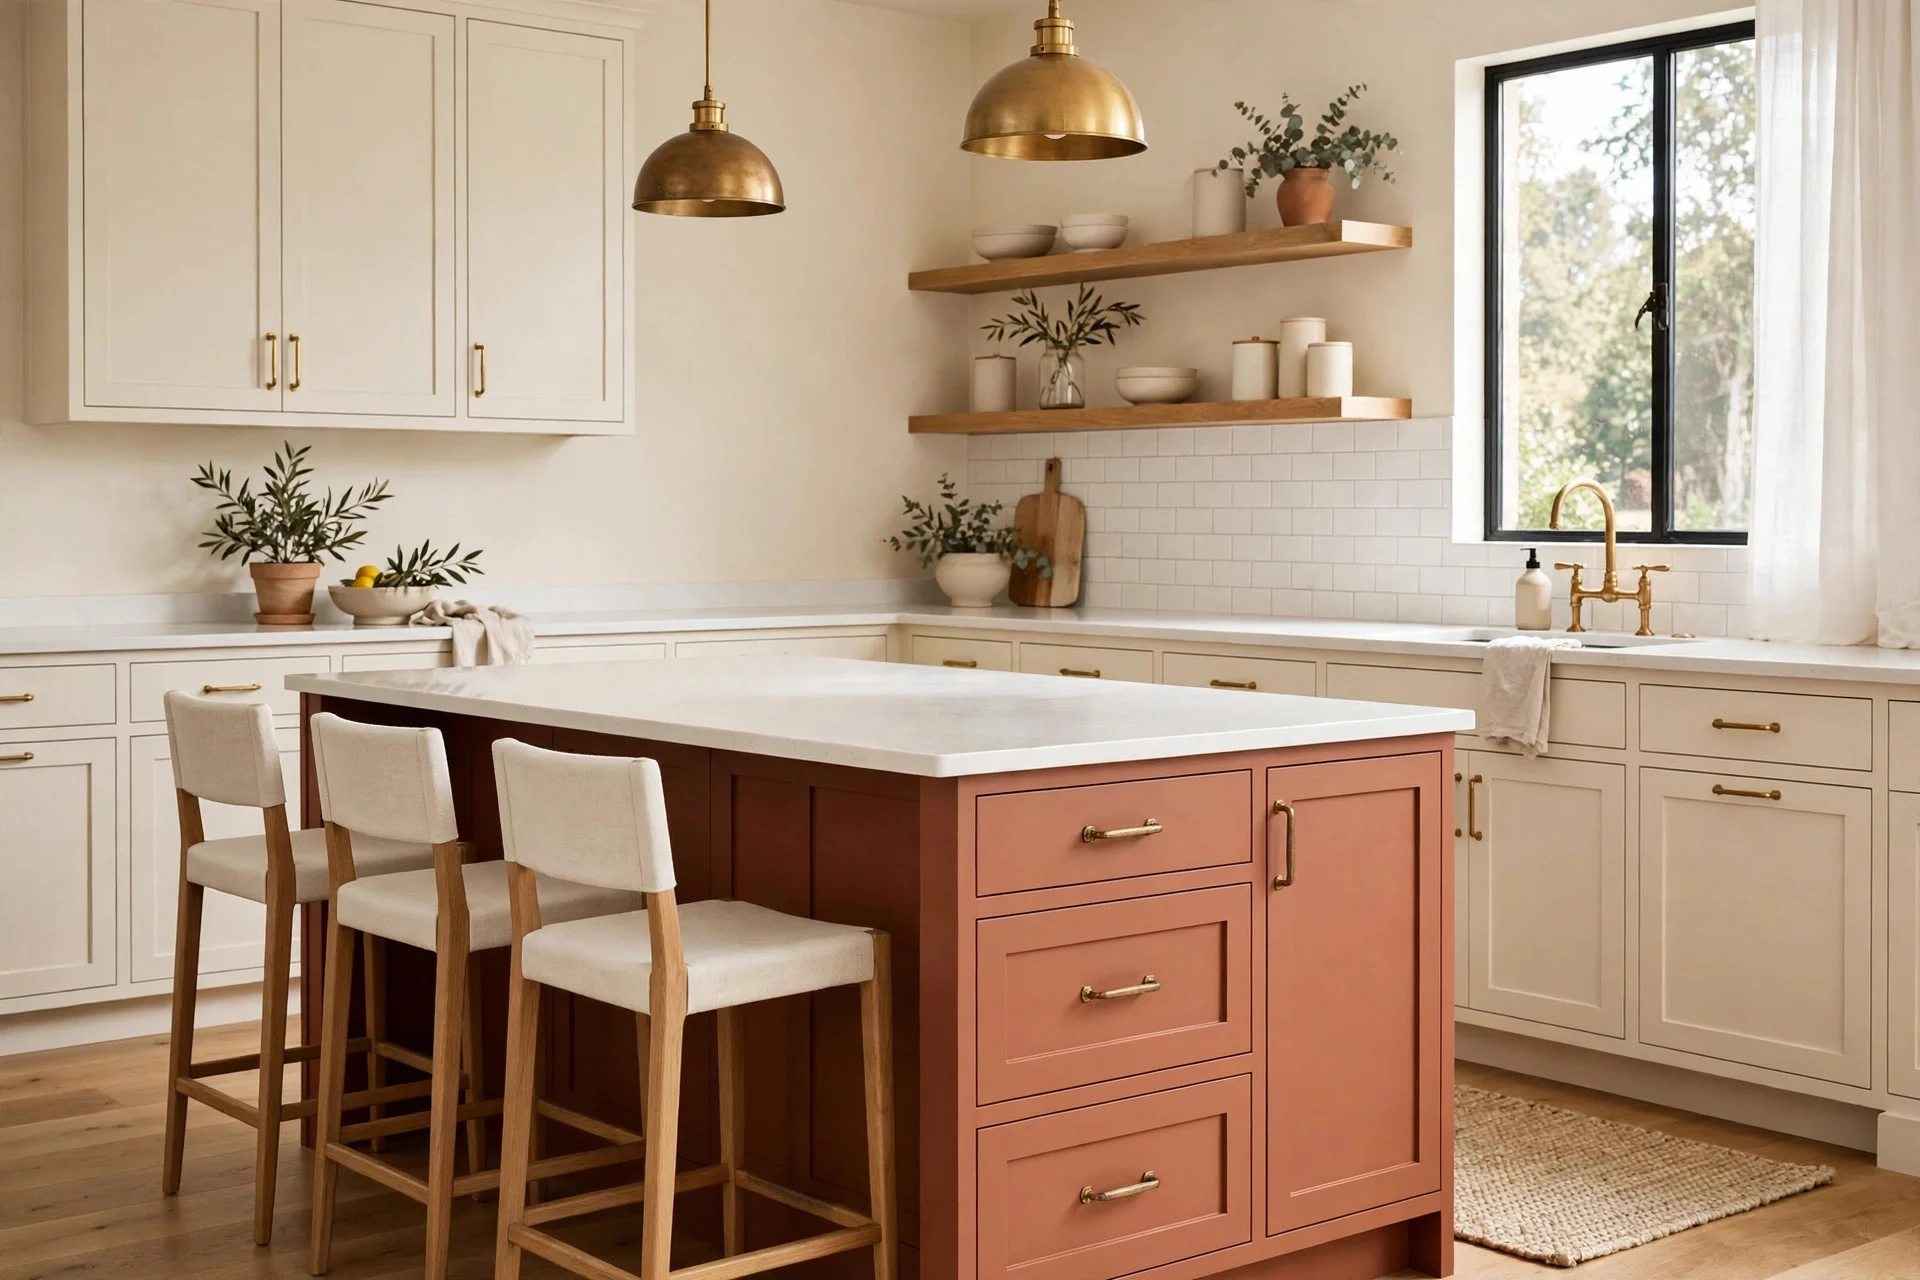
Island colour is the cheapest big change you can make, and deep olive, dusty sage and warm terracotta are the shades that keep showing up because they read as furniture rather than cabinetry. Deep olive suits white or pale oak countertops, dusty sage works with brass or black hardware, and warm terracotta pairs well with cream walls and unlacquered brass. Repainting just the island in a quality cabinet paint costs around $250 to $700 professionally, or $50 to $120 in materials if you do it yourself with proper prep. Avoid painting over old grease without degreasing and sanding first, since the new coat will peel within months. Avoid matching the island exactly to the wall colour, which makes it disappear. Tip: paint the inside of one door first and live with it for a few days, because green shades shift a lot between daylight and evening bulbs. If the colour feels too dark at first, lighten the countertop styling with pale wood accessories rather than repainting the base.
6. Use Shaker Doors in a Contrasting Colour
Shaker doors in a contrasting colour give an island a built-in, furniture-like feel without any new construction. Keep the main kitchen cabinets in their existing colour and paint only the island doors and panels in the contrast shade, or the other way round if the island is the lighter piece. The shaker profile stays the same, so the kitchen still reads as one set, but the island gets its own identity. Repainting shaker island doors costs roughly the same as idea 5, around $250 to $700 professionally. Avoid mixing two different door profiles — shaker on the island and flat slab everywhere else looks like a mistake unless the whole kitchen was planned that way. Keep the paint sheen consistent, ideally a washable eggshell or satin, since islands get knocked more than wall cabinets. Tip: if you are renting or cannot repaint, use removable door fronts or a large island runner in the contrast colour to fake the same separation.
7. Swap in Bold Contrasting Hardware
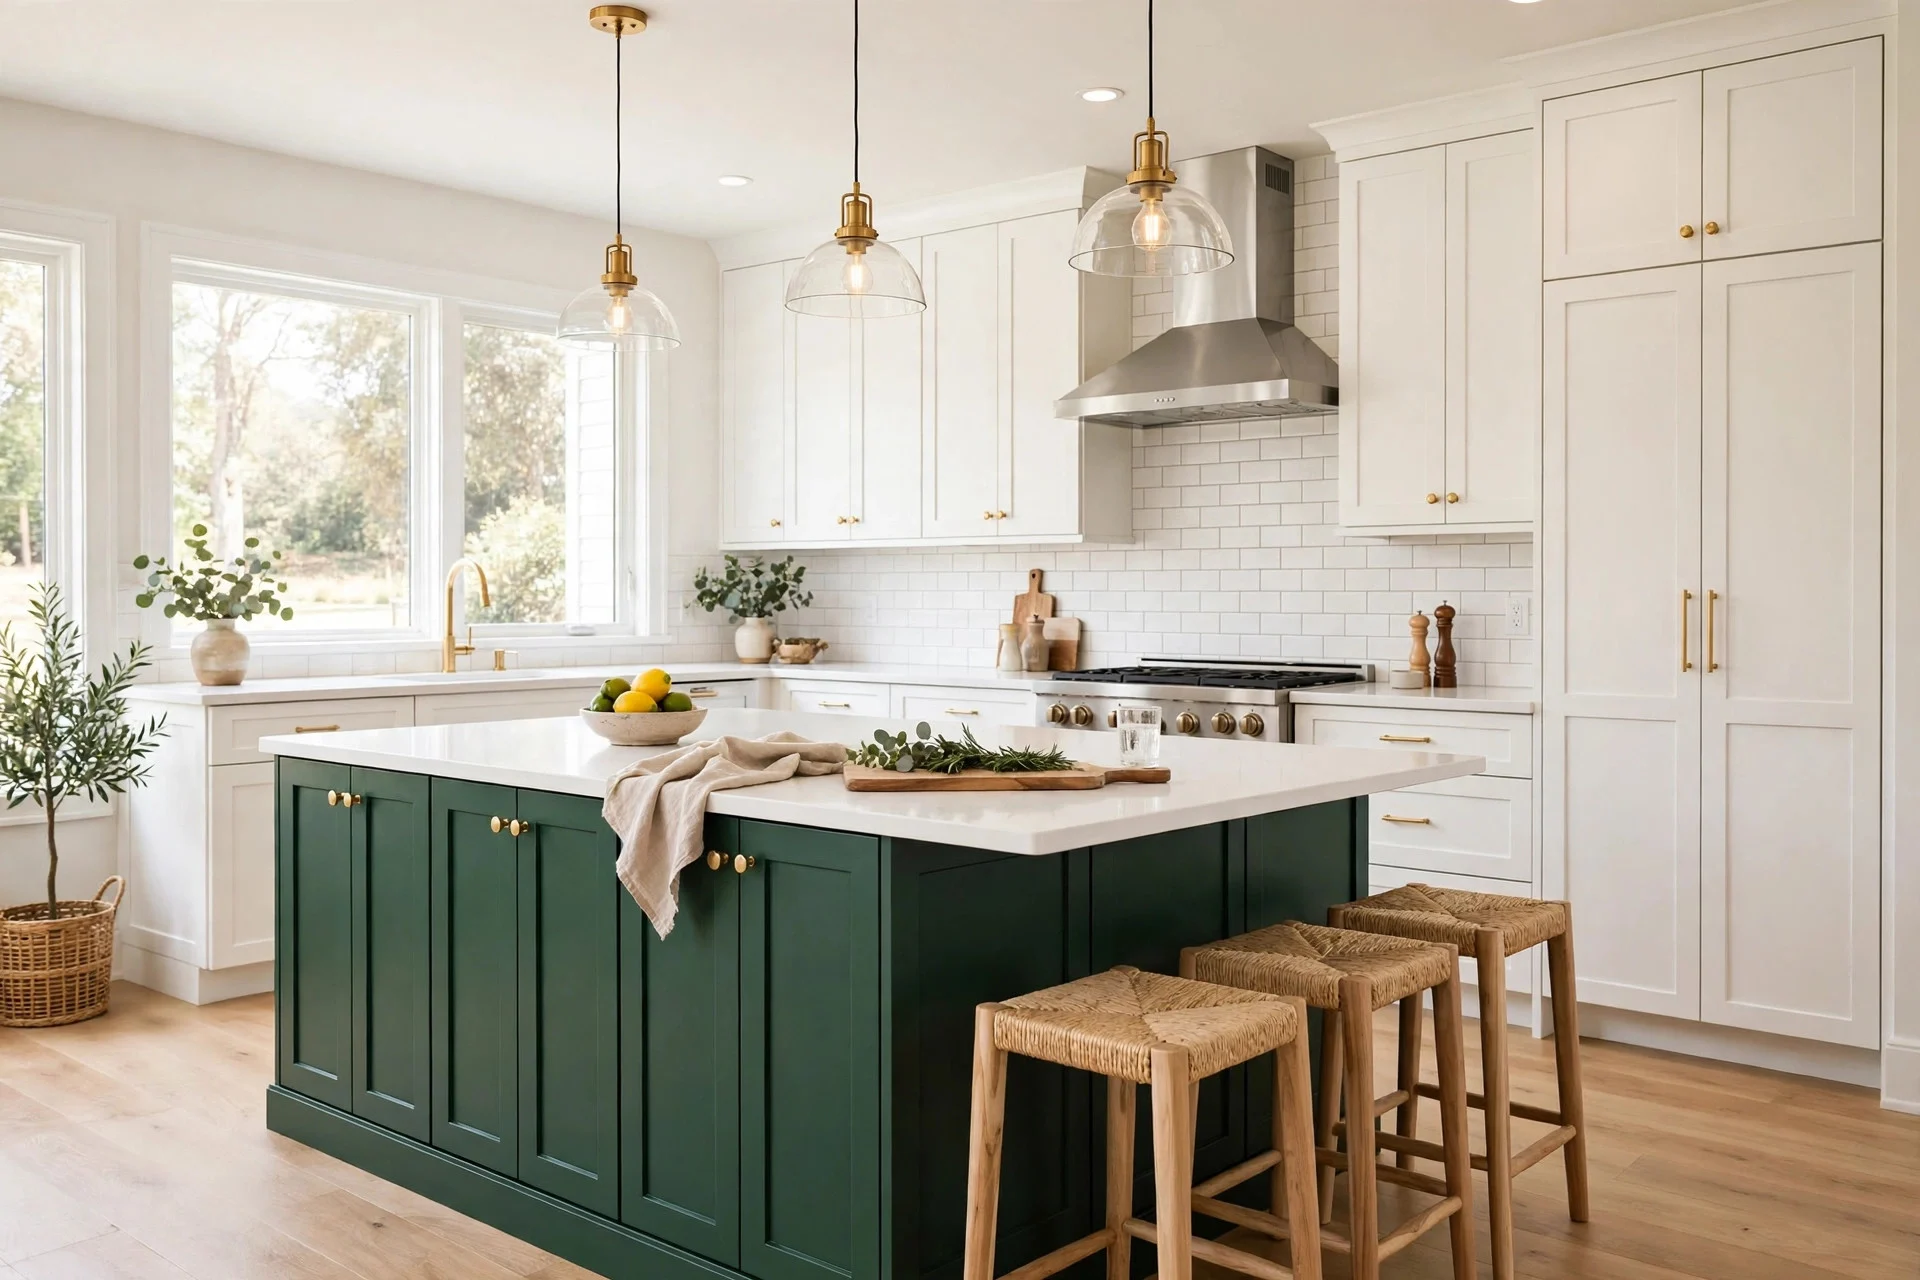
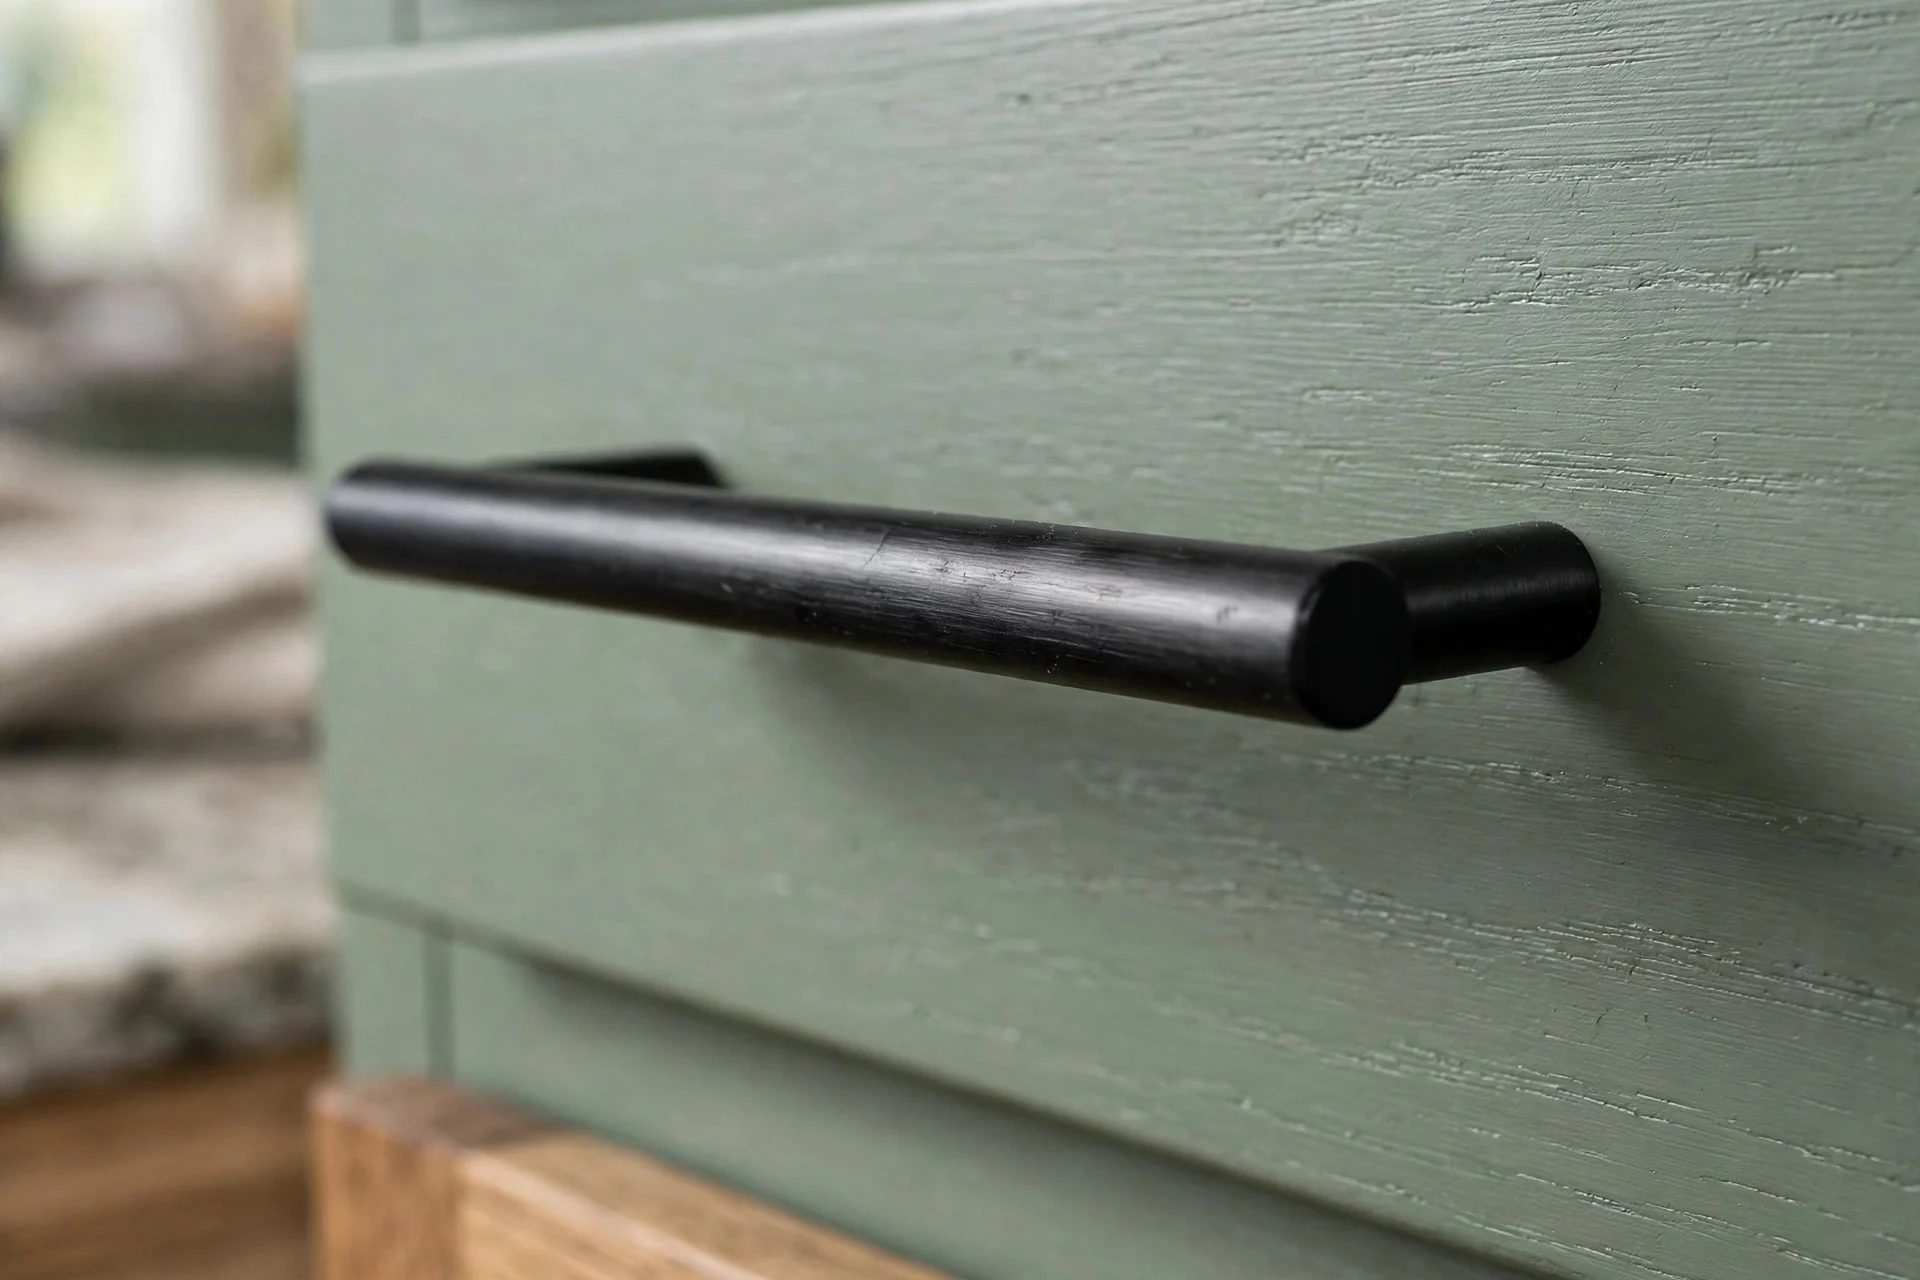
Hardware is the smallest change with the biggest return. Bold contrasting hardware — matte black on sage, brushed brass on deep olive, antique bronze on terracotta — gives a finished look in an afternoon. Choose pulls rather than knobs for island drawers, since you usually open them with wet or floury hands. A set of 8 to 12 quality pulls costs around $60 to $180, and drilling new holes is a one-hour job if the sizes line up. Avoid mixing three metal finishes across the island, pendants and tap, since that reads as unfinished rather than layered. Keep the finish consistent and match it to one other element in the room, such as the pendant finish or the tap. Tip: buy one pull first, hold it against the door at arm’s length, and check it feels right to grip before you order the full set. Keep the old holes and screws in a labelled bag, since original hardware is useful if you ever sell or repaint again.
8. Build in Secret Storage on the Island Ends
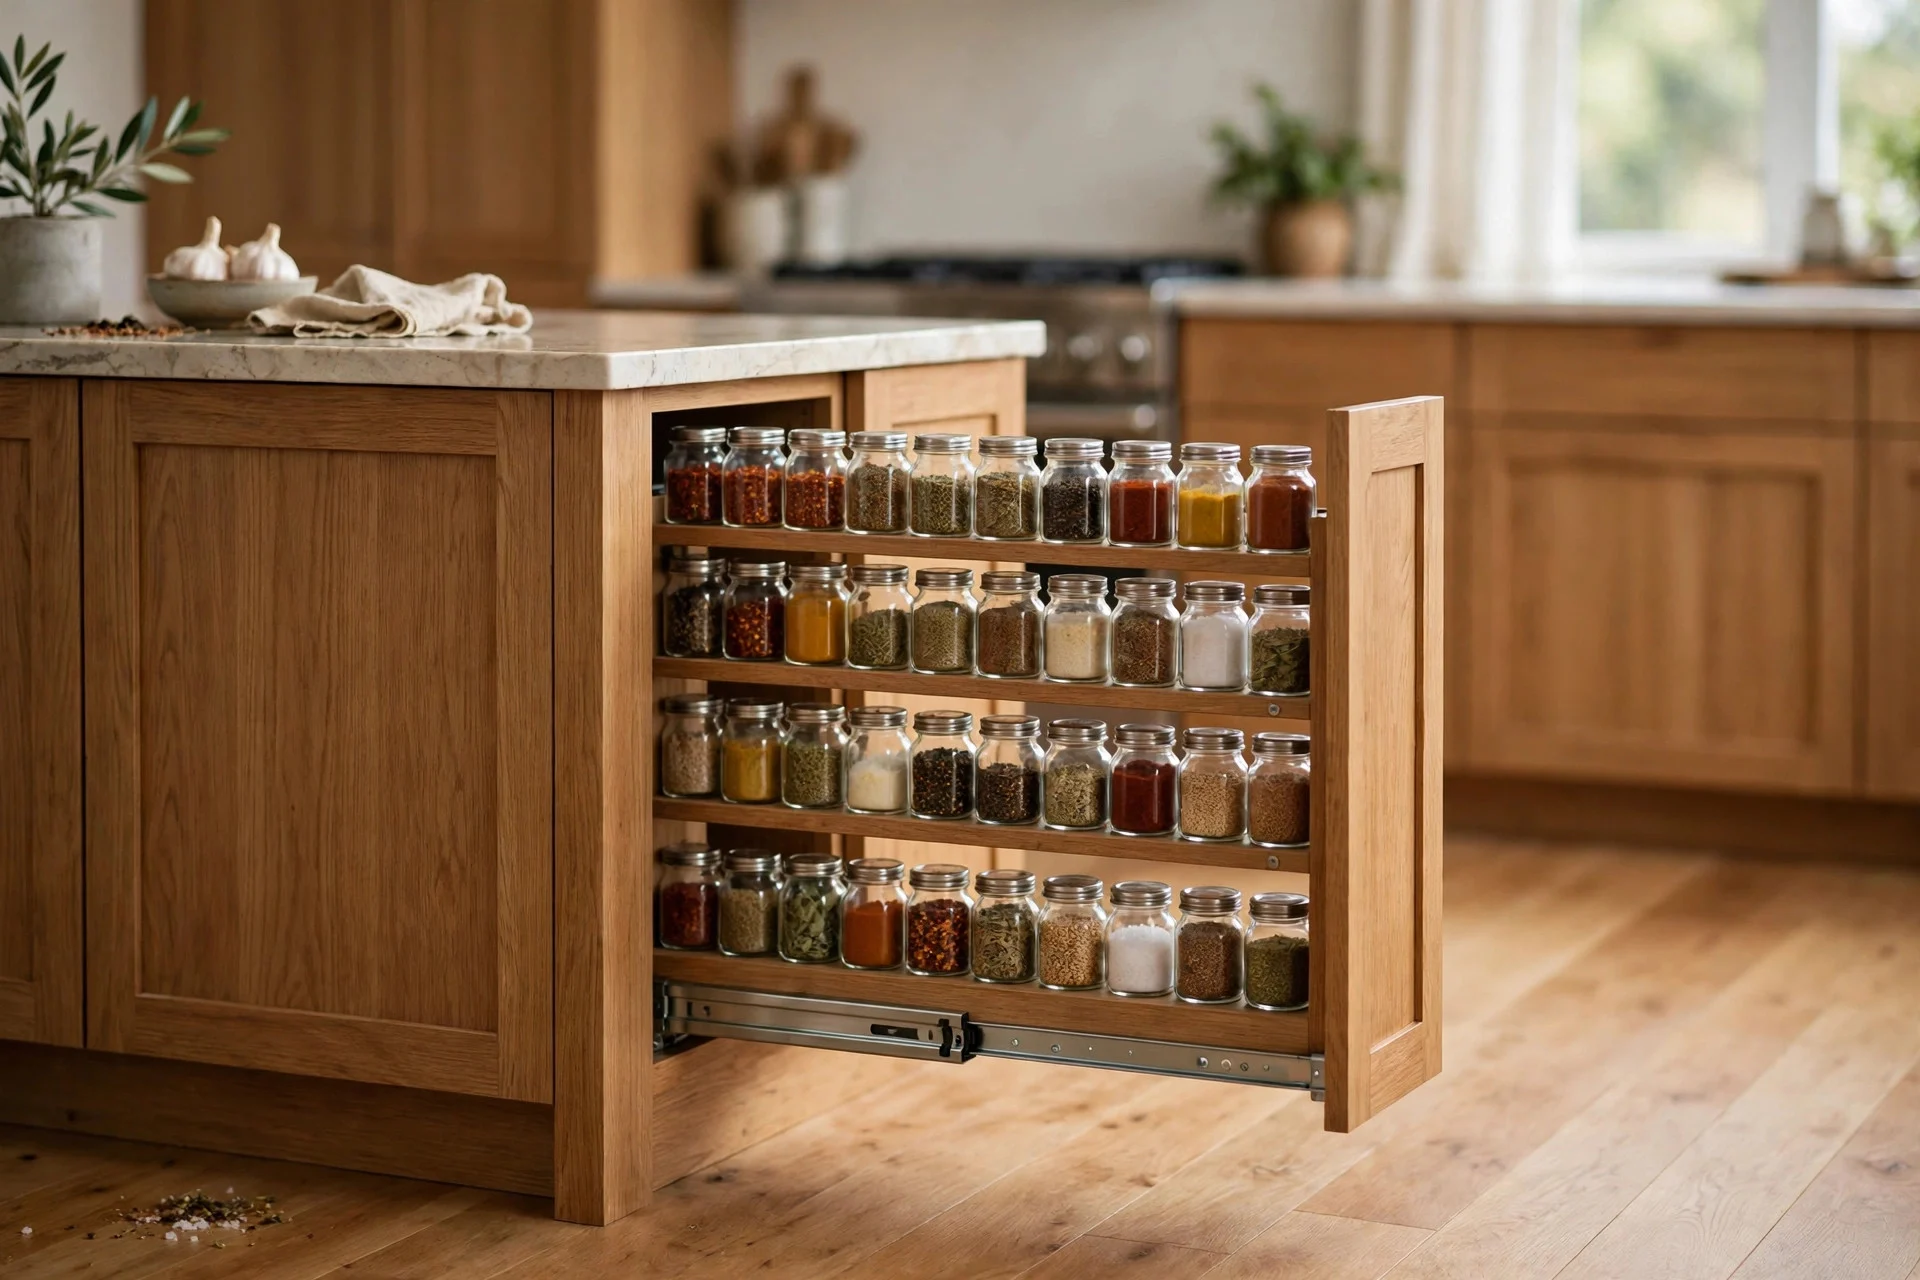
Secret storage is where an island earns its keep: end panels and walkway sides can hide daily items you do not want on the counter. A pull-out bin, a sliding end-panel spice rack, or a flip-down tray keeps the top clear. A pull-out bin unit costs around $120 to $350 fitted, and a slim end-panel spice pull-out runs $80 to $250. Avoid heavy cast-iron in a light-duty pull-out, since runners sag. Keep bin bags, foil and tea towels in secret storage, leaving the counter for the current job. If your island is already built, a freestanding slim trolley parked at the end gives you most of the same benefit without construction. Tip: measure the actual depth of your island end panel before ordering, because a 4-inch pull-out will not fit a 3-inch panel. Label the secret storage once, too, so other people in the house know where the foil and bags live instead of searching the main cabinets.
9. Add Breakfast-Bar Seating That Tucks Away
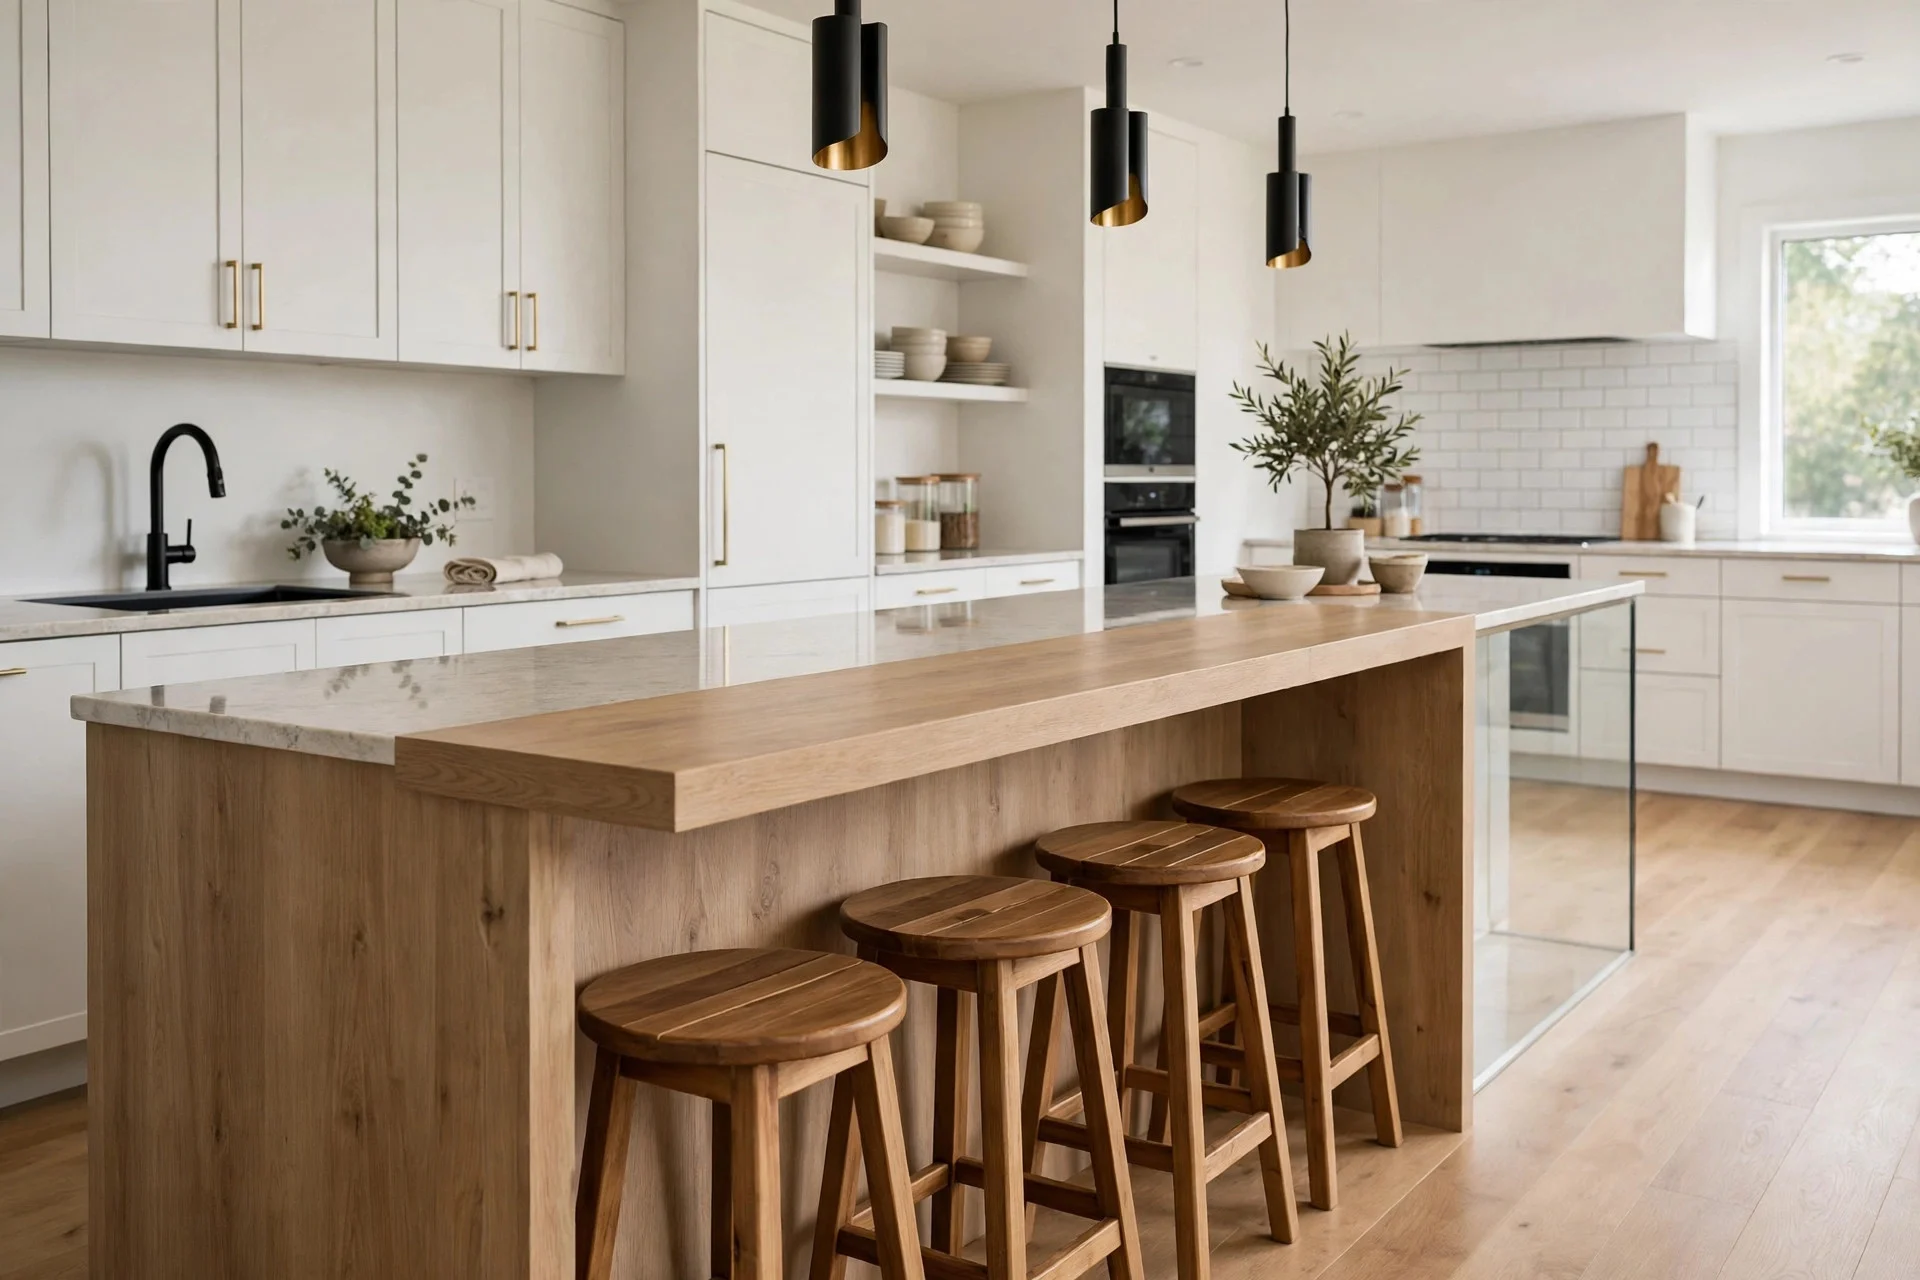
Breakfast-bar seating makes an island useful for casual meals, but only if stools disappear when cooking. Choose backless stools that tuck under the overhang, allowing 24 inches of width per person and 12 to 15 inches of overhang for knees. A pair of solid wood stools costs around $120 to $350, and backless designs store under most overhangs without modification. Avoid wide-armed or high-backed stools on a small island, and keep one full side stool-free as the cooking side. If your walkway is under 42 inches, skip the overhang entirely and use the island as a standing prep station instead. Tip: sit on the stool and reach for a plate on the counter before you buy, because an overhang that looks generous can still leave your knees touching the cabinet. Test the stool height against your counter too, since a standard 36-inch counter needs a 24-to-26-inch stool seat.
10. Try Curved or Fluted Walnut Details
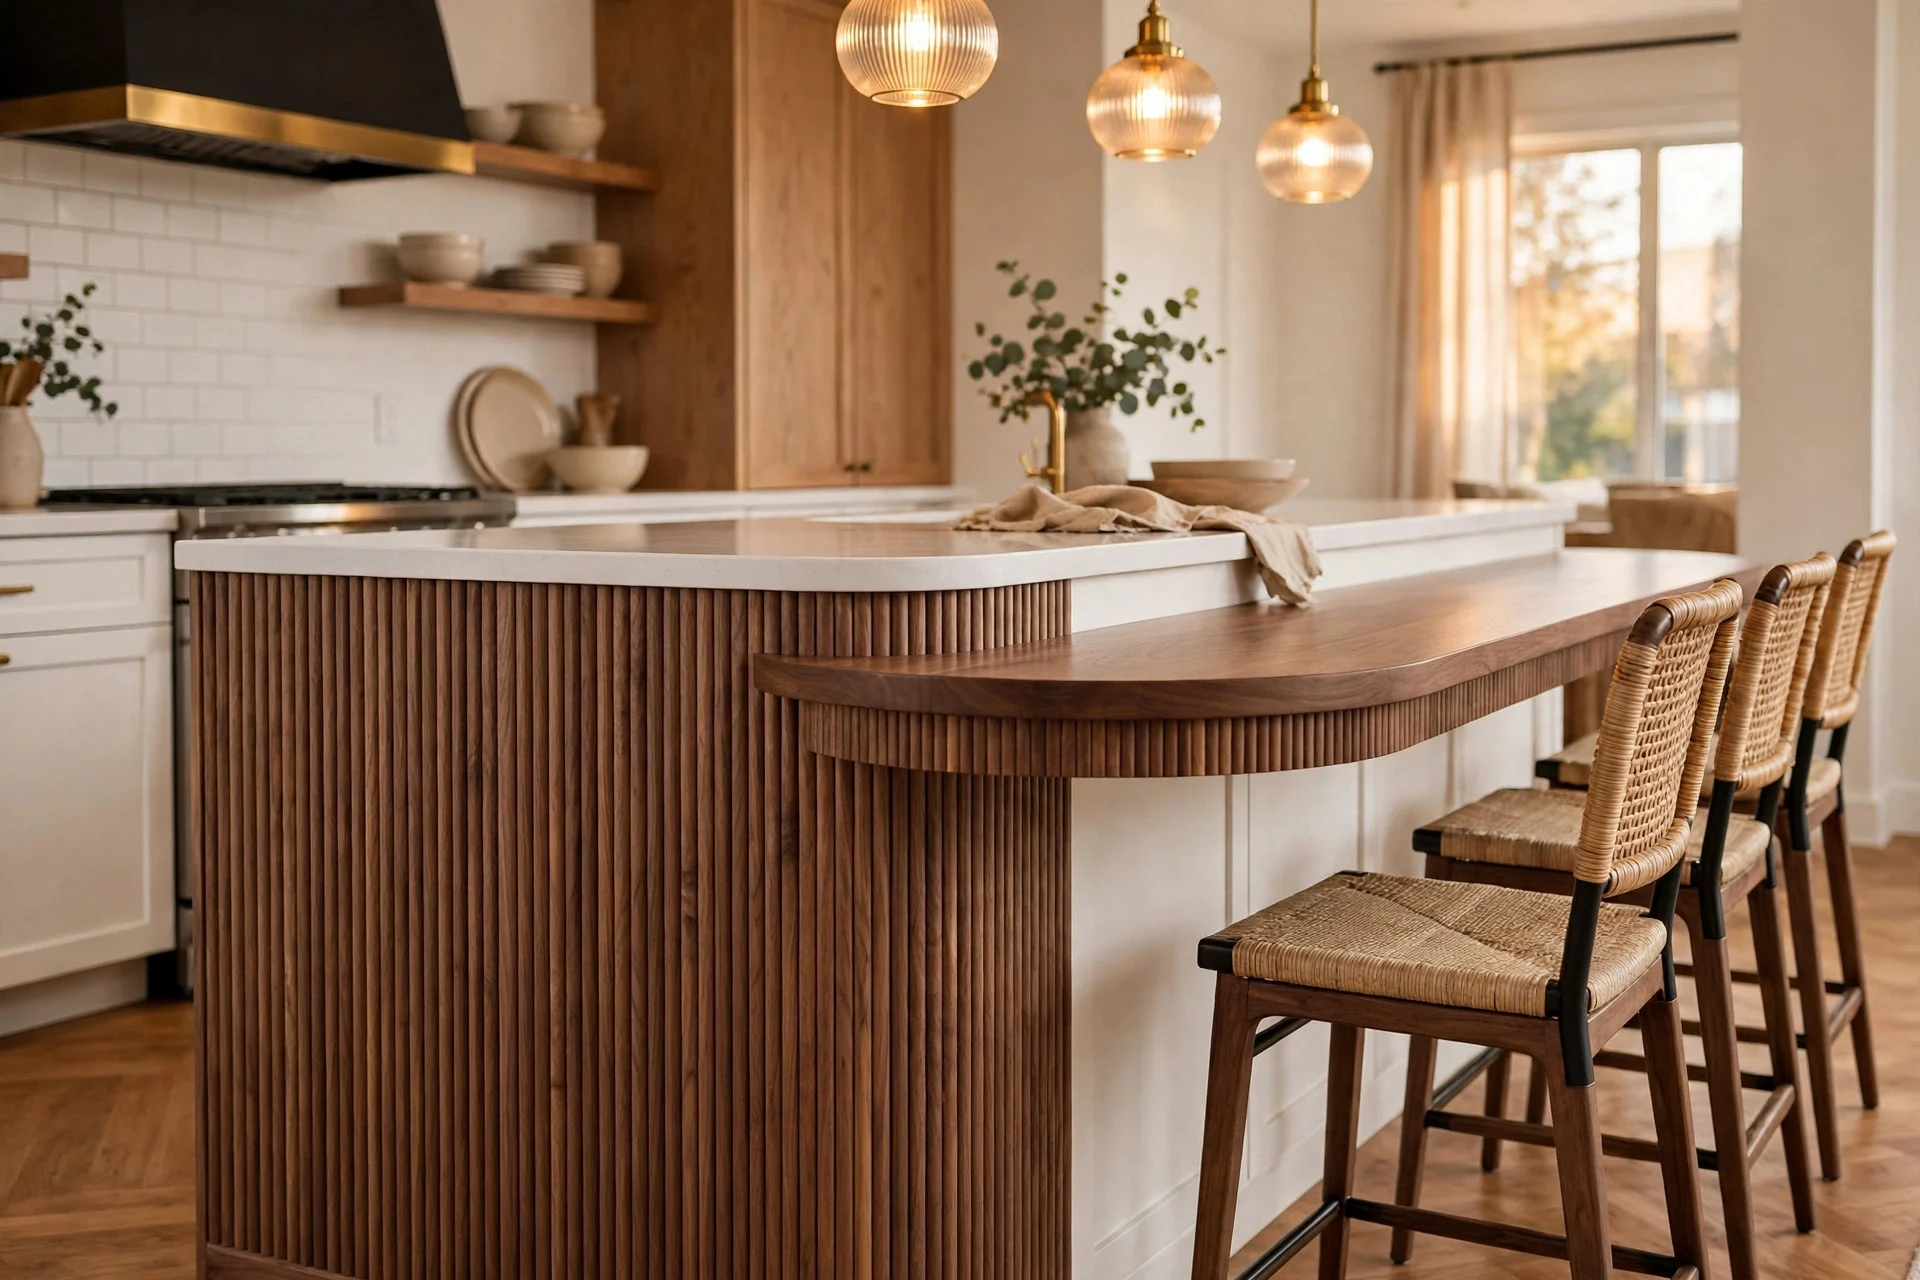
Curved and fluted walnut details add warmth without taking counter space. A fluted panel on the island ends, a curved breakfast-bar edge, or walnut trim softens quartz and painted cabinets. Walnut fluted paneling costs around $40 to $90 per square foot supplied, and a small end-panel application on a standard island runs $300 to $800 fitted. Avoid fluting the whole island if your kitchen is already full of texture, since the eye needs one plain surface to rest on. Seal the walnut with a matte oil rather than a thick gloss varnish, so it stays easy to touch up after knocks. Keep the rest of the island simple — one colour, one metal finish — and let the walnut do the work. Tip: if real walnut is over budget, a walnut-look fluted PVC panel gives a similar shadow line for about half the cost and wipes clean more easily. Run a sample piece past your countertop in different light, because walnut tones vary a lot between suppliers.
11. Style One Tray, Not the Whole Counter
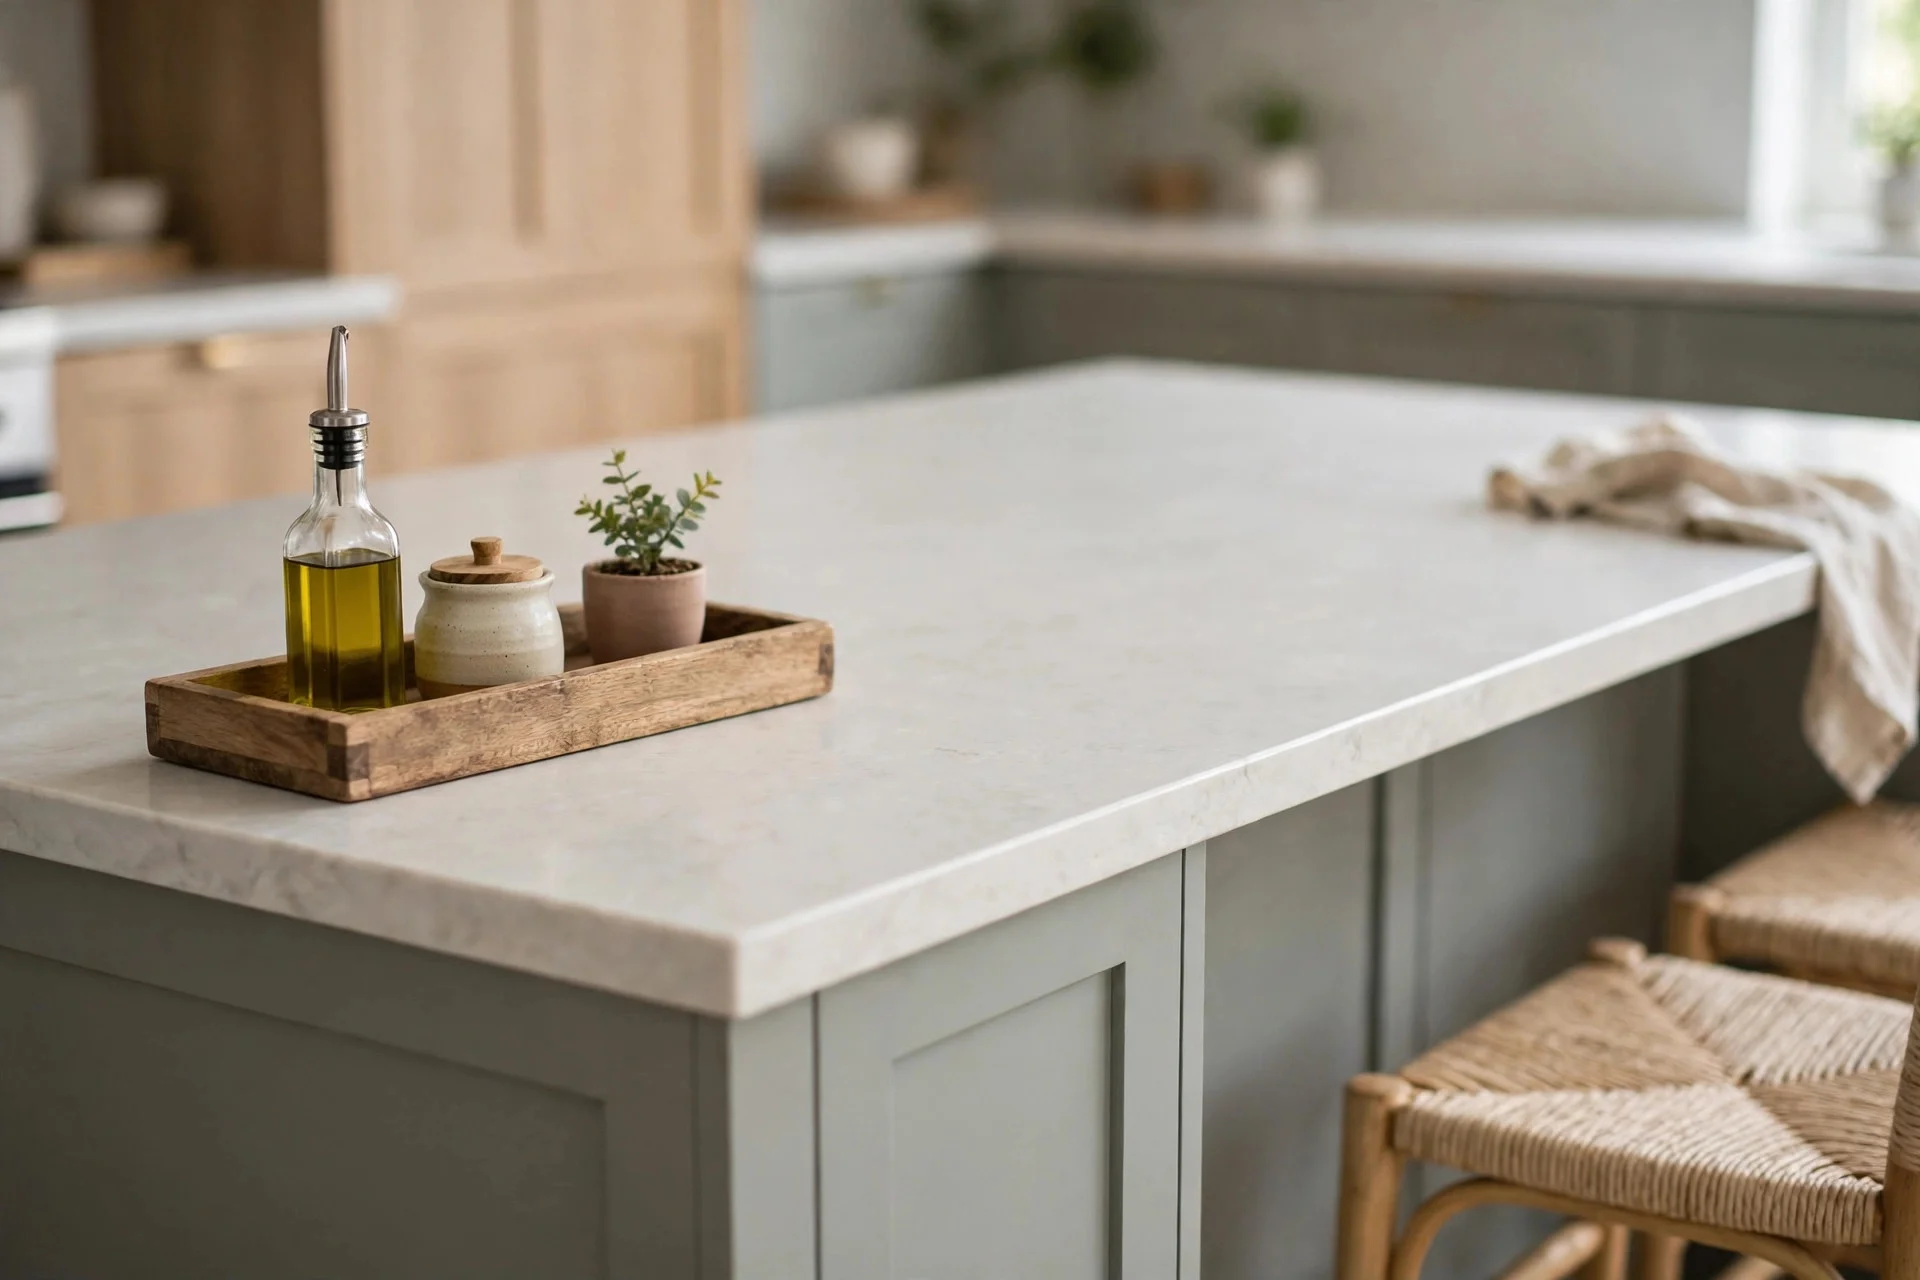
If you want decor on top, use one tray as the only decor zone. A low wooden or stone tray with a small oil bottle, salt cellar and one plant covers styling while leaving the rest free for chopping. Keep the tray at one end of the island, not the middle, so the centre stays a work surface. A good tray costs $25 to $70, and the contents can come from what you already own. Avoid a tall vase, a stack of cookbooks and a fruit bowl all at once, since each one steals a different patch of prep space. Avoid putting the tray where you actually chop, or it will be moved every single day and never look styled. Tip: limit the tray to three items and edit it monthly, because a tray that slowly accumulates things becomes the clutter it was meant to hide. Choose a tray with a low lip, so bottles do not tip when you slide it aside to make space.
12. Use a Wooden Chopping Block as Decor
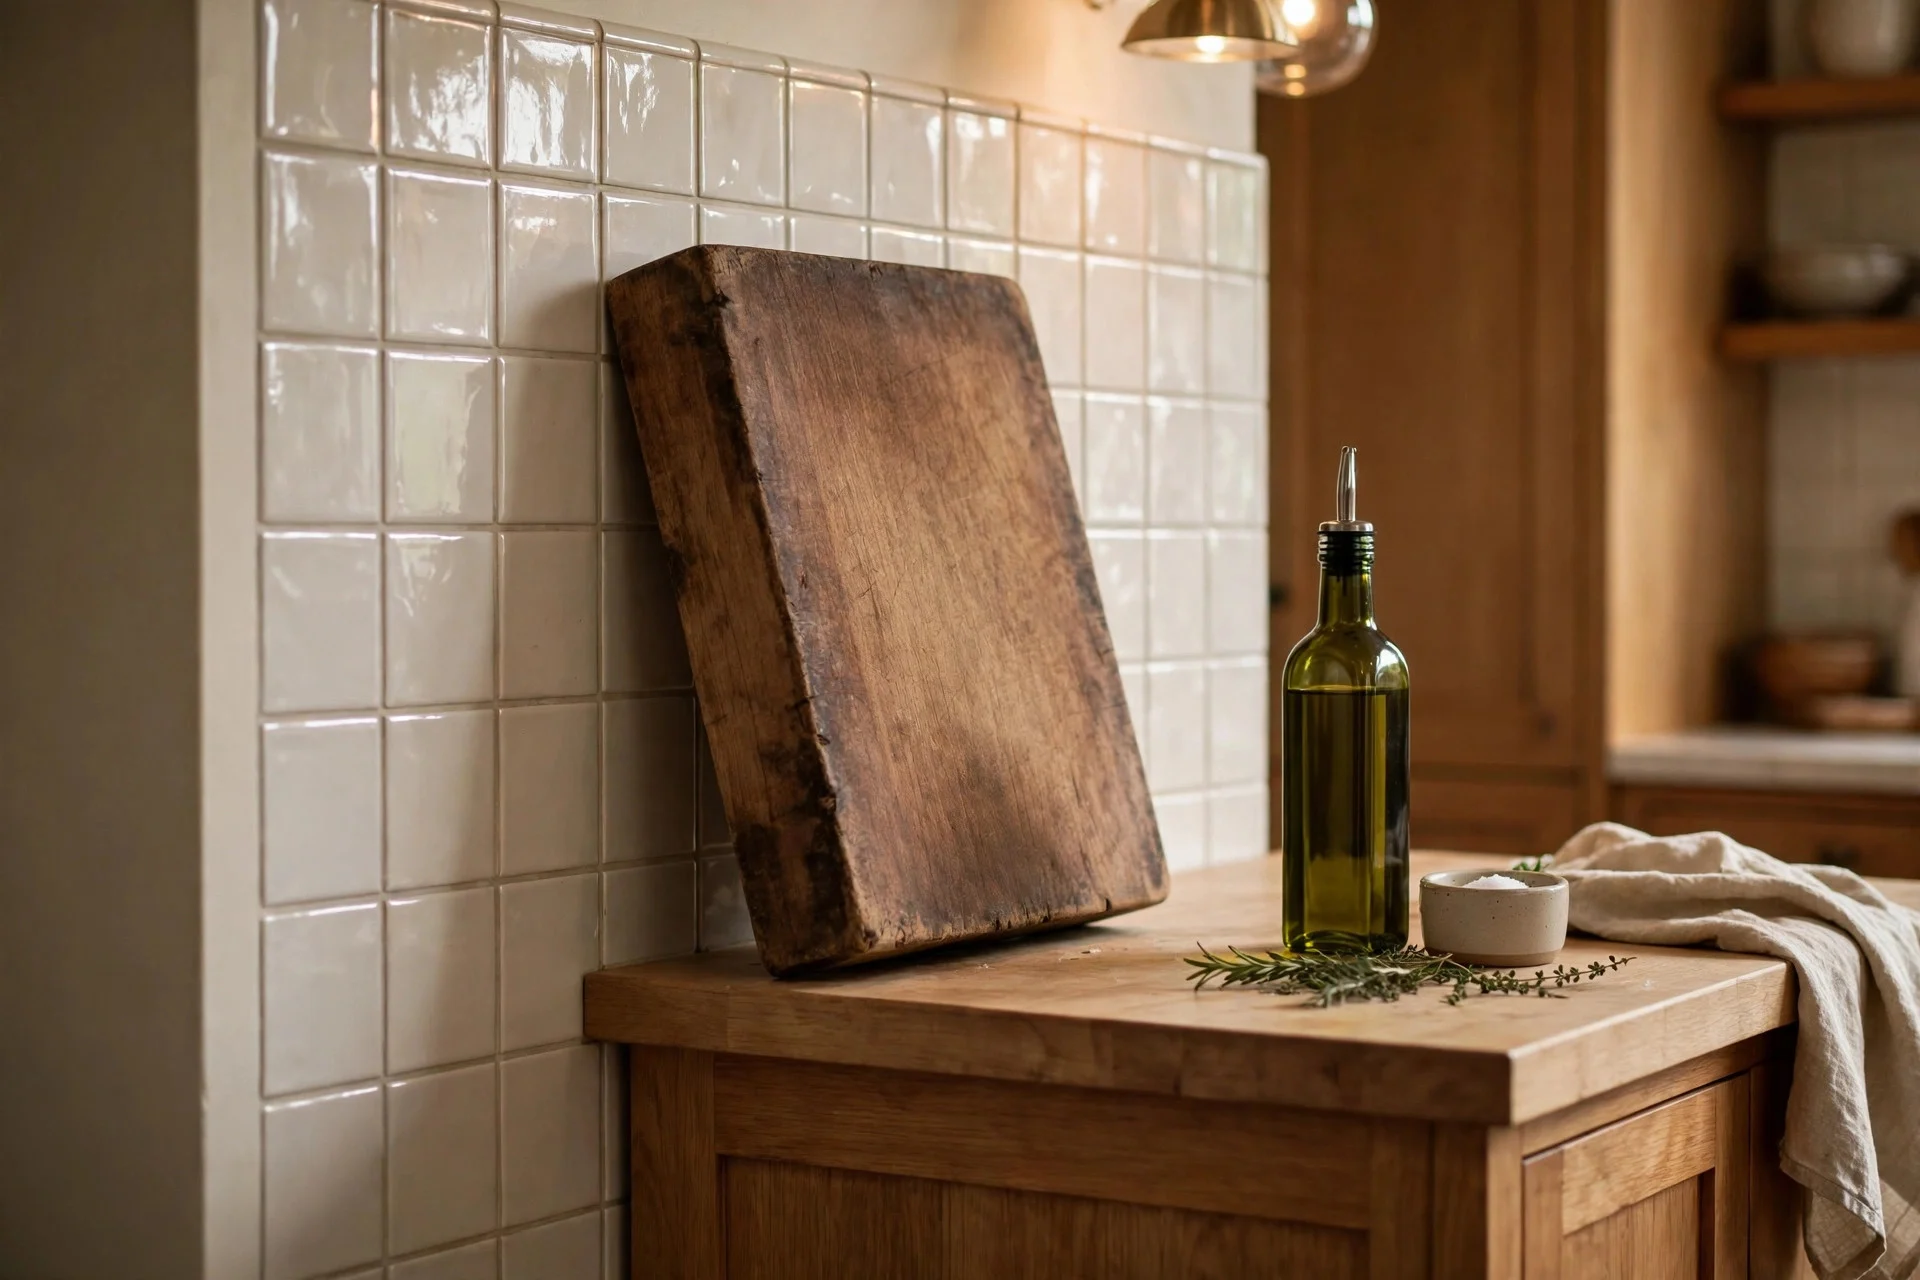
A thick wooden chopping block leaning against the backsplash or resting on one island end is decor that justifies itself every day. It adds the warm, natural element that painted islands and quartz tops often lack, and it is ready to use the moment you start cooking. Choose end-grain or well-oiled edge-grain wood, at least 1.5 inches thick, and in a size that covers a real cutting task — roughly 18 by 12 inches. A quality chopping block costs around $60 to $180. Avoid thin decorative boards that warp after one wash, and avoid glass or marble boards for actual chopping since they dull knives fast. Oil the block monthly with food-safe mineral oil, and keep it on the island only if it does not block your main prep zone. Tip: if counter space is tight, hang the block on a hook inside a cabinet door instead of leaving it out. Wash it with hot soapy water only, never soak it, and stand it on edge to dry so both sides air evenly.
13. Light the Island With a Picture Light or Under-Cabinet Glow
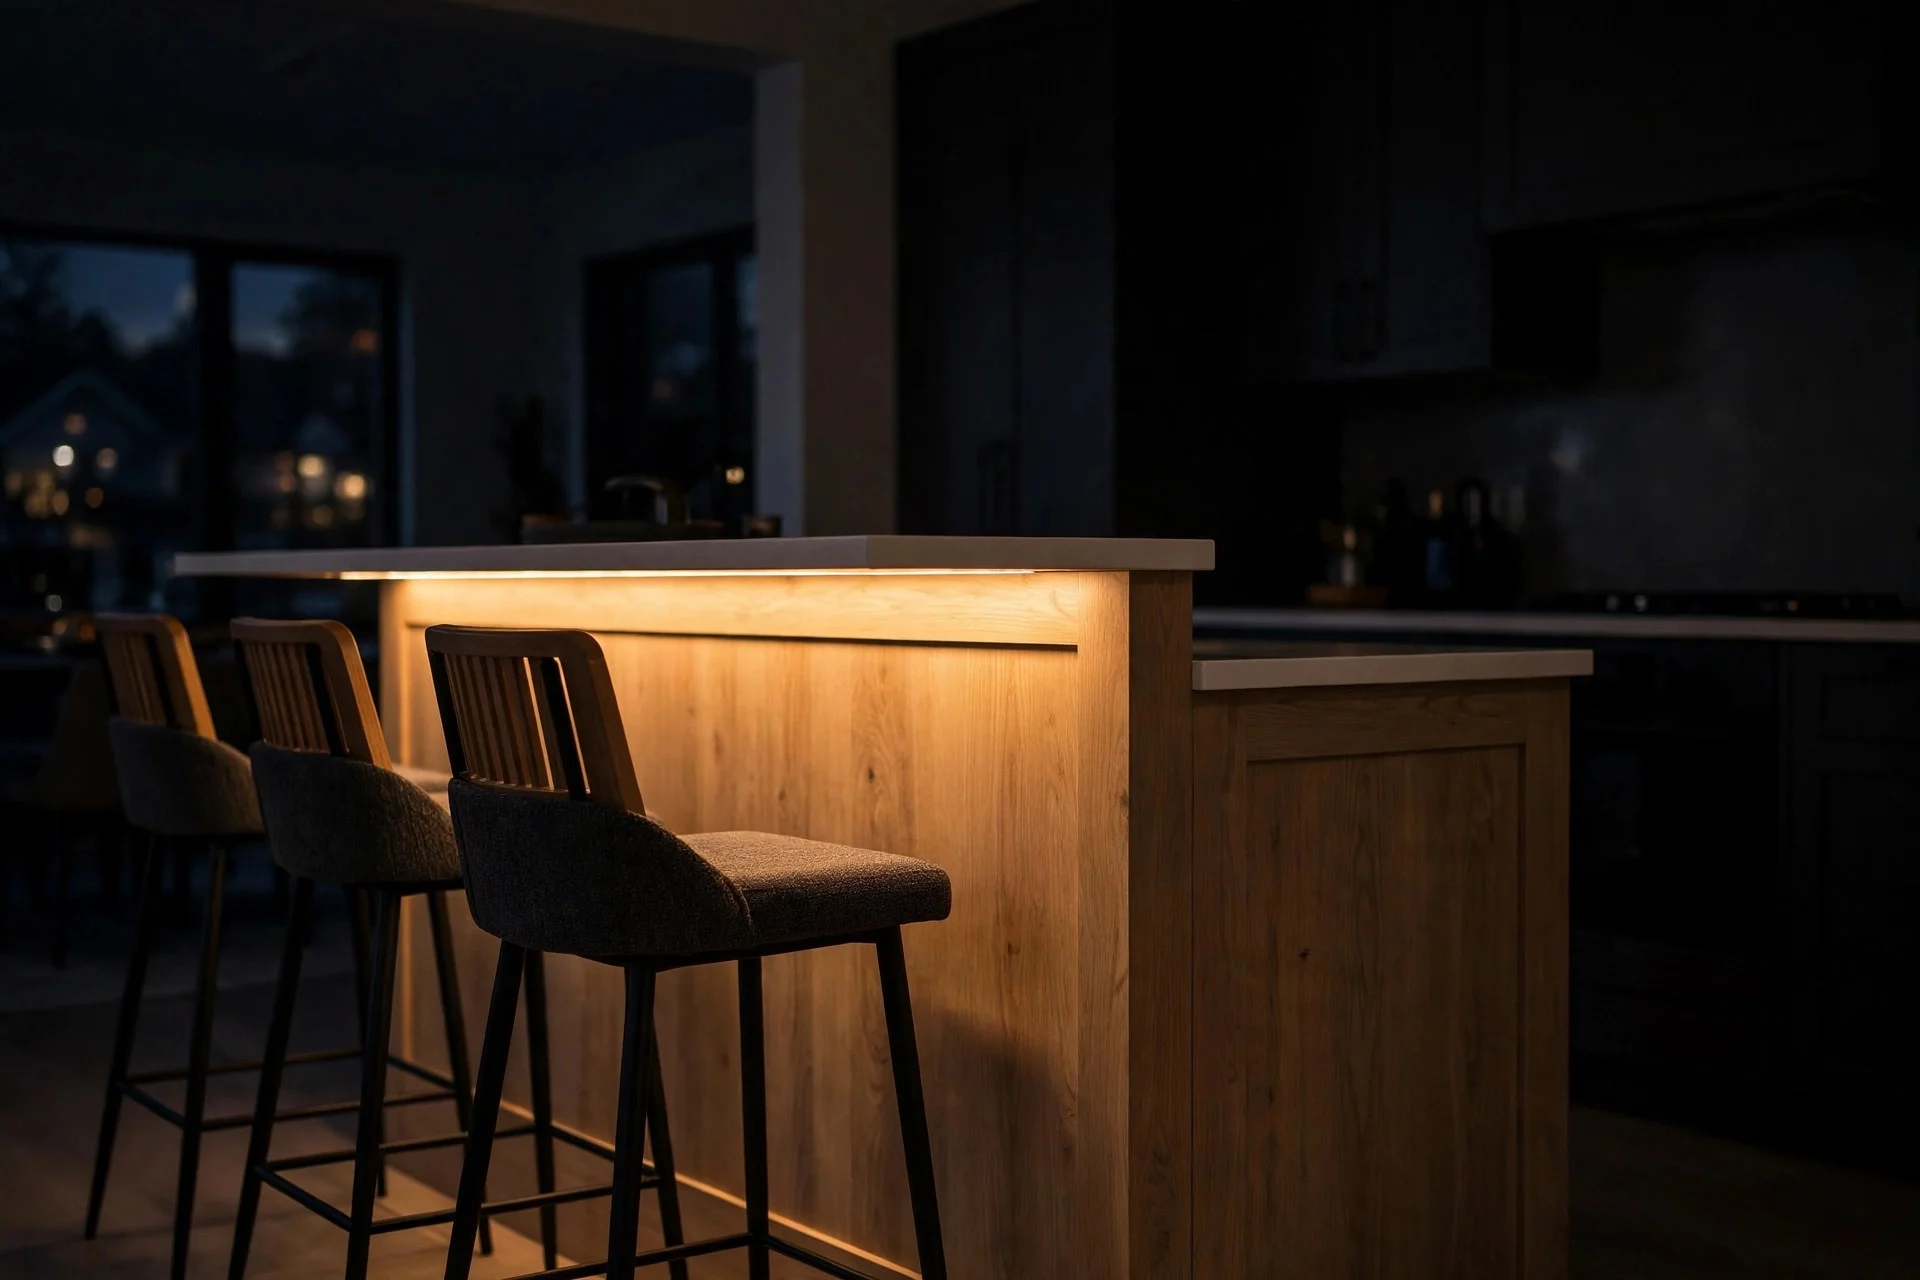
Pendants get the attention, but a picture light or a soft under-shelf glow on the island ends adds a layer of light that makes the island feel like furniture in the evening. A slim picture light above an open shelf on the island, or LED strip lighting under the breakfast-bar overhang, gives a warm wash without adding objects to the counter. A plug-in LED strip costs $20 to $50, and a hardwired picture light runs $80 to $250 plus fitting. Avoid cool white strip lighting above 4000K, which makes food look grey and turns a warm kitchen clinical. Keep the glow low and indirect — the light should hit the island front, not shine in anyone’s eyes across the counter. This is also a good way to light a two-tone island base so the colour shows after dark. Tip: put the strip on a dimmer or a plug with a switch, since island lighting you cannot turn off becomes annoying within a week.
14. Add a Runner That Protects the Walkway, Not the Island
A runner in the walkway beside the island protects the floor where you actually stand, and it adds colour and pattern without touching the work surface at all. Choose a flat-weave or low-pile runner, 24 to 30 inches wide, in a washable material, since it will catch oil splashes and dropped food. A good kitchen runner costs around $60 to $200 depending on length. Avoid thick shag or high-pile rugs beside an island, since they catch stool legs and make rolling a bin awkward. Avoid a runner that ends exactly where you step off the island, since the edge becomes a trip point. Measure the walkway first — the runner should sit fully inside your 42-inch clear zone with room to spare on both sides. Tip: buy a runner with a non-slip backing or add a separate pad underneath, because a rug that slides on tile is a hazard when you are carrying something hot.

15. Display One Seasonal Bowl — and Rotate It
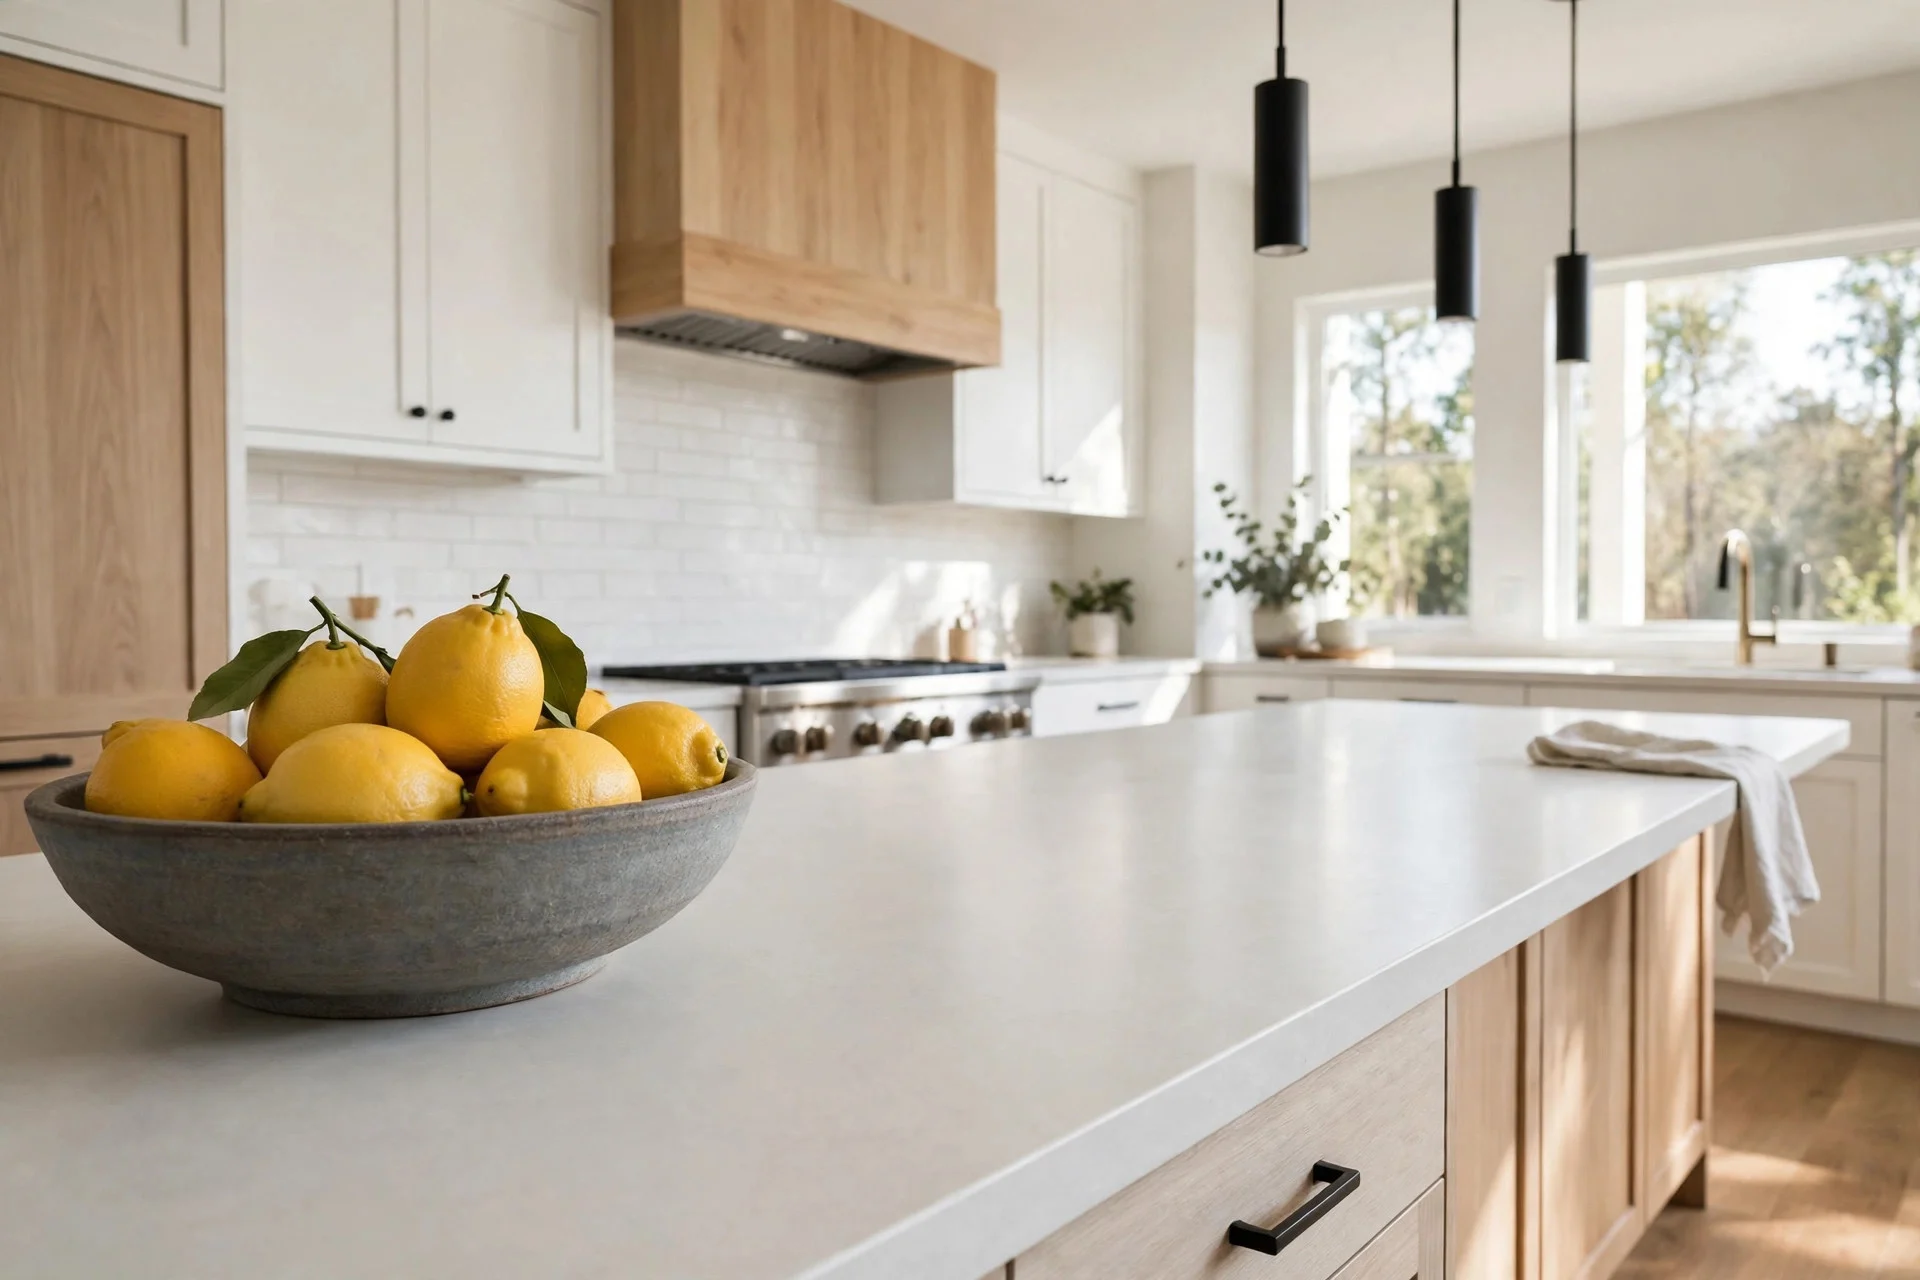
One seasonal bowl on the island gives you a changing display without permanent clutter. In autumn it holds small pumpkins, in spring it holds lemons, in winter it holds pinecones, and the rest of the year it holds nothing at all. Choose a low, wide bowl, 12 to 14 inches across, in stoneware or wood, and place it at the end of the island away from the main prep area. A handmade stoneware bowl costs around $35 to $90. Avoid a tall fruit bowl in the centre of the island, since it splits your prep space in two. Avoid filling the bowl with fake fruit that never gets eaten, because it turns into dust-collecting decor. Empty the bowl completely when you are cooking a big meal, and put it on a shelf or in a cabinet for the duration. Tip: use real, edible seasonal produce in the bowl, so the display feeds the kitchen instead of just sitting there.
FAQ
How much space do I need around a kitchen island?
Allow 42 inches of clear walkway on each side of the island as a minimum for comfortable movement, following NKBA guidance. Measure from the island edge to the nearest fixed object, excluding stools that tuck away. If you have less than 36 inches on a side, treat that side as a boundary rather than a walkway and plan the island decor accordingly.
How high should pendant lights hang over an island?
Hang pendant lights 30 to 36 inches above the countertop, spaced 24 to 30 inches apart if you are using three in a row. That height lights the work surface without blocking sightlines across the kitchen. If anyone in the house is tall, stay at the upper end of the range and check the view from the doorway before fixing the height.
What is the cheapest way to update a kitchen island?
Painting the island base in a contrasting colour and swapping the hardware are the two cheapest updates with the biggest effect, typically $100 to $400 total if you do the work yourself. A two-tone finish — contrasting base and top — needs no new objects on the counter at all. Start there before spending on pendants, stools or a new top. Even cleaning and degreasing the island, then adding a single tray, can make an old island feel intentional again for almost no cost.
Conclusion
A kitchen island does not need more objects to look styled. It needs one strong idea — a two-tone base, a waterfall top, a deep olive paint job, three pendants at the right height — and a clear middle where the cooking happens. Measure your walkways first, keep 42 inches clear on each side, tuck the stools away, and put your decor on the base, the ends and one tray at the edge. Do that, and the island stays what it was built to be: the hardest-working surface in the kitchen, that also happens to look good from the doorway. Start with the paint and the hardware, live with it for a week, then decide whether the pendants or the waterfall top come next. If you are working room by room, do the island last in the kitchen but first in your list, because it is the piece everyone sees from the doorway and the piece you use every single day. A small, tested change you keep beats a big plan you never finish.