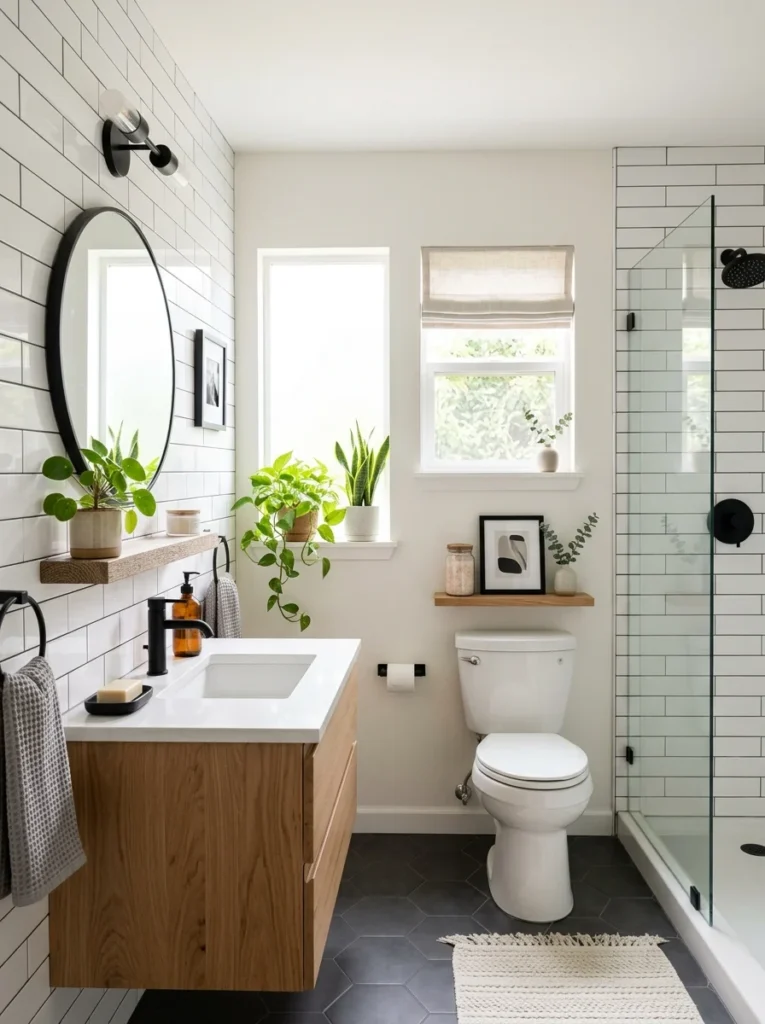
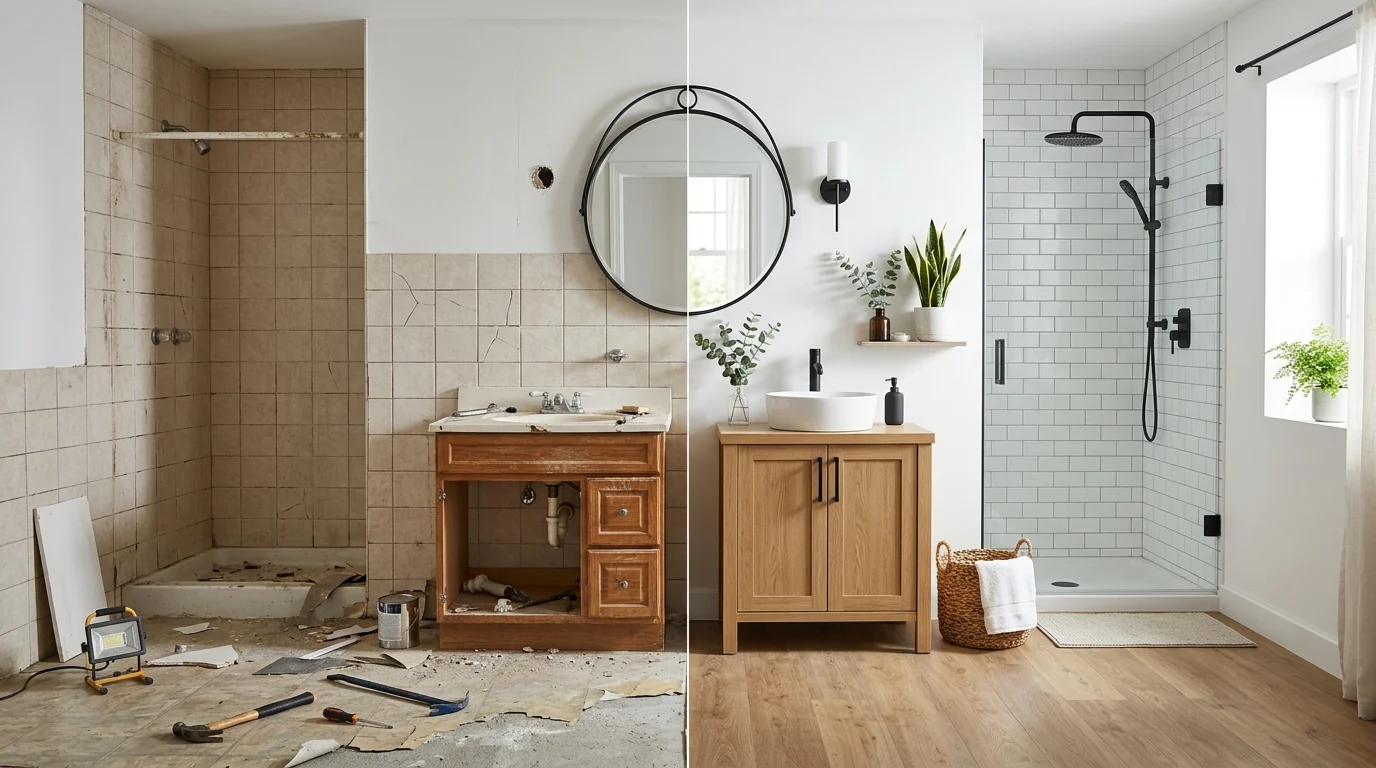
The first time I renovated a bathroom, I got three quotes from contractors before I’d even picked a tile, and every single one came back higher than I expected. One quote alone was more than I’d budgeted for the entire project. I almost gave up and decided to just live with the cracked tile and the leaking faucet for another few years. Instead, I did something different: I broke the renovation into pieces, figured out which parts actually needed a professional and which I could handle myself or handle smarter, and ended up with a bathroom that looked like it cost three times what I actually spent.
A budget bathroom renovation isn’t about doing everything the cheapest way possible. It’s about spending money where it actually shows and where it actually matters, structurally, and saving it everywhere else. Below is the step-by-step process I’ve used on my own bathrooms since, plus the lessons that saved me the most money and the ones that cost me more than they should have.
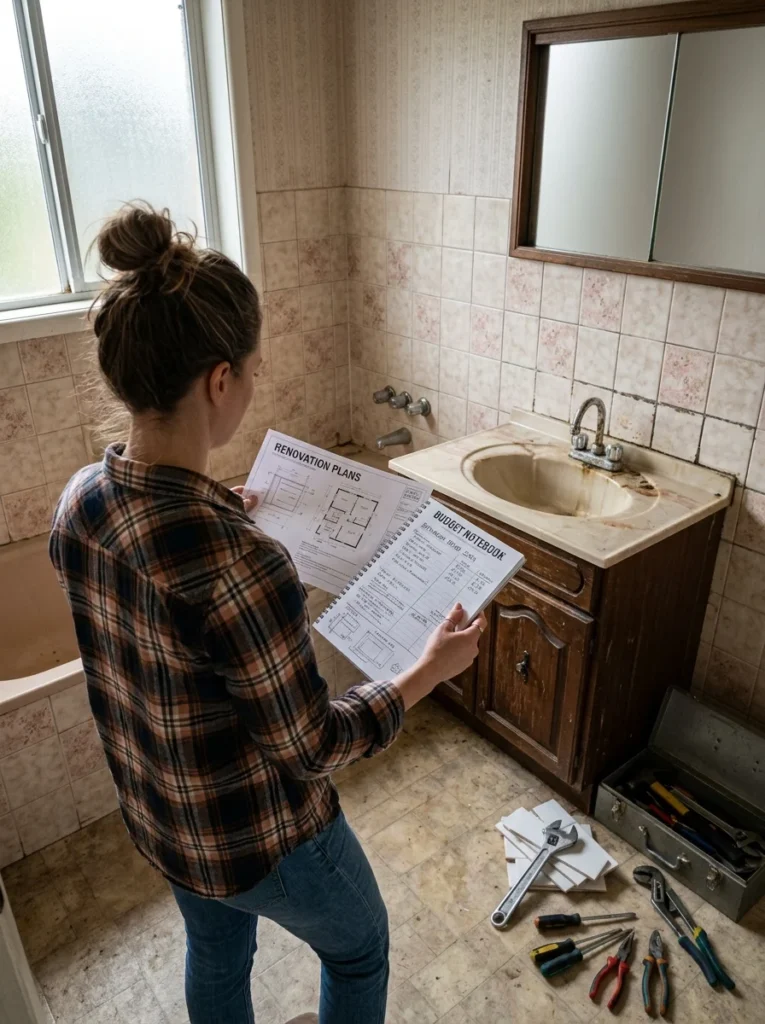
Step 1: Decide what’s actually wrong before you decide what to change
Before any demolition or shopping, walk through the bathroom and write down what genuinely bothers you and why. Is the layout the problem, or is it just the finishes? Is the toilet actually old and inefficient, or do you simply not like its color? This distinction matters because changing finishes, paint, tile, hardware, fixtures in the same footprint, costs a fraction of moving plumbing or walls. Most budget renovations that go well are the ones where the layout stays put and the money goes into finishes and fixtures instead of construction.
I’ve seen people spend thousands moving a toilet six inches to the left for a look they could have achieved just as easily by working around the existing plumbing. Be honest with yourself about which problems are cosmetic and which are truly structural, and let that shape your whole budget from the start.
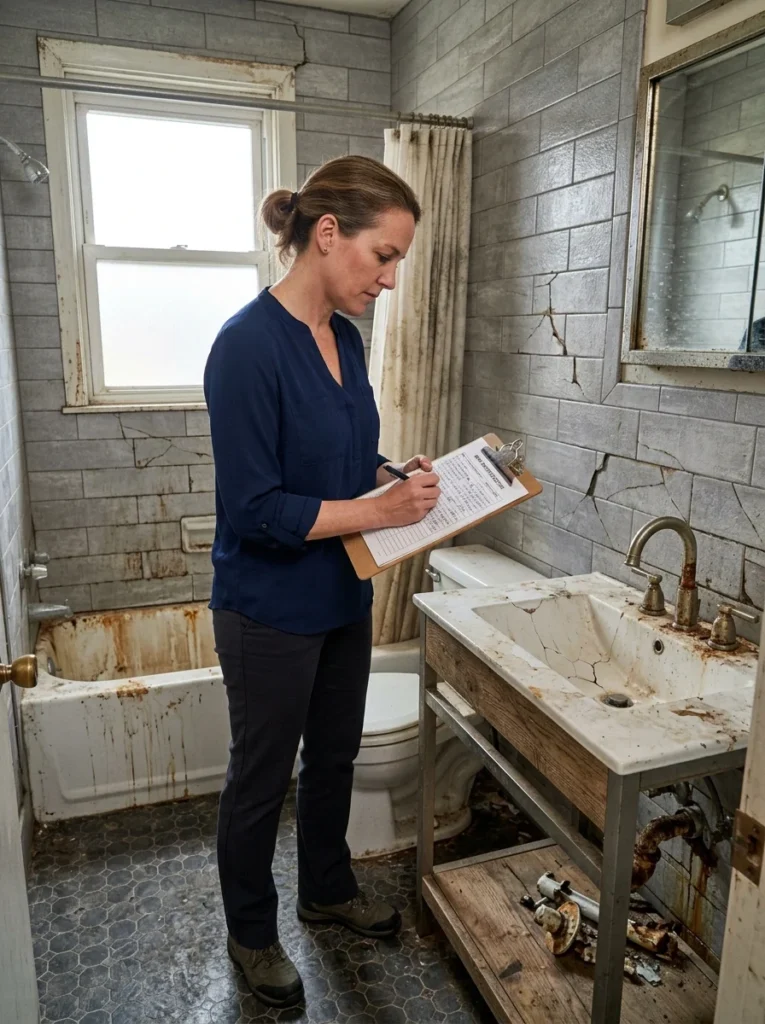
Step 2: Set a real budget and build in a contingency
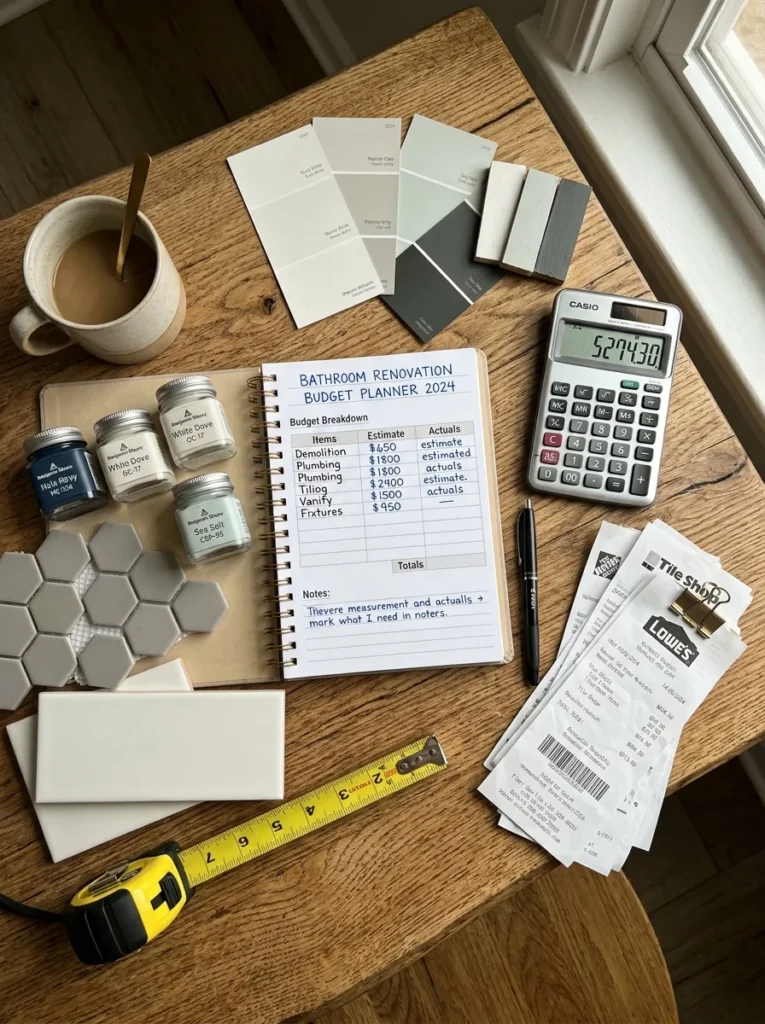
Decide on a total number before you buy anything, and split it roughly across categories: fixtures, tile and flooring, paint and hardware, labor, and a contingency fund. That last category matters more than people expect. Almost every renovation uncovers something once the old tile or vanity comes out, water damage, old plumbing, uneven subfloor, that wasn’t visible beforehand. Setting aside ten to fifteen percent of your total budget for surprises means a hidden problem doesn’t derail the whole project or force you to cut corners somewhere that actually matters.
Step 3: Decide what to keep and what to replace
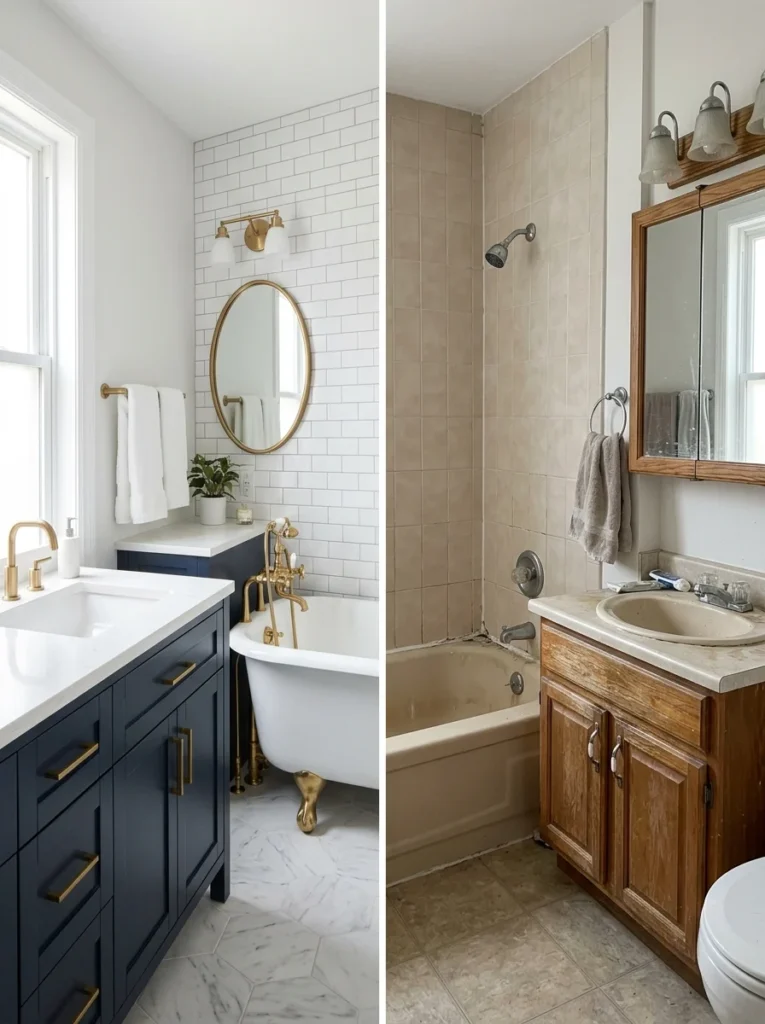
The fastest way to blow a budget is replacing things that don’t need replacing. If your bathtub or shower base is structurally sound, refinishing it costs a small fraction of a full replacement and can look nearly as good. If your vanity’s cabinet box is solid but the doors and top look dated, swapping just the doors, hardware, and countertop is far cheaper than a whole new unit. Toilets in good working order rarely need replacing purely for style, since a new seat and a thorough clean often solve most of what bothers people. Go fixture by fixture and ask honestly whether it’s broken, outdated in a way paint or hardware can’t fix, or simply not to your taste, since each answer points to a different, much cheaper solution.
Step 4: Choose where to spend and where to save
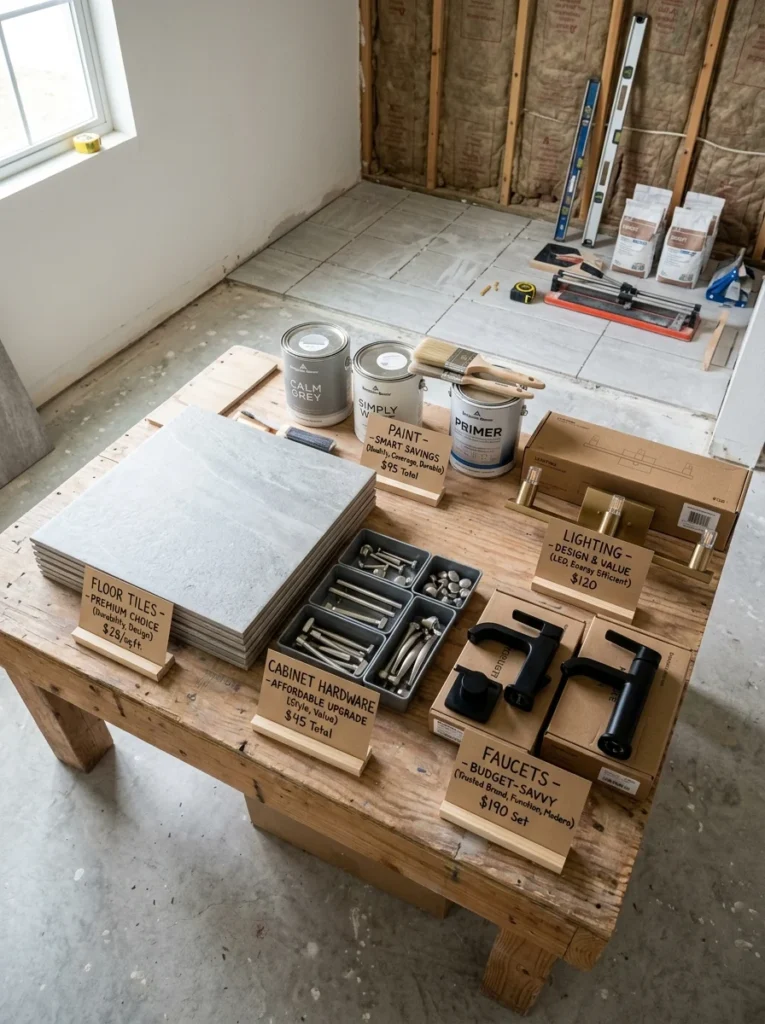
Not every dollar in a renovation carries equal weight. Flooring and tile take the most visual and physical wear, so it’s usually worth spending a bit more here for something durable and timeless rather than the cheapest option, since replacing tile again in three years costs more than spending properly the first time. On the other hand, hardware, light fixtures, and paint are inexpensive to change later if your taste shifts, so this is where budget options make the most sense. A good rule I use: spend on what’s expensive or disruptive to redo, and save on what’s easy to swap out down the line.
Step 5: Tackle painting and easy cosmetic fixes yourself
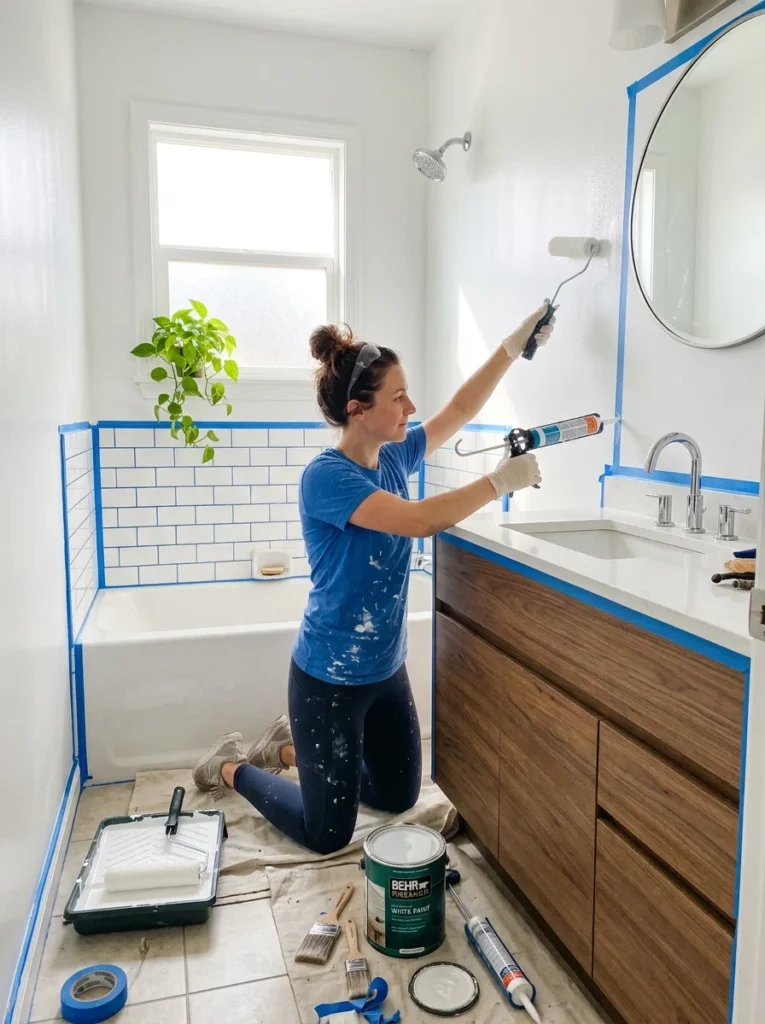
Painting is one of the highest-impact, lowest-cost changes available, and it’s genuinely approachable as a do-it-yourself project. Use a paint specifically rated for high-moisture rooms, and don’t skip proper prep, cleaning and lightly sanding old surfaces, since that’s what actually determines whether the paint holds up. Caulking around the tub, sink, and baseboards is another cheap fix that makes an enormous visual difference; fresh, clean caulk lines make an entire bathroom look newer and better maintained, even if nothing else has changed.
Step 6: Update hardware and fixtures before considering bigger changes
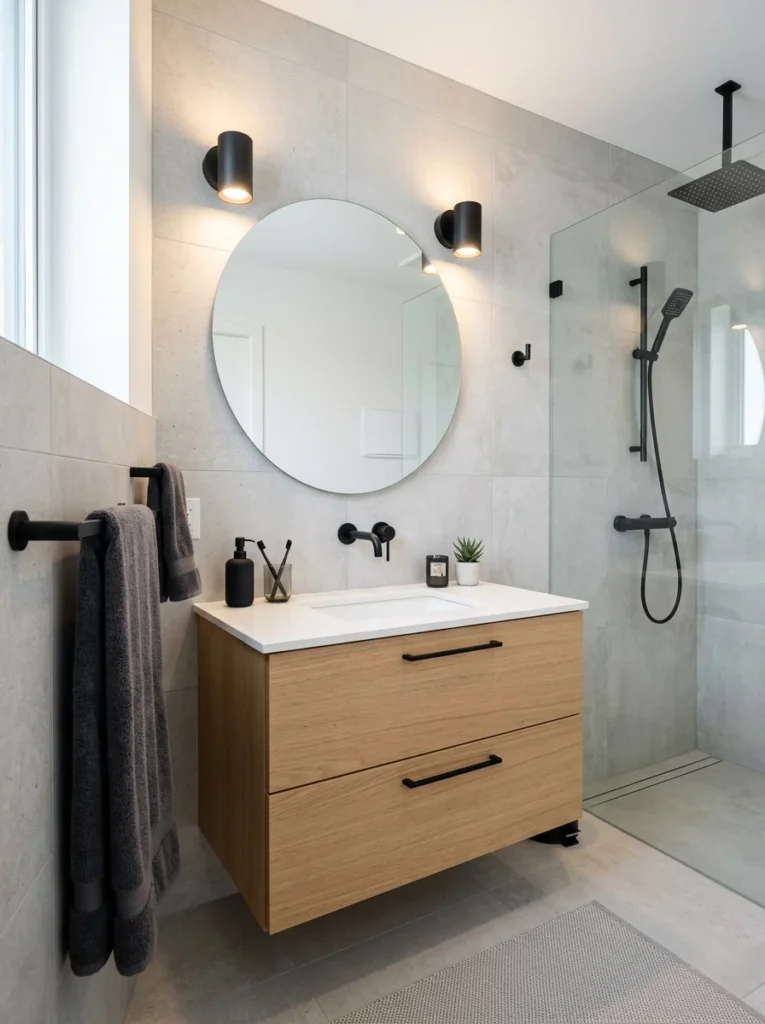
Swapping faucets, cabinet handles, the showerhead, the towel bar, and the light fixture is one of the most cost-effective upgrades in any renovation. These changes take an afternoon, require no specialized skill beyond basic tools, and instantly modernize a room that otherwise looks dated purely because of old brass or chrome finishes from a previous decade. Choosing one consistent finish, matte black, brushed nickel, or warm brass, across all the hardware ties the whole room together and reads as a much more expensive, intentional design choice than it actually costs.
Step 7: Refinish rather than replace where you can
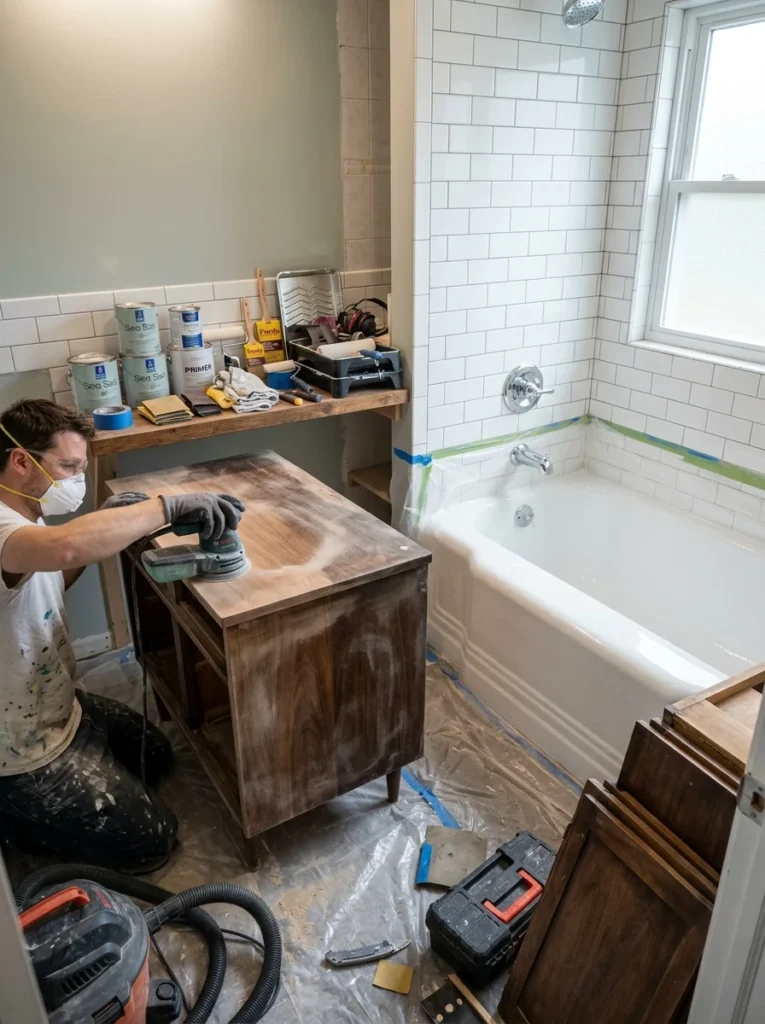
Bathtub and tile refinishing kits, or a professional refinishing service, can restore a dull, stained, or dated tub and surrounding tile for a small fraction of what full replacement costs. The same logic applies to cabinets: sanding and repainting or restaining an existing vanity, rather than buying new, saves significant money while giving you a completely different look. This step is where a lot of budget renovations find their biggest single savings, since replacing a tub or built-in cabinetry is one of the most expensive parts of any bathroom project.
Step 8: Choose one splurge item and keep the rest simple
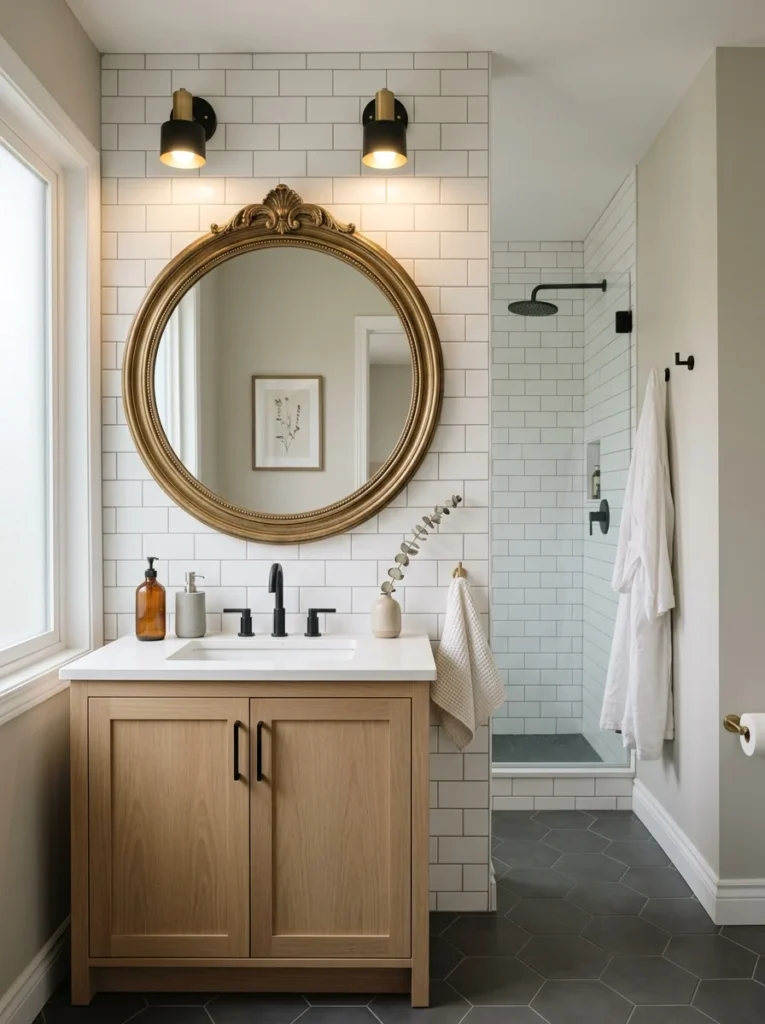
A budget renovation doesn’t have to feel like every corner was cut. Pick one item to invest a little more in, a striking tile pattern for the shower floor, a nicer faucet, a better mirror, and let it be the visual highlight of the room. Keep everything else simple, clean, and consistent around that one splurge. This approach makes the whole bathroom feel curated and intentional rather than uniformly cheap, and it’s a far better use of limited funds than spreading a little extra money thinly across everything.
Step 9: Know when to call a professional
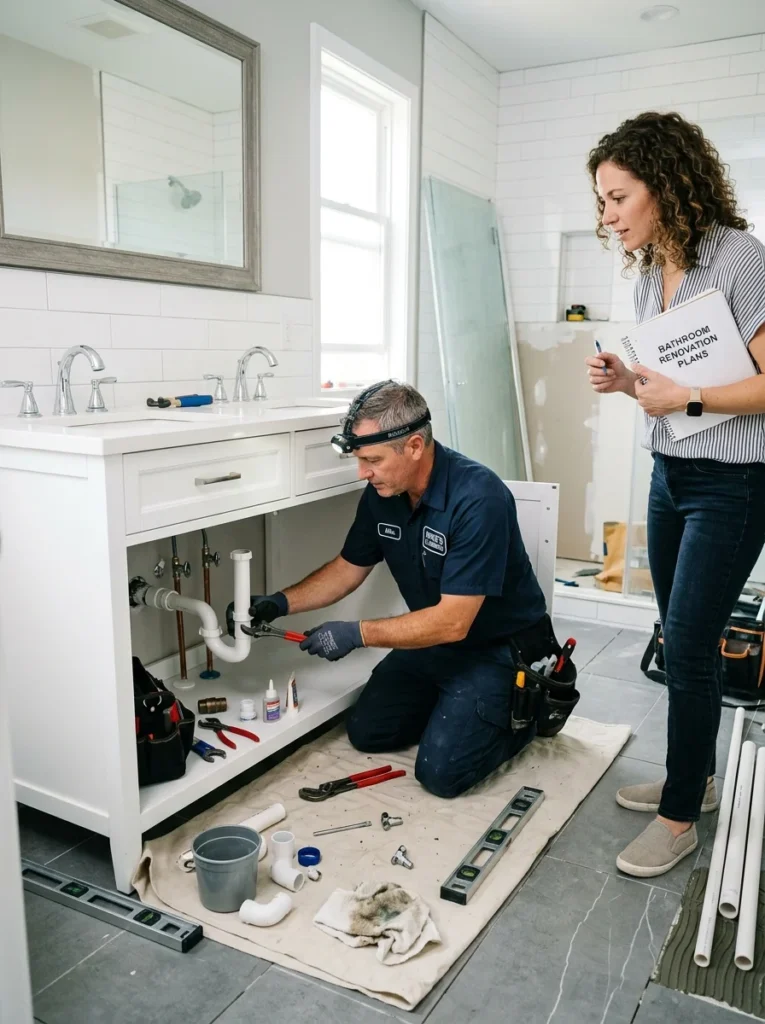
Painting, caulking, hardware swaps, and refinishing are reasonable do-it-yourself projects for most homeowners. Plumbing and electrical work are not areas to cut corners on, both for safety and because mistakes here are expensive to fix later and can affect your home insurance or resale value if done incorrectly. If your renovation involves moving a drain, adding a new electrical circuit, or anything behind the walls, budget for a licensed professional for that specific piece of work, even if you’re doing everything else yourself. Spending on the parts that require real expertise, while saving on the parts that don’t, is exactly how a limited budget stretches the furthest.
Step 10: Finish with the small details that make it look complete
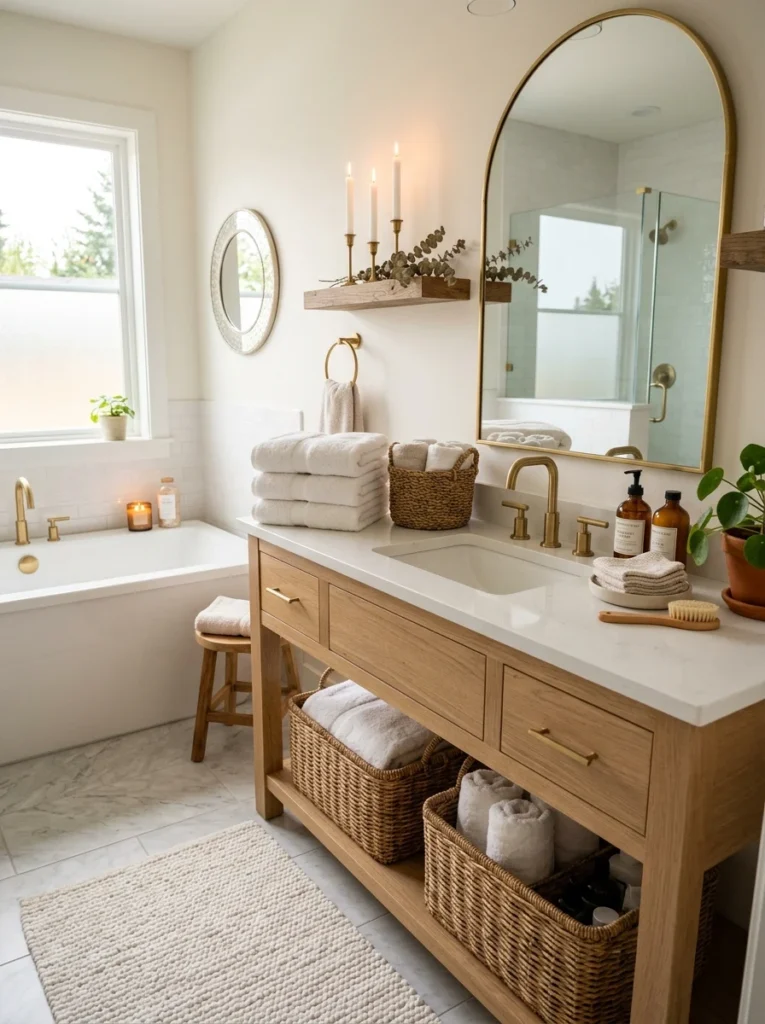
Once the major work is done, the final details are what make a renovation look finished rather than half-done. A new bath mat, fresh towels in a coordinating color, a small plant, and matching storage containers on the counter cost very little but make an enormous difference in how polished the finished room feels. These finishing touches are also the cheapest part of the entire project, so it’s worth not skipping them after spending on everything else.
Step 11: Plan a realistic timeline before you start
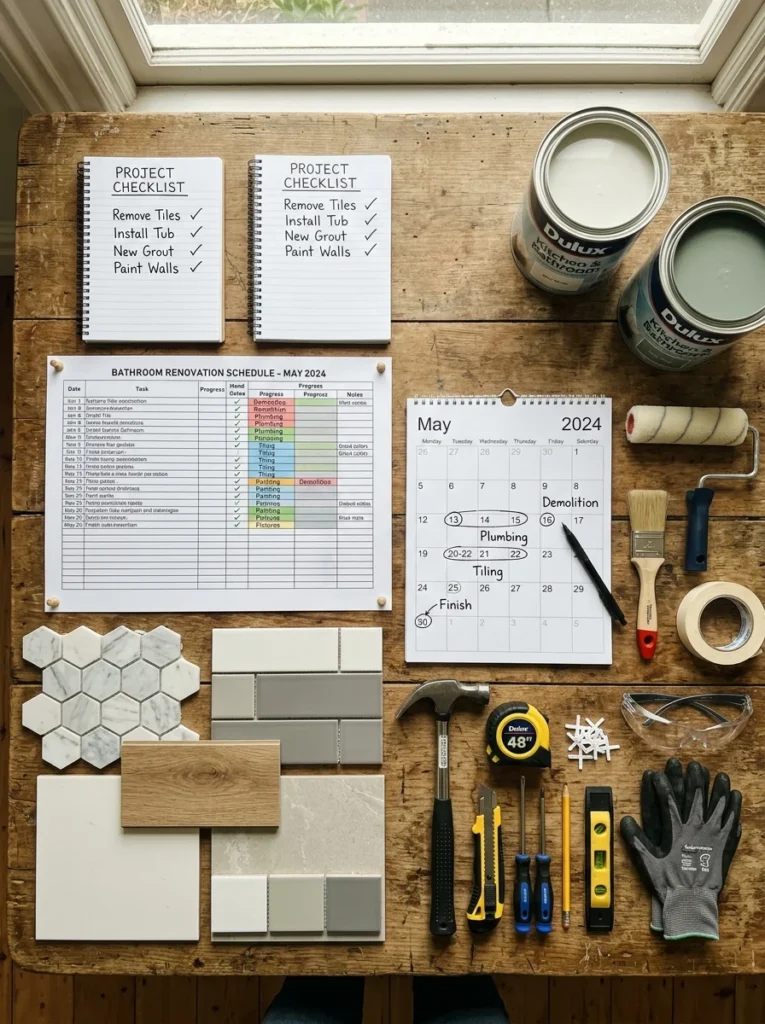
A budget renovation done in a rush tends to cost more, not less, because rushed decisions lead to mismatched purchases, return trips to the store, and shortcuts that need fixing later. Map out the order of operations before you begin: demolition and repairs first, then painting, then flooring, then fixtures and hardware last, so you’re not painting around a half-installed vanity or tiling a floor you’ll scuff moving in a new tub. Building in a few extra days beyond what you think you’ll need also means a delayed delivery or a discovered repair doesn’t turn into a rushed, more expensive decision just to get the bathroom back in use.
It also helps to have a backup plan for using another bathroom in the house, or a nearby one, while yours is out of commission, since that removes the pressure to finish faster than the budget allows. The renovations that stayed closest to budget for me were always the ones where I gave myself more time than I thought I needed, not less.
The mistakes that cost me more than they should have
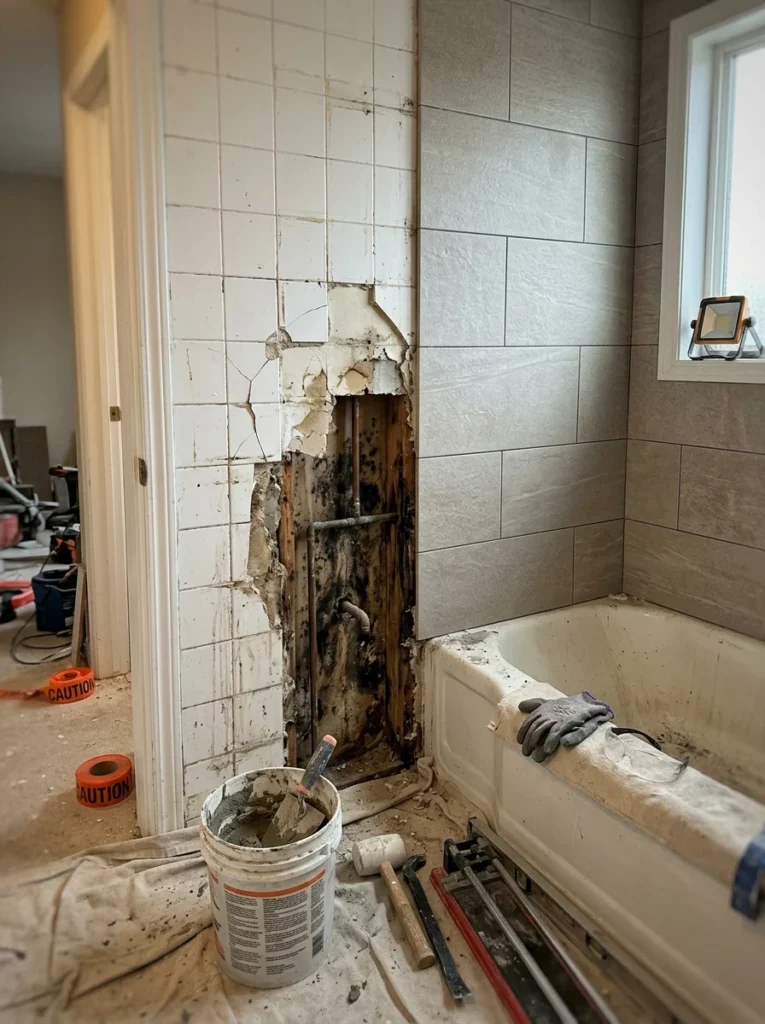
My biggest early mistake was buying the cheapest possible tile without checking its durability rating, and having to replace a section within two years once it started chipping. Spending slightly more upfront on a durable tile would have cost less overall than buying twice. My second mistake was skipping the contingency fund on my first renovation, so when we found water damage behind the old tub surround, the whole project stalled for weeks while I found extra money to fix it properly. Building in that buffer from the start, on every renovation since, has saved me both money and stress.
Common budget bathroom renovation questions

How much does a budget bathroom renovation typically cost?
Costs vary widely depending on region, the size of the bathroom, and how much of the layout changes, but a renovation that keeps the existing layout and focuses on paint, hardware, refinishing, and cosmetic updates costs significantly less than one involving moved plumbing or a full gut renovation. Getting a few local quotes early, even if you plan to do much of the work yourself, gives a realistic sense of regional pricing before you finalize a budget.
What should I never cut corners on in a bathroom renovation?
Plumbing, electrical work, and proper waterproofing behind tile and around the tub or shower are not areas to save money on. Problems in these areas are hidden until they cause real damage, and fixing them after the fact costs far more than doing them correctly the first time. Everything cosmetic, paint, hardware, accessories, is a much safer place to save.
Can I renovate a bathroom myself without hiring a contractor?
Many cosmetic updates, painting, caulking, hardware and fixture swaps, cabinet refinishing, are manageable for most homeowners with basic tools and some patience. Anything involving plumbing, electrical work, or structural changes is safer left to a licensed professional, both for safety and to avoid costly mistakes. A hybrid approach, doing the cosmetic work yourself and hiring out the specialized work, is how most successful budget renovations actually get done.
What’s the most cost-effective upgrade in a bathroom renovation?
Fresh paint, new hardware, and updated fixtures like faucets and light fixtures consistently offer the best visual impact for the lowest cost. These changes require no structural work, can often be done in a weekend, and instantly modernize a room that otherwise looks dated simply because of old finishes.
A better bathroom without the bigger price tag
A budget renovation succeeds not by finding the cheapest version of everything, but by being deliberate about where money actually matters. Keep the layout if it works, refinish what’s still structurally sound, spend a little more on what takes the most wear, and save on what’s easy to change later. Bring in a professional only where the work genuinely requires one, and finish with the small details that make the whole room read as complete. The bathroom I once thought I’d have to live with for years, cracked tile and all, ended up looking like a full renovation for a fraction of the first quotes I received, simply because I spent carefully instead of spending everywhere.
If you’re just starting out, begin with step one: walk through your bathroom and separate what’s genuinely broken from what you simply don’t like the look of. That single distinction will shape every decision after it, and it’s the one step that saves more money than any discount or do-it-yourself trick on this list.