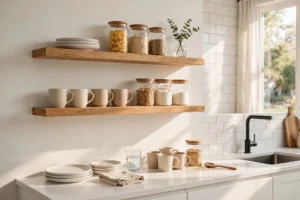
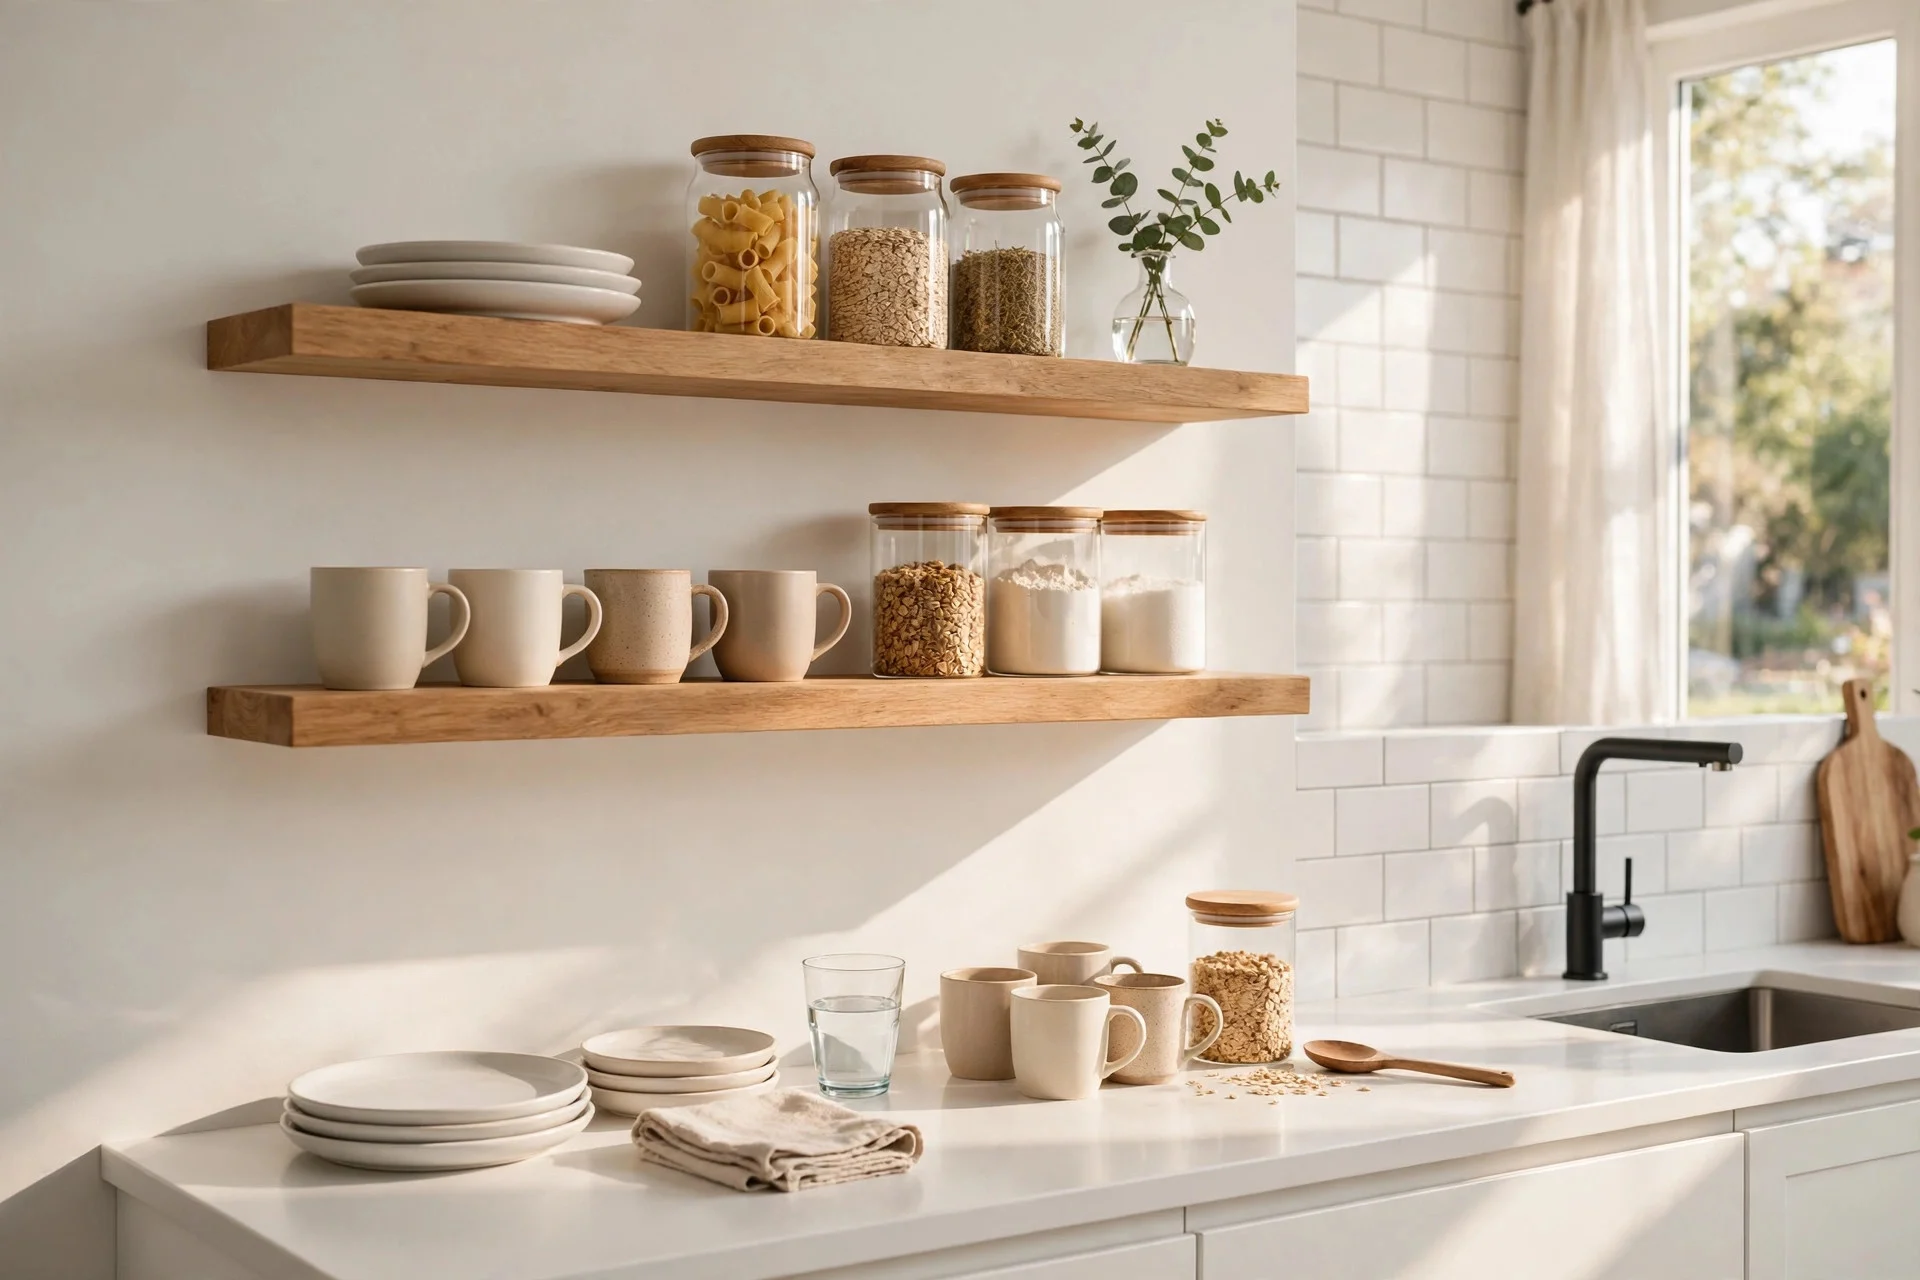
Open kitchen shelving looks simple, which is exactly why it goes wrong so often. A shelf goes up, plates go on it, and within a month it is either packed floor to ceiling or holding things nobody can reach without a step stool. The fixes are not expensive. They are about height, spacing, and choosing what earns a visible spot. The kitchen wall shelves ideas in this list are all built around everyday use: the mugs you grab with wet hands, the bowls you stack while cooking, the jars you refill on Sunday. If a shelf cannot help you cook faster or clear up faster, it does not belong above your counter.
The good news is that open shelving is forgiving. You can start with two boards, live with them for a week, then add lighting, jars, or a plate rack once you know what you actually use. This guide works through fifteen practical setups, each with sizes, rough costs, and the mistakes that make shelves sag, crowd, or gather dust. Follow the one-in-three rule where it helps, keep the most-used items front and centre, and leave enough empty space that the shelf still looks calm on a busy evening. Start with the position and the reach, then style last. Measure twice before you drill, because a shelf that is 5 cm too high or 5 cm too deep will annoy you every day, while a shelf that is right simply disappears into the routine. Take your measurements from your own plates, mugs, and appliances rather than copying a photo, since the photo was styled for a camera and your shelf has to work for breakfast.
1. Mount Floating Shelves Low Enough to Actually Reach
Floating shelves above a counter are useful only if you can reach them without climbing. Mount the lowest shelf 45 to 55 cm above the countertop, which leaves room for a kettle, a toaster, and a stack of plates underneath, while keeping mugs and bowls within a comfortable reach. For most people, the top shelf should sit no higher than 150 cm from the floor, so you are lifting from shoulder height, not overhead. A pair of 90 cm long, 25 cm deep floating shelves in solid wood costs around $60 to $180, plus $20 to $40 for fixings. Avoid mounting shelves so high that you need a stool for a daily mug, and avoid shelves deeper than 30 cm, since they block light and catch your head when you lean in. Tip: hold a plate and a mug at your intended shelf height before you drill, and check you can lift each down with one hand while holding the other item in the other hand.

2. Follow the One-in-Three Rule
The one-in-three rule keeps open shelves from turning into a second cupboard. Divide each shelf visually into thirds: one third everyday dishes, one third storage jars or baskets, and one third decor such as a small bowl, a plant, or a cookbook stack. Leave a third of the shelf visibly empty, meaning actual gaps between groups, not just a thin line of space. In practice, that means grouping three to five plates, two or three jars, and one decorative item per 90 cm shelf, with a hand-width gap between groups. A set of small storage baskets to fill the storage third costs around $25 to $60. Avoid filling every centimetre because the shelf was empty when you bought it, and avoid storing broken or duplicate dishes out in the open. The empty space is what lets the dishes read as a display rather than a pile. Tip: take a photo of the shelf from the doorway, since clutter you stop noticing up close is obvious from a distance.
3. Use Matching Glass Jars for Dry Goods
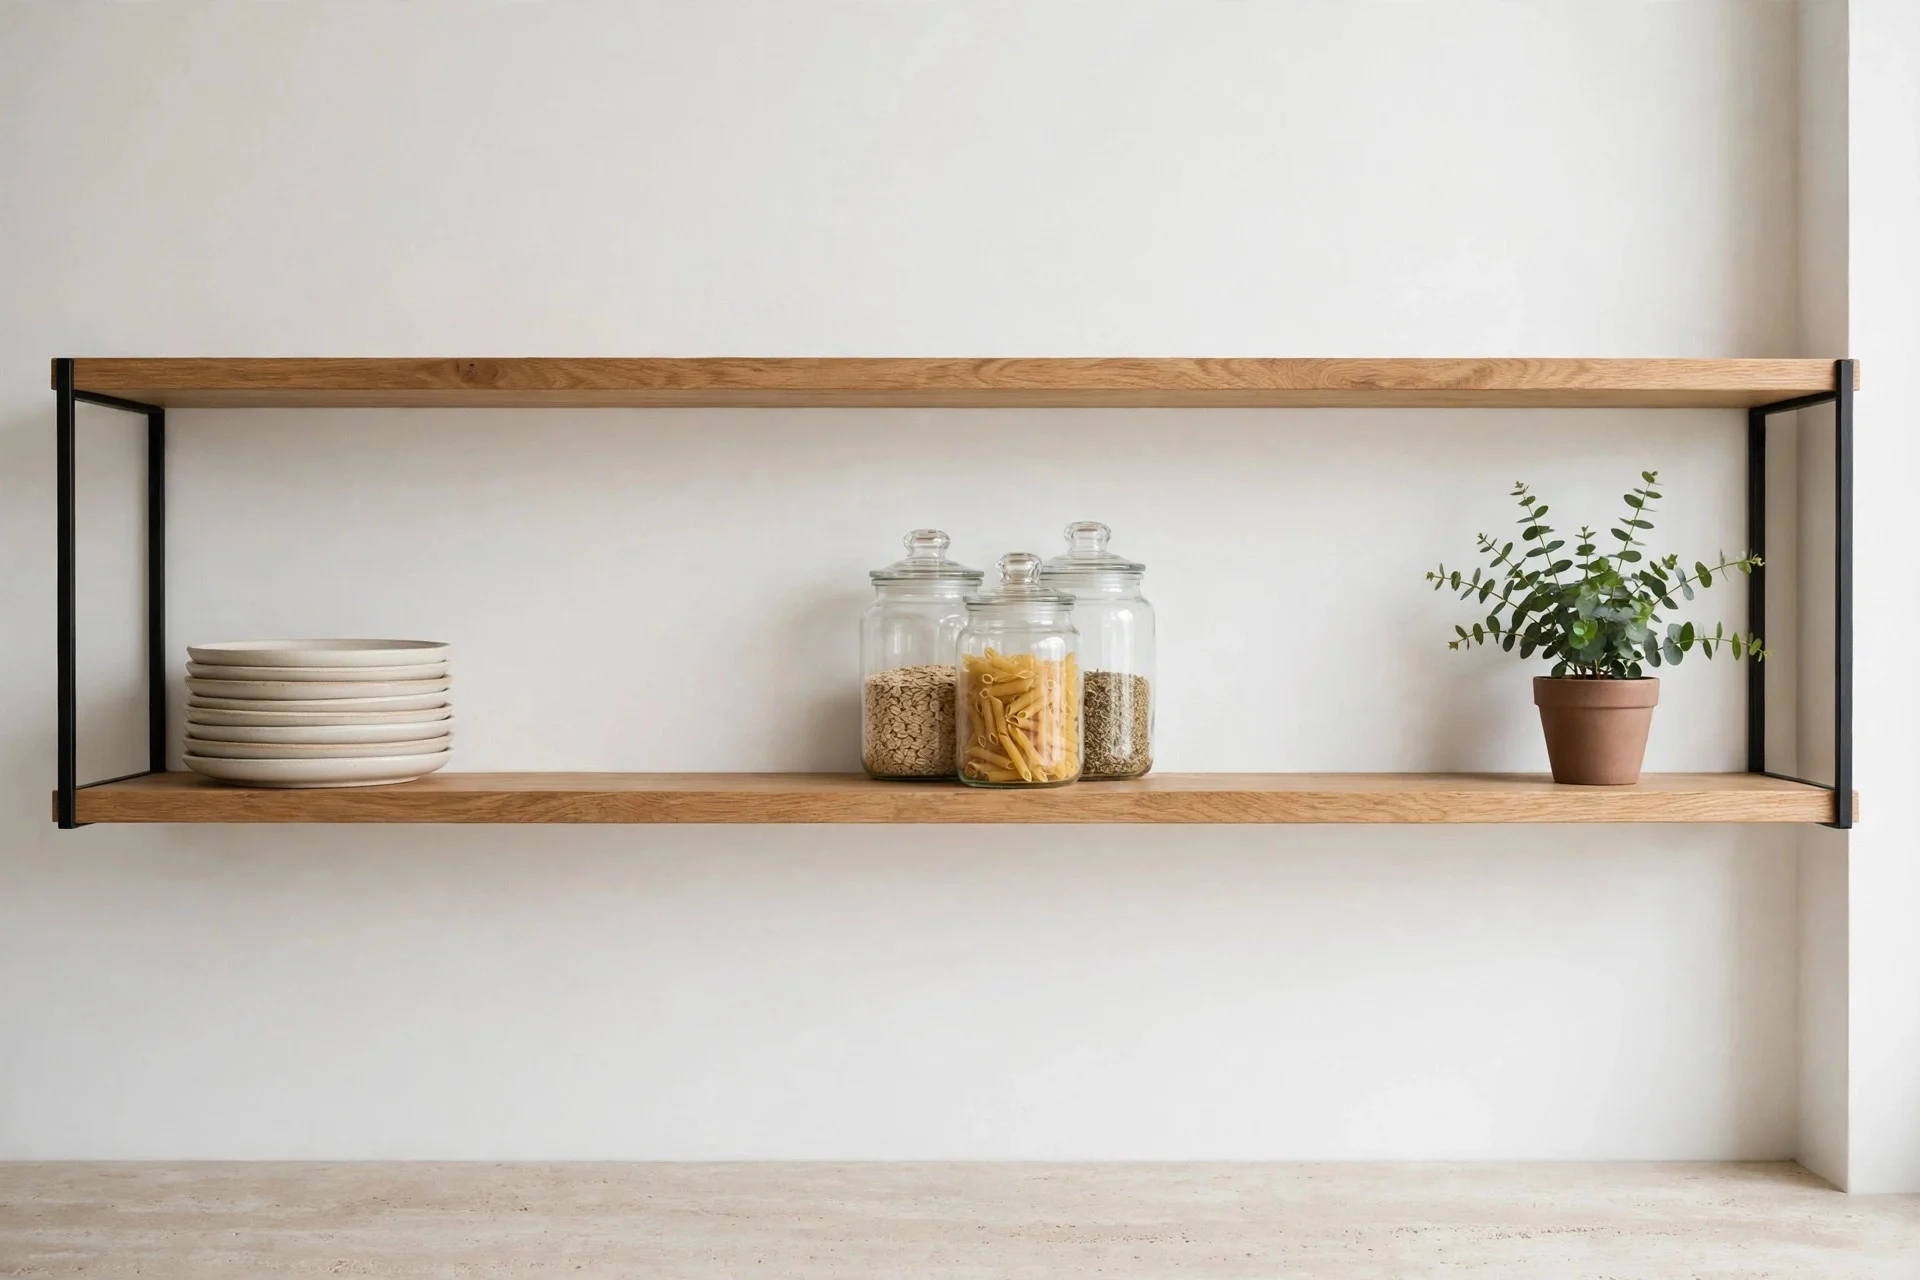
Dry goods look best, and refill fastest, in matching glass jars with the same lids. Choose one jar size for pasta, rice, flour, and oats, ideally 1 to 1.5 litres for a family kitchen, and keep the lids identical so the shelf reads as one set rather than a collection. Glass lets you see at a glance what is running low, which matters more on an open shelf than in a closed cupboard. A set of six matching glass jars costs around $30 to $70, and airtight lids add $10 to $25. Avoid mixing tall, short, round, and square jars on the same shelf, since uneven heights make the row look busy even when every jar is clean. Keep labels small and in one position, or skip labels and let the contents show. Tip: buy one extra jar as a spare, because a single cracked lid on an open shelf is the moment the whole set starts to look mismatched.

4. Put Everyday Mugs in One Colour
Everyday mugs are the most-used item on most kitchen shelves, and the fastest way to make them look intentional is to pick one colour family. White, cream, sage, or charcoal all work, as long as every mug on the shelf belongs to the same family. You do not need to throw away a favourite mug, but move the odd one to a cupboard and let the shelf carry the matching set. A set of six plain stoneware mugs in one colour costs around $40 to $90. Avoid a shelf of single mugs collected from trips and workplaces, since each one adds a different colour and shape and the group never settles. Stacking mugs two high saves space, but only if the handles all face the same way and the stack is stable. Tip: keep the two mugs you use most at the front edge of the shelf, so the morning grab does not turn into a search behind the others.
5. Lean Plates on a Plate Rack Like Art
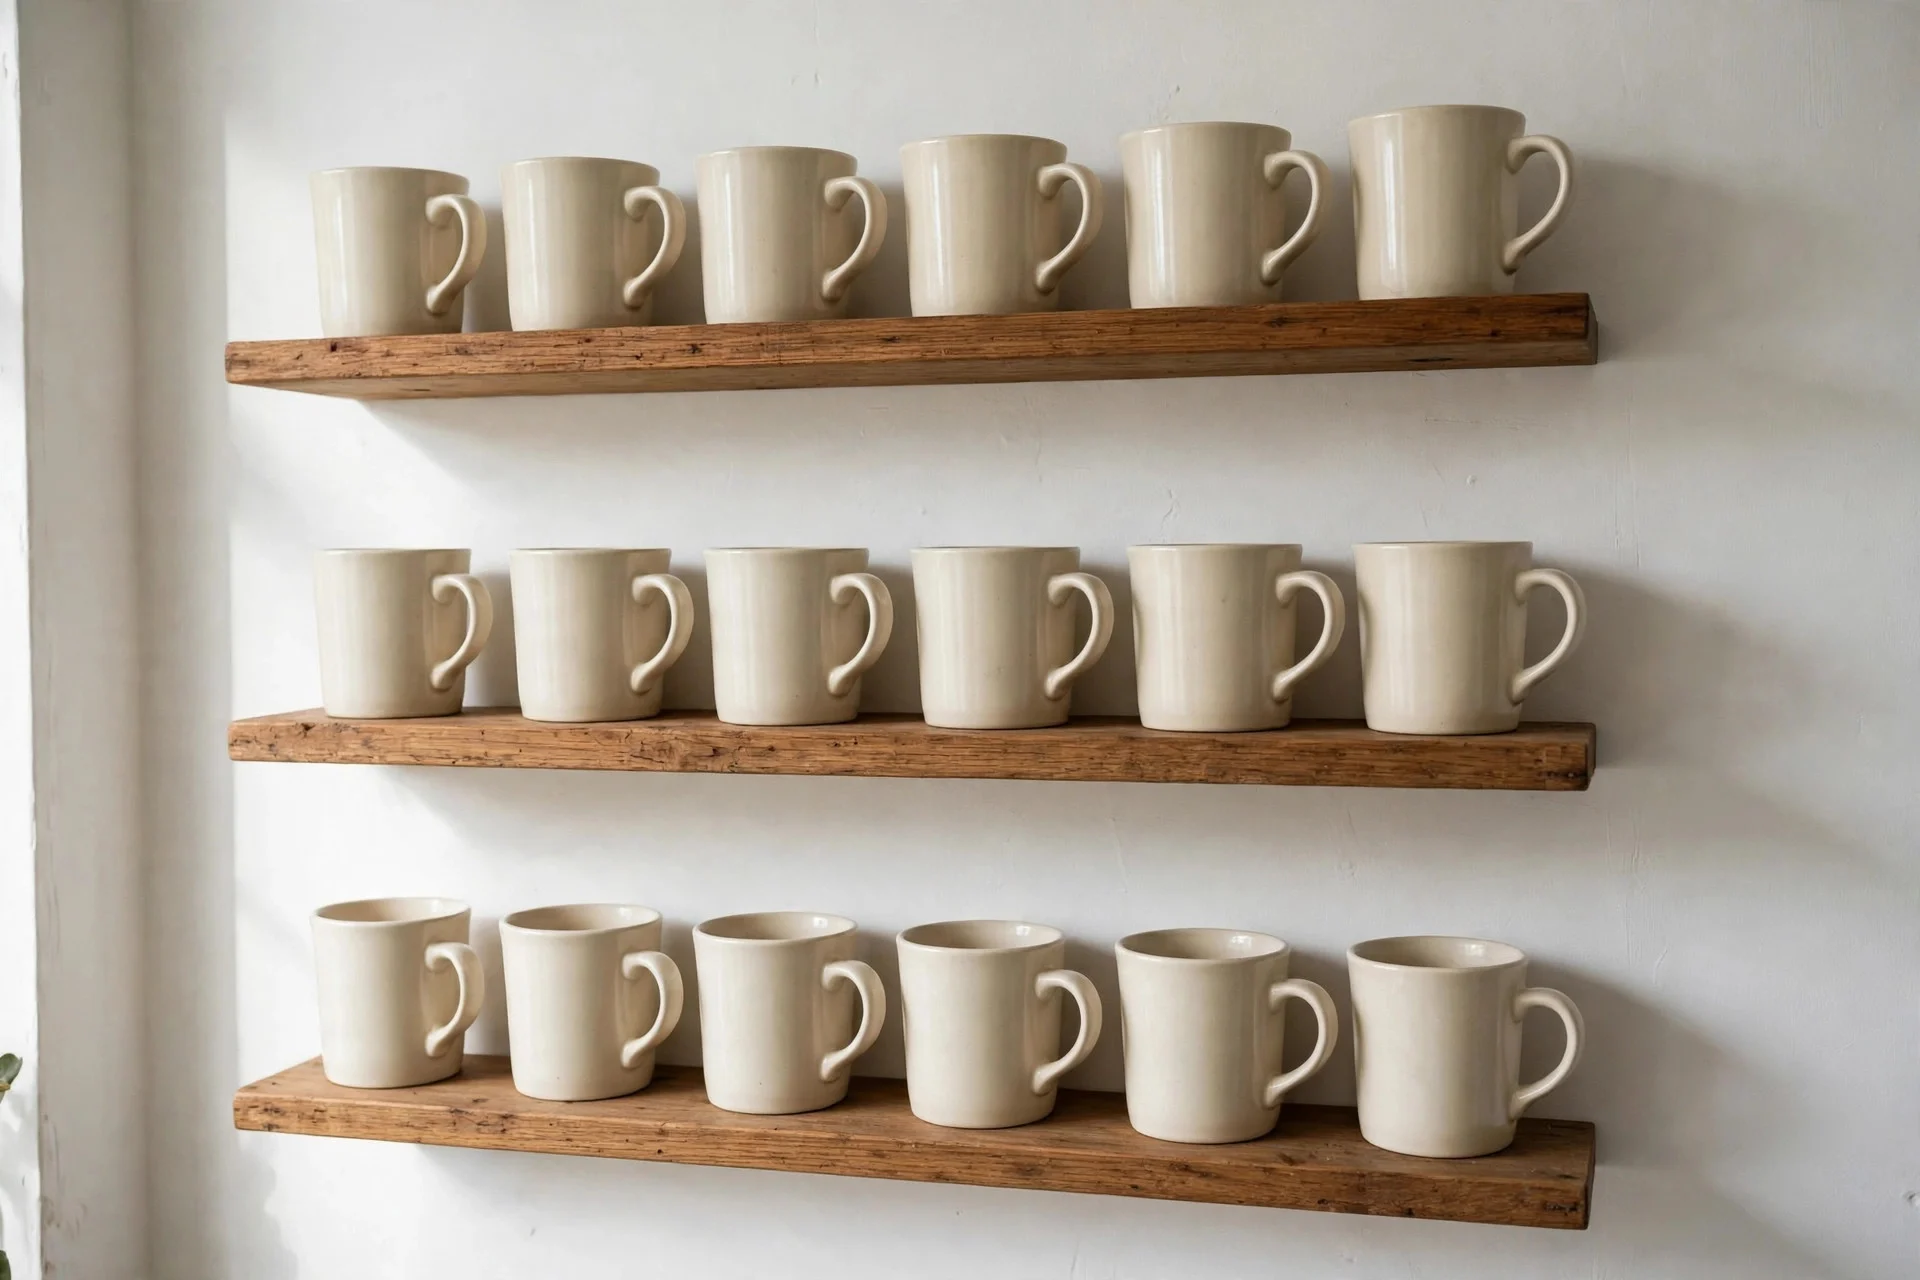
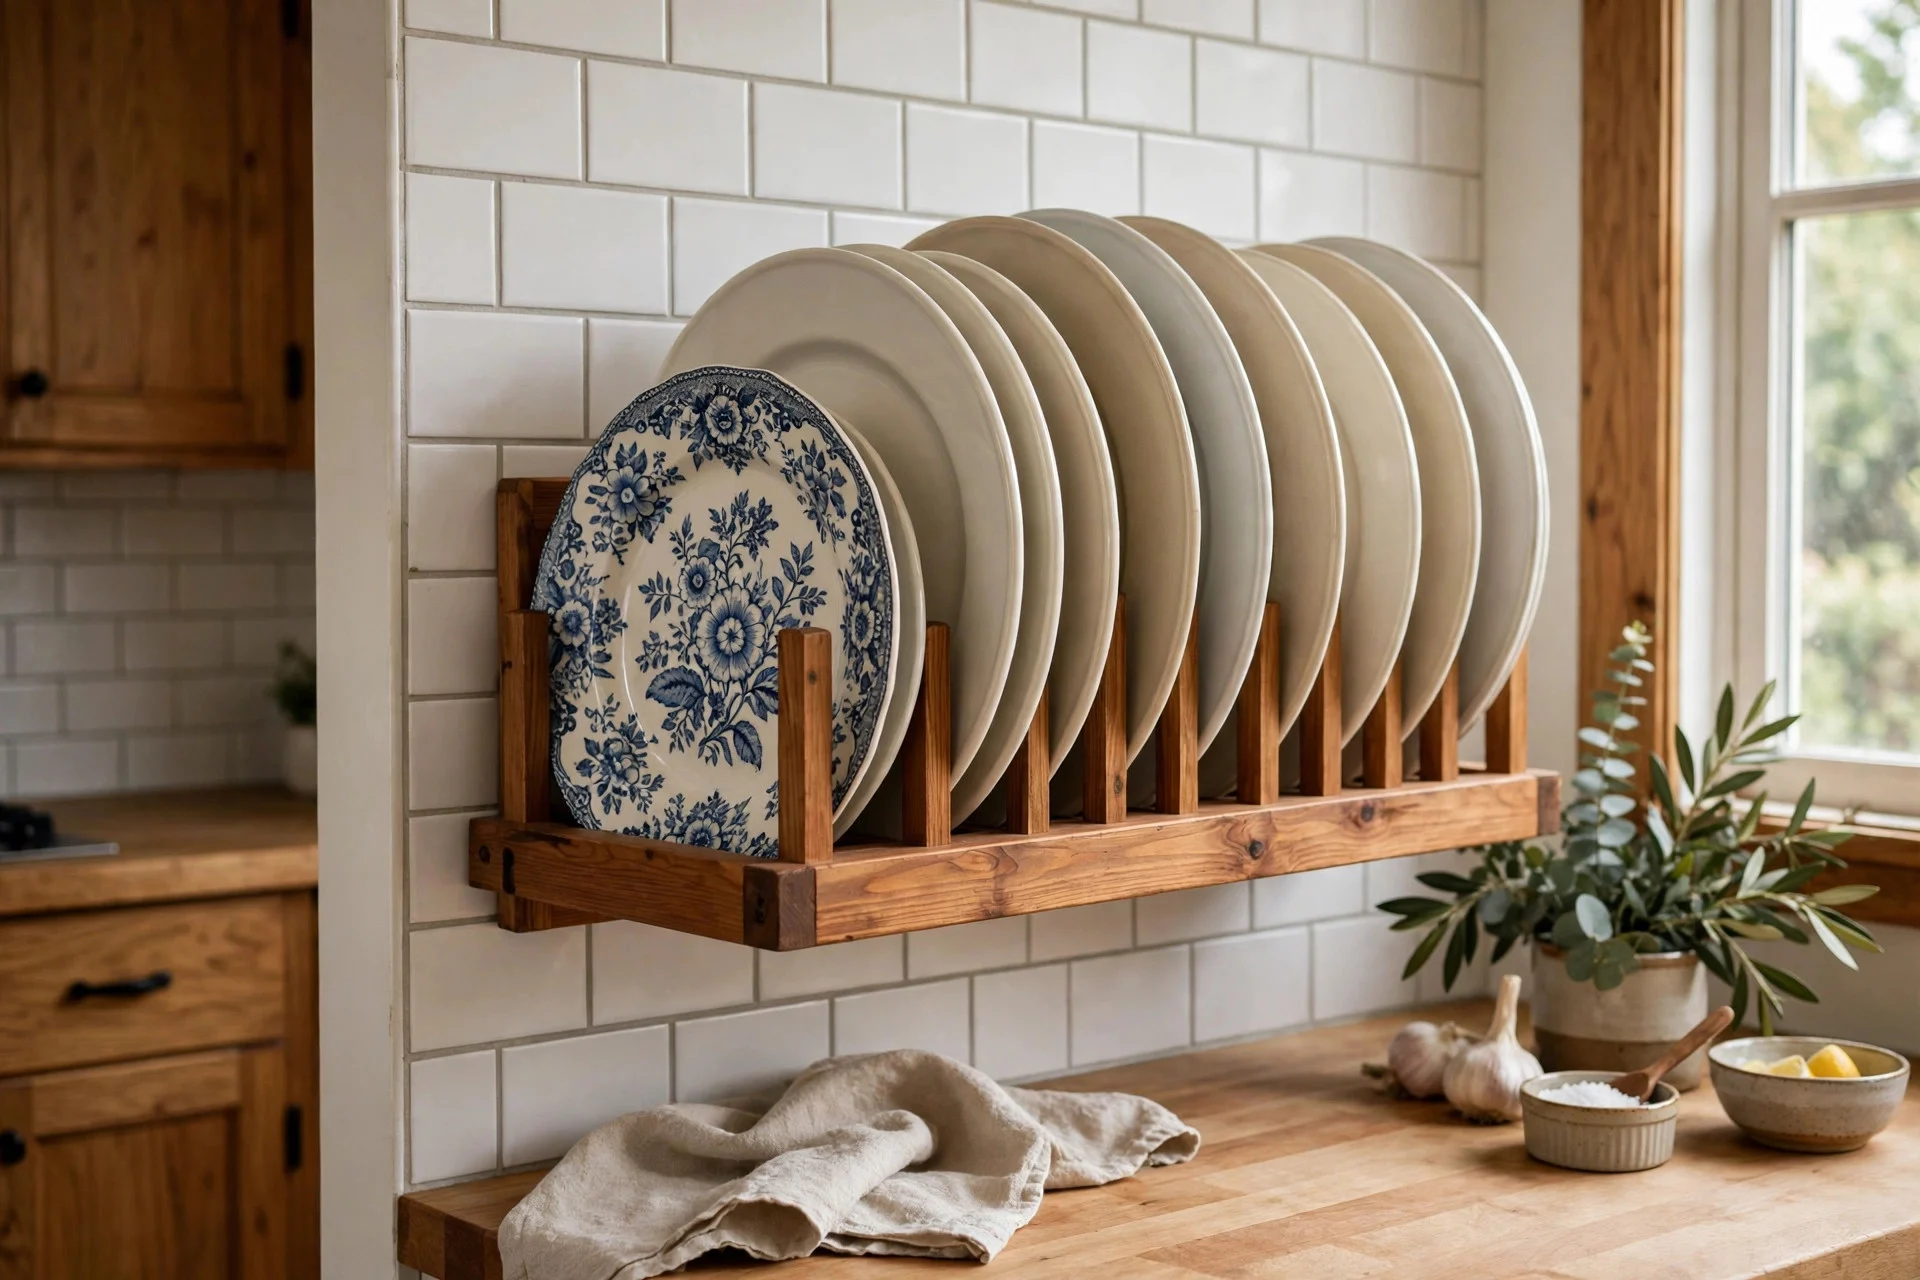
A plate rack turns everyday plates into the display, which is the whole point of open kitchen shelving. A simple wooden or metal rack, 30 to 45 cm wide, holds four to six dinner plates leaning at a slight angle, and the plates themselves provide the colour and pattern. Choose plates with a plain rim or a single pattern, and hang the prettiest one at the front as the visible face. A wooden plate rack costs around $25 to $60, and a wall-mounted version with a lip runs $40 to $90. Avoid racks that hold plates flat against the wall with no lip, since a plate can slide forward when you pull the one behind it. Do not overload the rack with your largest serving platters unless the rack is fixed into studs or heavy-duty wall fixings. Tip: put the plates you use for guests at the back of the rack and the everyday plates at the front, so the shelf still works on a normal Tuesday.
6. Add Under-Shelf Strip Lighting
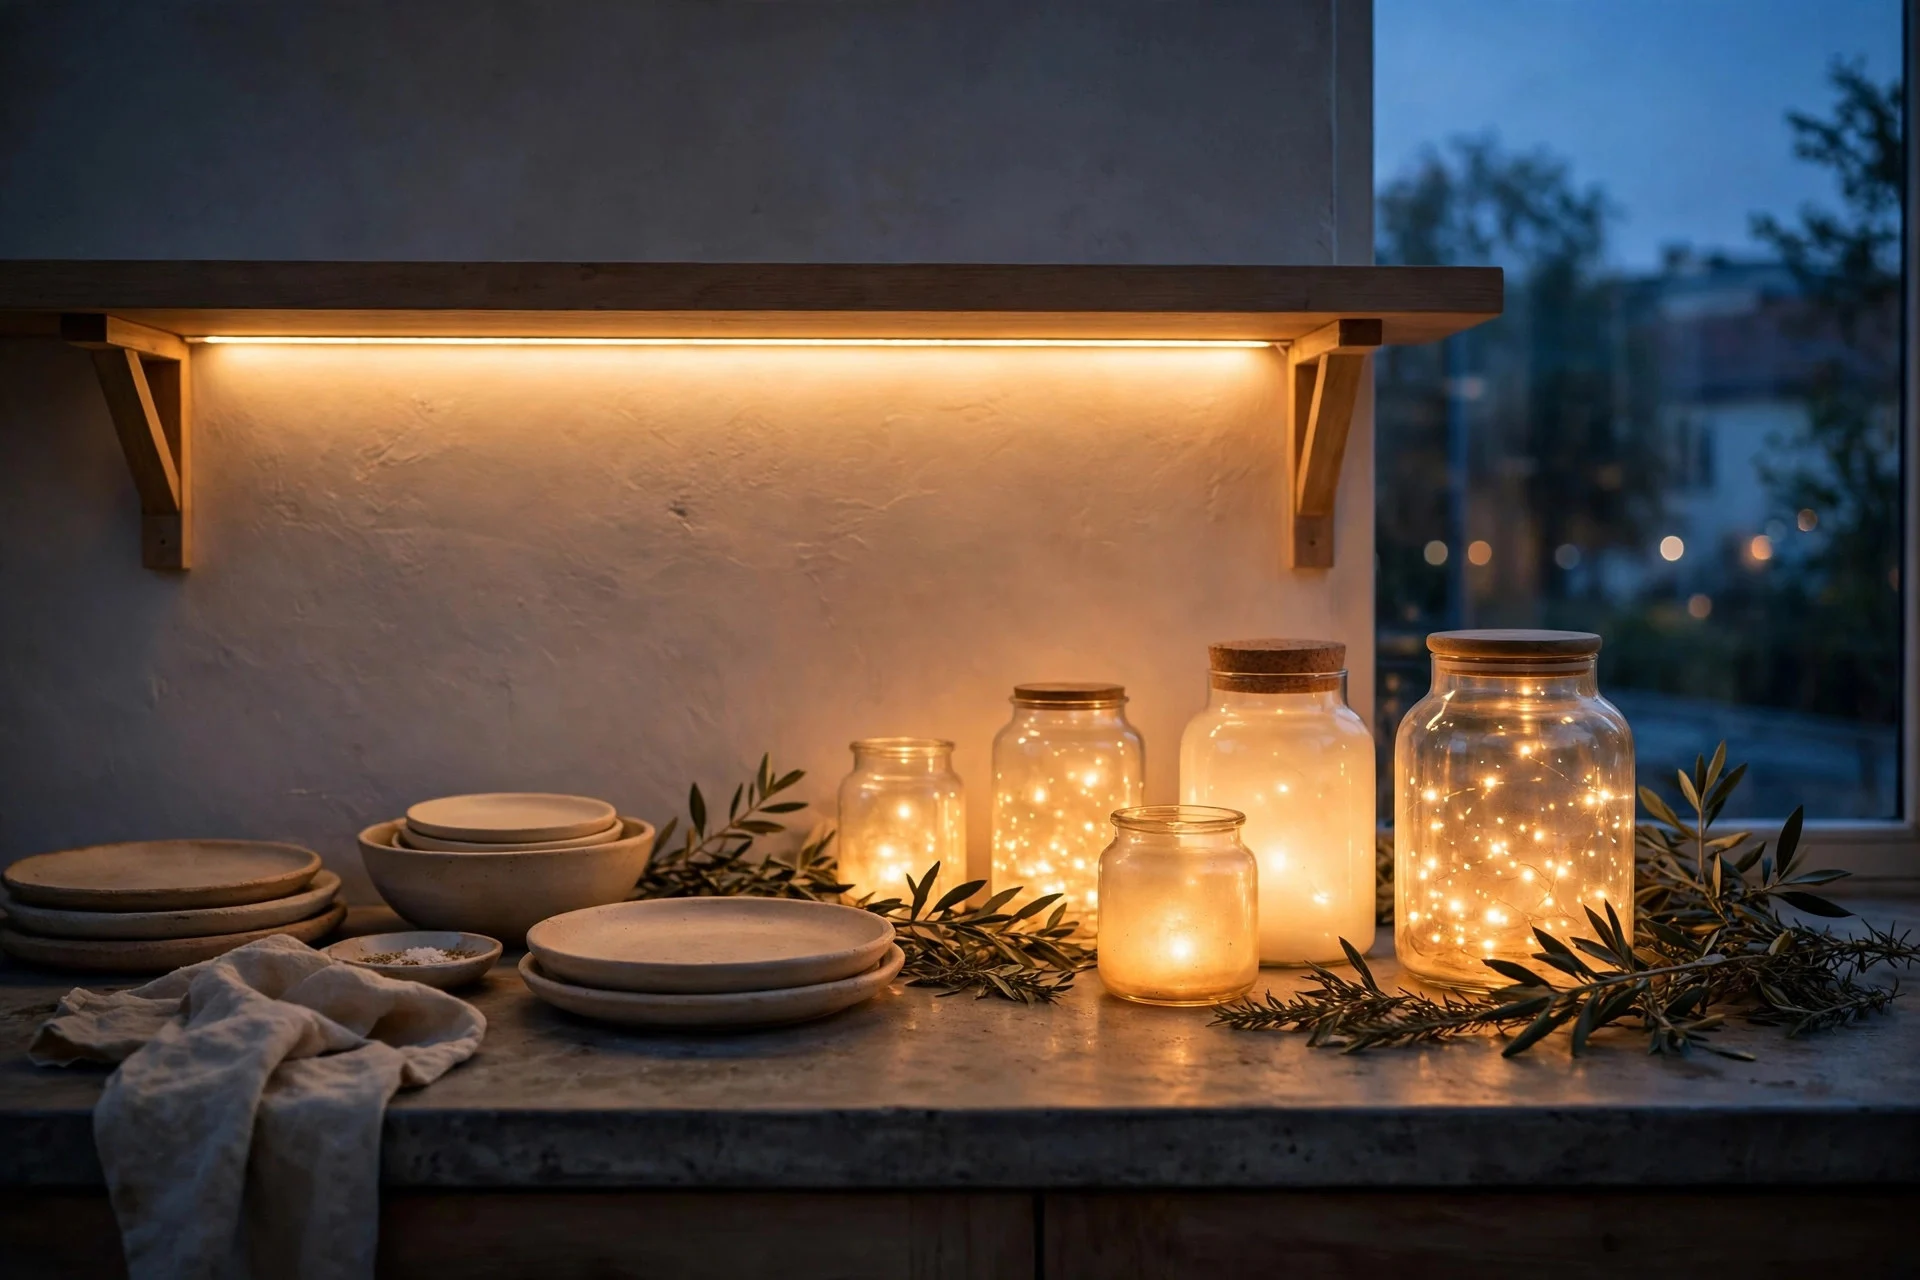
Under-shelf strip lighting is the difference between a shelf that looks decorative in daylight and one that helps you cook at night. Fit a slim LED strip under the lowest shelf, angled slightly forward so the light falls on the counter rather than straight down the wall, and choose warm white at 2700K to 3000K so plates and wood look natural. A 1 metre plug-in strip costs around $20 to $50, and a hardwired version with a dimmer runs $60 to $120 installed. Avoid cool white strips above 4000K, which make white plates look blue and food look grey. Run the cable along the back edge of the shelf and down behind a jar or basket, so no wire hangs in front of the dishes. Tip: put the strip on a simple plug timer or a motion sensor under the shelf, so the counter light comes on when you reach for a mug instead of you hunting for a switch.
7. Pair Reclaimed Wood Shelves With White Walls
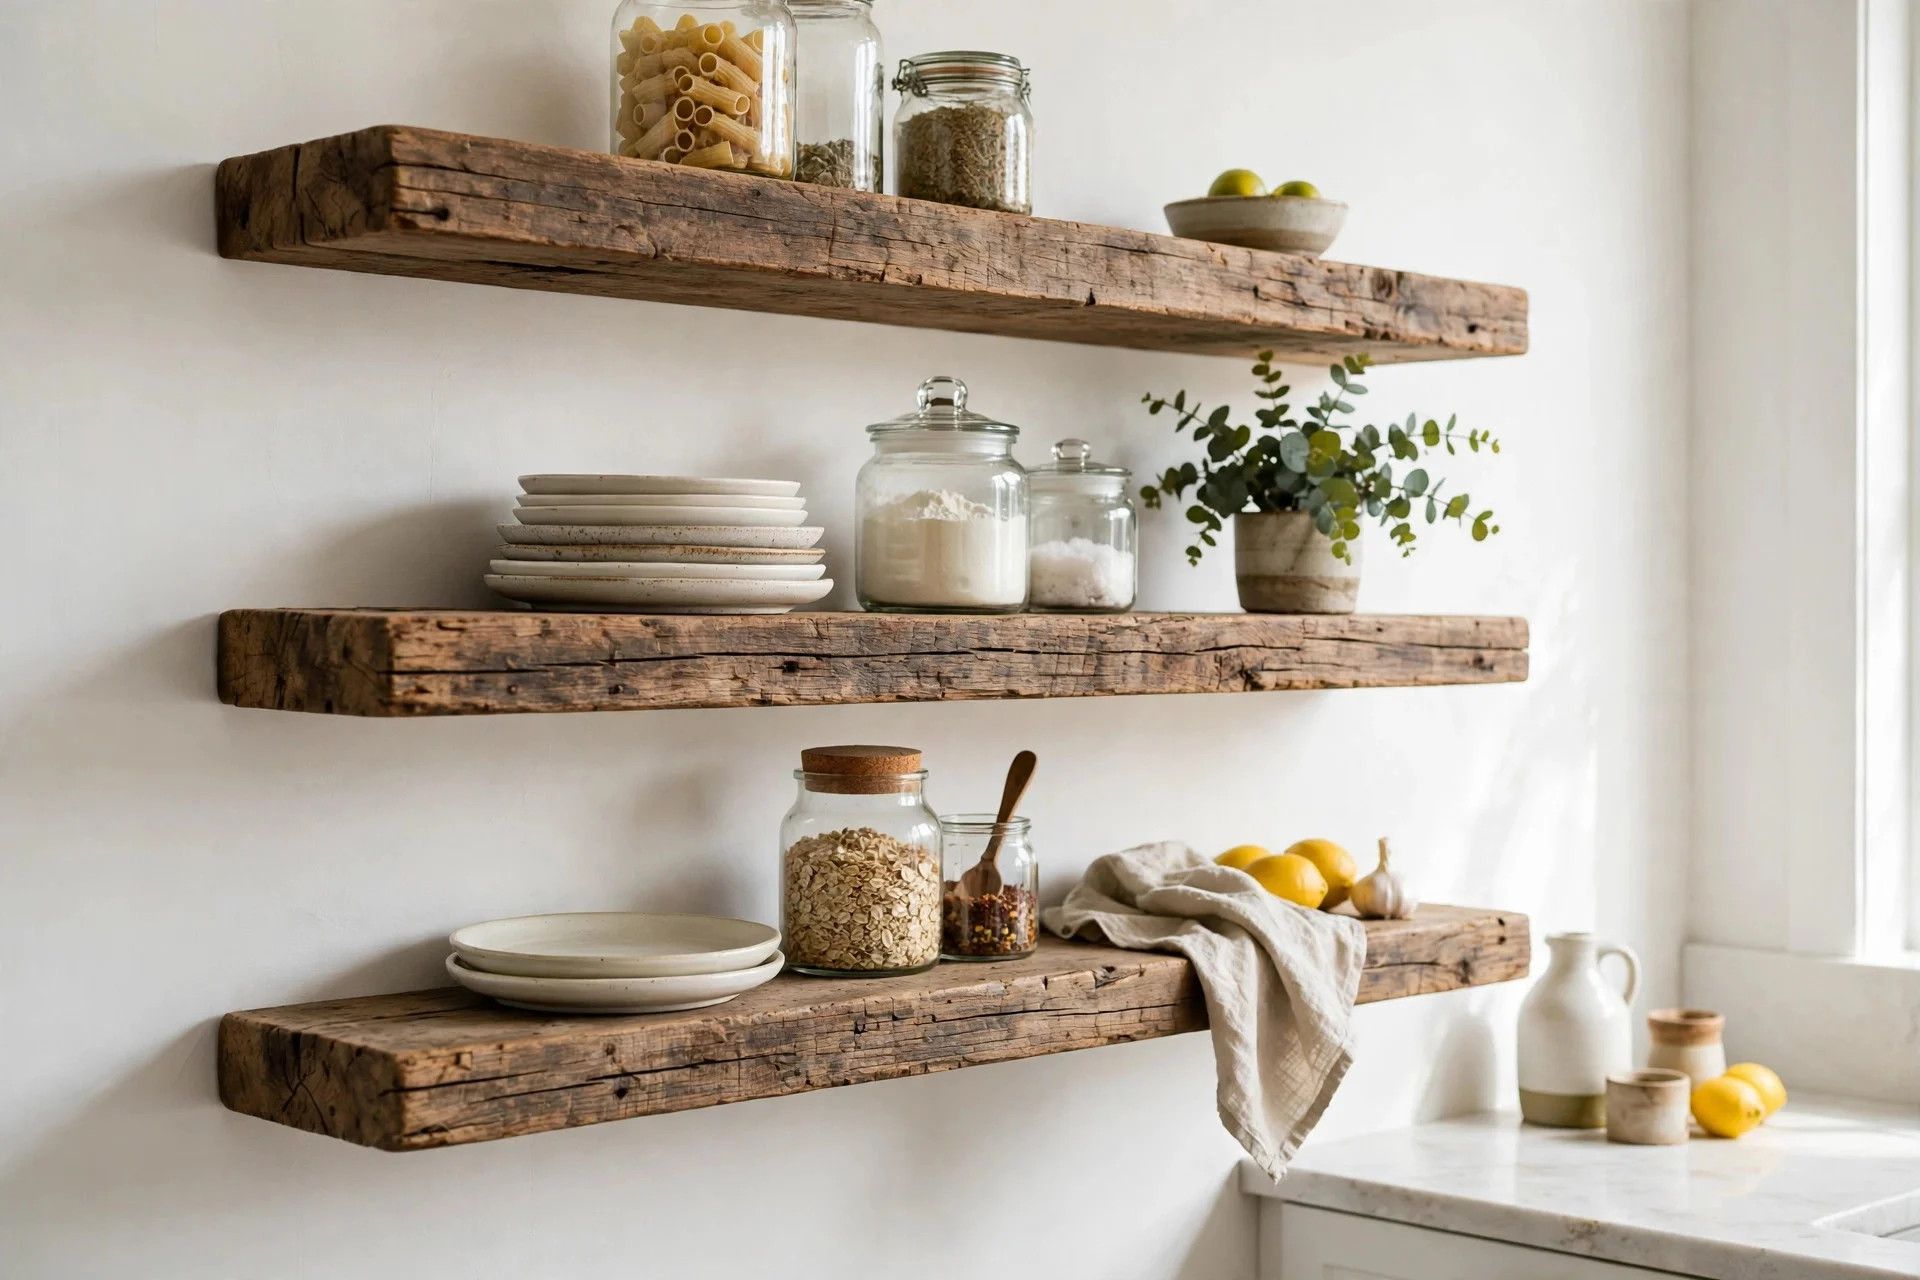
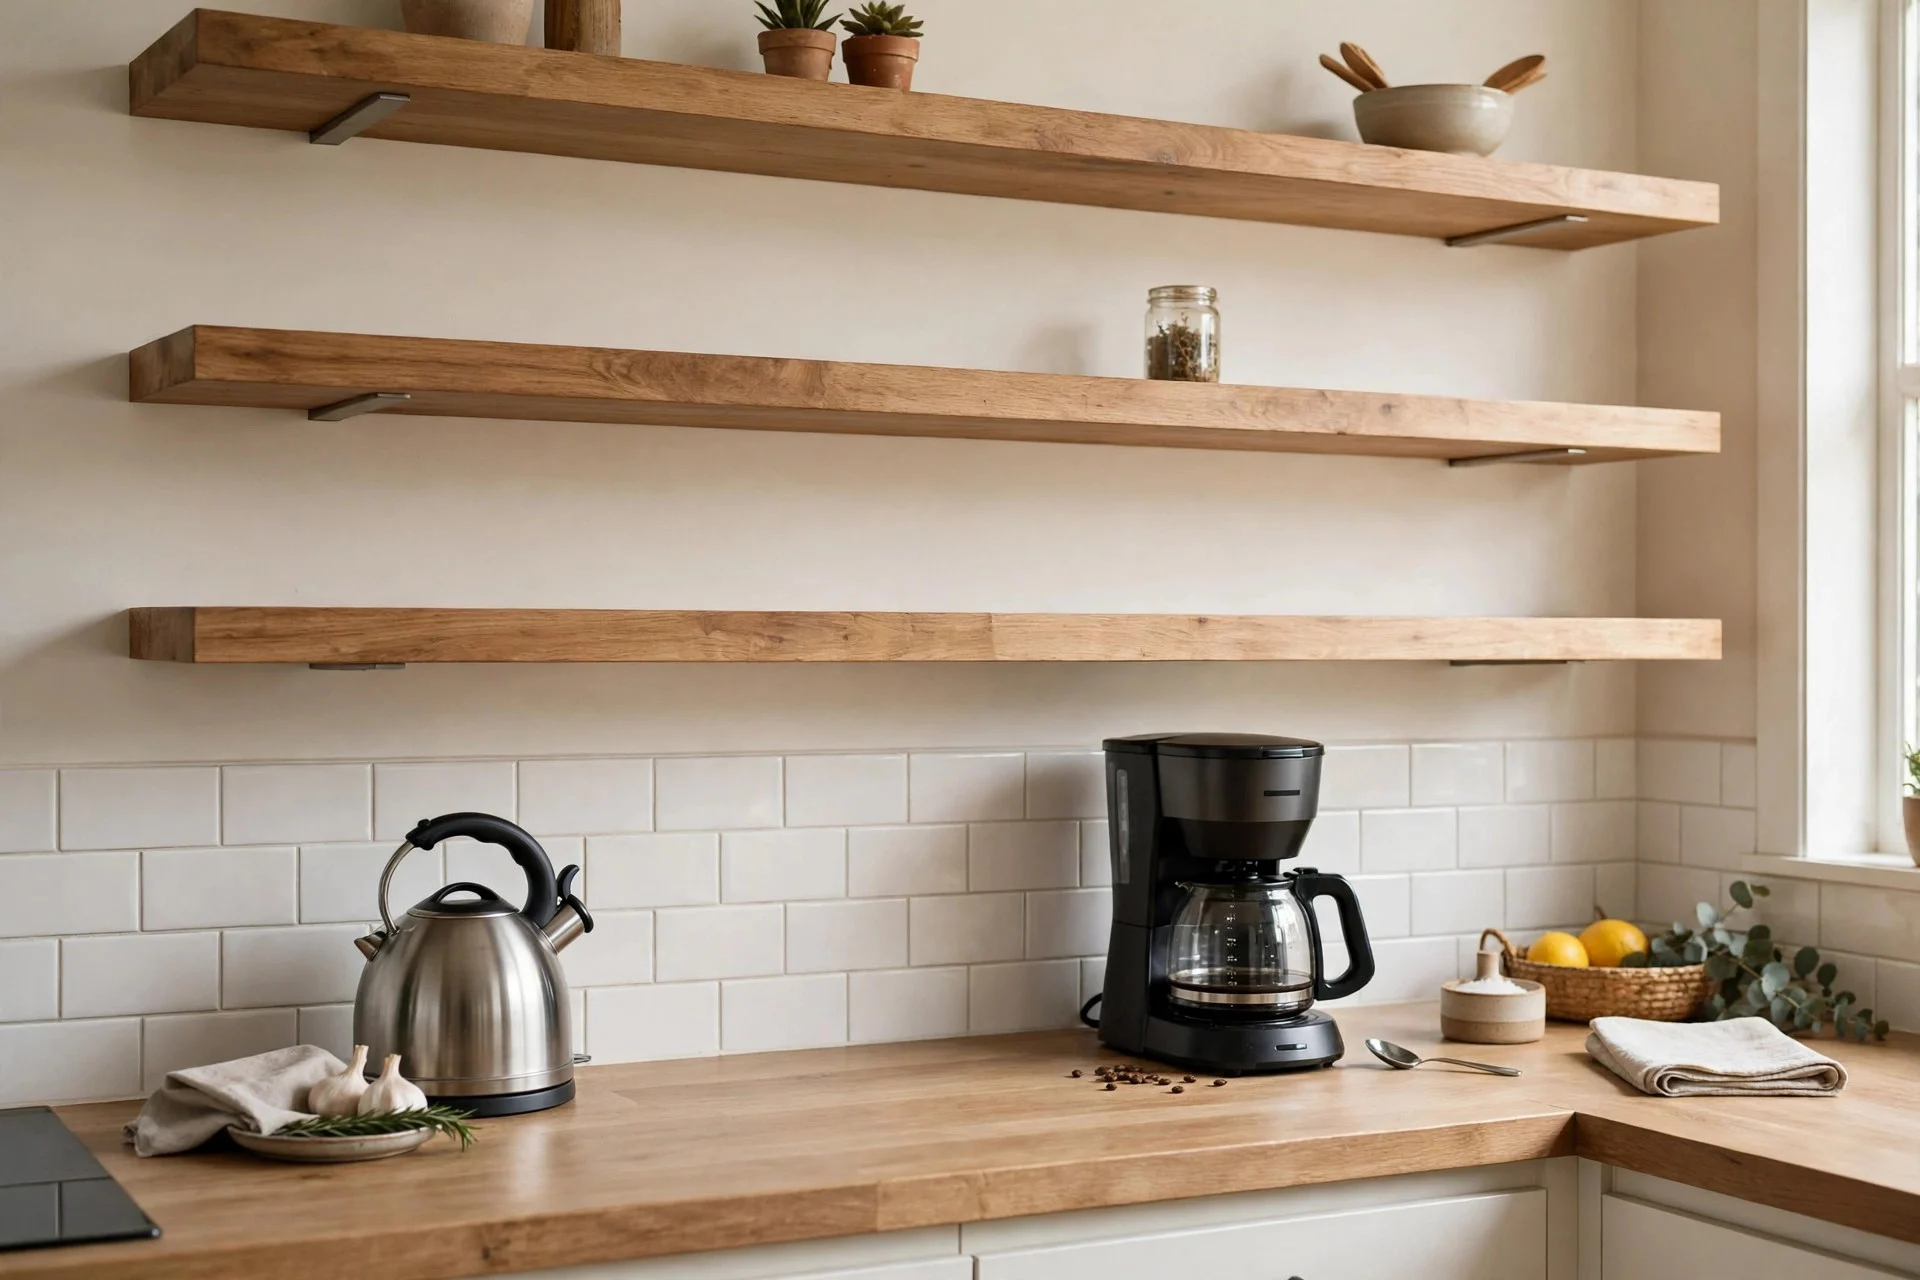
Reclaimed wood shelves against white walls give open shelving warmth without adding colour to the room. The white wall keeps the shelf bright and lets the grain in the wood do the work, while the wood stops a white kitchen from feeling clinical. Look for boards 25 to 30 cm deep and 2 to 3 cm thick, sanded smooth and sealed with a clear matte oil so spills wipe off. A reclaimed wood shelf, 90 to 120 cm long, costs around $70 to $180 depending on the timber, plus $20 to $40 for brackets or floating fixings. Avoid reclaimed boards with loose knots, large cracks, or a strong smell, since all three get worse with kitchen steam. Do not paint reclaimed wood white to match the wall, because the whole point is the contrast. Tip: seal the underside and ends as well as the top, since steam from a kettle rises and unsealed edges absorb moisture first.
8. Wrap Shelves Around a Corner
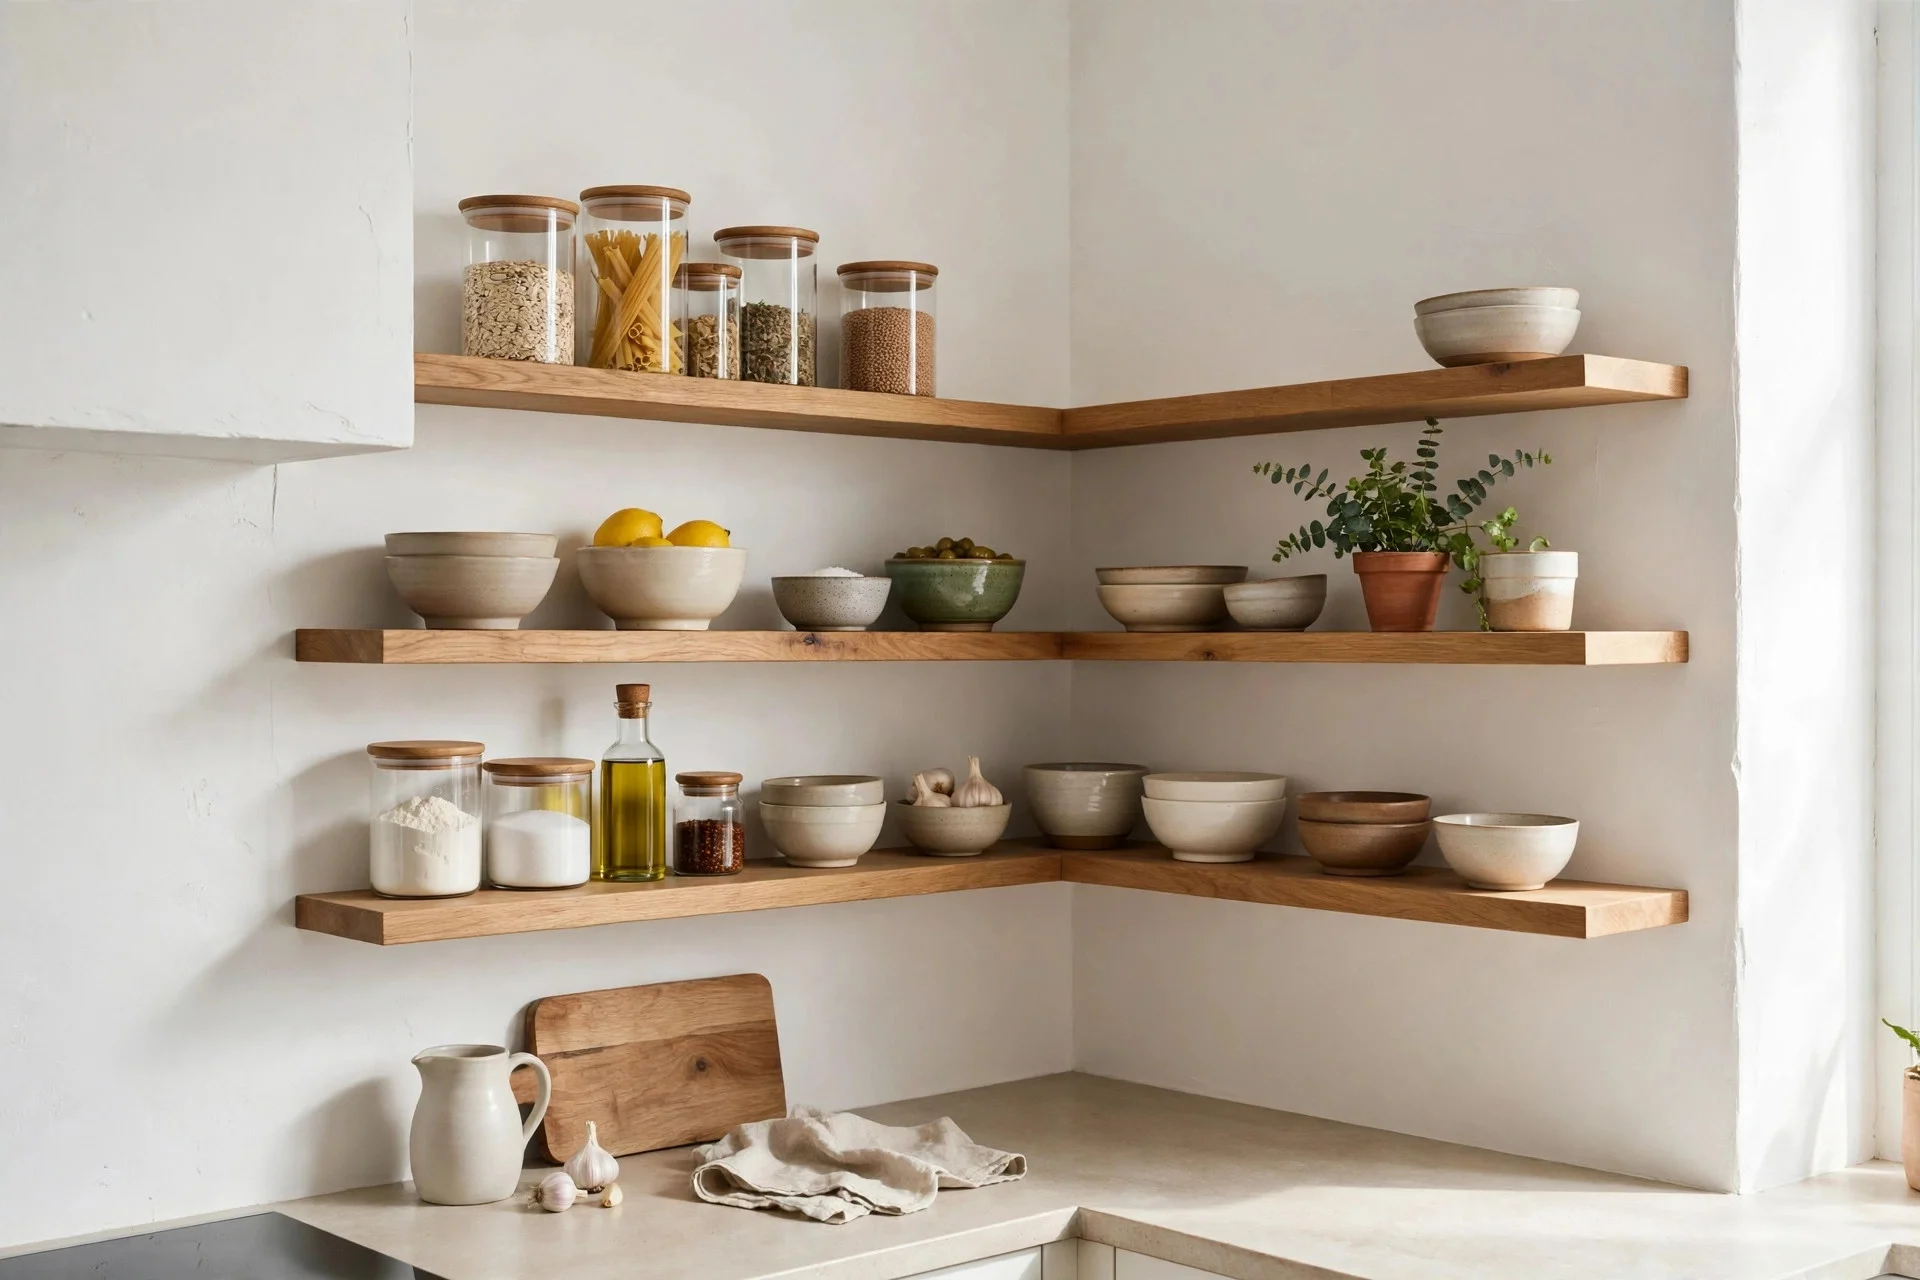
Corner-wrap shelves use a dead corner that a straight run of shelving cannot reach. Fit two shelves that meet at the corner, either as a continuous L shape or as two separate boards that stop 5 cm short of the corner, and use the corner itself for the tallest or least-used items. A corner shelf 60 cm on each side, 25 cm deep, costs around $80 to $200 in solid wood, or $40 to $100 in a flat-pack version. Avoid a single deep corner board that you cannot reach across, since the back corner becomes a dust trap. Keep the corner items light: a stack of bowls, a row of jars, or a small plant rather than heavy pots. If the corner sits above a counter, check you can still reach the far end of each shelf without leaning over a hob or a sink. Tip: put a small basket in the corner section, since a basket is easier to pull forward than loose jars you have to reach around.
9. Keep Oils and Vinegars Front and Centre
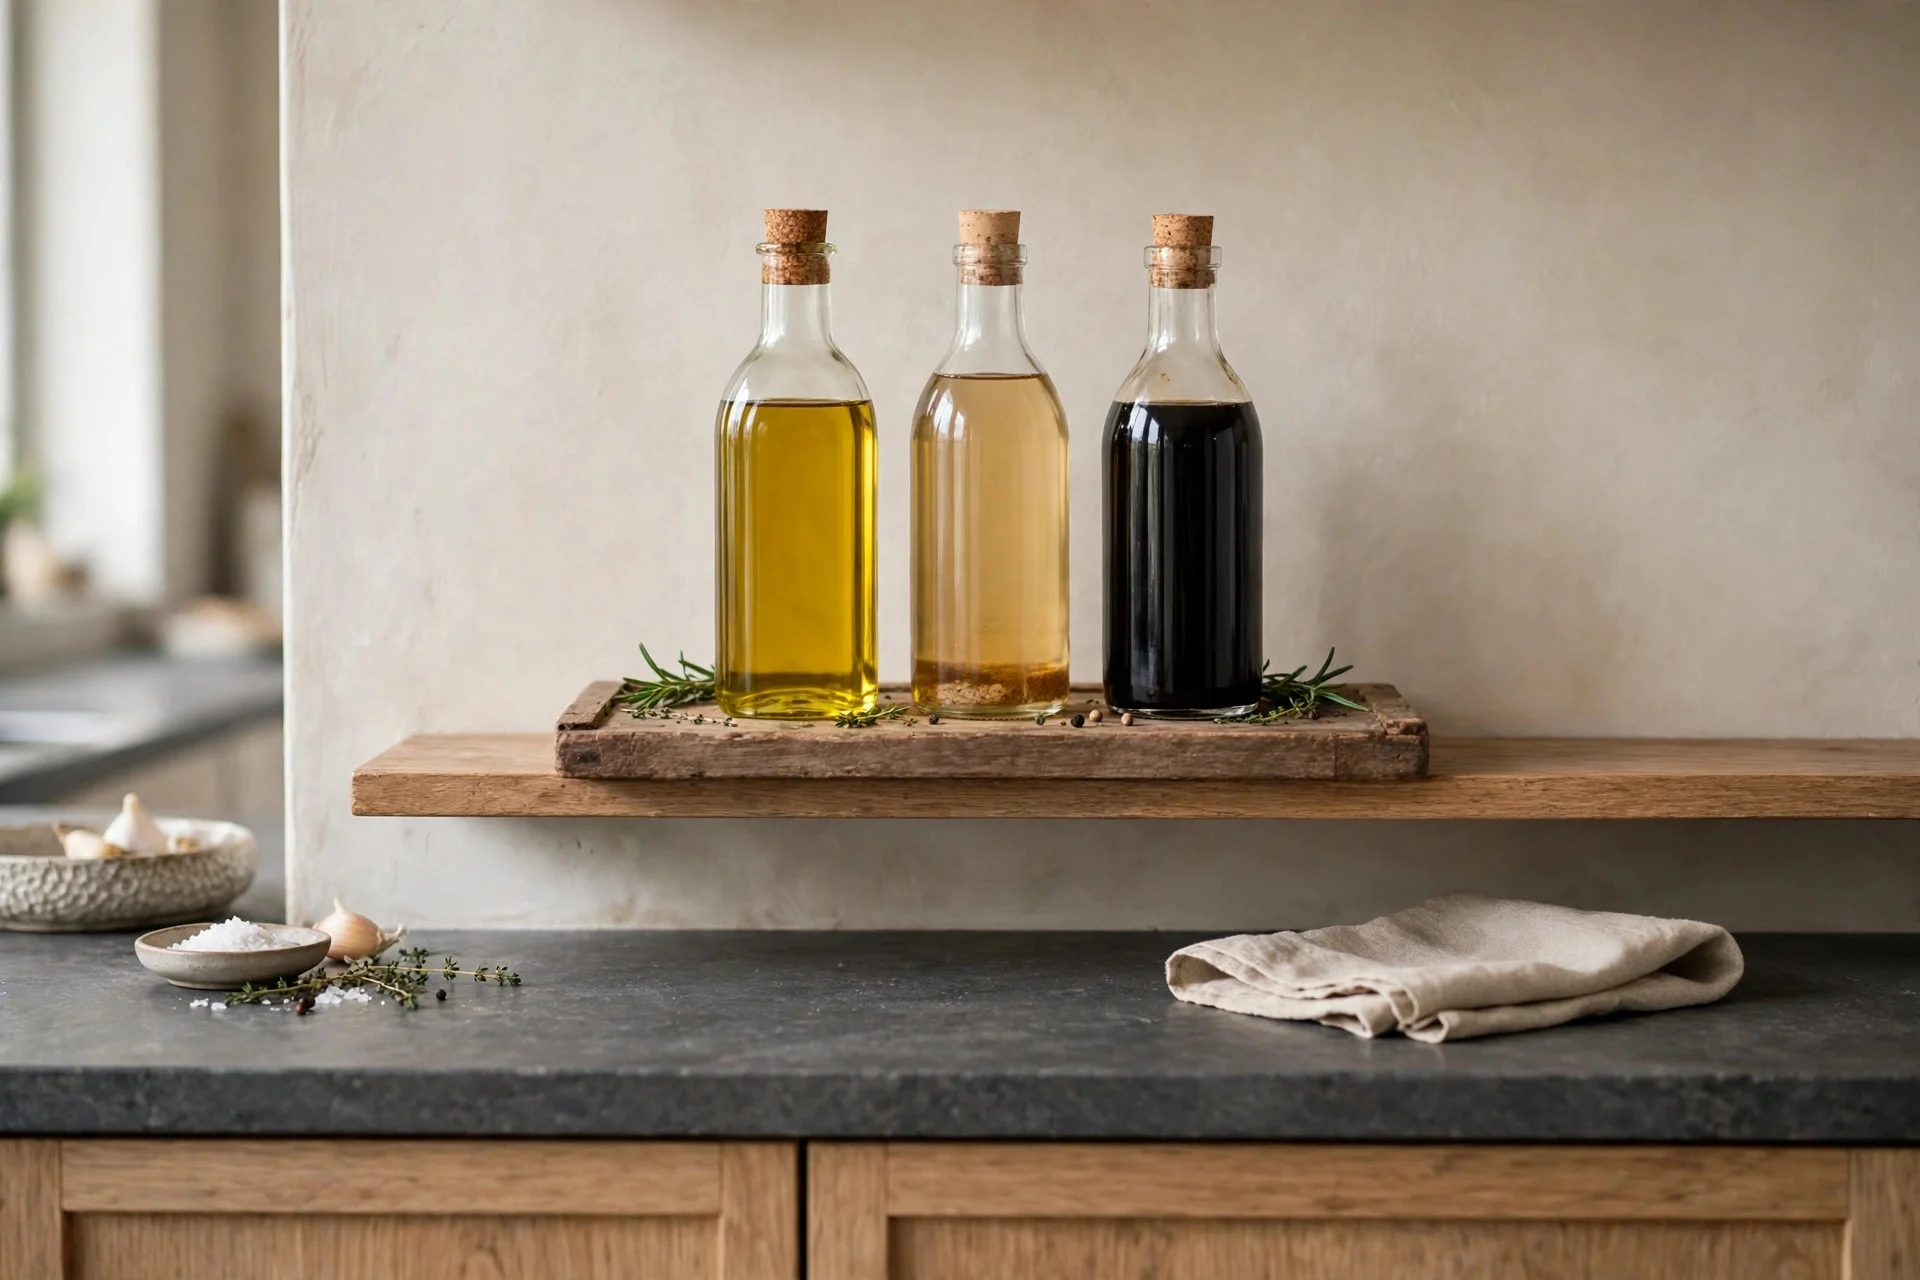
Cooking oils and vinegars earn their place on an open shelf because you reach for them mid-recipe, often with one hand busy. Keep the bottles you use daily at the front and centre of the lowest shelf, at arm’s reach from where you actually cook, and move speciality oils and backup bottles to the top shelf or a cupboard. A small tray or raised stand, 30 to 40 cm wide, keeps bottles together, catches drips, and lifts off the shelf as one unit for cleaning. A plain wooden or slate tray costs around $15 to $40. Avoid tall, narrow bottles at the very front edge where a knock sends them over, and avoid storing oil directly above a hob, since heat and light spoil it faster. Keep lids tight and wipe the nozzles weekly, because a sticky bottle on an open shelf shows immediately. Tip: choose bottles with the same height and a simple label style, since a row of matching bottles reads as a toolset rather than clutter.
10. Add One Trailing Plant Per Shelf Run
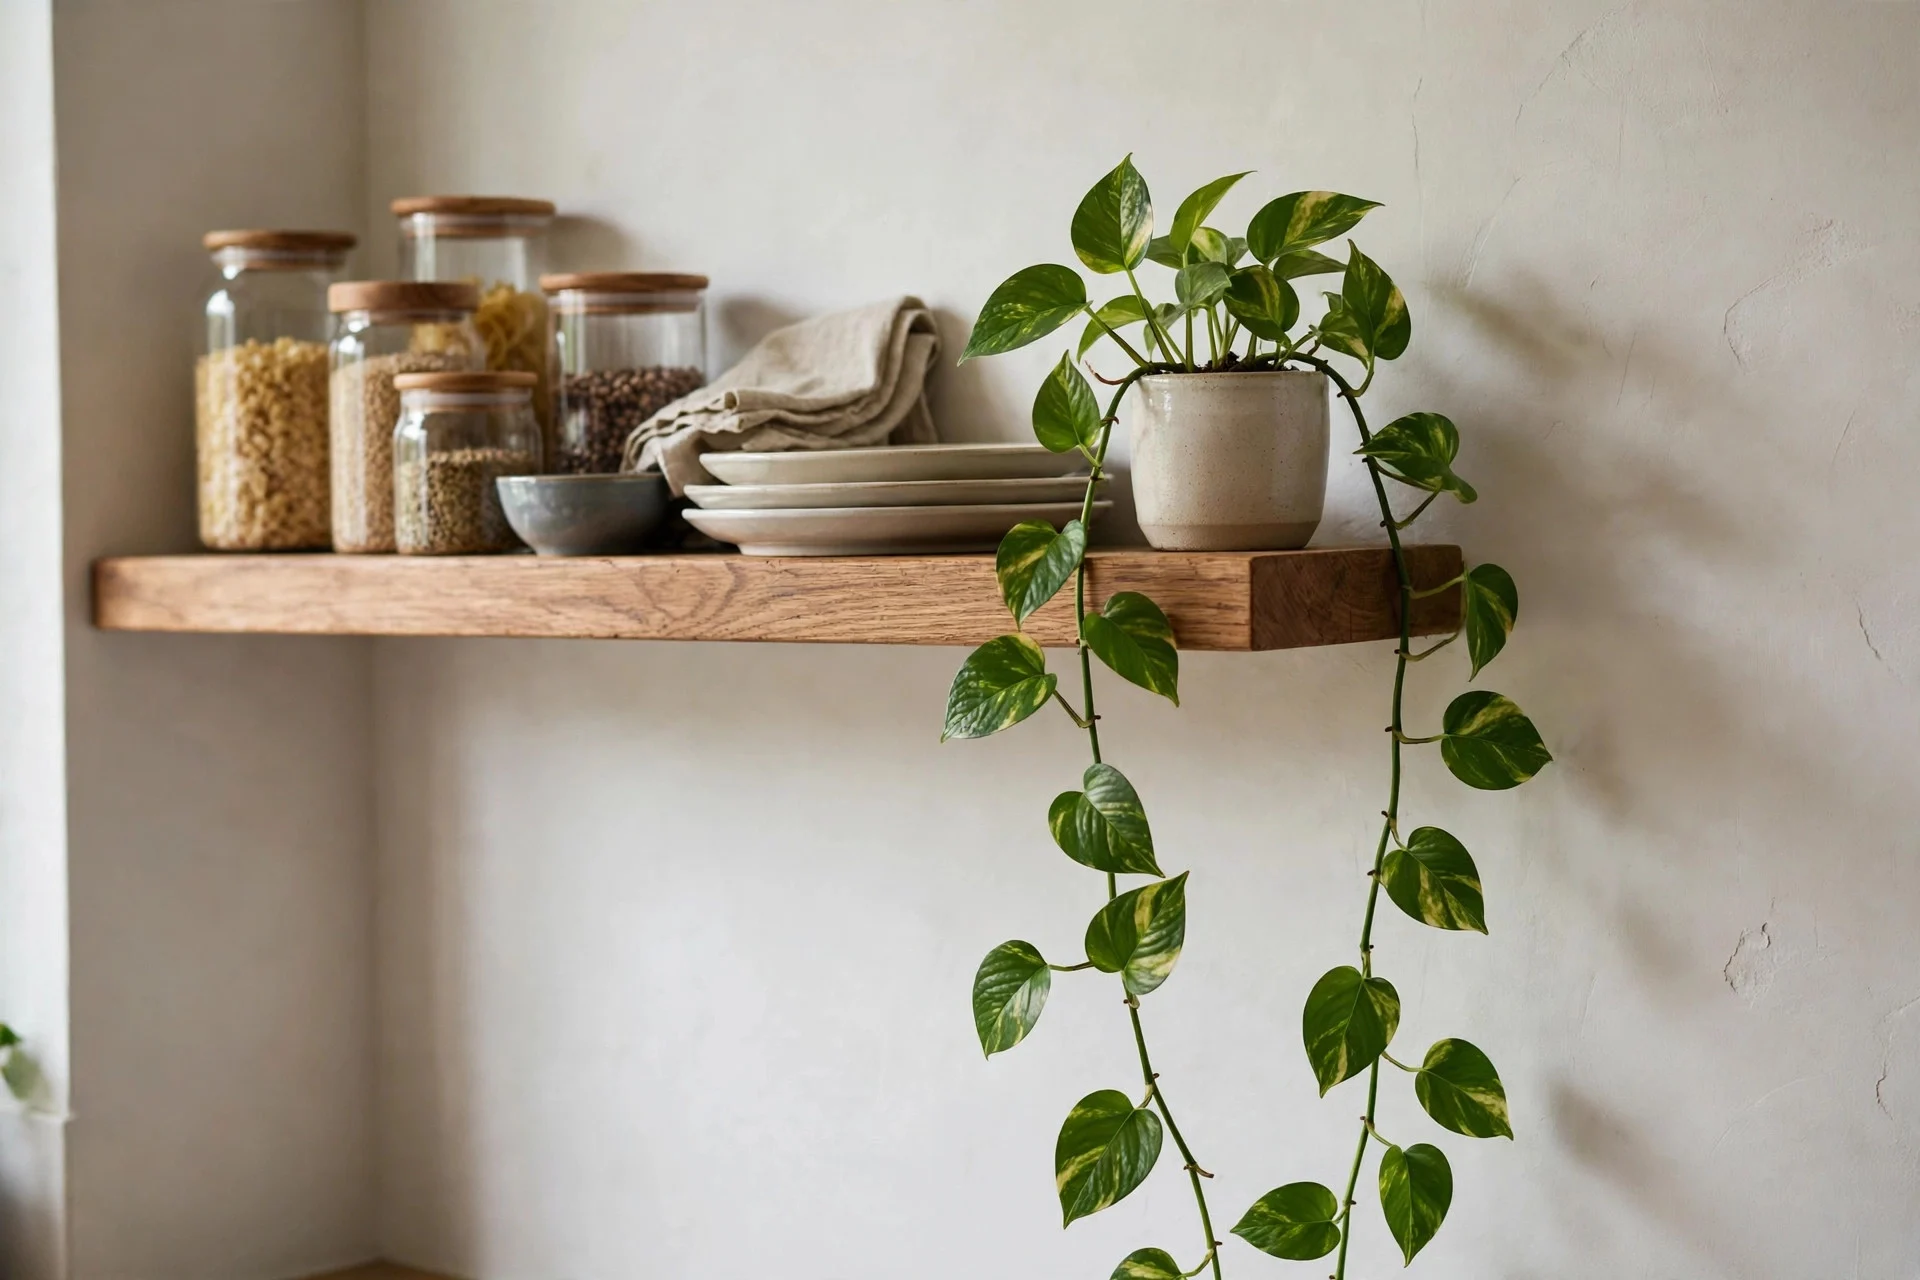
One trailing plant per shelf run softens a row of dishes without turning the shelf into a jungle. A pothos, a trailing philodendron, or a string of hearts in a small pot, 12 to 15 cm wide, sits at one end of the shelf and trails down the wall or across the front of the jars. Water it on a schedule and keep the pot in a saucer, since a leak on an open shelf runs straight onto the plates below. A small trailing plant in a ceramic pot costs around $20 to $50. Avoid a plant at each end of every shelf, since two trailing plants on one run start to hide the dishes you actually want to see. Keep leaves trimmed back from the front edge so they do not brush your face when you reach for a mug. Tip: place the plant where it gets indirect light from a window rather than under the under-shelf strip, since most trailing plants prefer steady daylight to a few hours of LED.
11. Stack Cookbooks Flat, Spines in One Colour Family
Cookbooks belong on open shelves only if they are stacked flat and edited hard. Lay three to five books flat as a stack, spines facing out, and keep the spines in one colour family, such as all cream, all green, or all black, so the stack reads as a single block. A flat stack doubles as a plinth for a small bowl or a plant on top, which saves shelf space. A set of simple bookends is rarely needed for a flat stack, but a low wooden ledge, 2 cm high, stops the bottom book sliding forward on a smooth shelf. Avoid standing cookbooks upright in a row with gaps, since they lean, slide, and collect dust on the top edges. Keep only the books you cook from weekly out in the open, and shelve the rest in a cupboard or another room. Tip: turn the stack so the book you use most is on top, since the top book is the one you will actually pull down without unstacking the rest.

12. Store Extra Stock Up Top, Everyday Items at Arm’s Reach
Open shelving works when height matches frequency. Put the items you use every day, mugs, plates, bowls, and oils, on the lowest shelf at arm’s reach, and move extra stock, backup jars, and serving pieces to the top shelf. The top shelf is for the second bag of rice, the spare olive oil, and the platter you use at Christmas, not for the mug you need before coffee. If you need a step stool for a daily item, the shelf is in the wrong place or holding the wrong things. A two-step stool for the top shelf costs around $30 to $70 and folds flat against a wall. Avoid using the top shelf as general storage just because it is out of the way, since out-of-sight storage on an open shelf is still visible. Label the top-shelf jars clearly, because you will be reading them from below at an angle. Tip: do a monthly top-shelf check, bringing one item down and sending one up, so the daily-and-backup split stays honest.
13. Mix Wood Shelves With Metal Brackets for Everyday Weight
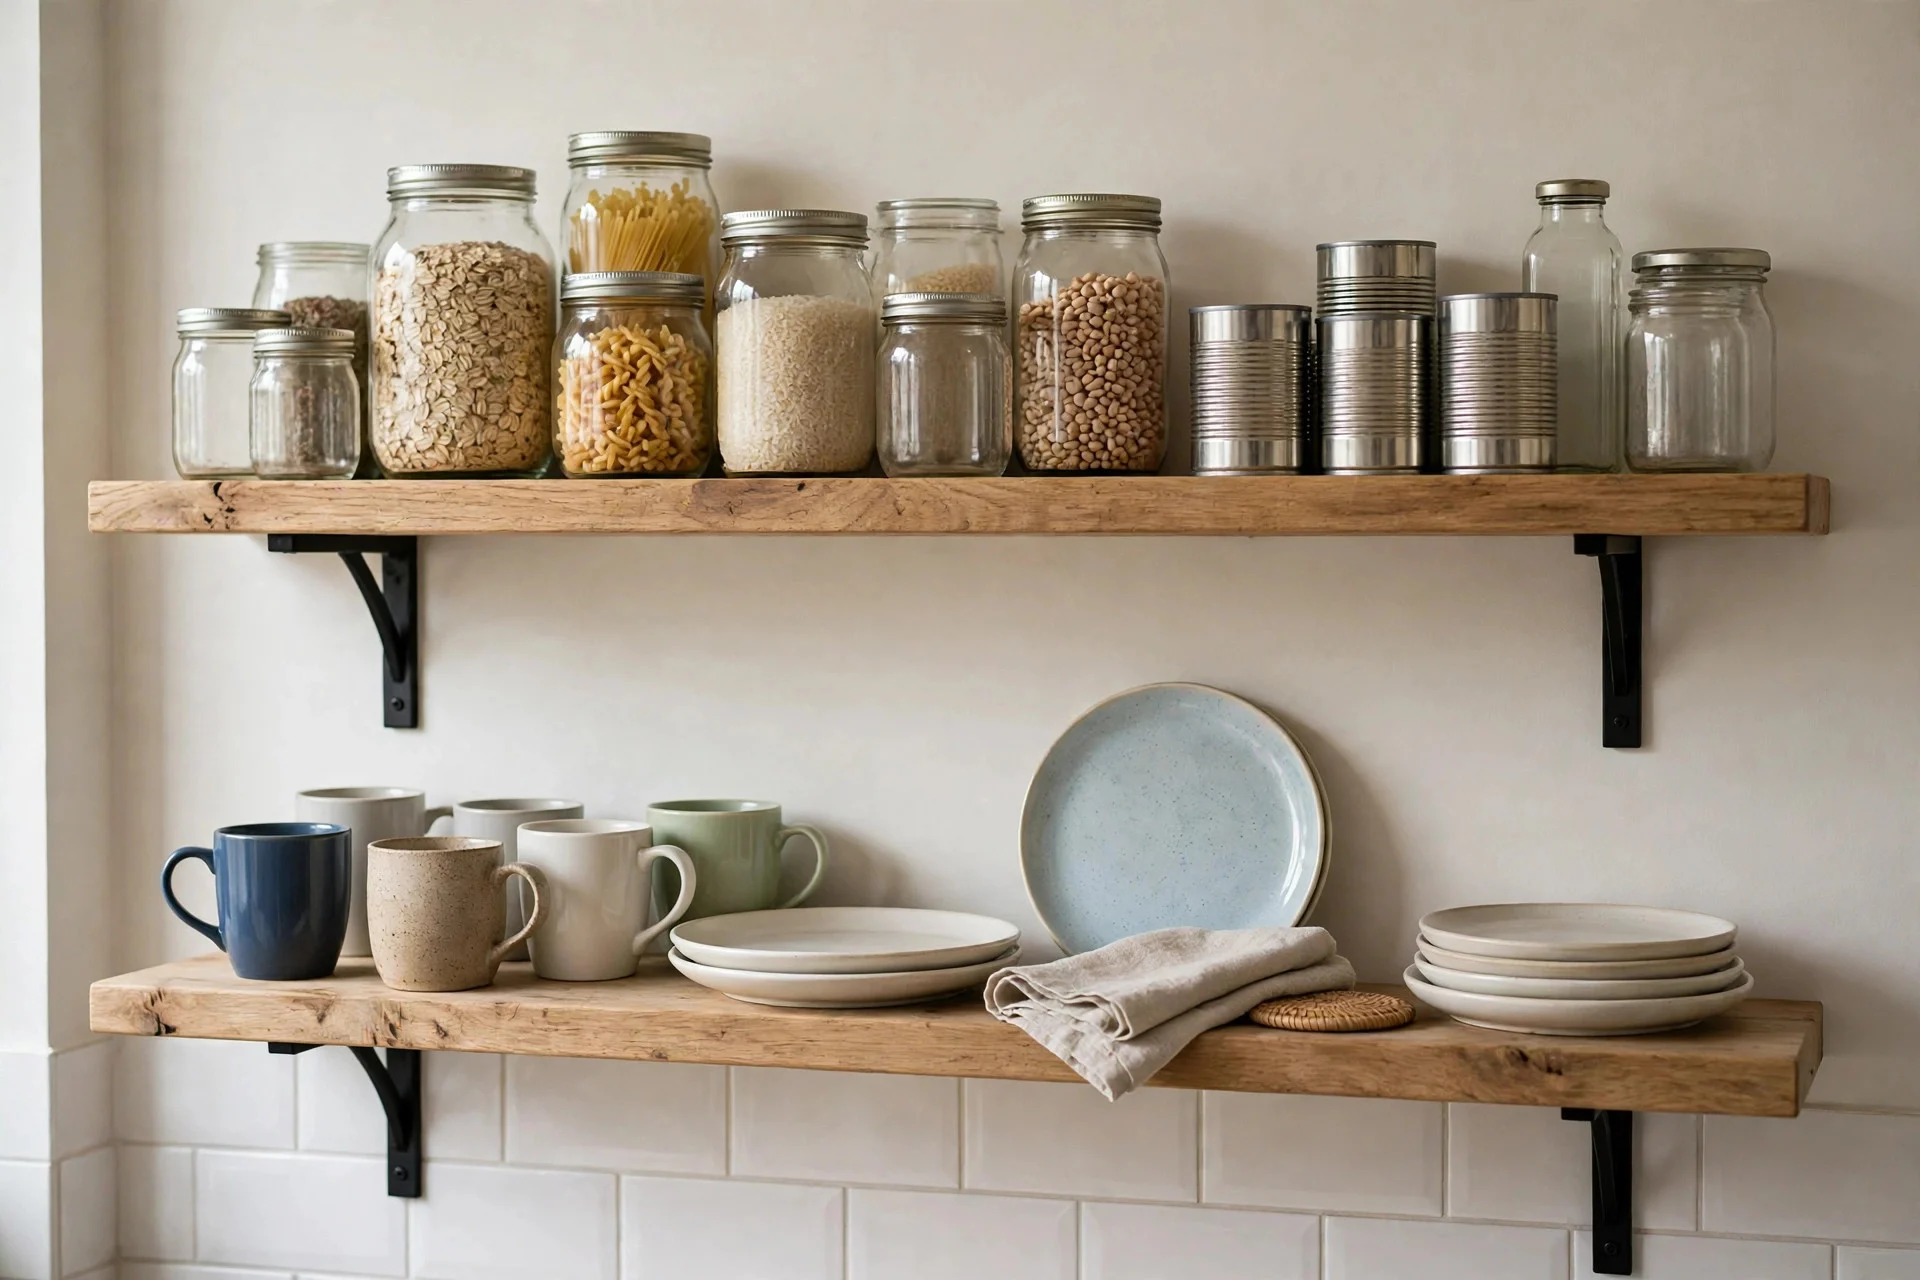
Wood shelves look warm, but everyday dishes are heavy, and the fixing matters more than the board. For plates, bowls, and jars, use solid wood floating shelves with concealed fixings rated for at least 15 kg per shelf, or wood boards on metal brackets fixed into studs or heavy-duty anchors. A 90 cm wood board on two black metal brackets costs around $50 to $120, and the brackets run $15 to $35 a pair. Avoid thin floating shelves on plastic wall plugs for a full stack of dinner plates, since the shelf will sag at the front edge first. If you rent, use brackets with multiple small screws and fill the holes when you leave. Keep the heaviest items, such as stoneware plates, closest to the brackets or the wall, and lighter mugs toward the front. Tip: load a new shelf gradually over a week and check the front edge with a spirit level, since a slow sag is easier to fix than a drop.

14. Use Shallow Shelves for Dishes, Deep Shelves for Bowls
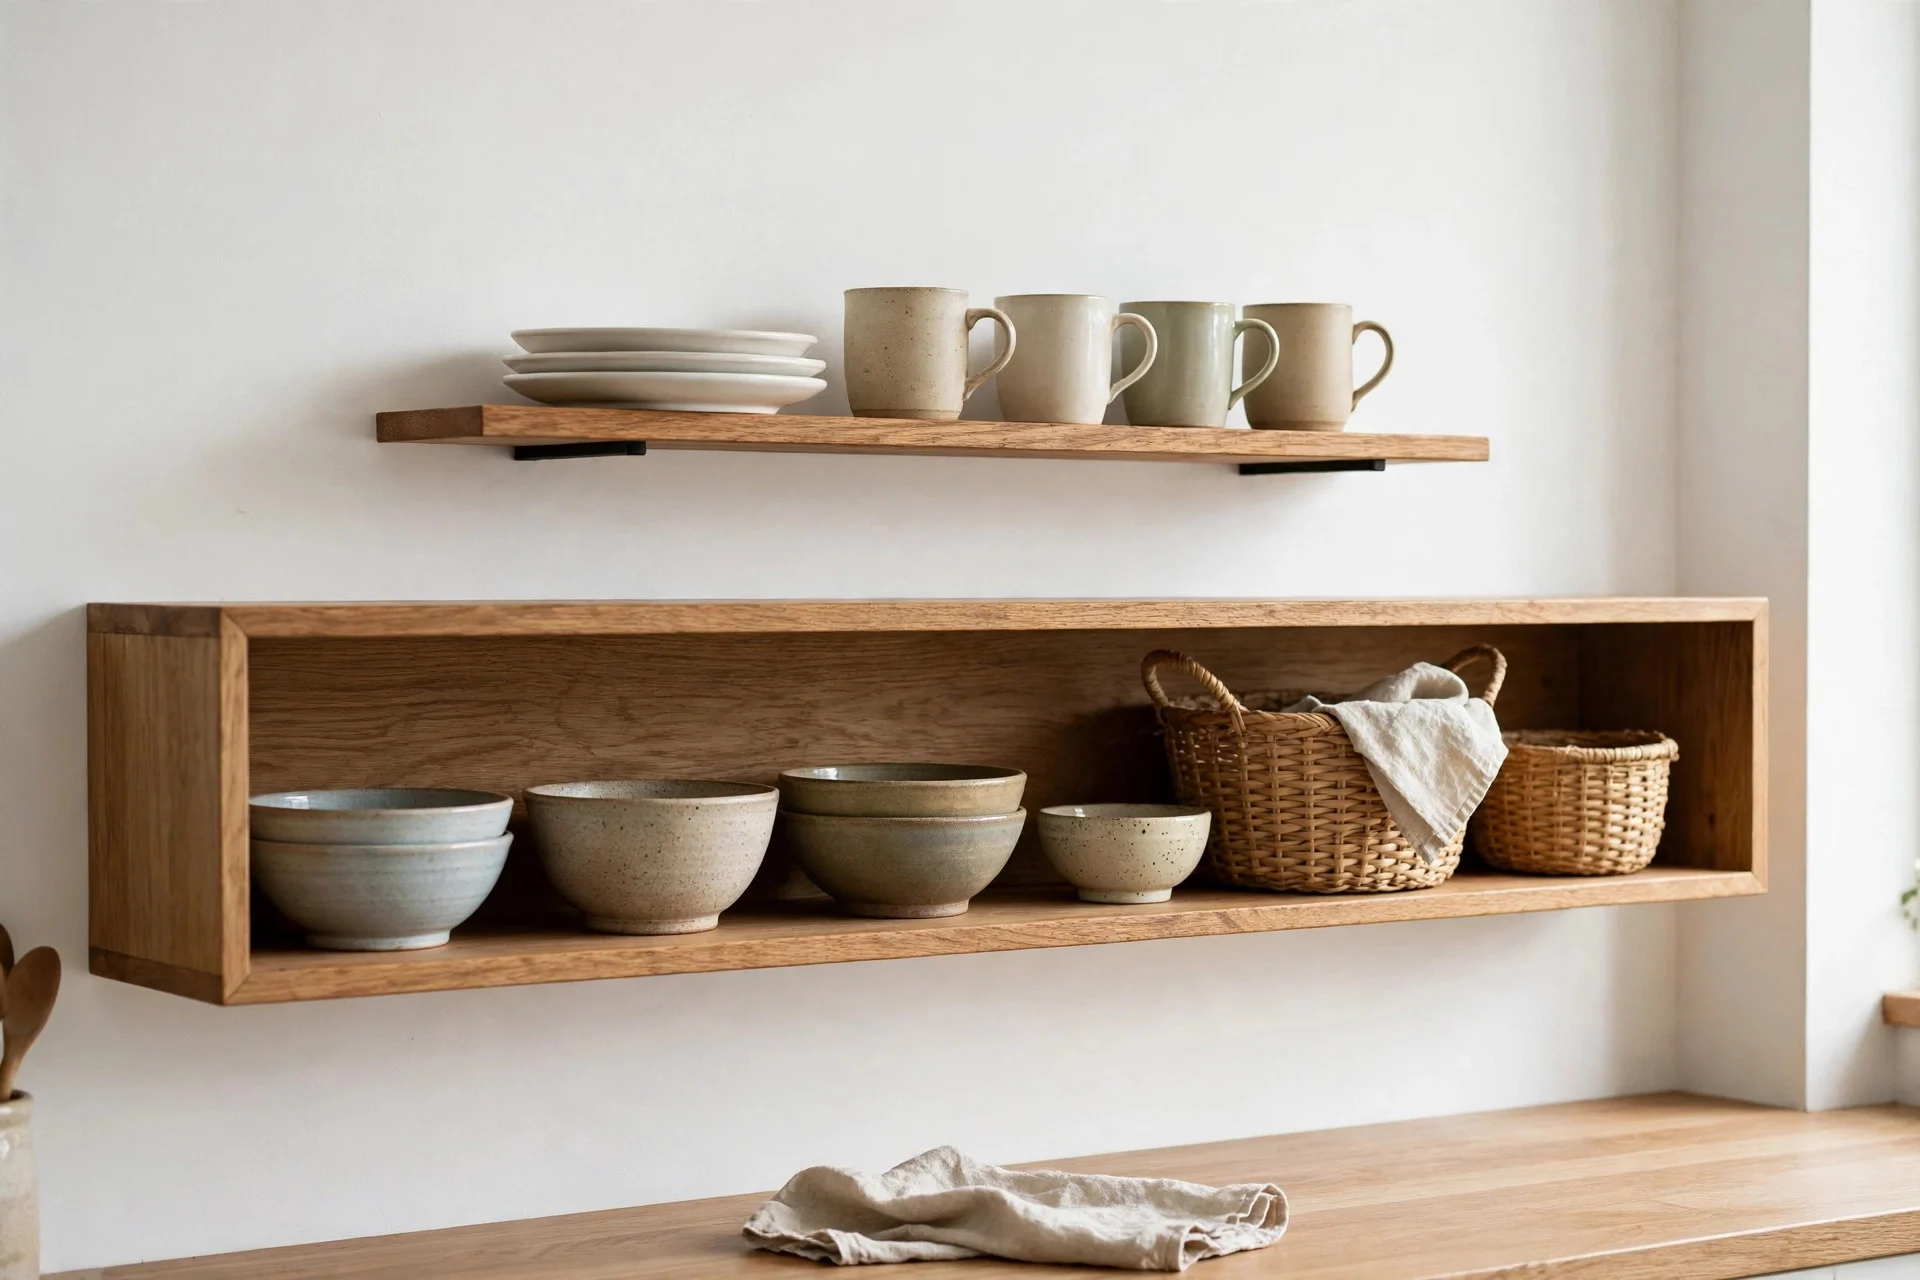
Shelf depth should match what sits on it. Shallow shelves, 18 to 22 cm deep, suit plates, mugs, and jars, because the items sit close to the wall and you can see everything from the front. Deep shelves, 28 to 32 cm deep, suit bowls, baskets, and serving pieces, where you need room to stack and lift. Mixing depths on the same wall looks deliberate if the shallow shelf sits above the deep one, since the eye reads the deeper shelf as the base. A shallow wood shelf costs around $40 to $90, and a deep version runs $60 to $140. Avoid a single very deep shelf for everything, since plates at the back become invisible and mugs hide behind bowls. Avoid shelves shallower than 15 cm for plates, because a dinner plate overhangs and can slide off when you pull it forward. Tip: measure your largest plate and tallest mug before you buy, and add 3 cm to each measurement for the shelf depth and the gap above.
15. Leave a Working Gap Above the Counter
The space between the counter and the lowest shelf is a working zone, not a styling zone. Leave a clear gap of at least 45 cm, and 50 to 60 cm if you use a kettle, a stand mixer, or a tall coffee maker, so the shelf does not crowd the appliances below. Nothing should overhang the front edge, since a plate held at an angle needs room to clear the counter. If your counter is 90 cm high, the lowest shelf should sit at 135 to 150 cm from the floor, which keeps it in the comfortable reach zone. A shelf that starts too low forces you to lift plates sideways and knocks jars with your elbow. Avoid hanging utensils, tea towels, or hooks under the shelf, since they eat into the gap and collect grease. Tip: stand at your counter with your tallest appliance in place and reach for a mug on the shelf position, and if you must tilt the mug to clear it, raise the shelf by 5 cm.
FAQ
How high should kitchen wall shelves be above the counter?
Mount the lowest shelf 45 to 55 cm above the countertop, and keep the top shelf no higher than about 150 cm from the floor for comfortable reach. That leaves room for kettles and small appliances below while keeping mugs and bowls within arm’s reach. If you use tall appliances, increase the gap to 55 to 60 cm.
How much weight can floating kitchen shelves hold?
A properly fixed floating shelf, with concealed fixings into studs or rated plasterboard anchors, can usually hold 10 to 20 kg, enough for plates, mugs, and jars. Thin shelves on light-duty plugs may hold only 5 kg and will sag under stoneware. For heavy stacks, use brackets fixed into studs and keep the heaviest items close to the wall.
Are open kitchen shelves hard to keep clean?
Open shelves collect dust and grease faster than closed cupboards, so they need a quick weekly wipe and a monthly check of jars and plate rims. Keeping the one-in-three rule, with gaps between groups, makes cleaning faster because you can lift a whole group at once. If you cook with a lot of frying oil, keep shelves at least 60 cm from the hob or choose closed storage for that wall.
Conclusion
Kitchen wall shelves for everyday dishes work when they are treated as working storage that happens to be visible, not as a display that happens to hold plates. Mount the shelves low enough to reach, follow the one-in-three rule so each shelf breathes, and let matching jars, one-colour mugs, and a plate rack do the styling. Add under-shelf lighting, a trailing plant, and a flat stack of cookbooks only after the heights and depths are right. Start with two shelves, live with them for a week, and adjust what sits where before you buy anything else. A shelf that helps you cook, serve, and clear up faster will look good without trying, because it fits the way the kitchen actually runs.