When I first started looking into building an outdoor kitchen, I assumed it was basically just buying a nice grill and maybe a small side table to go with it. It wasn’t until I actually started planning the project that I realized how many decisions go into it, gas lines, electrical needs, weatherproof materials, proper clearances from the house, that a simple grill purchase turned into months of research before a single block was ever laid. That research paid off, though, since the outdoor kitchen we eventually built has held up beautifully and genuinely gets used most weekends, largely because we planned it properly instead of rushing into the fun part.
If you’re just starting to think about your own outdoor kitchen, this guide walks through the planning process in the order it actually needs to happen, layout and utilities first, since those are the hardest and most expensive to change later, then appliances and finishes once the foundation decisions are settled.
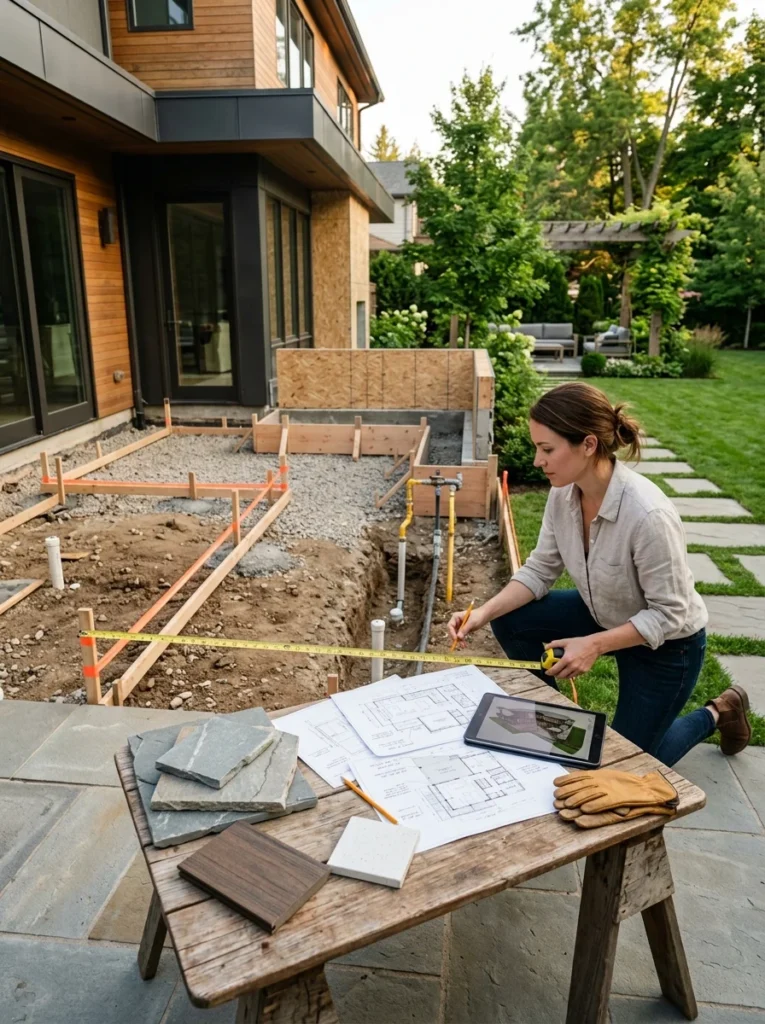
Start with how you’ll actually use the space
Before looking at appliances or materials, think honestly about how you cook and entertain. Do you mainly grill burgers for a small family, or do you regularly host larger gatherings that would benefit from a pizza oven, a side burner, or a larger prep area? An outdoor kitchen built around how you actually cook will get far more use than one built around an impressive appliance lineup that doesn’t match your real habits. This initial honesty saves money by preventing you from over-building features you’ll rarely touch.
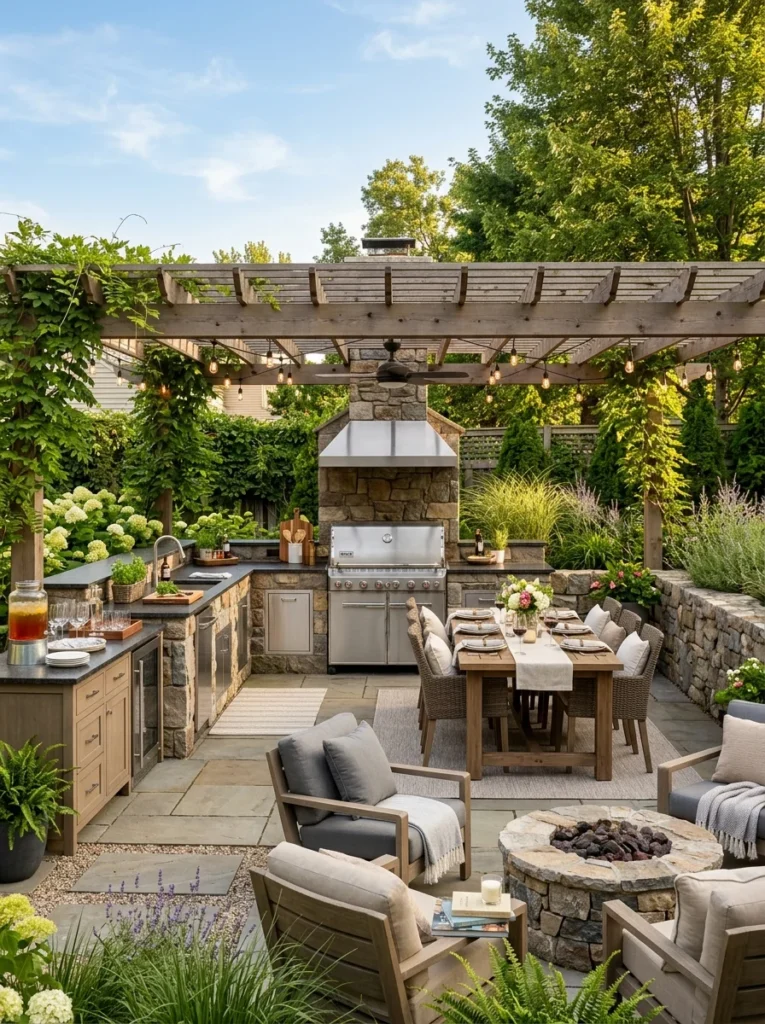
Choose the location carefully, considering wind, sun, and proximity
Location affects both the daily experience of cooking outdoors and the practical cost of running utilities to the space. A spot too far from the house significantly increases the cost of extending gas, water, and electrical lines, so staying reasonably close to your home’s existing utility connections, if the layout allows, keeps installation costs more manageable. Consider prevailing wind direction as well, since smoke blowing directly into a seating area or back into the house through open doors and windows makes the space considerably less pleasant to use regularly. Some afternoon shade, either from an existing structure or planned into the design, also makes a real difference in how comfortable the space feels during the hottest part of the day when you’re actually standing at the grill.
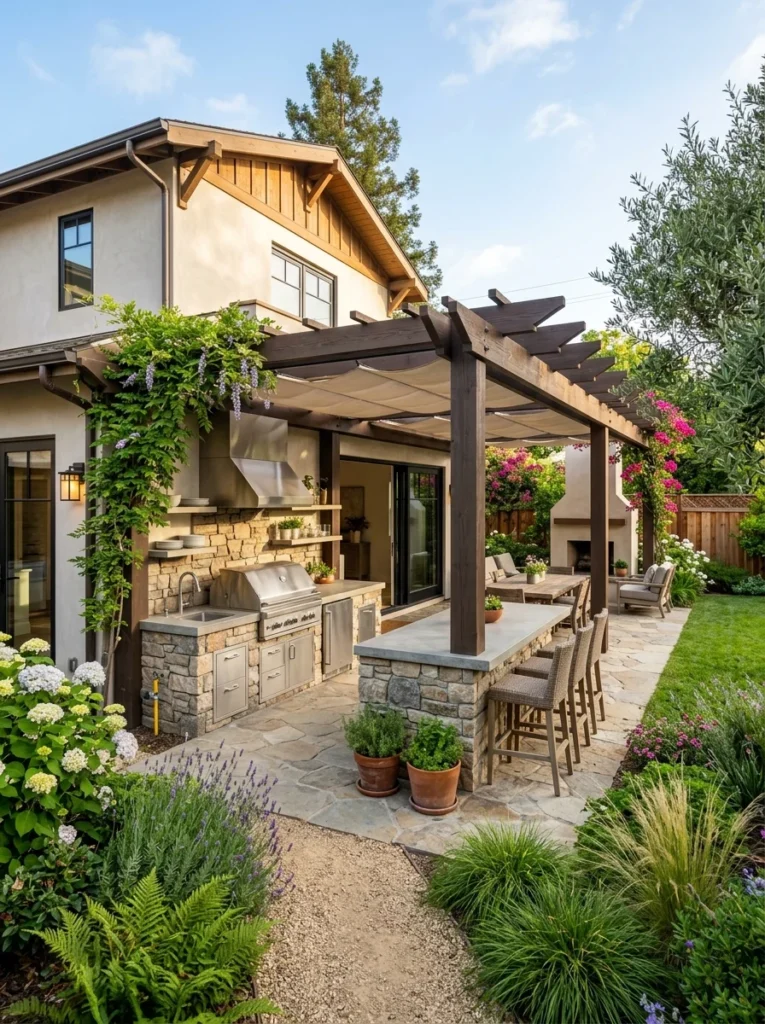
Plan your utilities before anything else
Gas, water, and electrical needs should be finalized before any construction begins, since running these lines after the fact, through completed structures or concrete, is significantly more expensive and disruptive than incorporating them during initial planning. A natural gas line offers a continuous fuel supply without the hassle of swapping propane tanks, though it requires professional installation and, in many areas, a permit. Electrical outlets support lighting, small appliances, and refrigeration, and should be installed by a licensed electrician given the outdoor, weather-exposed conditions involved. A water line, if you’re including a sink, needs both supply and drainage properly planned, ideally connecting to your home’s existing plumbing system rather than requiring an entirely separate setup.
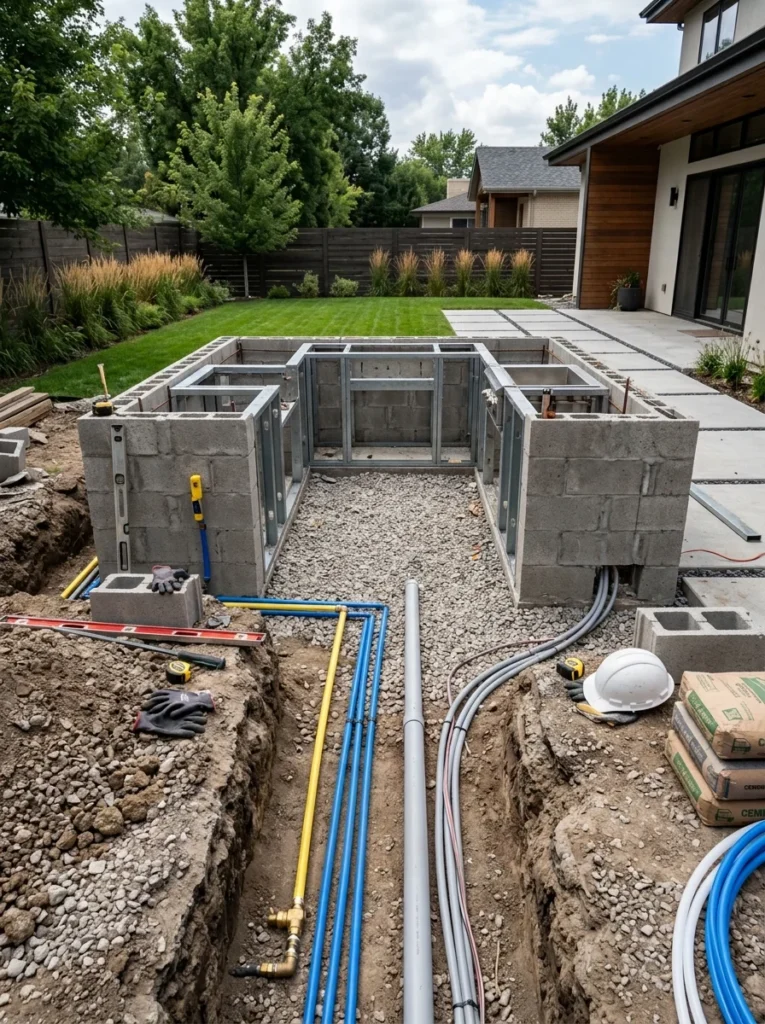
Decide on your core appliances first
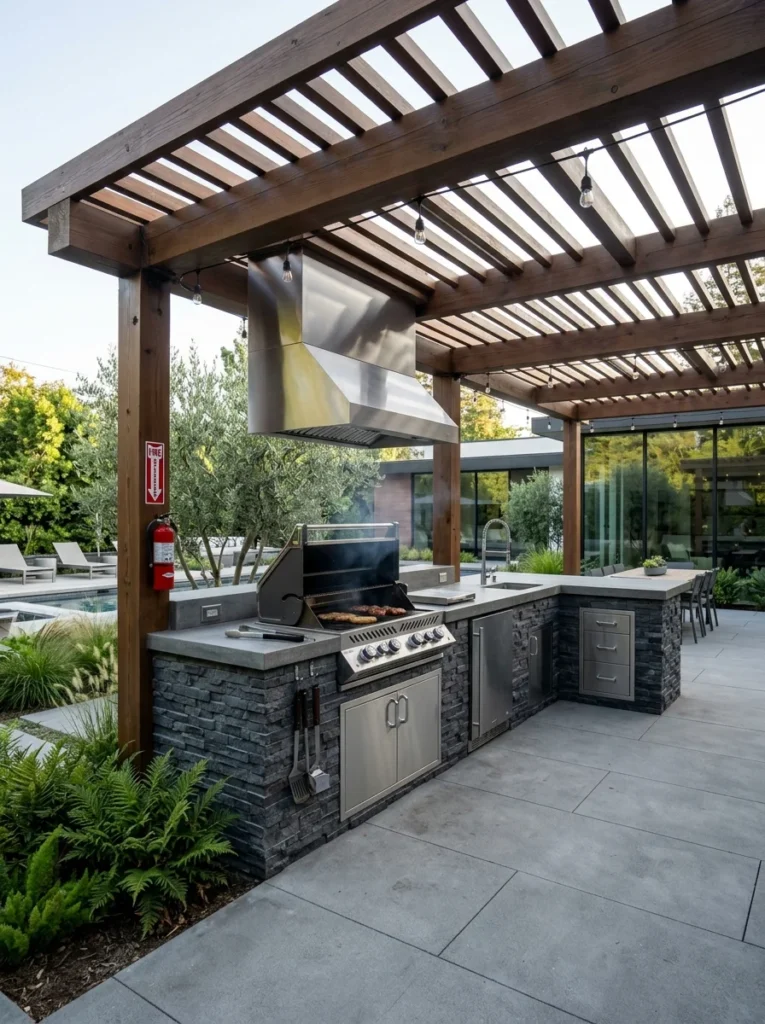
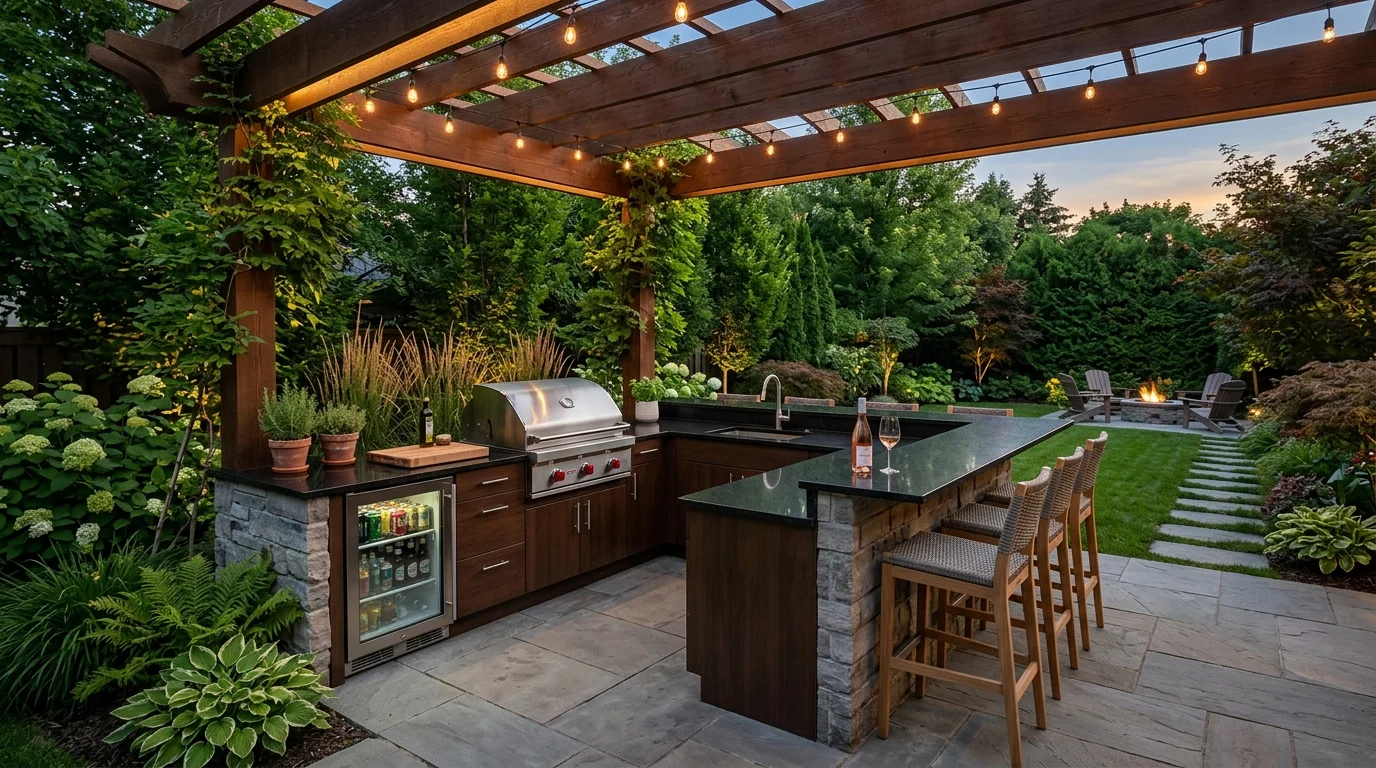
A built-in grill is the anchor of almost every outdoor kitchen and the appliance worth prioritizing and budgeting for most carefully, since it will see the heaviest and most frequent use. Beyond the grill, consider which additional appliances genuinely match your cooking habits: a side burner for sauces or sides, a small refrigerator for drink and ingredient storage, or a pizza oven if that’s something you’d realistically use regularly rather than just occasionally for novelty. Resist the temptation to include every available appliance from the start; it’s generally easier and cheaper to expand a well-planned outdoor kitchen later than to have overbuilt unused features from day one.
Choose weatherproof, outdoor-rated materials throughout
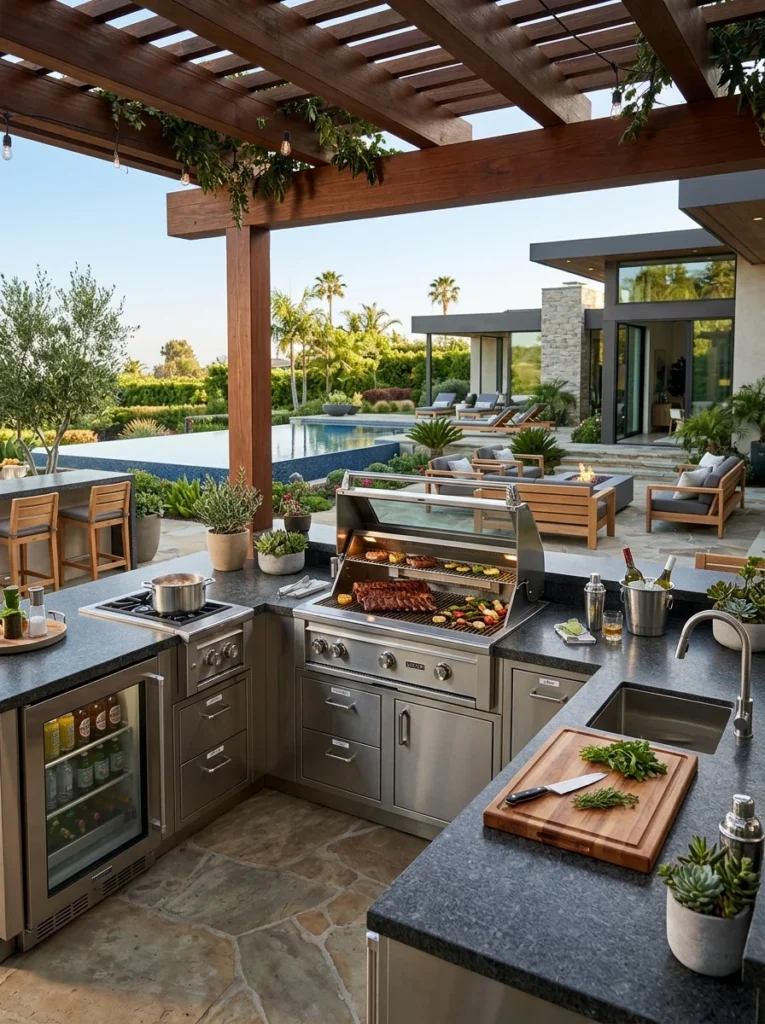
Indoor kitchen materials and appliances aren’t built to handle direct sun, rain, and temperature swings, so every material choice needs to specifically be rated for outdoor use. Stainless steel, ideally a marine or outdoor-rated grade rather than standard indoor stainless, resists rust and corrosion far better in an exposed environment. Countertops should be a durable, non-porous material like granite, concrete, or certain outdoor-rated quartz, since porous materials can absorb moisture and stain or crack under repeated weather exposure. Cabinetry, if included, should be specifically designed for outdoor use, typically stainless steel, marine-grade polymer, or a similarly weather-resistant material, rather than adapted indoor cabinetry that will warp and deteriorate quickly outside.
Build in adequate counter and prep space
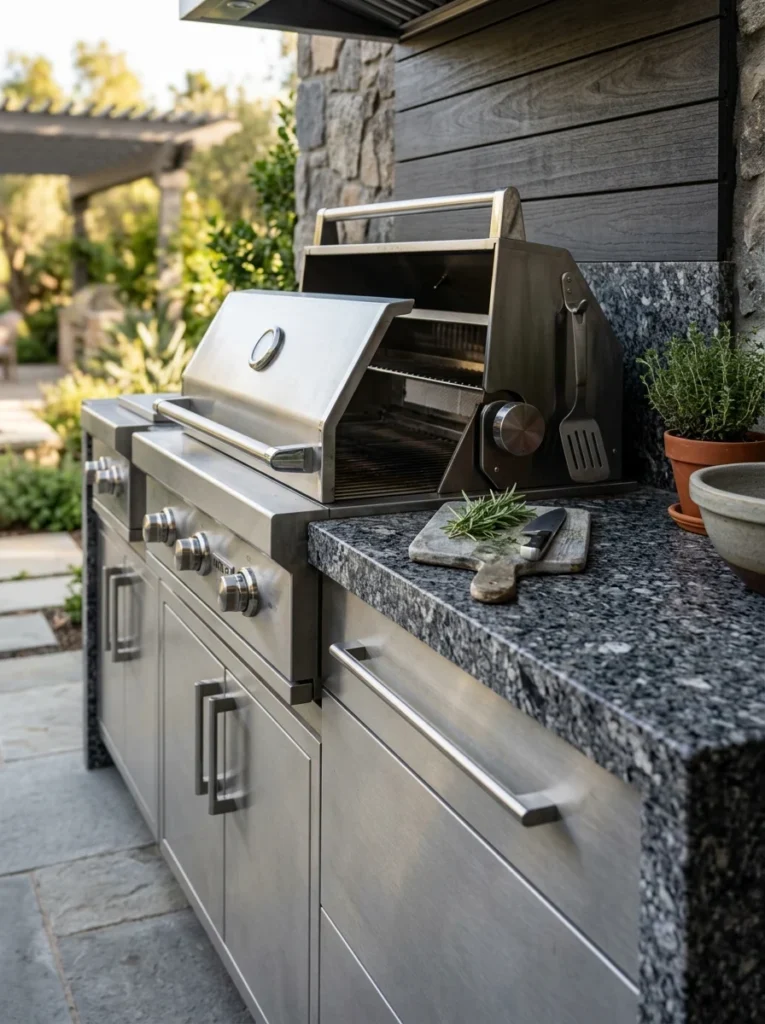
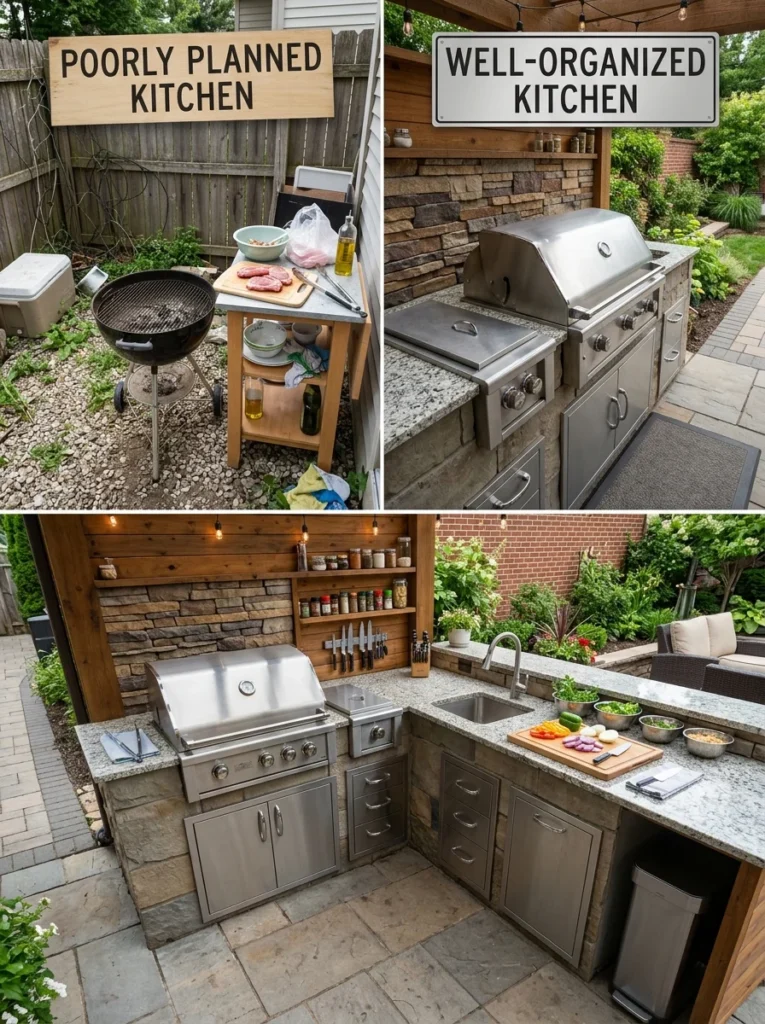
One of the most common mistakes in outdoor kitchen planning is underestimating how much counter space is actually needed, since cooking outdoors often involves more back-and-forth with platters, ingredients, and serving dishes than an equivalent indoor setup. Planning for counter space on at least one side of the grill for prep, and ideally another section near serving areas for finished food, prevents the frustrating scramble of balancing dishes on whatever flat surface happens to be available during an actual cookout.
Consider covered or partially covered design
A fully or partially covered outdoor kitchen, whether under an attached patio roof, a pergola with a solid top, or a dedicated structure, protects appliances and materials from direct sun and rain exposure, extending their lifespan and keeping surfaces cooler and more comfortable to use during peak summer heat. If a full cover isn’t in the budget initially, at minimum planning for appliance covers when not in use, and choosing materials that handle direct exposure reasonably well, helps protect the investment in the meantime.
Factor in lighting for evening use
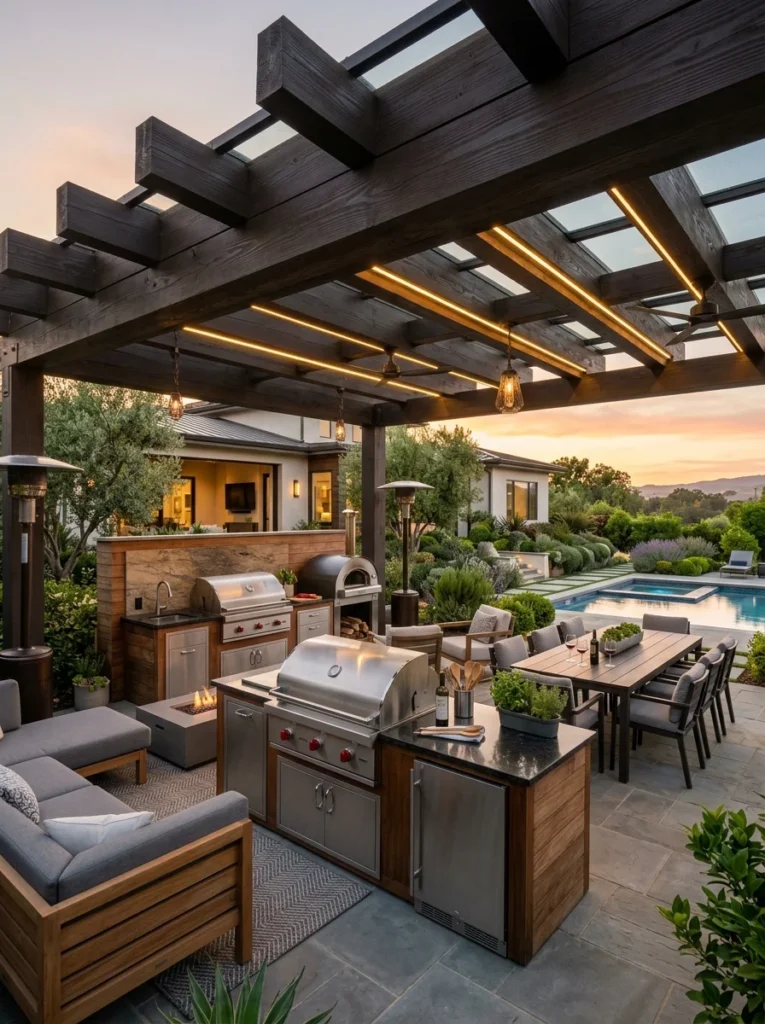
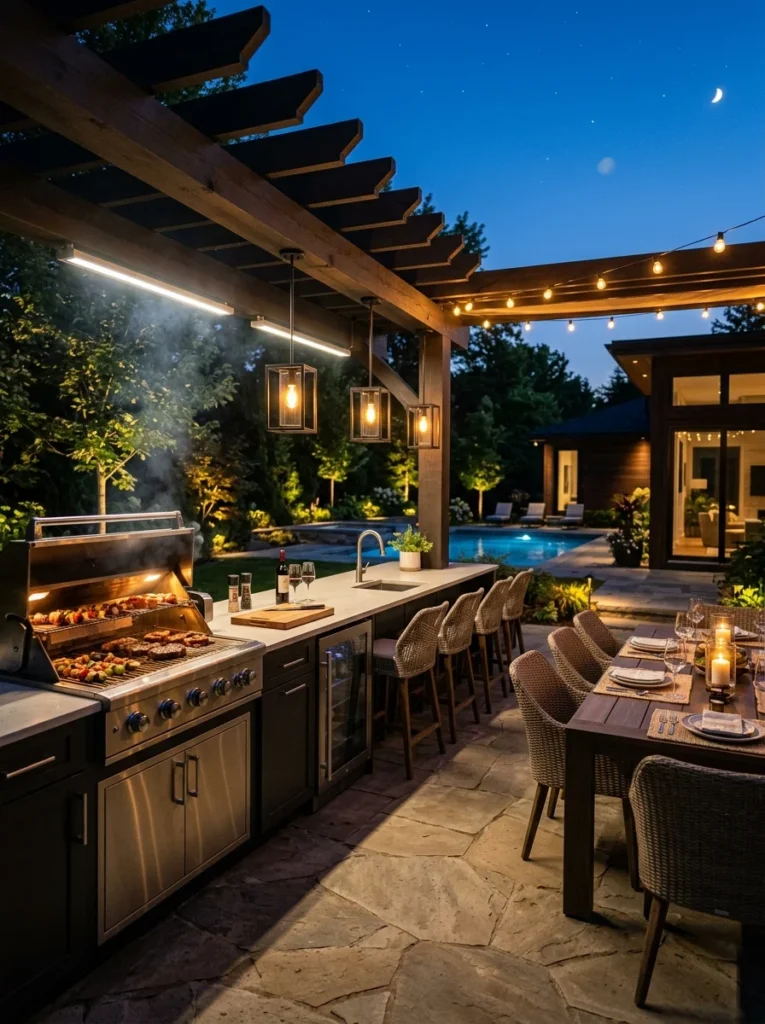
An outdoor kitchen used only during daylight misses a significant portion of its potential use, since a lot of grilling and entertaining naturally happens into the evening. Task lighting directly over the cooking and prep areas is essential for both safety and convenience, while softer ambient lighting around the surrounding seating area extends the space’s appeal into a genuine evening gathering spot rather than a purely daytime cooking station.
Set a realistic budget with a contingency built in
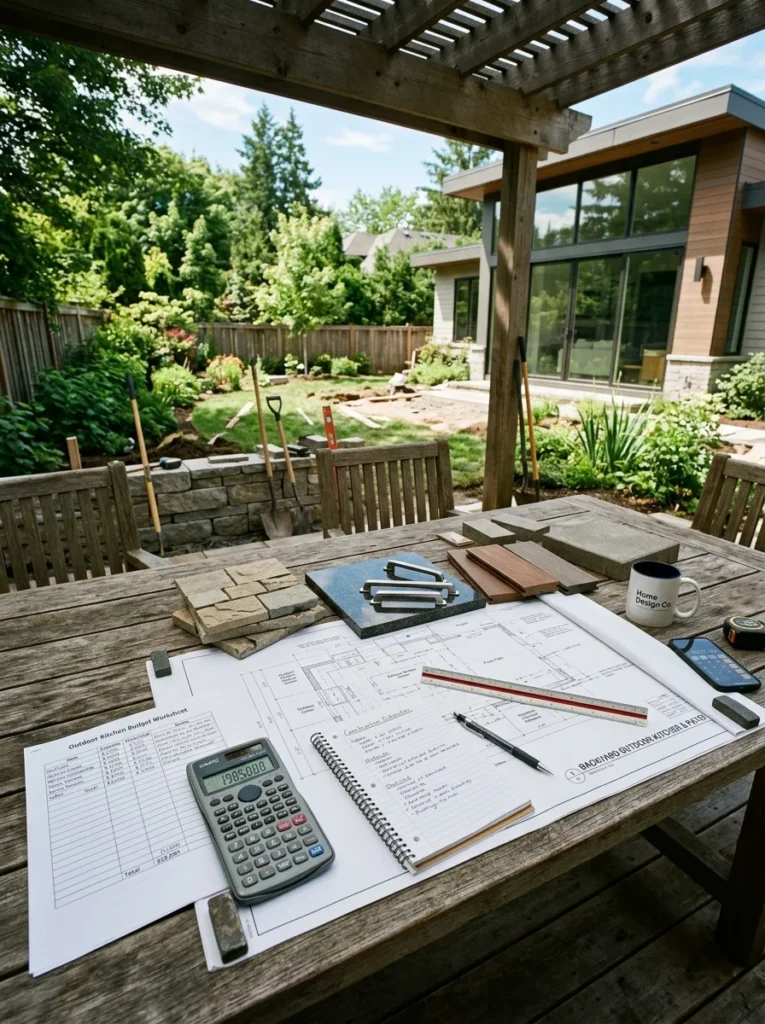
Outdoor kitchen costs vary enormously depending on size, appliance selection, and material quality, so setting a clear budget before finalizing your appliance wish list helps prioritize what matters most. As with any outdoor construction project, building in a contingency of roughly ten to fifteen percent for unexpected costs, an unforeseen utility complication, a permit requirement you hadn’t anticipated, protects the project from stalling if something unexpected comes up partway through.
Decide between a full build and a modular approach
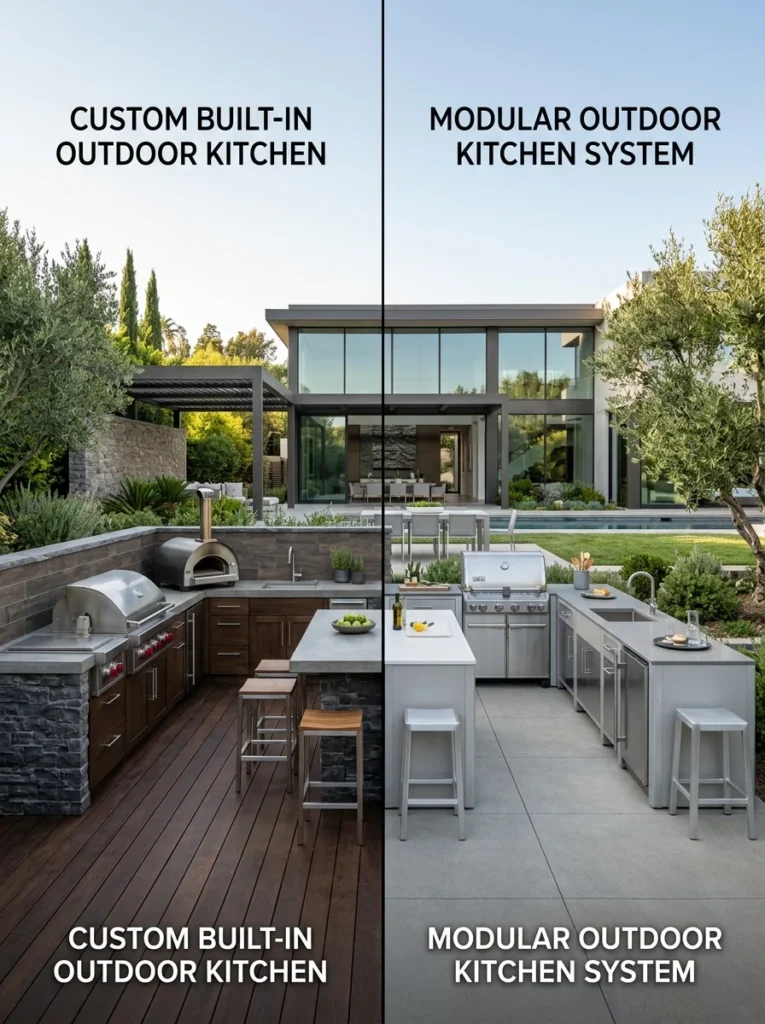
A fully custom, built-in outdoor kitchen offers the most tailored result but comes with the highest cost and longest timeline, typically requiring a contractor for the structural, utility, and finishing work involved. A modular outdoor kitchen system, prefabricated cabinet and appliance units that connect together, offers a faster, often more affordable alternative that still delivers a built-in look without the full custom construction process. For a first outdoor kitchen, or a tighter budget, a modular system is worth seriously considering as a way to get most of the functionality without the full custom price tag.
Plan for proper ventilation and fire safety clearances
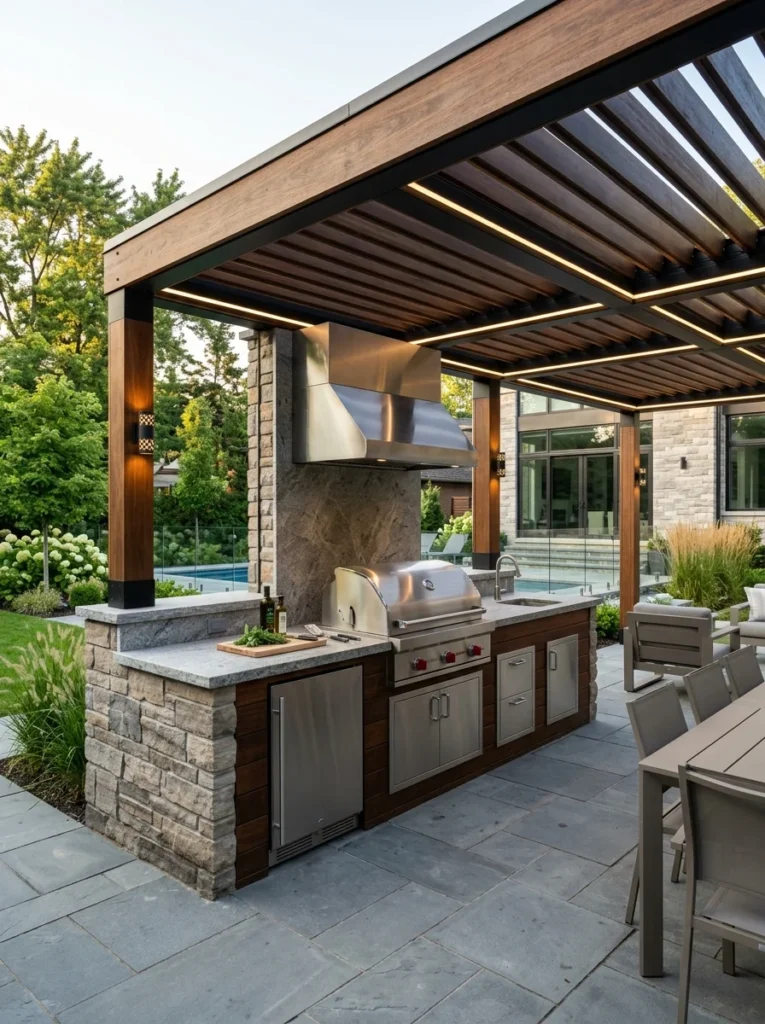
Even outdoors, a built-in grill needs adequate clearance from any overhead structure, pergola, roof, or cabinetry to allow heat and smoke to dissipate safely rather than accumulating against a surface that could scorch or, in more serious cases, ignite. Manufacturer specifications for your specific grill model will list required clearances from combustible materials, and these should be treated as non-negotiable minimums rather than flexible suggestions. If your design includes a covered structure, confirming adequate ventilation for that specific enclosed or partially enclosed space is an important safety step, not just an appliance placement afterthought, particularly if you’re also including a side burner or other open-flame appliance nearby.
Think through traffic flow between the kitchen and seating area
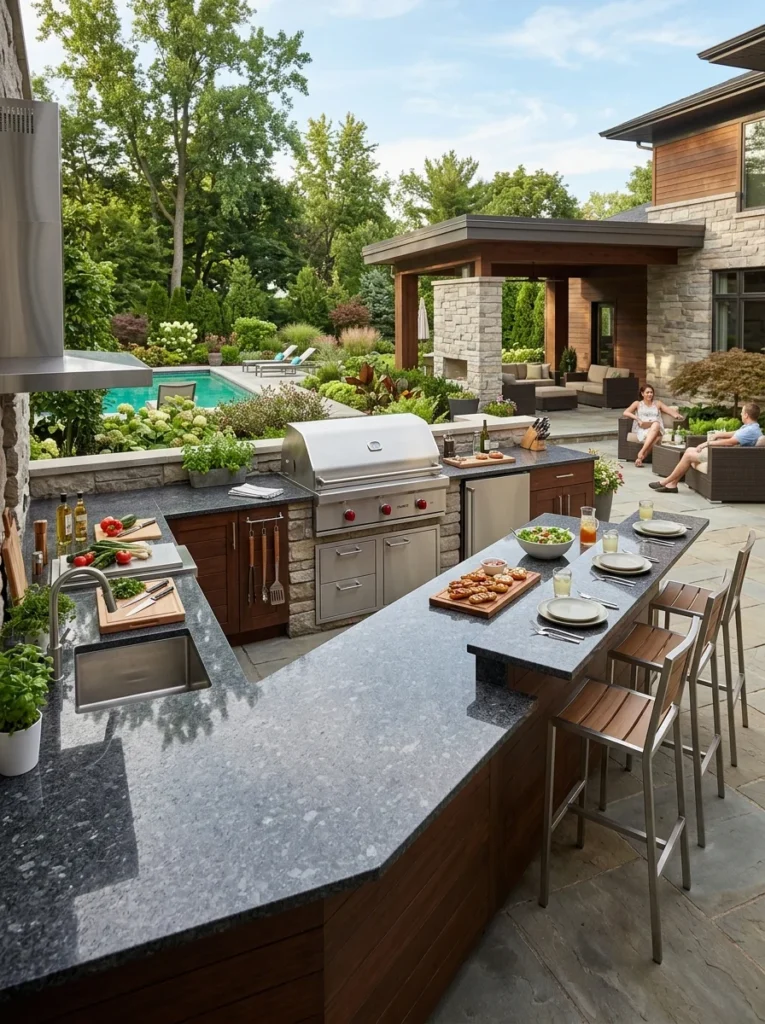
An outdoor kitchen that’s technically well-equipped can still feel awkward to use if the layout forces the cook to constantly navigate around seated guests to reach the grill, prep area, or serving space. Planning a clear, sufficiently wide path between the cooking zone and the dining or lounge area keeps the space functional during actual use, particularly when multiple people might be moving around it during a gathering. A U-shaped or L-shaped kitchen layout often creates a more efficient, contained workspace than a single straight run of appliances and counters, especially if more than one person tends to help with cooking or serving at once.
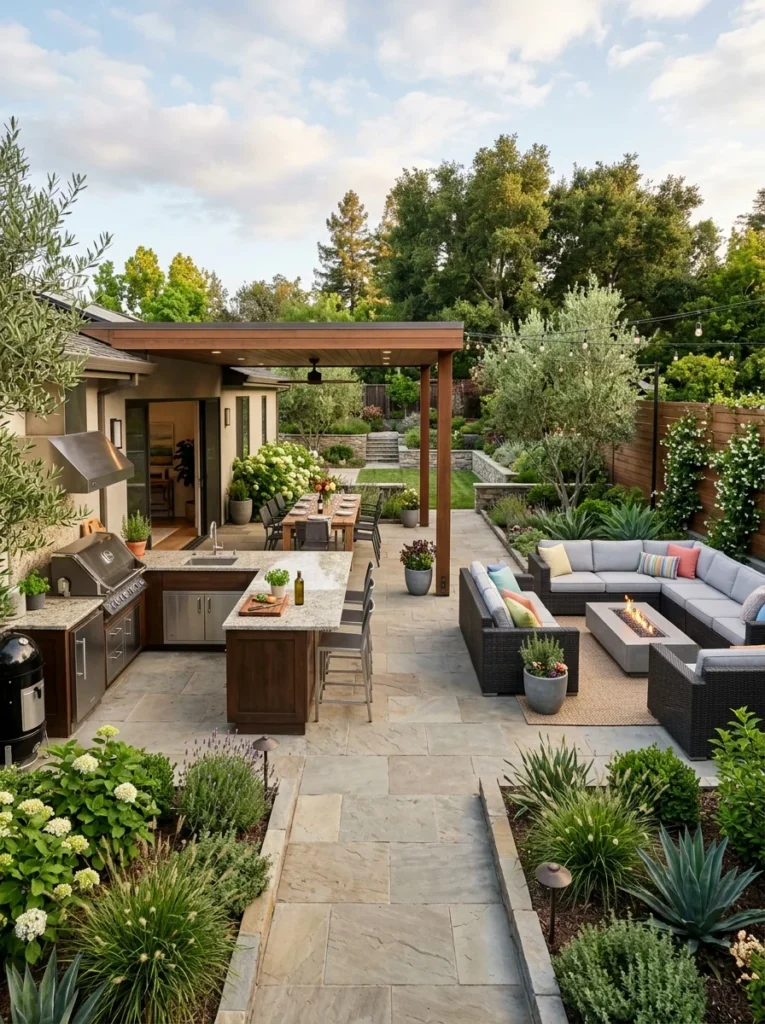
How much does a basic outdoor kitchen cost to build?
Costs vary enormously based on size, appliance selection, and whether it’s a full custom build or a modular system, with modular options generally offering a more affordable path to a functional outdoor kitchen. Getting a few local quotes early, even during the planning phase, helps set realistic budget expectations for your specific region and design goals.
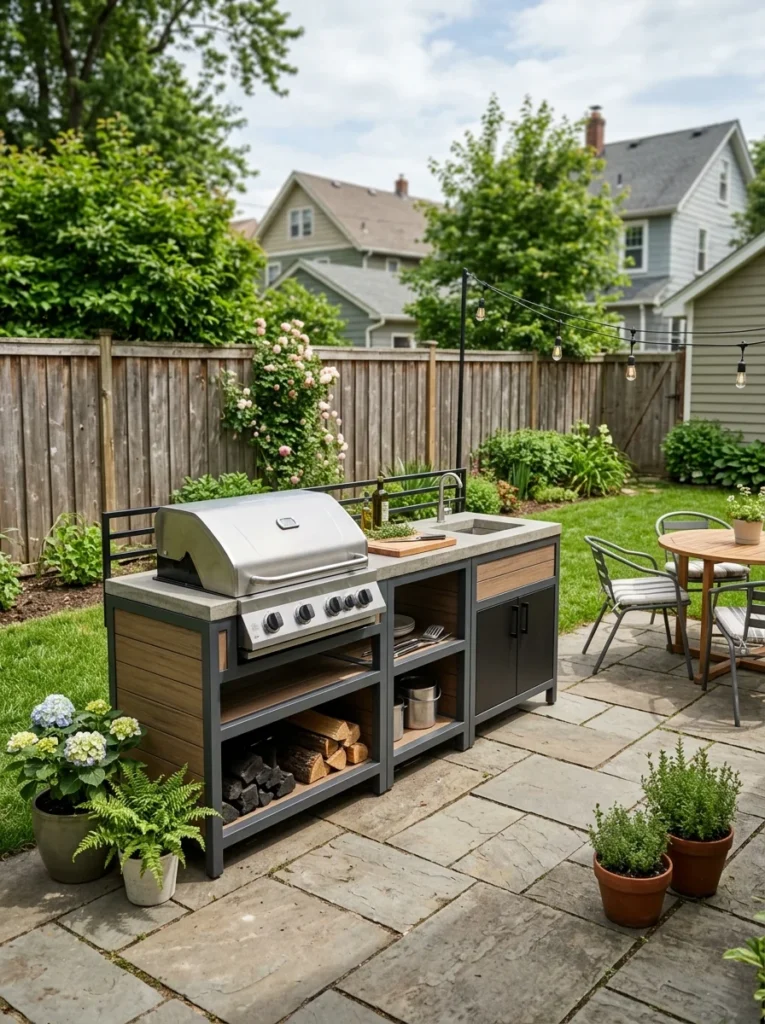
Do I need a permit to build an outdoor kitchen?
In most areas, yes, particularly if gas lines, electrical work, or a permanent structure are involved. Requirements vary by location, so checking with your local building department during the planning phase, before any construction begins, helps avoid costly complications later.
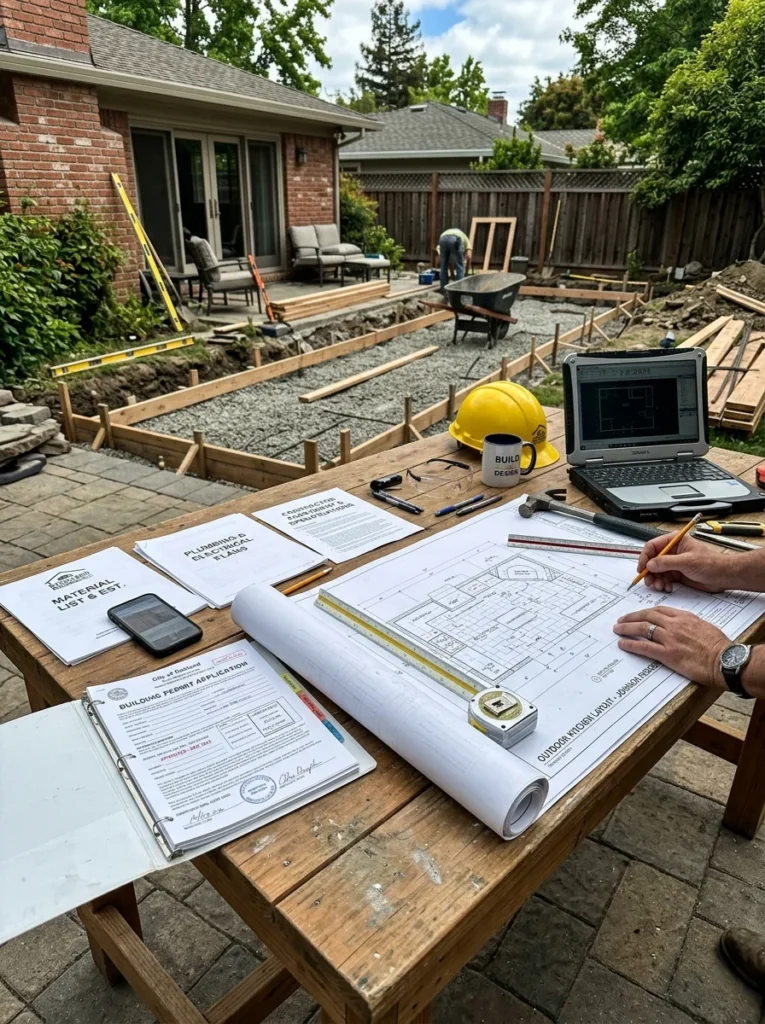
Should I install a natural gas line or use propane tanks?
A natural gas line offers a continuous fuel supply without needing to monitor or swap tanks, but it requires professional installation and typically a permit. Propane offers more installation flexibility and lower upfront cost but requires ongoing tank monitoring and replacement, which is worth factoring into your decision based on how often you expect to use the kitchen.
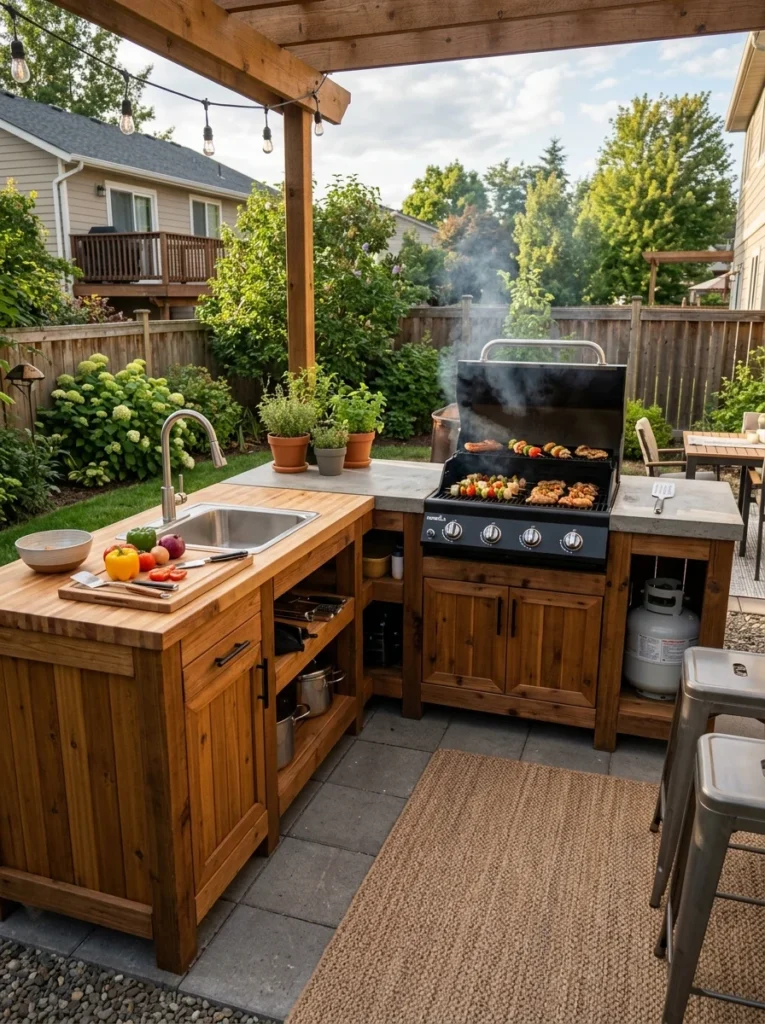
What’s the biggest planning mistake beginners make with outdoor kitchens?
Underestimating counter and prep space, and finalizing appliance choices before confirming utility access and cost, are among the most common planning mistakes. Both can be avoided by planning layout and utilities first, then selecting appliances that fit realistic space and budget constraints.
How much clearance does a built-in grill need from a roof or pergola?
This depends on the specific grill model, and manufacturer specifications should always be treated as the required minimum rather than a flexible guideline. Adequate clearance prevents heat and smoke buildup against overhead structures, which is a genuine fire safety concern, not just a design consideration.
A successful outdoor kitchen starts with the decisions that are hardest to change later, location, utilities, and layout, before moving on to the appliances and finishes that are easier to adjust or upgrade over time. Being honest about how you actually cook and entertain, rather than building around an aspirational appliance list, results in a space that gets used regularly rather than one that looks impressive but rarely earns its investment.
Our own outdoor kitchen ended up simpler than my original overambitious wish list, a solid grill, one side burner, a small fridge, and plenty of counter space, and it’s exactly that simplicity that’s kept it in near-constant use every weekend the weather allows. If you’re just starting your own planning process, resist the urge to shop for appliances first; get your layout and utilities sorted, and let everything else follow from there.