
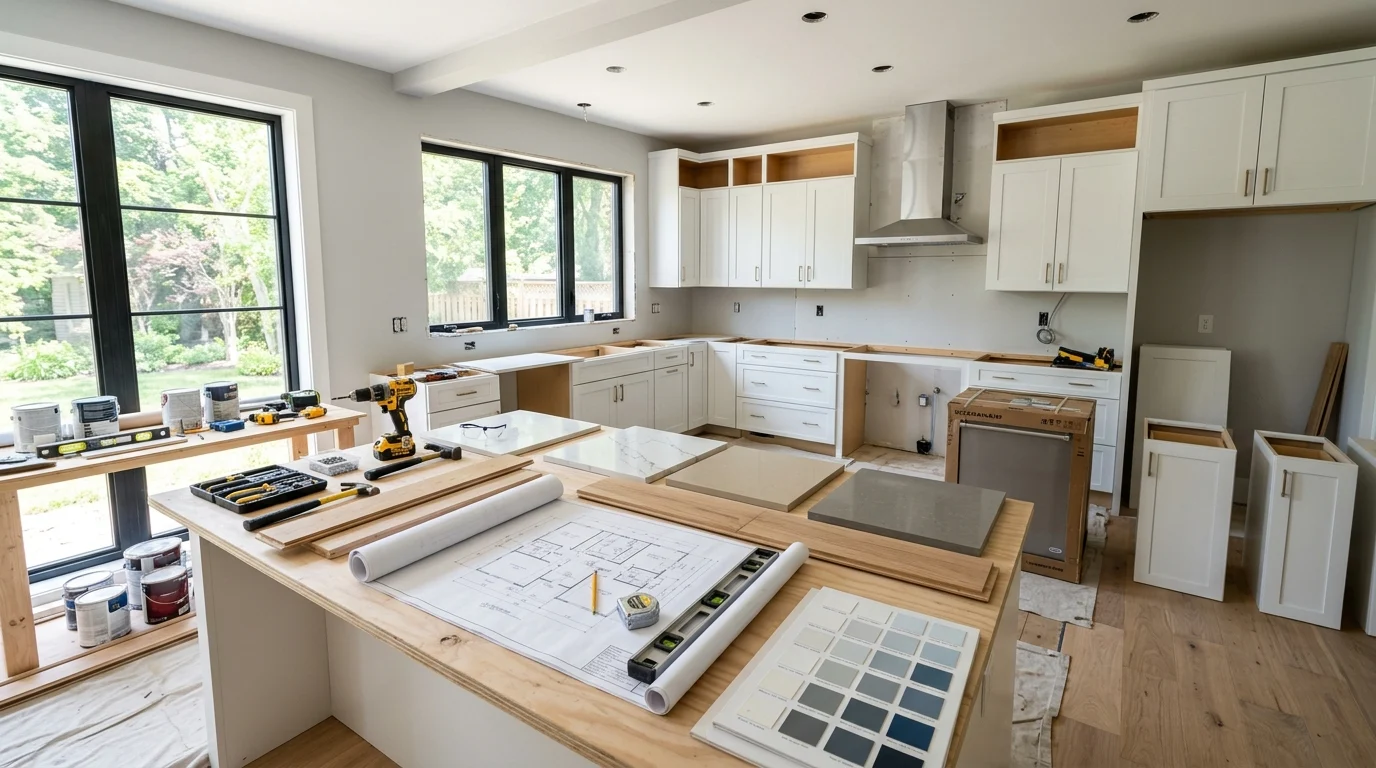
When we started our kitchen renovation, I assumed it would take about six weeks, based mostly on a vague number I’d seen thrown around online. It ended up taking closer to eleven, not because anything went catastrophically wrong, but because I hadn’t accounted for lead times on cabinets, an inspection delay, and a countertop template appointment that could only happen after the cabinets were fully installed. None of it was unusual; I simply hadn’t understood how the pieces actually fit together in sequence. Knowing that timeline in advance would have saved me a lot of unnecessary stress during the process.
Below is a realistic, step-by-step breakdown of how a kitchen renovation actually unfolds, including where the most common delays tend to happen, so you can go into your own project with expectations that match reality rather than an overly optimistic online estimate.

Step 1: Planning and design, typically four to eight weeks
Before any physical work begins, this phase covers finalizing your layout, choosing cabinets, countertops, appliances, and flooring, and getting any necessary permits submitted. This stage is easy to underestimate, since it often involves multiple rounds of revisions as you compare quotes, adjust the design to fit your budget, and wait on measurements or quotes from various suppliers. Rushing this phase to start demolition sooner is one of the most common causes of costly mistakes later, so it’s worth resisting the urge to skip ahead before decisions are genuinely finalized.

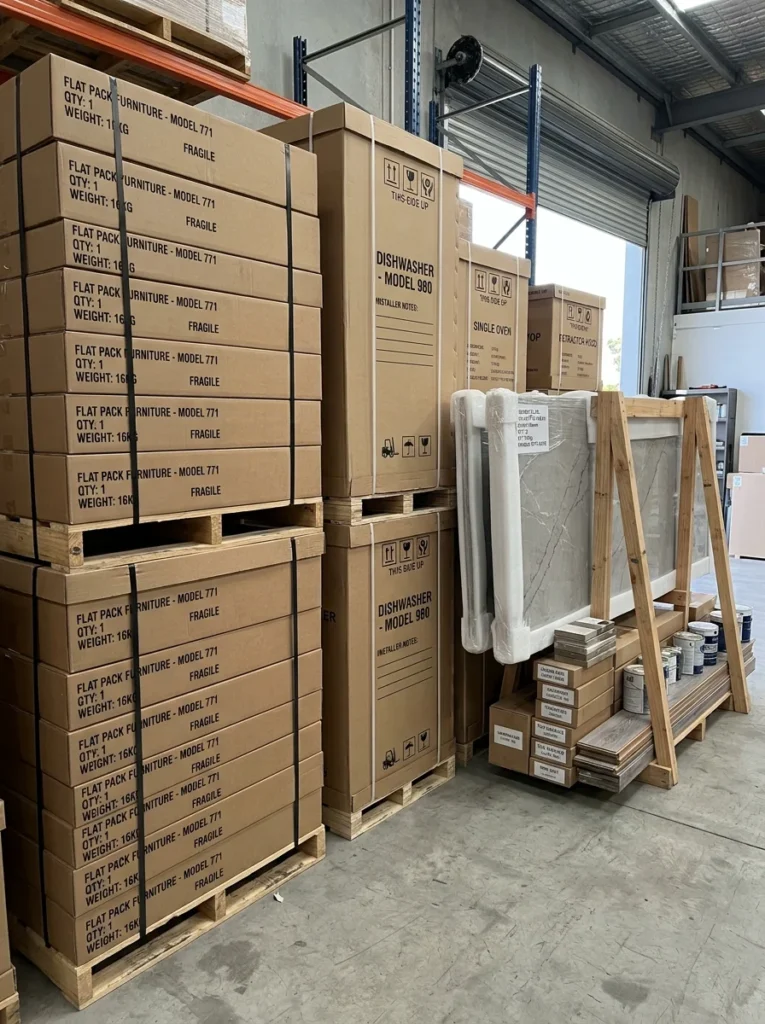
Step 2: Ordering cabinets and materials, typically four to twelve weeks
This is the step most homeowners underestimate the most, since custom or semi-custom cabinets in particular often have lead times measured in months rather than weeks, and this ordering process usually needs to start well before demolition begins so the cabinets are ready when the space is prepped for installation. Stock cabinets from a big box retailer are typically faster to obtain than custom ones, but even they can face delays depending on current supply and demand. Countertop material, particularly natural stone, can also have its own separate lead time once it’s ordered, which is worth confirming early rather than assuming it will simply be ready whenever the cabinets are installed.
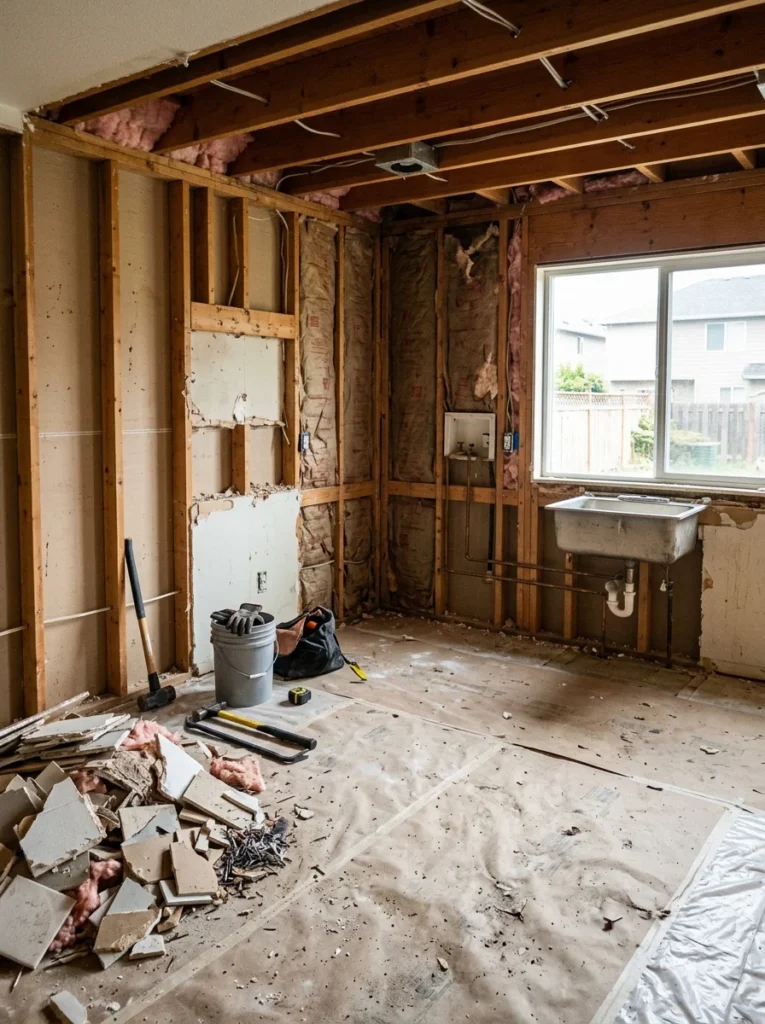
Step 3: Demolition, typically two to five days
Once materials are ordered and a start date is confirmed, demolition of the old kitchen, removing cabinets, countertops, flooring if it’s being replaced, and any walls coming down, is usually one of the fastest parts of the entire project. This is also the stage where unexpected issues are most likely to surface, outdated wiring, water damage behind old cabinets, or subfloor problems, which can add unplanned time if something needs to be addressed before construction can continue.
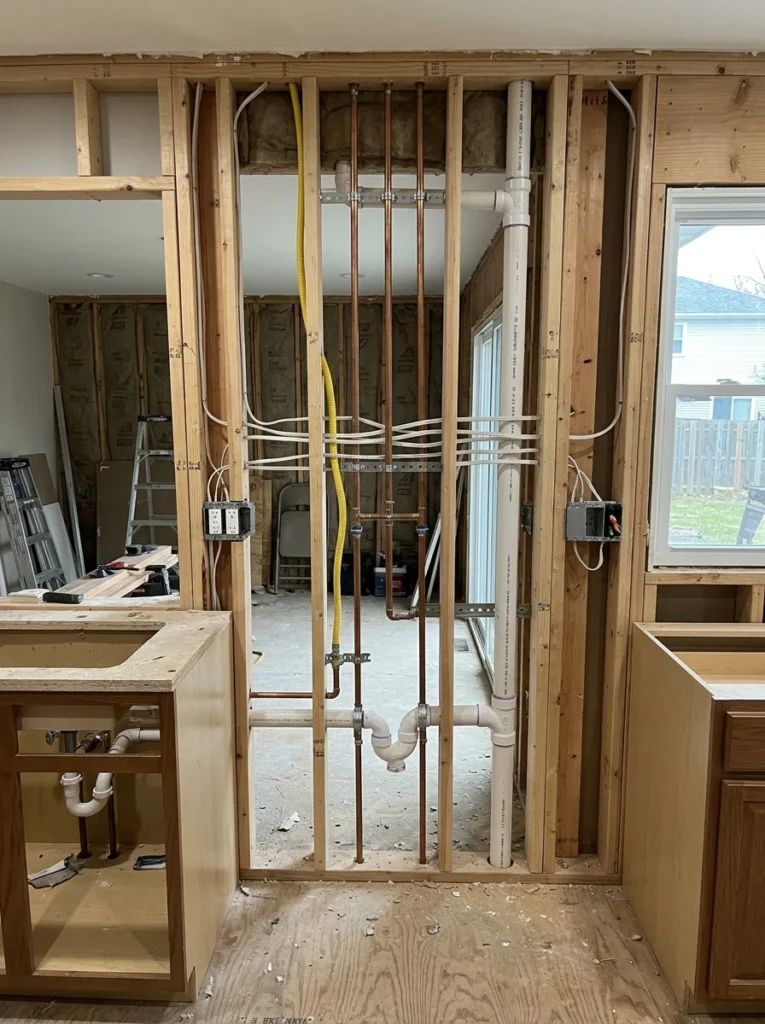
Step 4: Rough-in plumbing and electrical work, typically three to seven days
Any changes to the location of plumbing or electrical, moving a sink, adding new outlets, relocating a gas line for the stove, happen at this stage, before walls are closed up again. This work often requires a permitted inspection before the project can move forward, and scheduling that inspection can introduce a delay of several days to a couple of weeks depending on your local building department’s availability, which is worth factoring into your overall timeline expectations from the start.
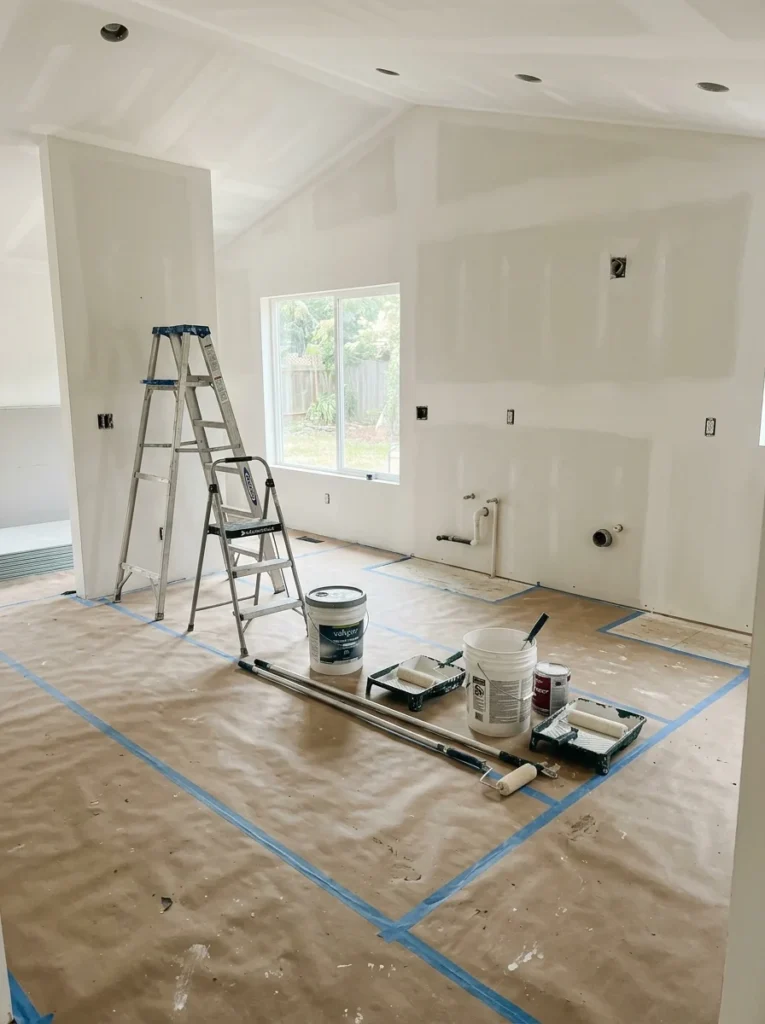
Step 5: Drywall, insulation, and painting, typically five to ten days
Once the rough-in work passes inspection, walls are closed up, patched, and prepared for paint. This includes any drywall repair from the demolition phase, insulation work if walls were opened up, and priming and painting the space before cabinets go in, since it’s considerably easier to paint walls without cabinets in the way than to carefully cut in around them afterward.
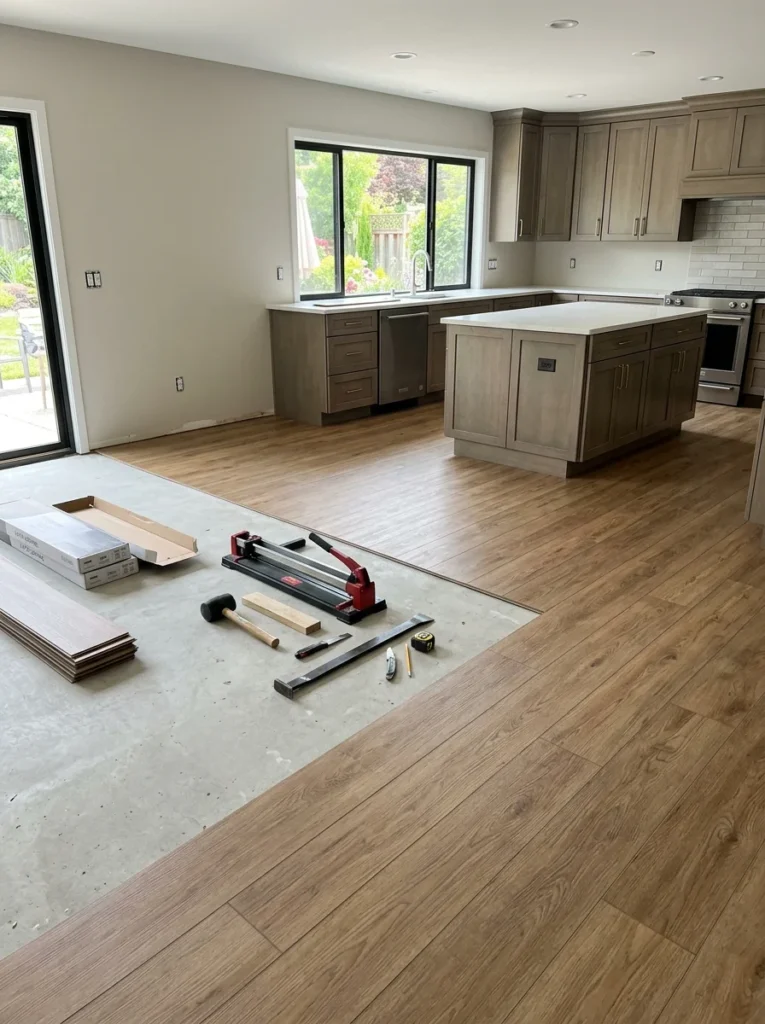
Step 6: Flooring installation, typically two to five days
If new flooring is part of the renovation, it’s typically installed after painting but before cabinets, so the floor runs continuously under where the cabinets will sit rather than needing to be cut around them later. The exact timeline here depends heavily on the flooring material chosen, tile generally takes longer due to setting and curing time for adhesive and grout, while some engineered wood or vinyl options can be installed and ready for foot traffic considerably faster.
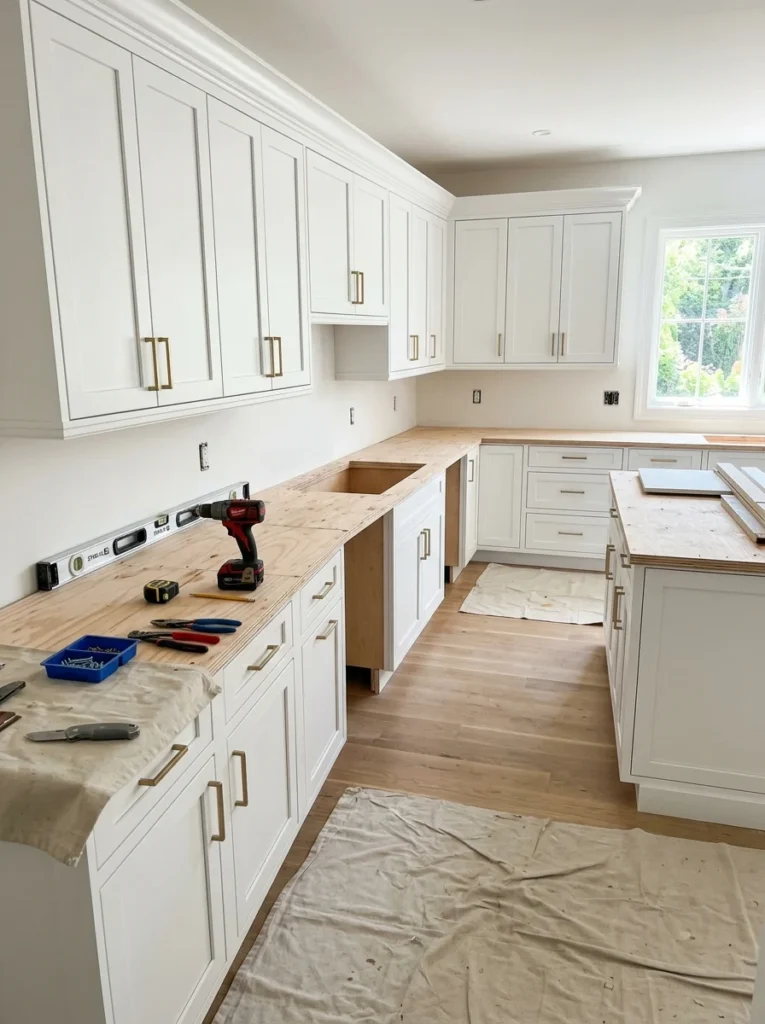
Step 7: Cabinet installation, typically three to seven days
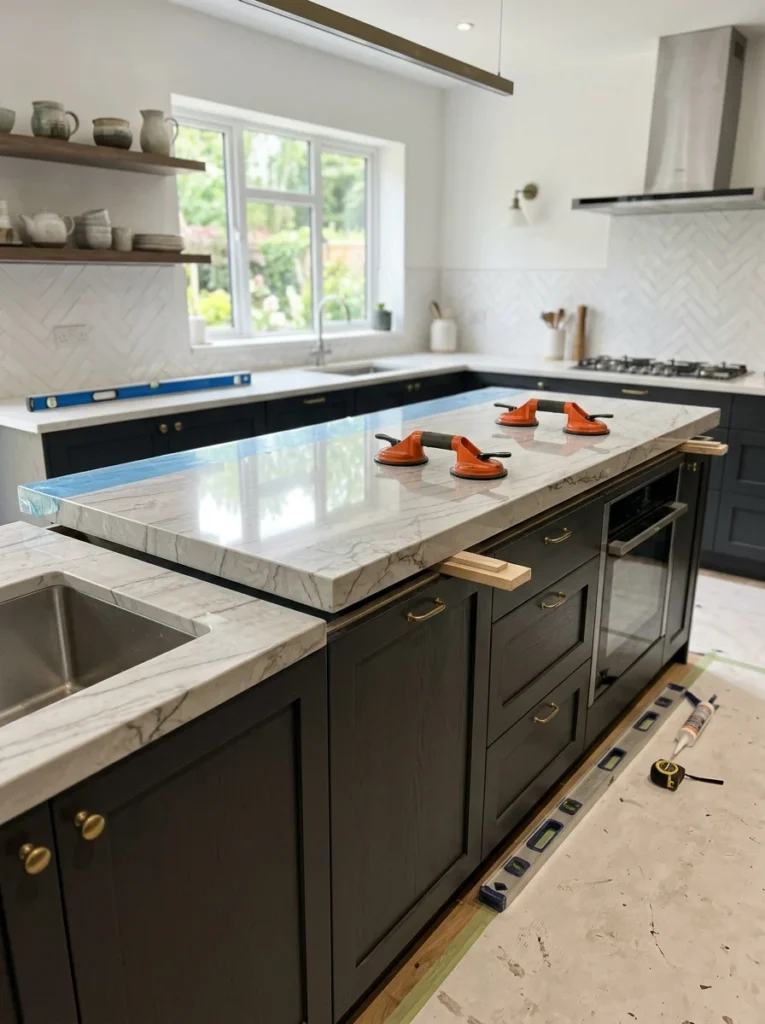
This is often the stage that makes a renovation start to feel real, as the kitchen’s actual layout becomes visible for the first time. Cabinet installation requires precise leveling and alignment, and any delays in the cabinets’ arrival from step two directly push this entire stage, and everything after it, back accordingly. It’s worth confirming your cabinet delivery date is firm before scheduling other trades around it, since a delayed cabinet shipment is one of the most common reasons a renovation timeline slips.
Step 8: Countertop templating and installation, typically one to three weeks total
Countertops, particularly natural stone or engineered quartz, are custom-cut based on precise templates taken after the cabinets are fully installed, which means this step can’t begin until step seven is complete. The templating appointment itself takes a few hours, but fabrication of the actual countertop typically takes another one to three weeks depending on the material and the fabricator’s current workload, which is worth confirming in advance, since it’s frequently the single longest wait time in the entire back half of the project.
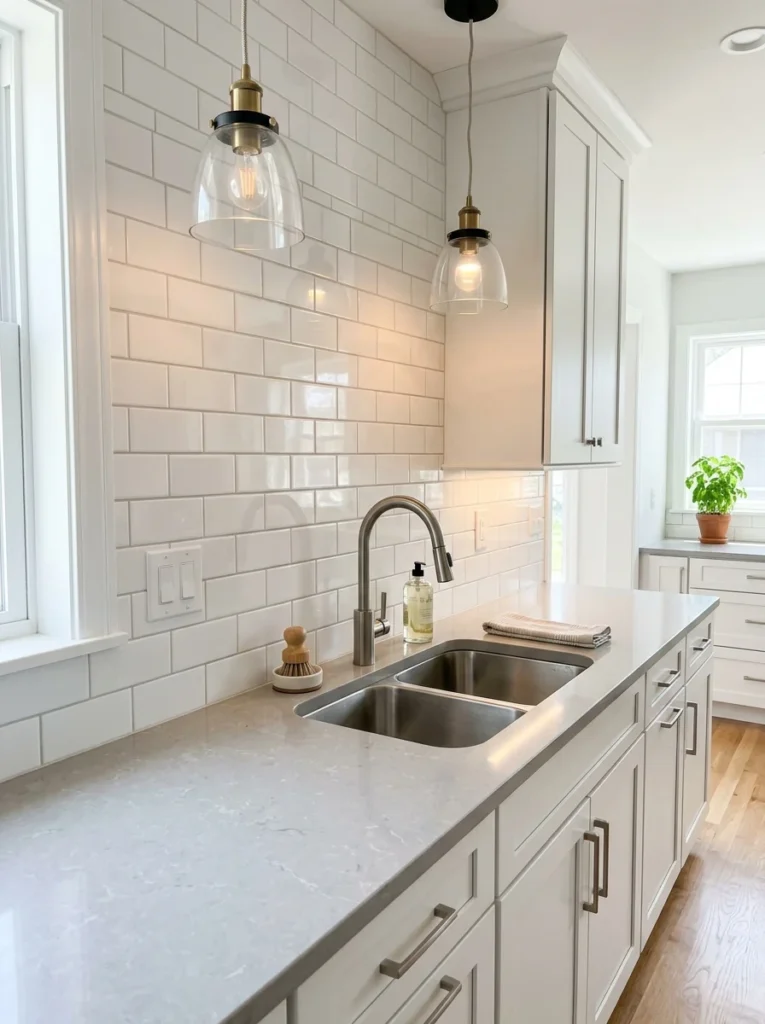
Step 9: Backsplash, plumbing fixtures, and electrical finishing, typically three to seven days
Once countertops are installed, the backsplash tile can be set, and final plumbing fixtures, the sink, faucet, and dishwasher, along with electrical finishing, outlet covers, under-cabinet lighting, light fixtures, get connected. This stage moves relatively quickly compared to earlier steps, since it mostly involves finishing work rather than the more disruptive construction phases earlier in the process.
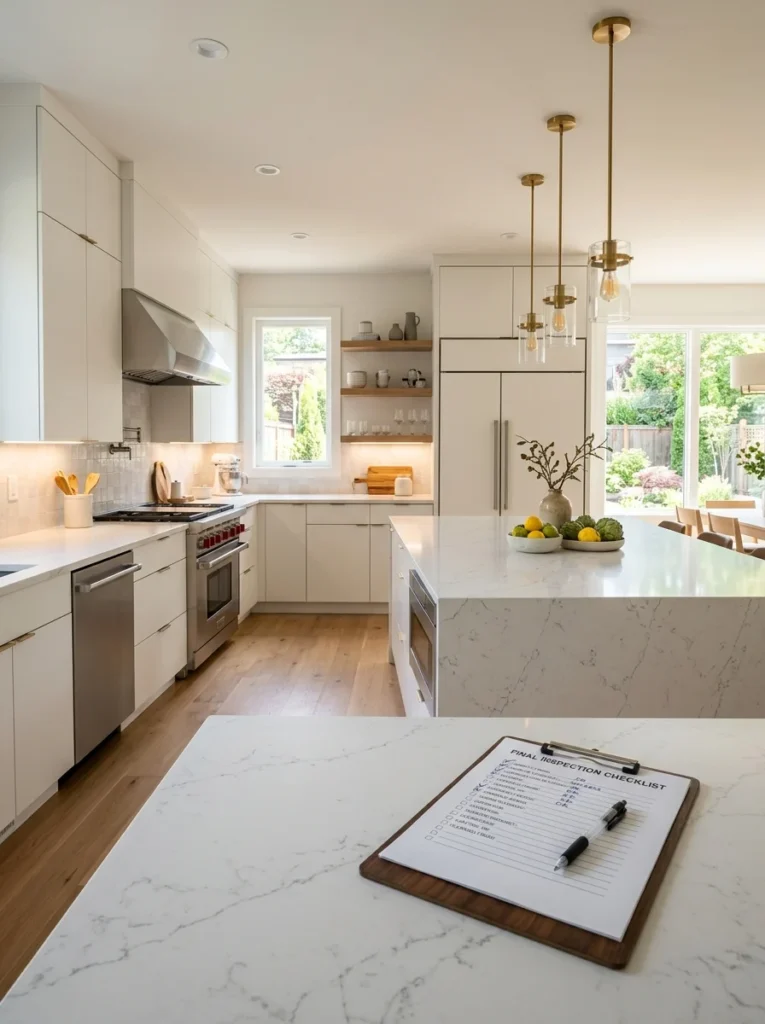
Step 10: Final walkthrough and punch list, typically three to seven days
The final stage involves a walkthrough with your contractor to identify anything that needs adjustment or correction, a cabinet door that doesn’t quite align, a small paint touch-up, a fixture that needs recaulking, commonly called a punch list. Addressing these final details properly, rather than rushing to consider the project complete, is what separates a renovation that looks good on move-in day from one that continues to reveal small unfinished details for months afterward.
Where most kitchen renovation delays actually happen
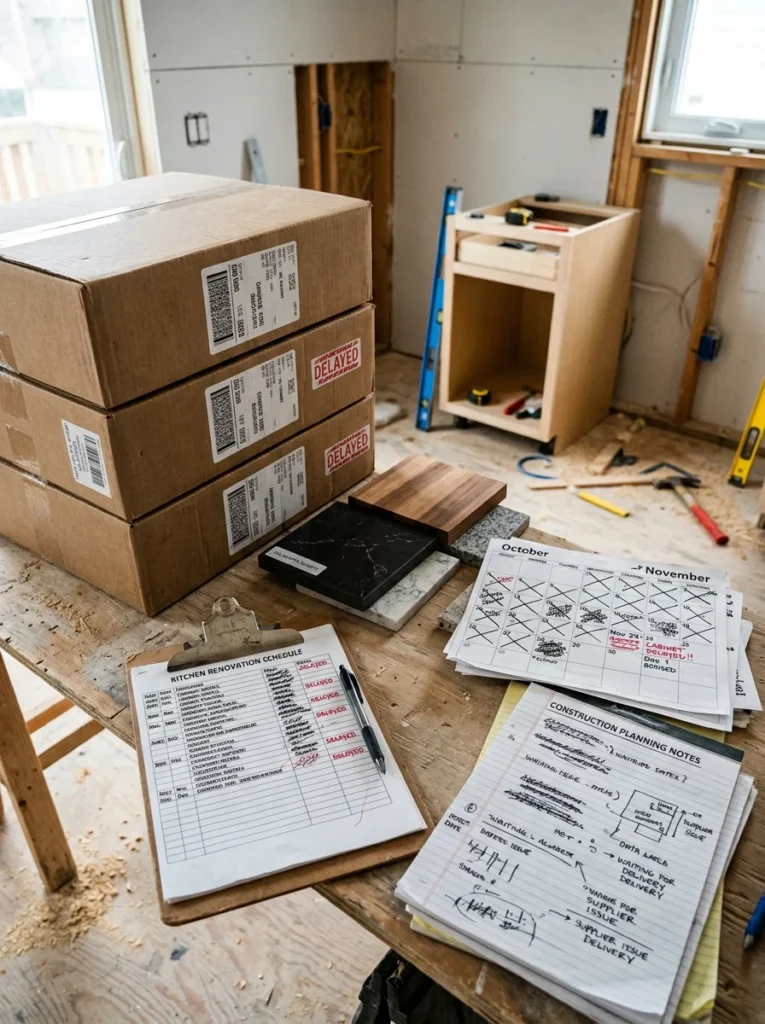
In my own experience, and based on what most contractors will tell you honestly, the two biggest sources of delay are cabinet and countertop lead times, which are largely outside your contractor’s direct control, and unexpected issues discovered during demolition, like old wiring or water damage that needs addressing before work can continue. Building a buffer of at least two to three extra weeks beyond whatever timeline you’re initially quoted accounts for these common, and honestly quite normal, sources of delay without derailing your broader expectations for the project.
How to keep your renovation on track
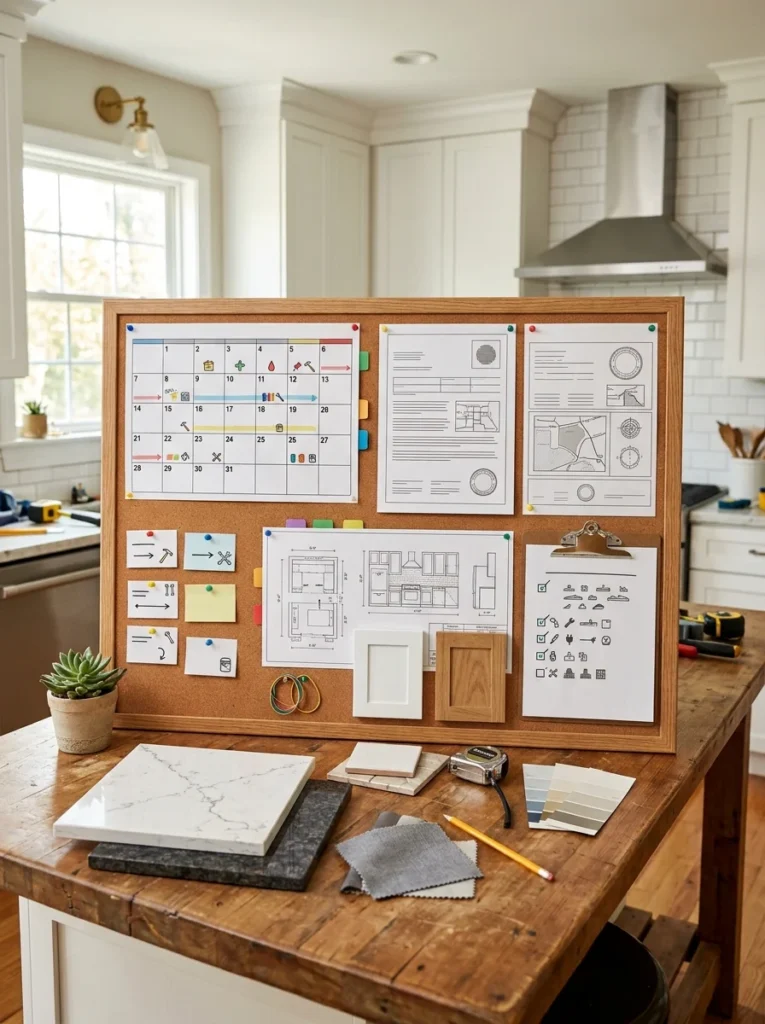
Ordering cabinets and countertop material as early as realistically possible, ideally before demolition even begins, is the single most effective way to prevent your project from stalling later. Confirming permit and inspection requirements with your local building department at the very start of planning, rather than assuming your contractor will handle timing automatically, also helps avoid unexpected multi-week waits partway through construction. Finally, planning an alternate way to cook, a small countertop appliance setup in another room, or a clear plan to eat out more during the most disruptive weeks, makes the mid-project stretch considerably more manageable for your household.
Budgeting for the disruption, not just the construction
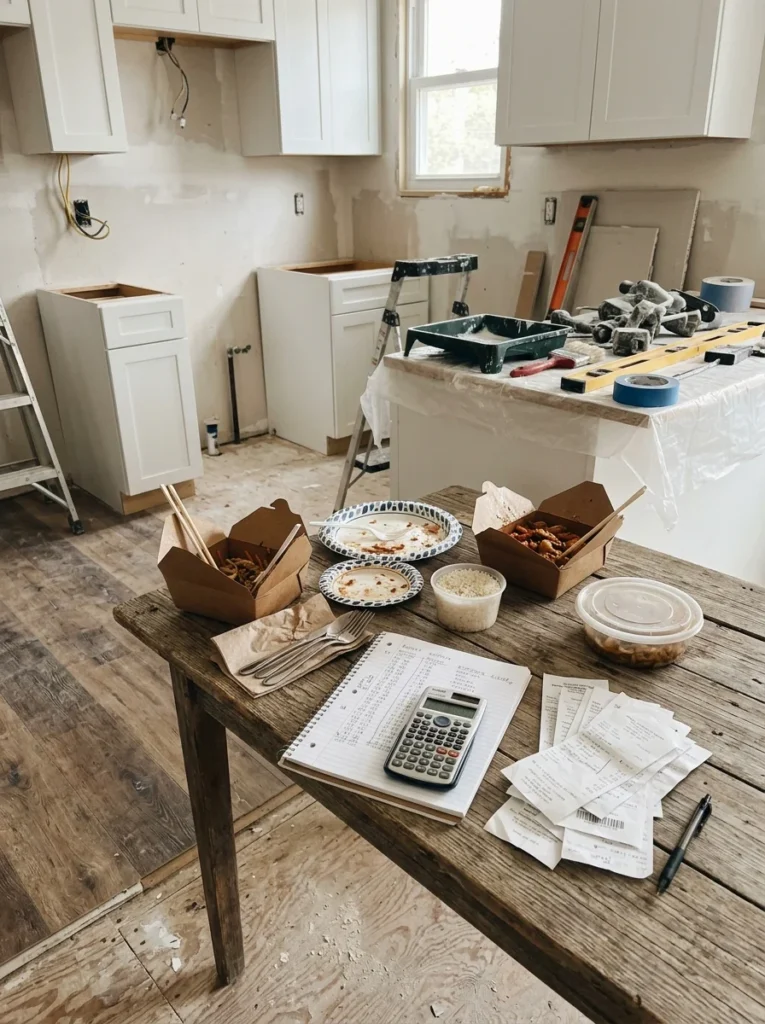
Beyond the direct renovation cost, it’s worth budgeting for the practical disruption of losing full kitchen access for several weeks, additional takeout or dining out costs, paper plates and disposable cutlery to reduce dishwashing without a functioning sink, and possibly a small countertop appliance setup, a microwave, an electric kettle, a portable induction burner, set up temporarily in another room. These costs are easy to overlook when focused purely on the renovation budget itself, but they add up meaningfully over a multi-week project and are worth planning for financially in advance rather than being surprised by them partway through.
Setting up a temporary kitchen that actually works
A functional temporary kitchen setup makes the weeks without a real kitchen considerably more livable. A folding table in a garage, dining room, or spare room, stocked with a microwave, a small refrigerator or cooler, a hot plate or portable burner, and a basic set of dishes and utensils, covers most everyday meals without needing to eat out for every single meal of the renovation. Setting this up before demolition begins, rather than scrambling once the kitchen is already unusable, avoids an unnecessarily stressful first few days of the project.
How long does an average kitchen renovation actually take from start to finish?
Including planning and material lead times, most full kitchen renovations take somewhere between two and four months total, though the more disruptive, hands-on construction portion, from demolition through cabinet installation, usually only spans four to six weeks of that overall timeline.

What’s the single biggest cause of kitchen renovation delays?
Cabinet and countertop lead times are consistently the most common cause of delay, since these materials are often ordered on a schedule set by the manufacturer or fabricator rather than your contractor’s availability, and any shipping or production delay pushes the entire remaining timeline back accordingly.
Can I speed up my kitchen renovation timeline?
Choosing in-stock cabinets rather than custom or semi-custom options, ordering all materials as early as possible, and confirming permit requirements before demolition begins are the most effective ways to shorten an otherwise typical renovation timeline.
Should I move out during a kitchen renovation?
Most households stay in their home during a kitchen renovation, using a temporary setup like a folding table, a microwave, and a mini fridge in another room to manage the weeks without full kitchen access. Moving out entirely is usually only necessary for a very extensive renovation involving significant structural changes throughout much of the home.
How should I budget for the disruption beyond the renovation cost itself?
Set aside extra funds for additional takeout or dining out, disposable dishware to reduce reliance on a working sink, and a basic temporary kitchen setup with a microwave and small refrigerator. These practical costs are easy to overlook but add up meaningfully across a multi-week renovation.
A kitchen renovation timeline is rarely as short as the first number you hear, mostly because cabinet and countertop lead times, permit inspections, and the occasional surprise behind an old wall all add real time that’s easy to overlook when you’re excited to get started. Understanding the actual sequence, planning and ordering, demolition, rough-in work, finishing trades, and building in a reasonable buffer from the start, sets you up for a renovation that feels manageable rather than constantly behind schedule.
Our own renovation’s extra five weeks came almost entirely from cabinet lead time and one delayed inspection, both of which I now know to plan around from the very start. If you’re just beginning your own kitchen renovation, order your cabinets and countertop material the moment your design is finalized, well before demolition day, and you’ll avoid the single most common reason these projects run long.