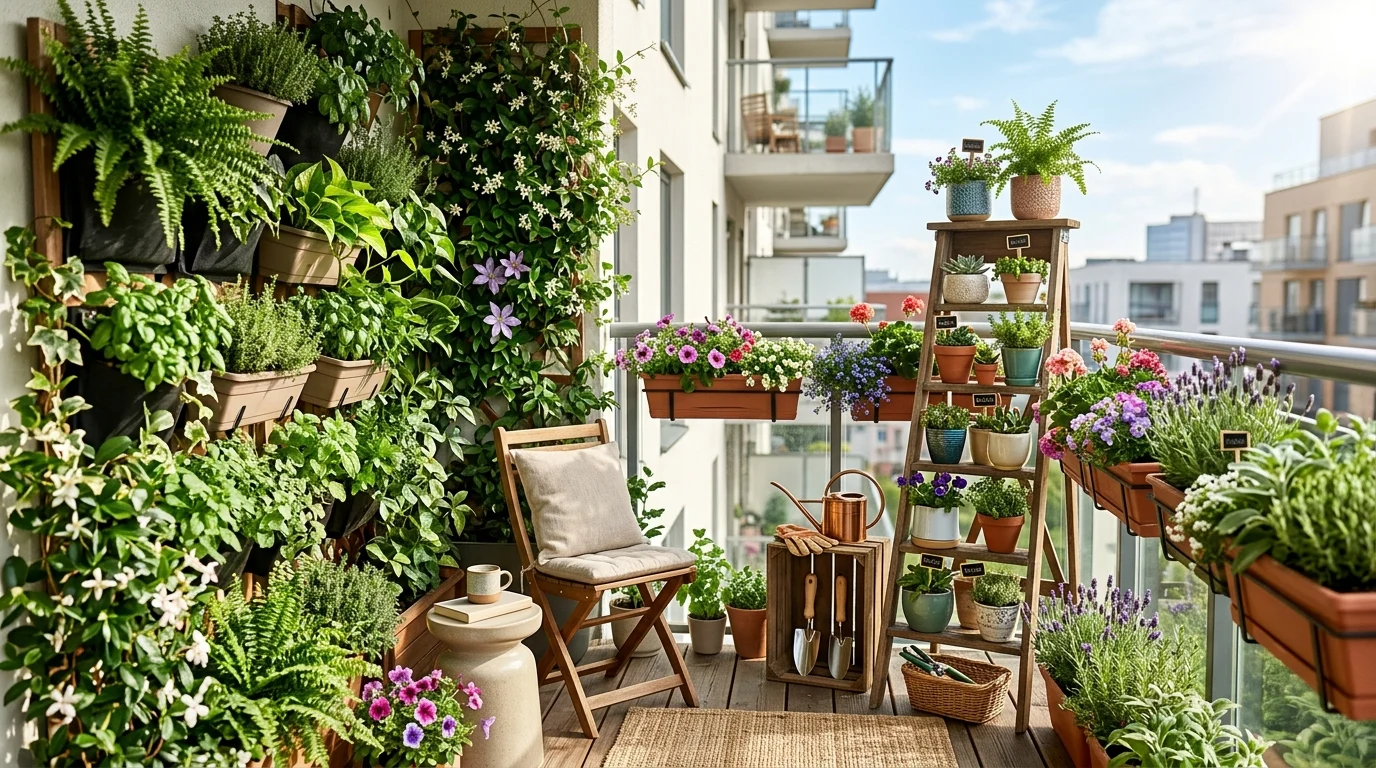
I spent two summers trying to fit a real garden onto a balcony with about twelve square feet of floor space, and both summers I gave up around July, frustrated by how few plants I could actually fit before the whole space felt like an obstacle course. The floor was full, the plants were competing for what little light reached them once they were crowded together, and I still had a friend’s houseplant collection I’d been wanting to take on with nowhere left to put it.
Related Reading
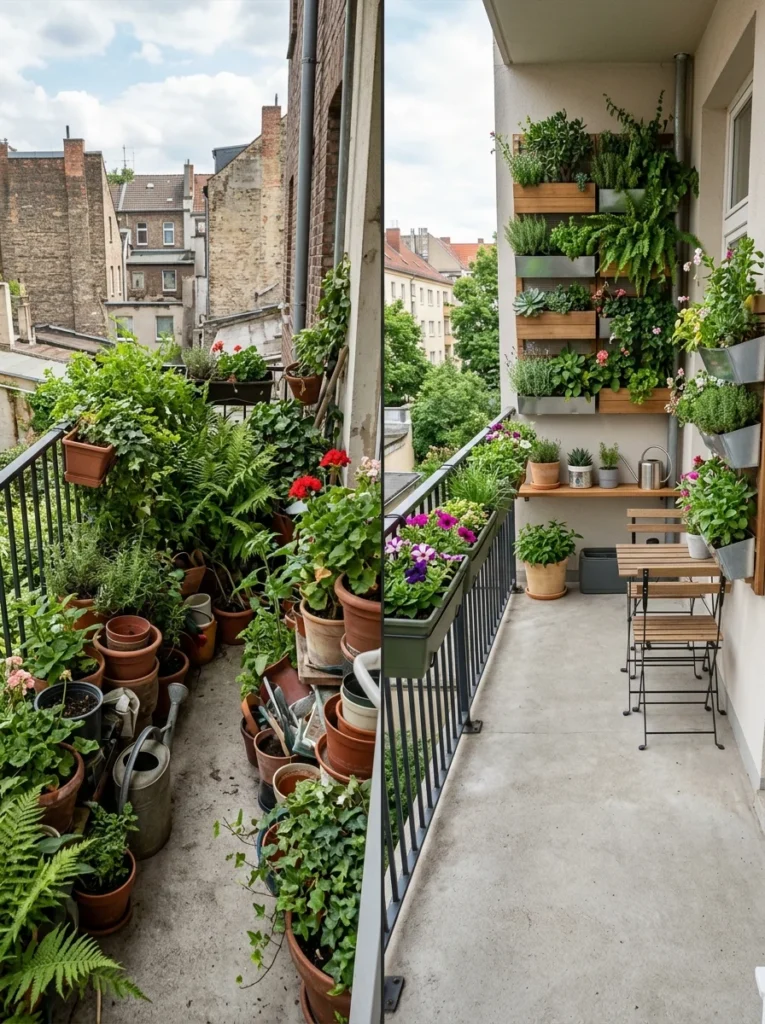
The fix, once I actually tried it, was almost embarrassingly simple: stop growing outward and start growing upward. My walls and railings had been sitting completely empty the whole time, representing more usable growing area than my entire floor. This guide walks through exactly how I built that vertical setup, step by step, so you can skip the two wasted summers and go straight to a balcony that actually holds a proper garden.
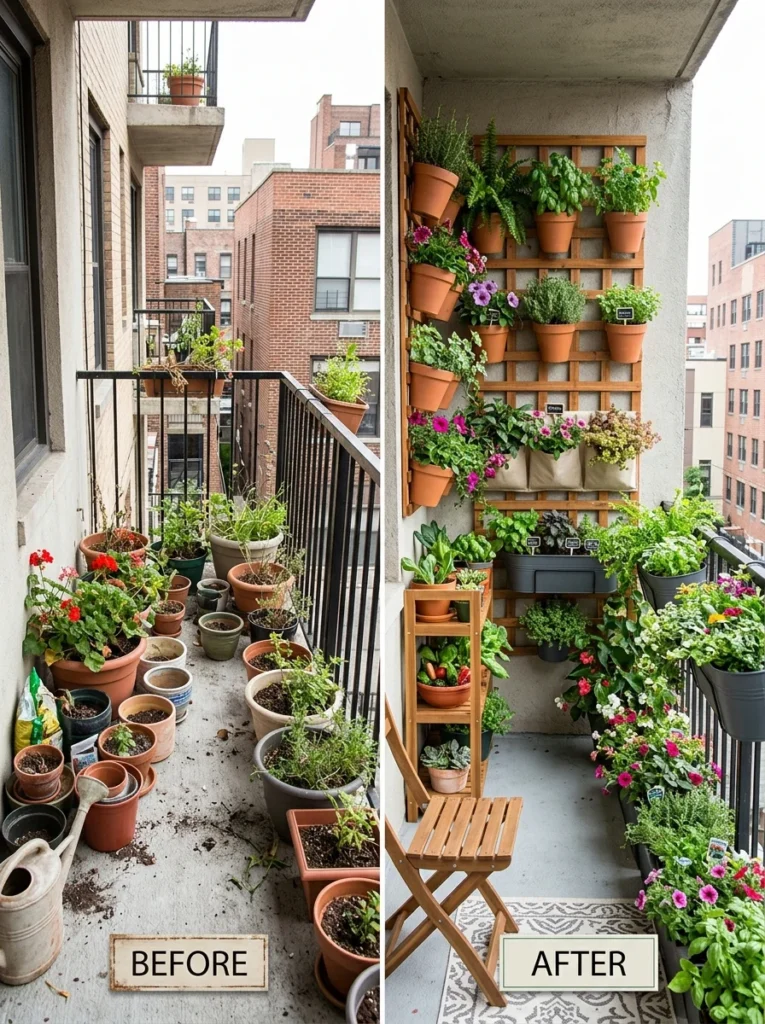
Step 1: Audit your vertical surfaces before buying anything
Before buying a single planter, walk your balcony and identify every vertical surface you have to work with: the railing, at least one wall, possibly the underside of a roof overhang or the balcony above you if you’re not on the top floor. Note the material of each surface, since it determines what you can mount and how, a metal railing takes clip-on planters easily, while a solid wall may need drilled anchors or a freestanding structure that leans against it instead.
Also check how much sun each vertical surface gets, since a wall-mounted system in full shade will need very different plants than a sunny railing. This audit takes about fifteen minutes and tells you exactly which systems from the next few steps will actually work for your specific balcony, rather than guessing.
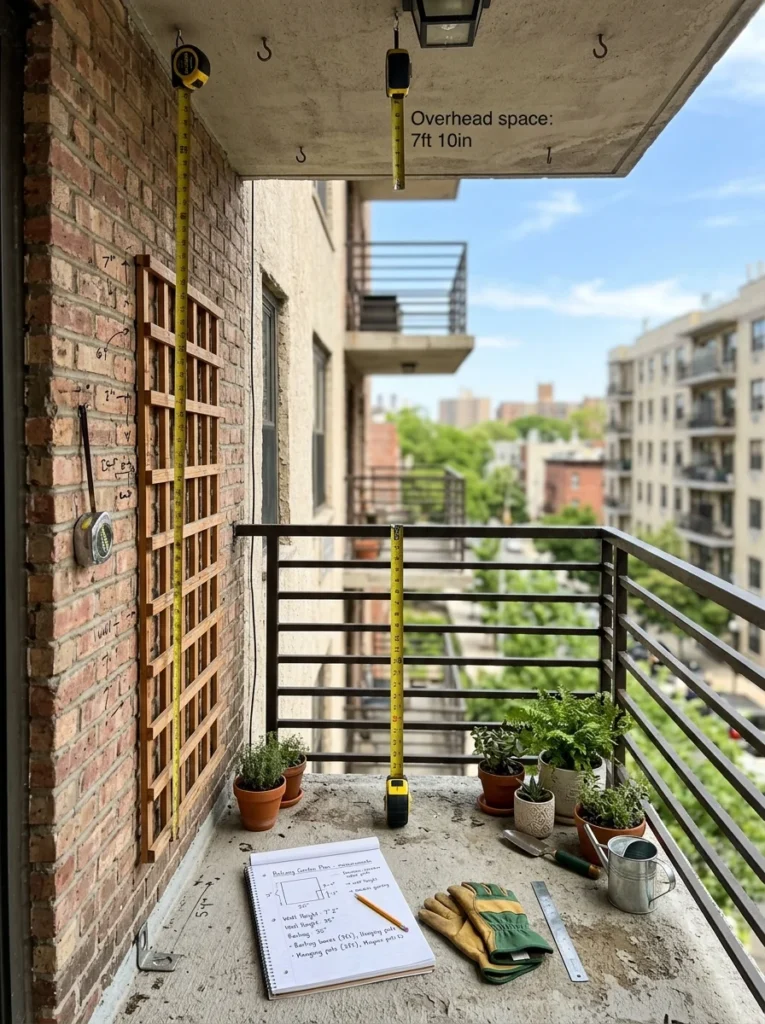
Step 2: Choose your primary vertical system
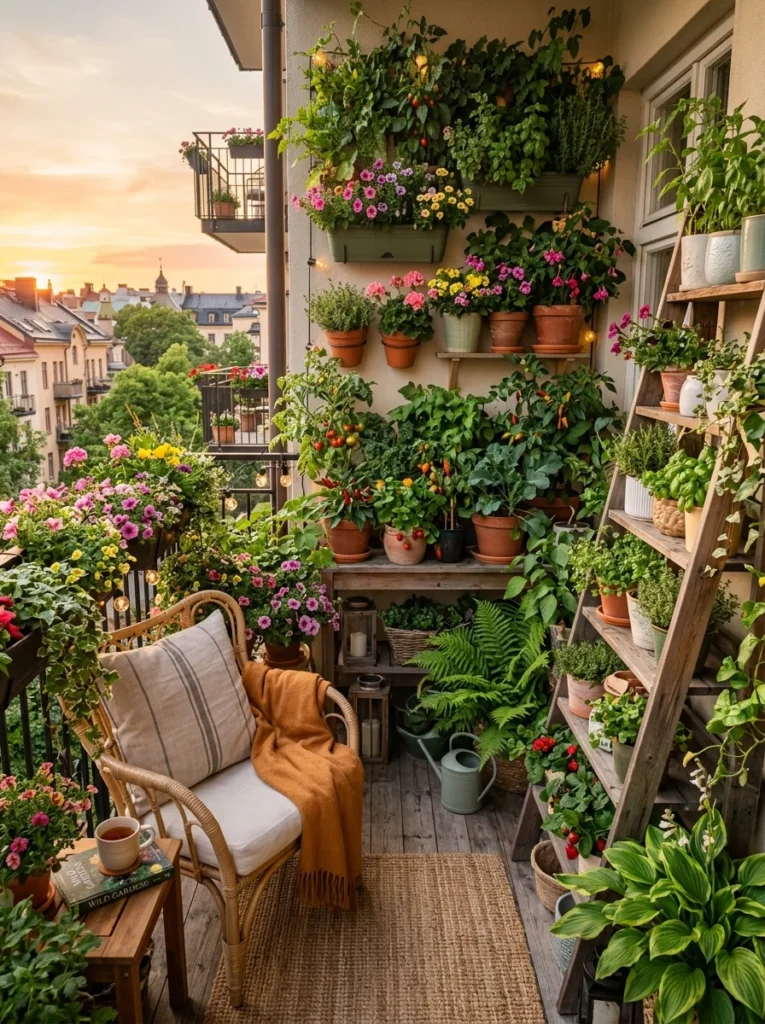
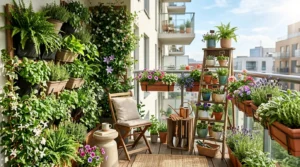
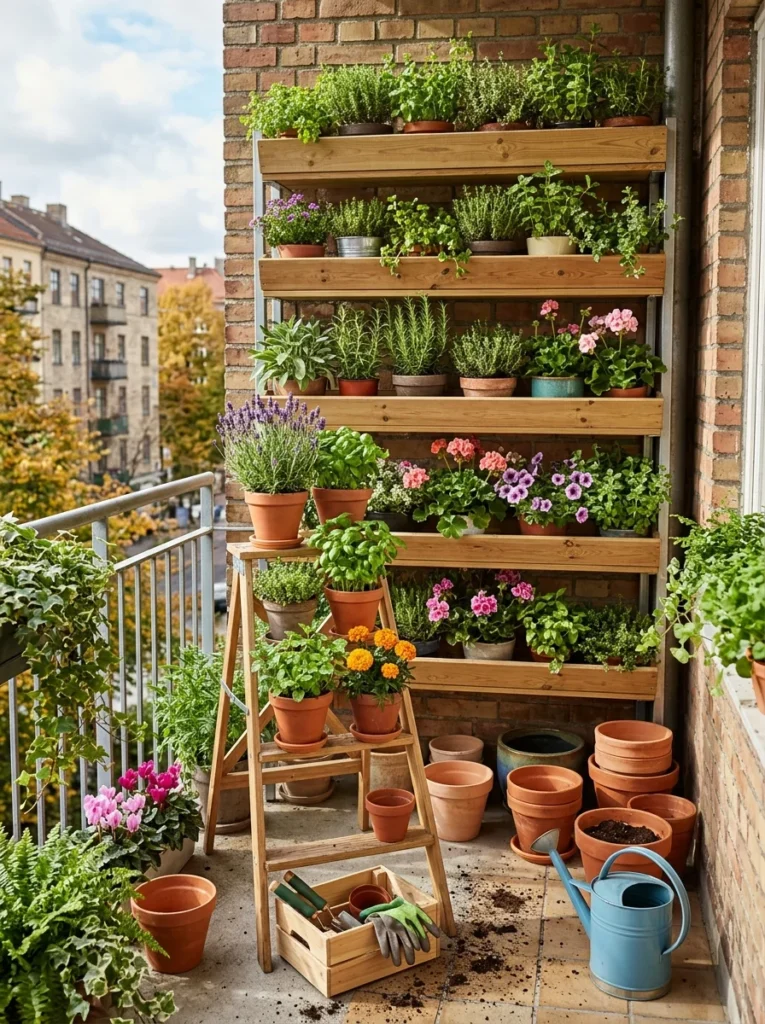
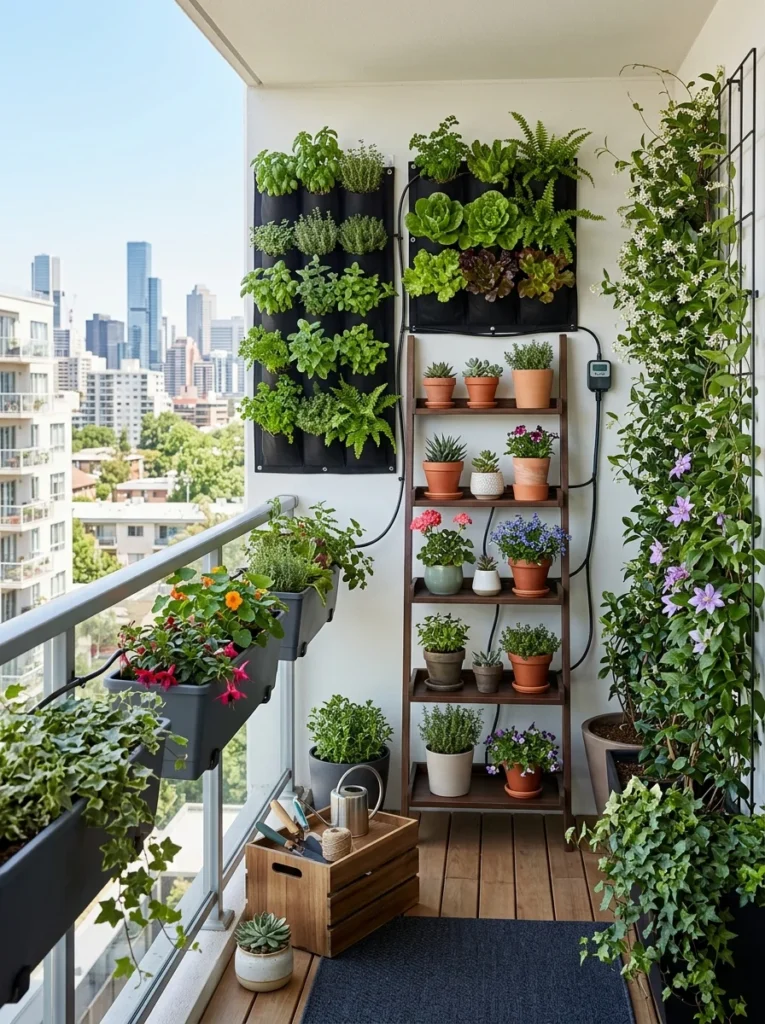
There are three main types of vertical growing systems, and most balconies end up using a combination rather than just one. A railing planter system, boxes or pockets that clip directly onto the balcony railing, is the easiest to install and needs no wall attachment at all. A wall-mounted system, pocket panels, a modular grid with hanging pots, or simple mounted brackets, uses vertical wall space that would otherwise sit empty. A freestanding vertical structure, a ladder shelf, a tiered plant stand, or an A-frame trellis, works when you can’t or don’t want to attach anything to the building at all, which makes it the most rental-friendly option of the three.
For my own balcony, I ended up combining a railing system for trailing plants and a freestanding ladder shelf for potted herbs, since my walls were shared with a neighbor and I didn’t want to drill into them. Choose based on what your walls, railing, and lease actually allow, rather than picking whichever system looks best in photos.
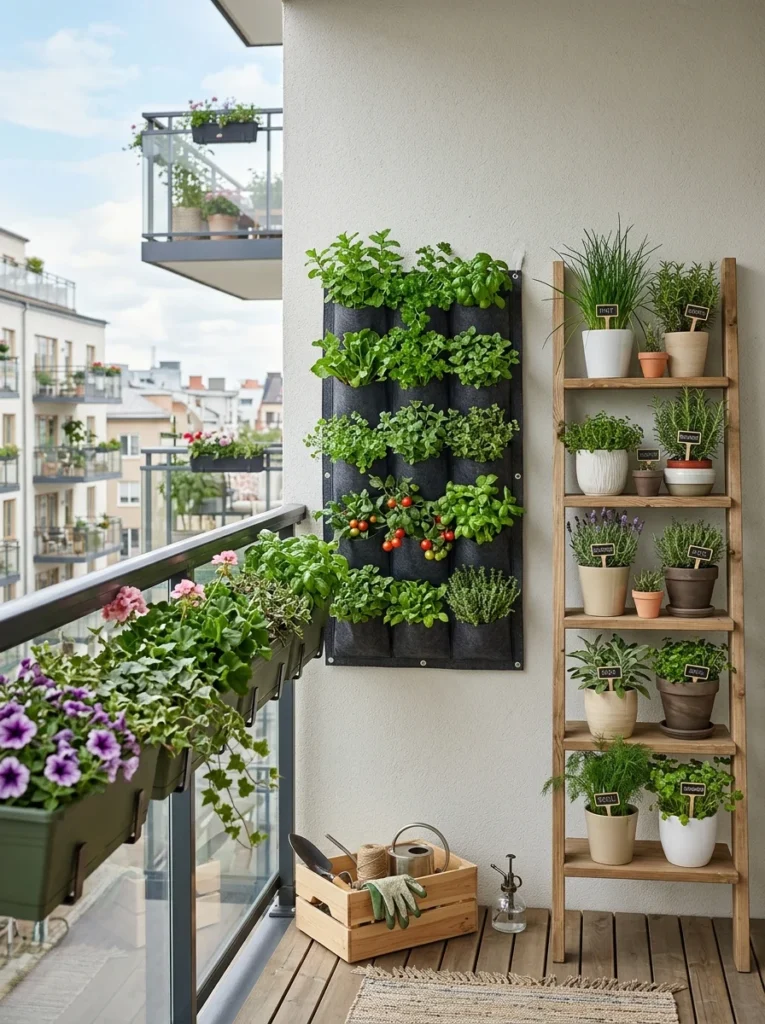
Step 3: Check weight limits before installing anything
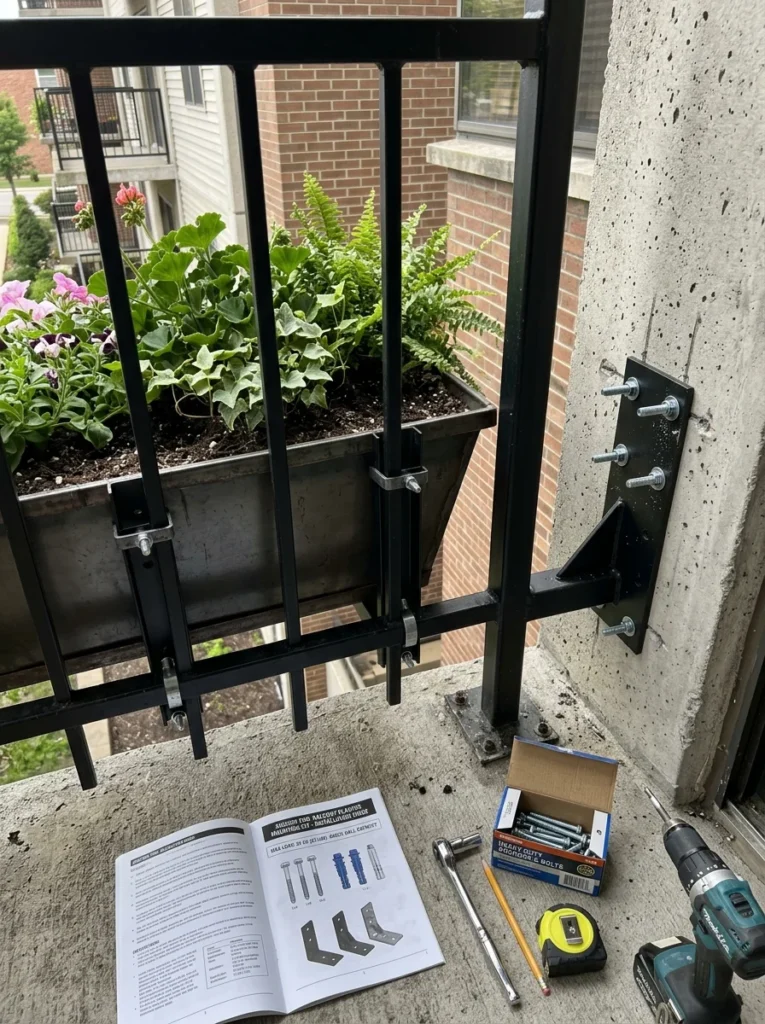
Wet soil is heavy, and a vertical system loaded with multiple filled planters adds up faster than it looks like it should. Check the manufacturer’s stated weight limit for any railing-mounted system, and don’t exceed it even if the railing looks sturdy, since the rating accounts for stress over time and in wind, not just a single moment of holding still. For wall-mounted systems, use anchors rated for the actual weight of the loaded planters, not just the empty hardware, and for freestanding structures, make sure the base is stable and can’t tip when fully loaded and hit by a gust of wind.
Step 4: Install the structural frame first, empty
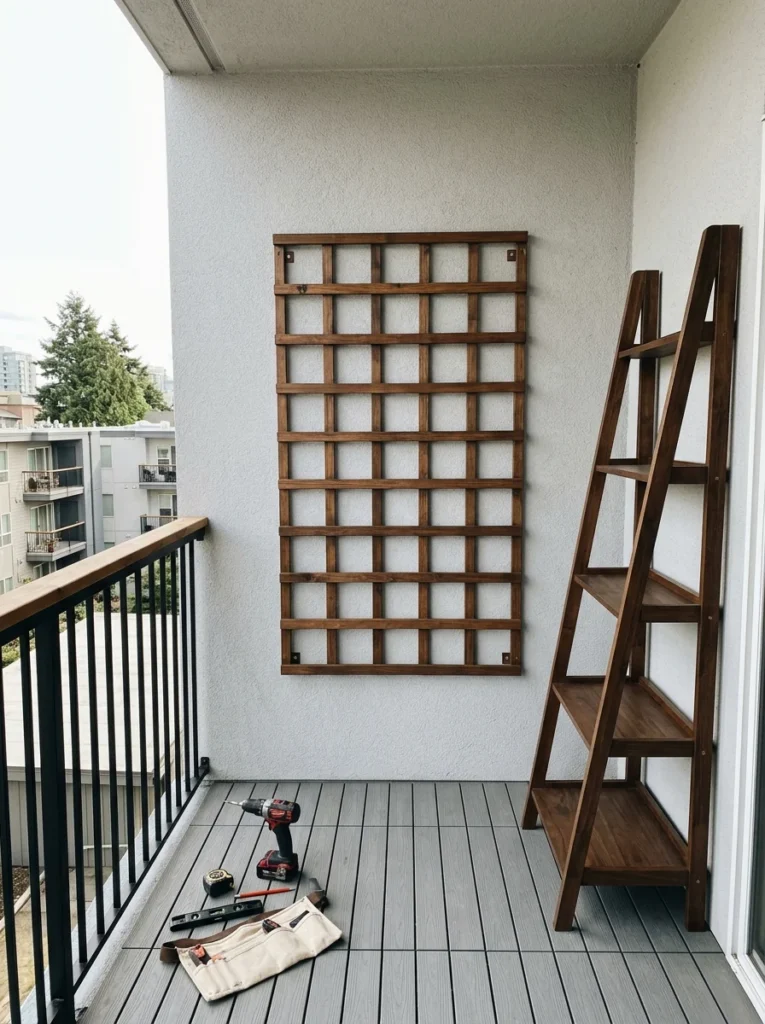
Mount your chosen system, the railing brackets, the wall grid, or the freestanding shelf, completely empty before adding a single plant. This lets you confirm it’s level, securely attached, and positioned where you actually want it, without the added weight and mess of soil and plants making adjustments harder. It also gives you a clear, accurate picture of exactly how much growing space you now have, which makes the next step, choosing plants, much easier to plan properly.
Step 5: Match plants to each tier’s light and depth
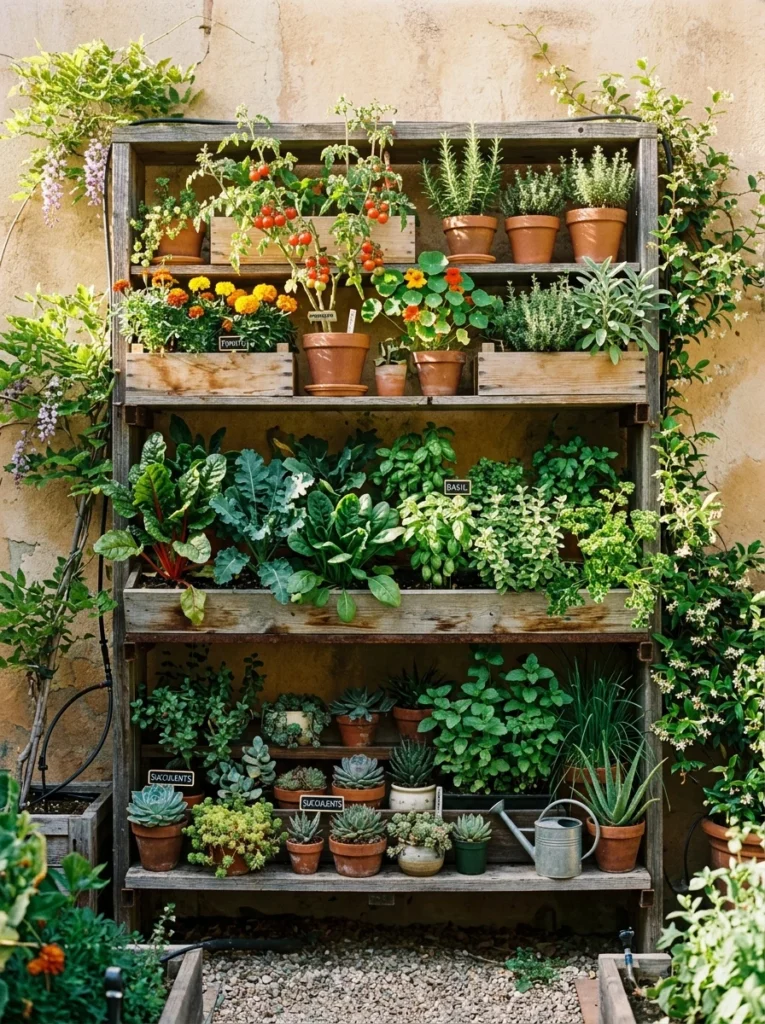
A vertical system rarely gets uniform light across every level, the top of a wall grid may get more direct sun than the bottom, and a shelf under a roof overhang gets different light than one out in the open. Walk your newly installed structure at a few different times of day and note which sections get direct sun and which stay shaded, then assign plants accordingly, sun-loving herbs and flowers up top or in the brightest spots, shade-tolerant leafy greens or ferns in the dimmer sections.
Also consider the depth of each pocket or pot on your system. Shallow wall pockets suit herbs and succulents with compact root systems, while anything with a deeper root system, like a small tomato variety, needs a proper pot rather than a shallow wall pocket, and is usually better suited to a floor-level or railing planter with more soil volume.
Step 6: Start planting from the top down
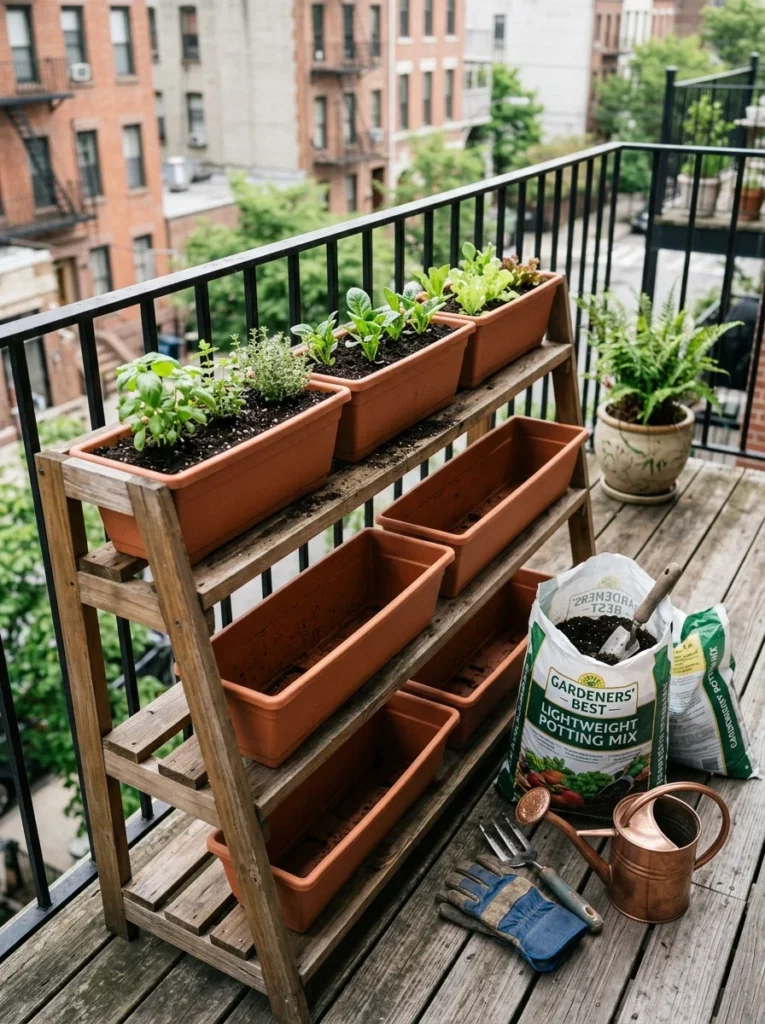
Once your plants are chosen, plant from the top of the structure downward. This keeps soil and water from spilling onto plants you’ve already finished potting below, and it lets you spot and fix any drainage issues on upper levels before they become a problem for whatever sits underneath. Use a lightweight potting mix rather than garden soil throughout, since it drains properly and doesn’t add unnecessary weight to a structure that’s already carrying more than a single ground-level bed would.
Step 7: Set up a watering routine that accounts for gravity
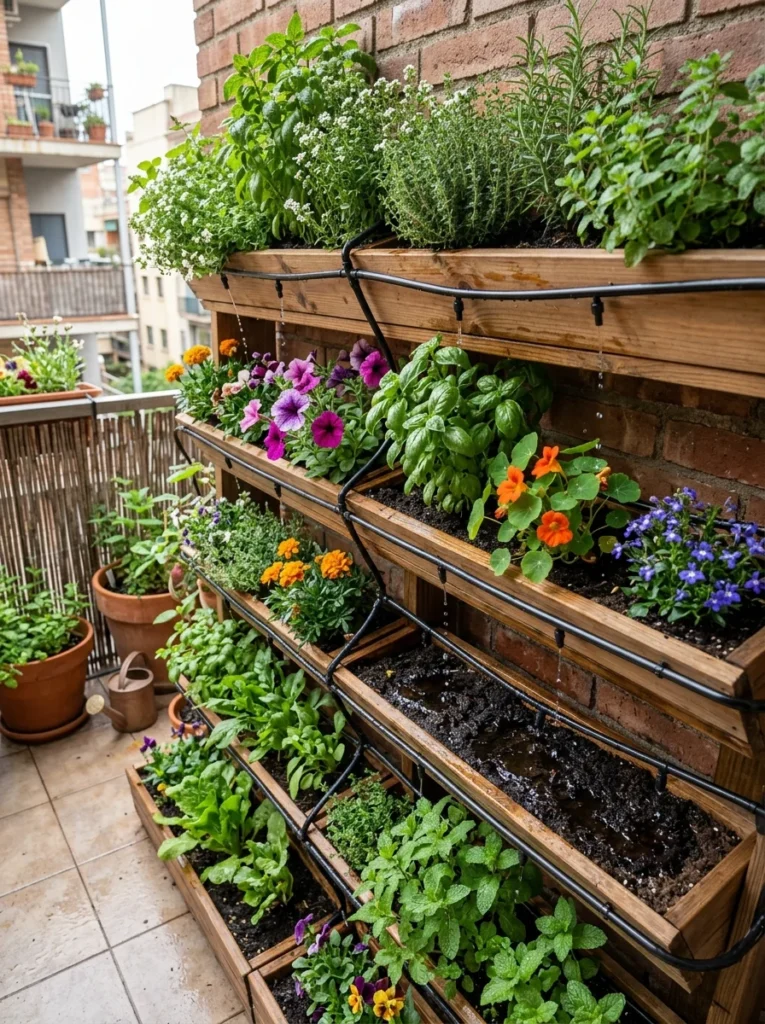
Vertical systems dry out unevenly, upper levels often dry faster because of increased sun and air exposure, while runoff from watering upper pockets can sometimes overwater whatever sits directly below. Water each level individually rather than assuming one watering session evenly covers the whole structure, and check the soil with a finger on each tier separately before deciding whether it needs water that day. A drip irrigation kit designed for vertical gardens, which many hardware stores sell as a simple tubing and emitter set, can automate this unevenness away if you’re managing more than a handful of pockets.
Step 8: Add support ties for anything that climbs or trails heavily
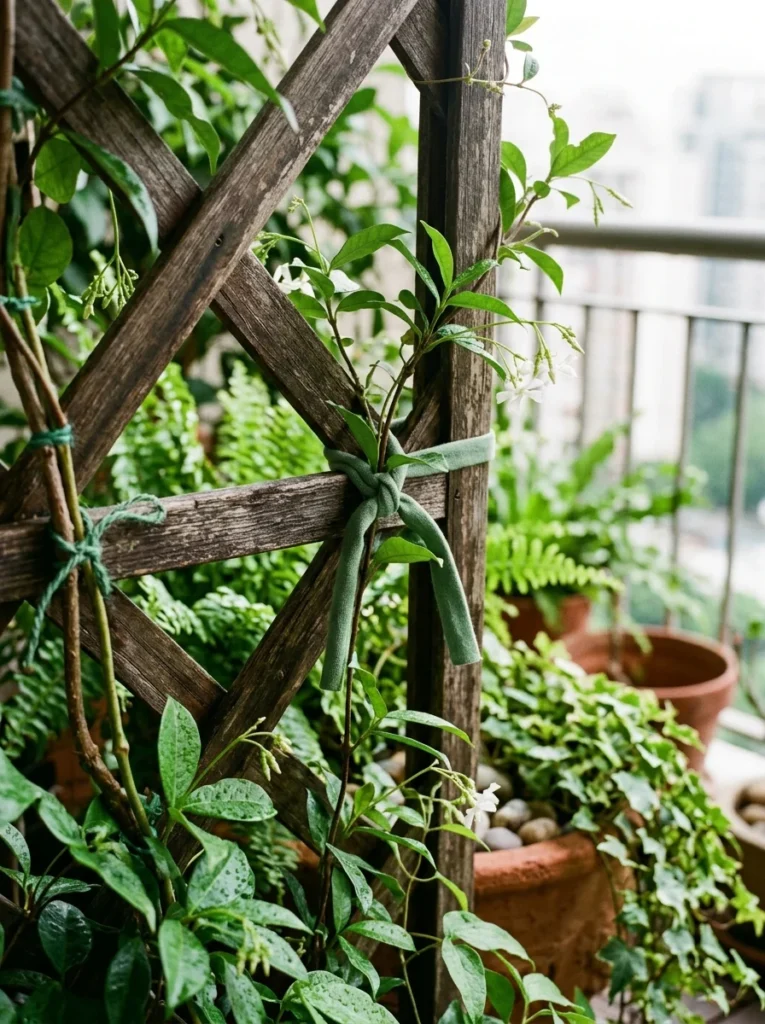
As trailing and climbing plants grow, their weight shifts and can pull pockets or hanging pots out of position if they’re not secured. A few soft plant ties, looped loosely around a main stem and the support structure, keep growth directed the way you want and prevent a heavy, mature plant from tearing loose from a wall pocket or clip. Check these ties every few weeks during peak growing season, since stems thicken and ties that were loose in spring can become too tight by midsummer.
Step 9: Rotate and rebalance the system seasonally
As the growing season progresses, some plants will outgrow their spot on the structure while others stay compact, and the balance of sun across the structure can shift as the angle of the sun changes through the year. Periodically reassess which plants are thriving where, and don’t hesitate to move a struggling plant to a different tier or swap two plants’ positions if one is clearly better suited to the other’s spot. Vertical systems are more flexible than an in-ground bed in this respect, since most components are designed to be removed and repositioned easily.
Step 10: Plan for winter or off-season maintenance
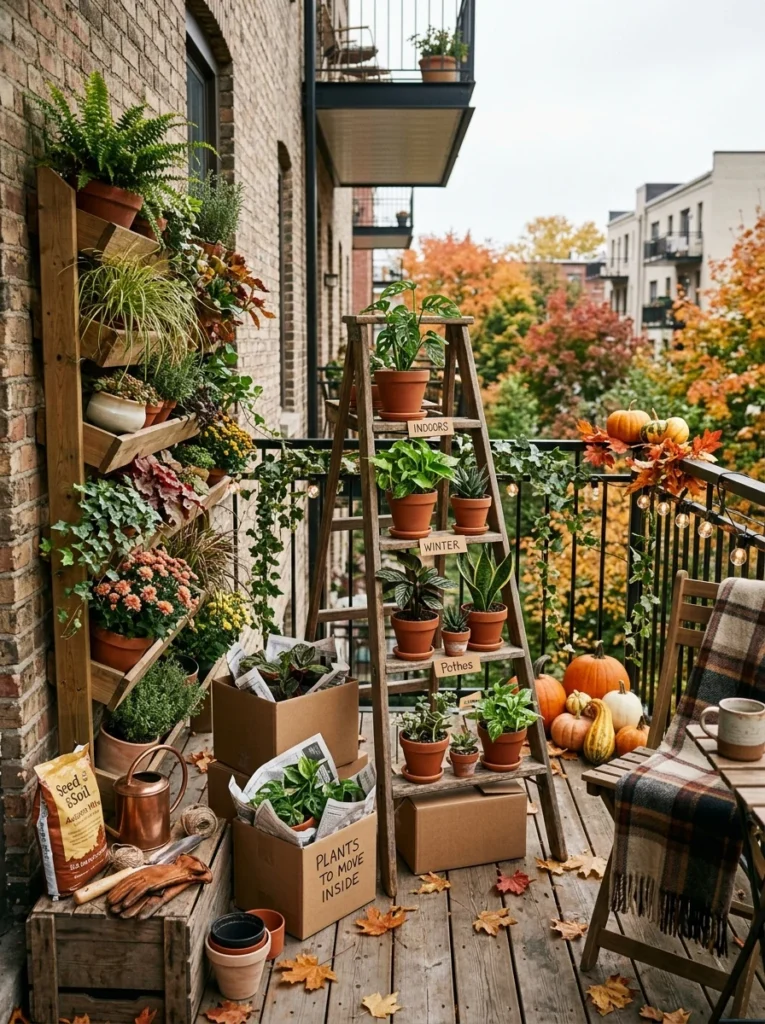
Depending on your climate, some plants on a vertical system will need to come indoors, be replaced with hardier options, or simply be left to go dormant for winter. Decide this at setup rather than as an afterthought, since it affects which system you choose, a freestanding shelf can be moved or partially disassembled for winter far more easily than a permanently mounted wall grid can. If your climate allows year-round growing, this step is less critical, but it’s still worth checking whether your plant choices need any seasonal adjustment as daylight hours change.
Mistakes that cost me two wasted summers
My core mistake for those first two summers was never really the plants themselves, it was assuming my balcony simply didn’t have enough space for a real garden, when in fact I’d only ever considered the floor. The walls and railing had been empty the entire time, representing more usable area than the floor ever offered. Once I started thinking in three dimensions instead of two, the space problem essentially disappeared.
The second mistake, once I did go vertical, was installing everything at once without checking weight limits first. My first wall-mounted pocket system pulled loose from its anchors within a month because I’d loaded it well beyond what the anchors were rated for. Checking and respecting weight limits from the start, even when it means starting with fewer plants than you’d like, saves you from having to redo the whole installation later.
Common vertical balcony gardening questions
What is the best vertical gardening system for a small balcony?
The best system depends on what your balcony allows: railing-mounted planters are the easiest to install and need no wall attachment, wall-mounted grids or pocket panels maximize growing area on an otherwise empty wall, and freestanding ladder shelves or A-frame stands work well for renters who can’t drill into anything. Many small balconies end up combining two of these systems rather than relying on just one.
How much weight can a balcony railing hold for planters?
This varies significantly by building and railing material, so always check the manufacturer’s stated weight limit for any railing planter system you buy, and avoid exceeding it even if the railing looks sturdy. When in doubt, distributing weight across a freestanding structure instead of relying entirely on the railing is the safer choice.
Do vertical garden systems need special watering?
Yes, vertical systems tend to dry out unevenly between tiers, so each level typically needs to be checked and watered somewhat individually rather than assuming a single watering session covers the whole structure evenly. A simple drip irrigation kit can automate this for larger vertical setups.
Can I use a vertical garden system if I rent my apartment?
Yes, freestanding structures like ladder shelves, tiered plant stands, and A-frame trellises need no attachment to the building at all, making them the most rental-friendly vertical gardening option. Clip-on railing planters are also generally renter-friendly, though it’s worth checking your specific lease before installing anything.
Growing up instead of out
A small balcony’s real limitation is rarely its total square footage; it’s how much of that space actually gets used. Walls and railings that sit empty represent growing area that’s just as real as the floor, and setting up a proper vertical system, checked for weight, matched to your light conditions, and watered with the unevenness of gravity in mind, can multiply what a small balcony is able to grow.
The balcony that frustrated me for two summers now holds more plants than I ever managed at floor level alone, and none of it required more square footage than I’d always had. If you’re feeling boxed in by a small balcony’s floor space, start by auditing your walls and railing before you assume there’s no room left. There almost always is, it’s just been empty the whole time, waiting to be used.