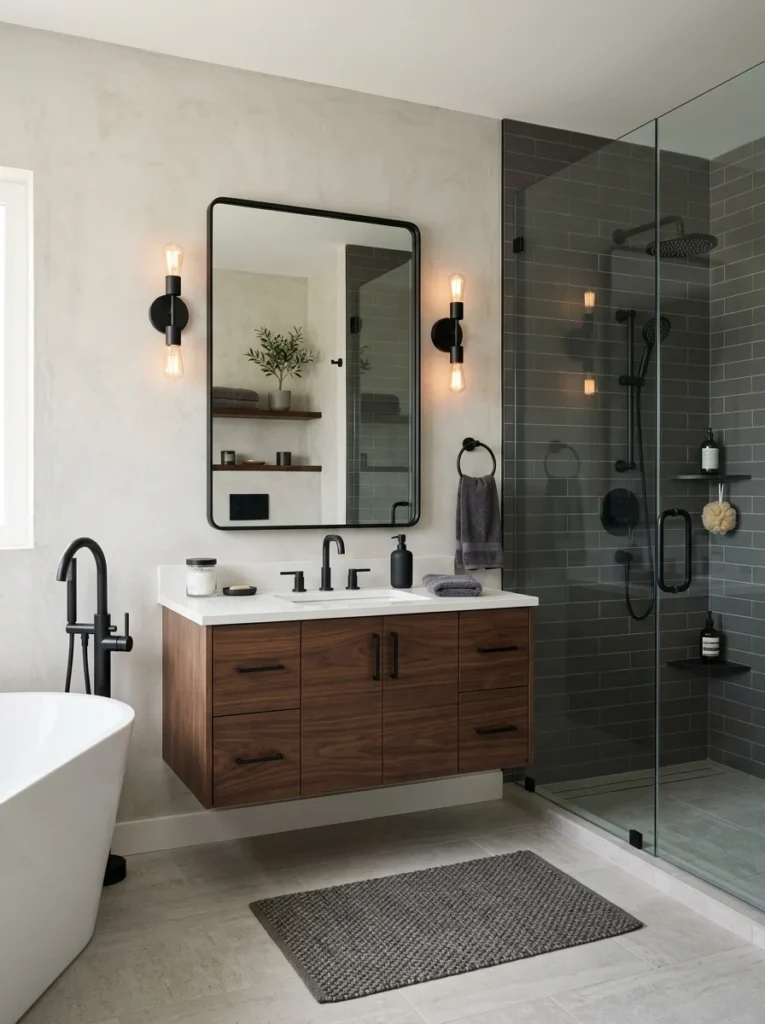
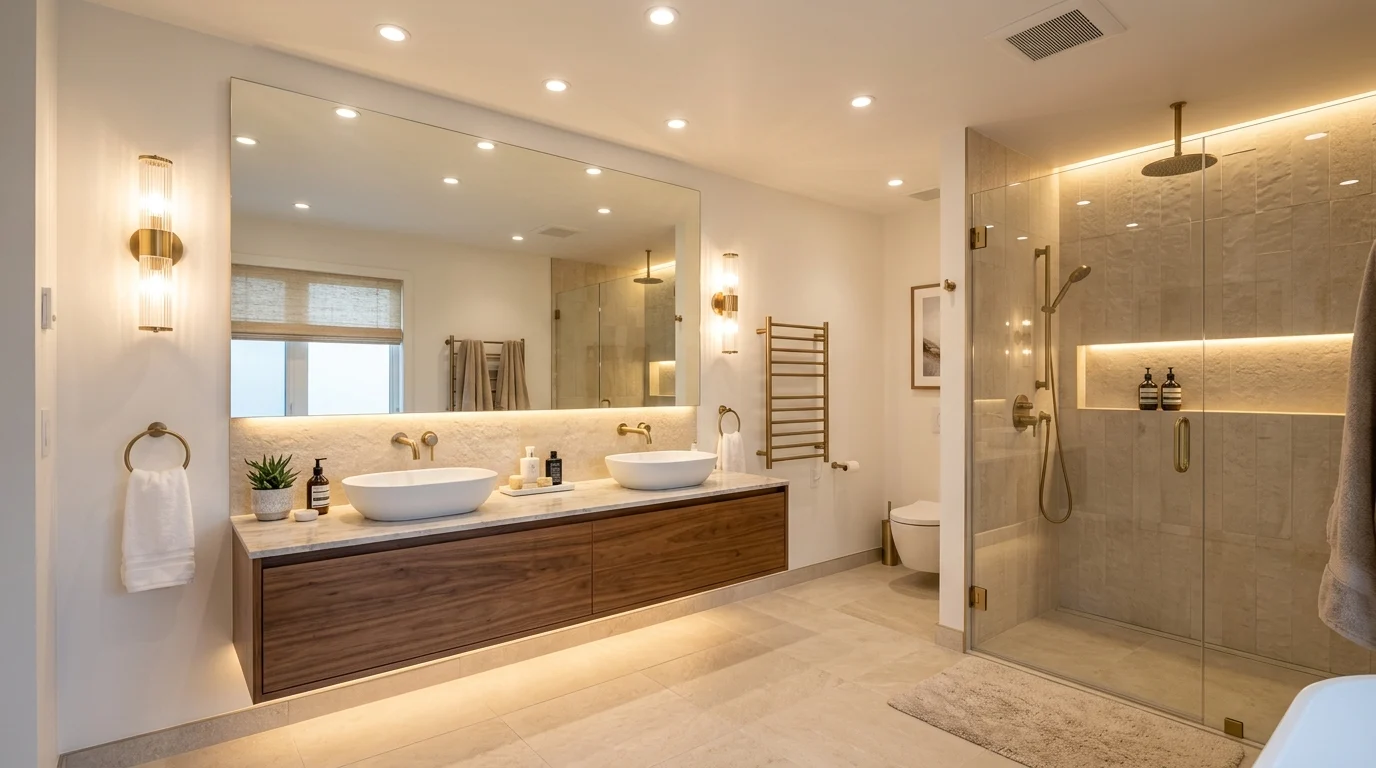
For years, my bathroom had exactly one light source: a single strip of bulbs mounted above the mirror. I didn’t think much about it until I tried doing my makeup one morning and realized half my face was in shadow no matter which way I turned. It wasn’t until a friend who works in interior design walked through my bathroom and pointed out, almost immediately, that I had zero actual lighting plan, just one fixture doing a job meant for three or four, that I understood why the room had always felt slightly off, even though I could never quite put my finger on why.
Good bathroom lighting isn’t about buying one nice fixture; it’s about layering several types of light so the room works well for every task performed in it, shaving, applying makeup, showering, relaxing in a bath, while also looking genuinely well designed rather than clinical or flat. Here’s how to actually build that layered approach, piece by piece, whether you’re planning a full renovation or just want to fix a bathroom that currently relies on a single overworked fixture.
Understand the three layers of lighting
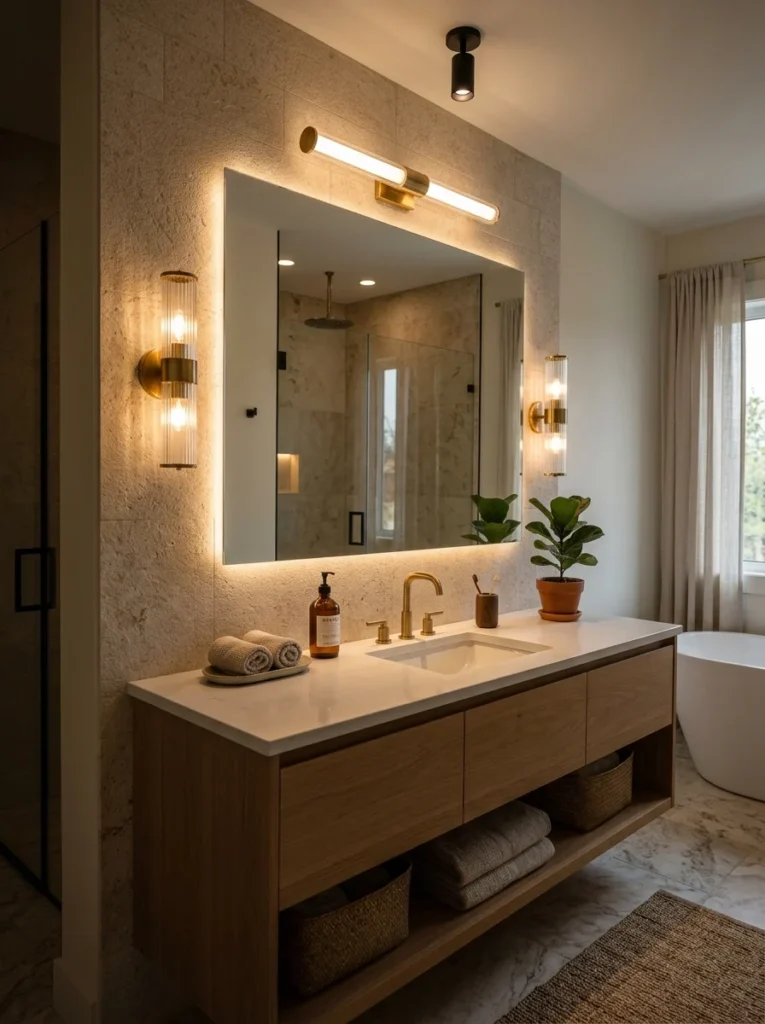
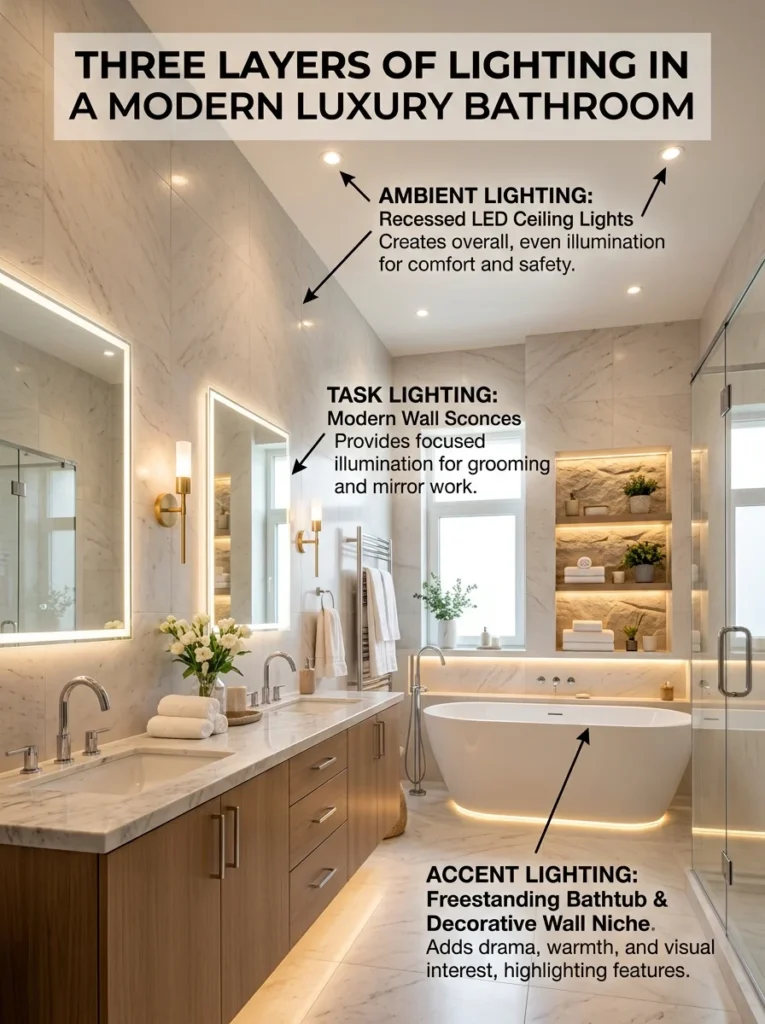
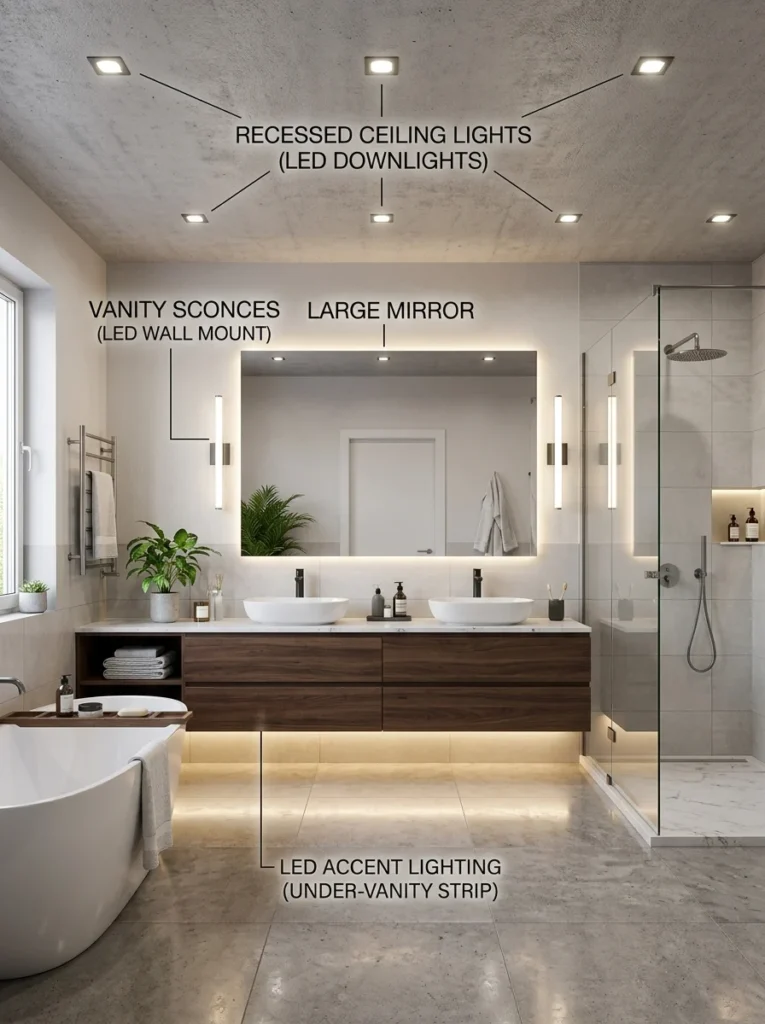
Professional lighting design generally breaks a room into three layers: ambient lighting, which provides overall general illumination; task lighting, which is focused, bright light for specific activities like grooming; and accent lighting, which adds visual interest and highlights specific features. Most under-lit or poorly lit bathrooms are relying on only one of these layers, usually ambient, to do the job of all three, which is exactly why a single central fixture so often leaves a room feeling flat and shadowy despite technically providing light.
Ambient lighting: the foundation of the room
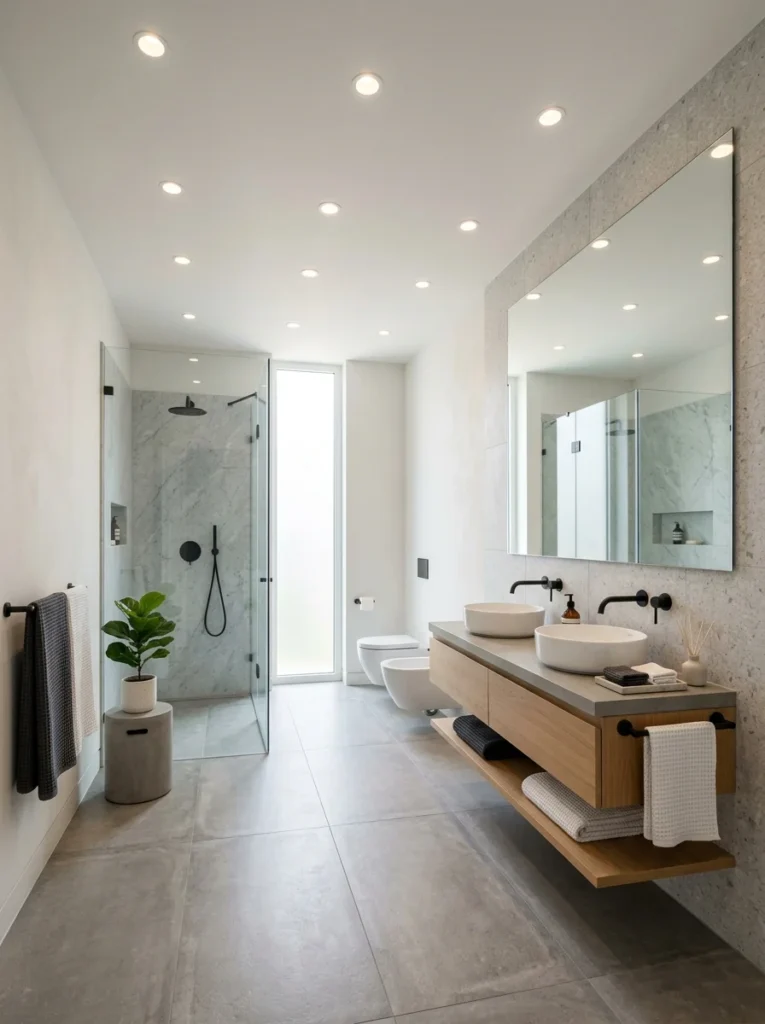
Ambient lighting provides the general, overall brightness of the room and is usually delivered through ceiling-mounted fixtures like recessed can lights, a flush-mount fixture, or a small chandelier in a larger bathroom. The goal of this layer is even, comfortable brightness across the whole space without harsh shadows in the corners. In a small to medium bathroom, two or three well-placed recessed lights usually provide sufficient ambient coverage, while a larger bathroom may need additional fixtures or a slightly higher lumen output to avoid dim spots.
Task lighting: where most bathrooms fall short
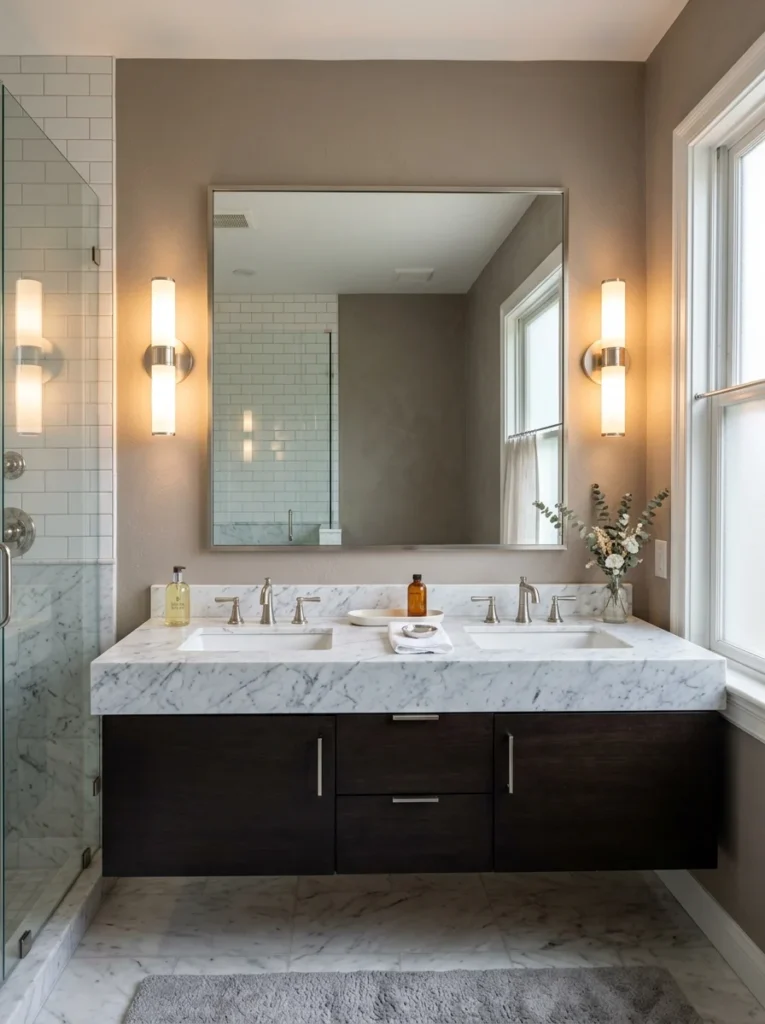
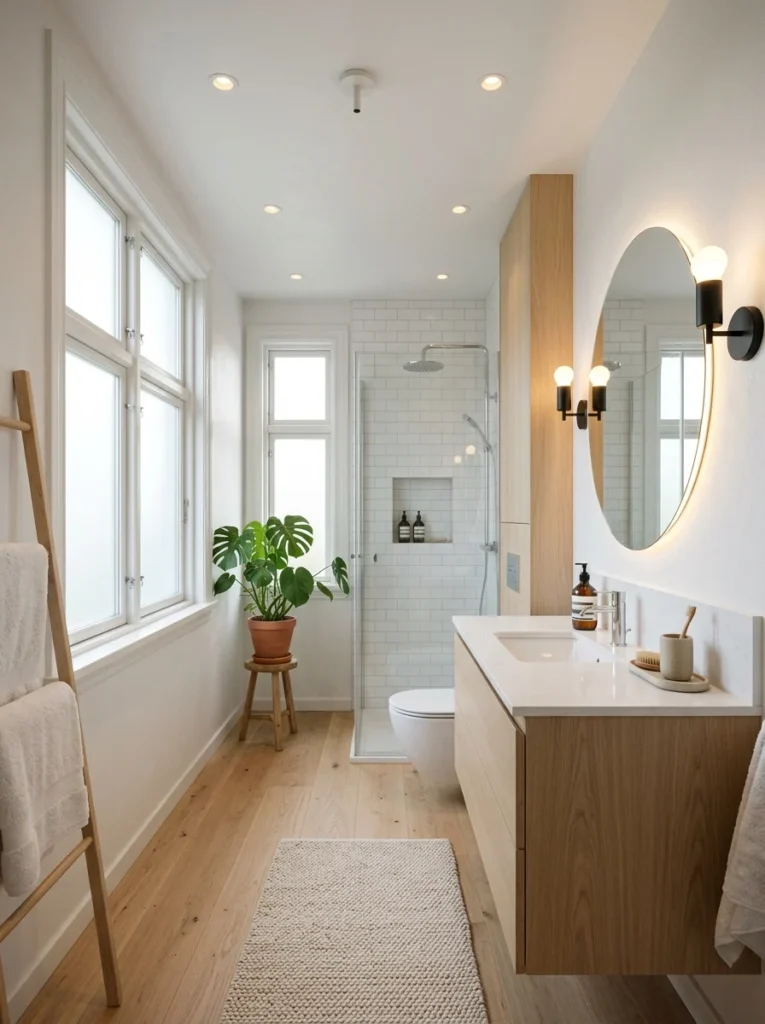
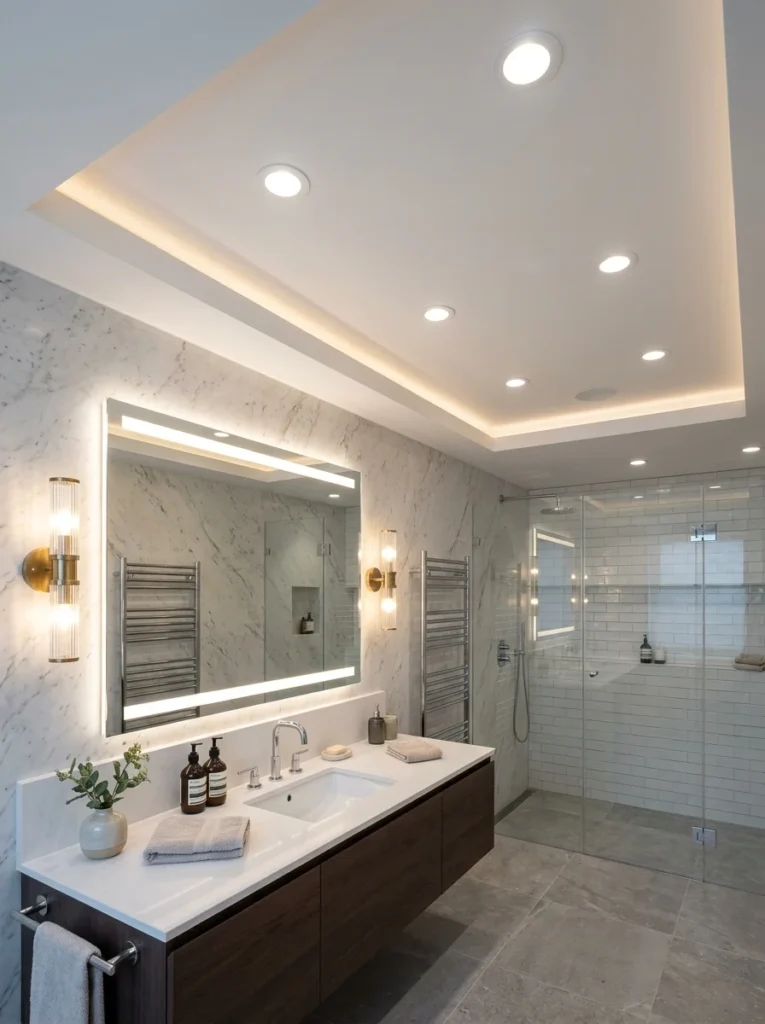
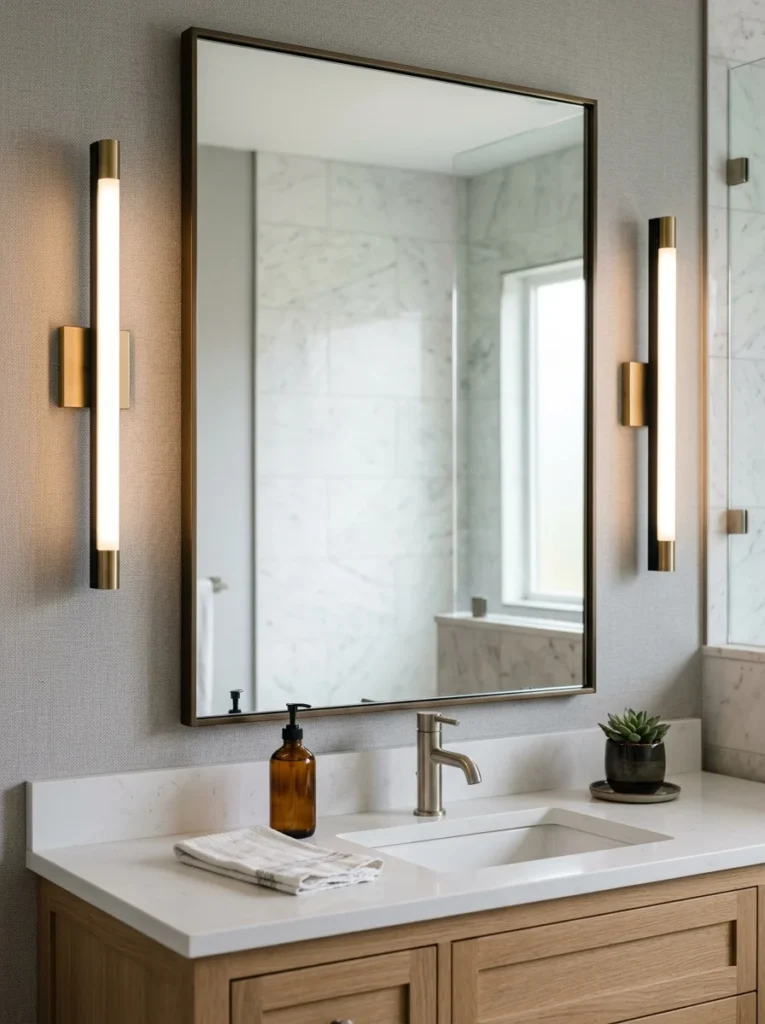
Task lighting is the layer most commonly missing or poorly executed, and it’s the one that matters most for daily grooming tasks like shaving or applying makeup. The mistake I made for years, a single light strip mounted above the mirror, actually creates unflattering shadows under the eyes, nose, and chin, since the light comes from only one direction and from above. The better approach is placing sconces or vertical light strips on either side of the mirror at roughly face height, which illuminates the face evenly from both sides and eliminates the harsh downward shadows a single overhead or top-mounted fixture creates. If side lighting isn’t possible due to plumbing or space constraints, a well-lit mirror with an integrated LED ring or edge light is a strong alternative that surrounds the face with even light rather than casting it from a single point above.
Accent lighting: the layer that adds character
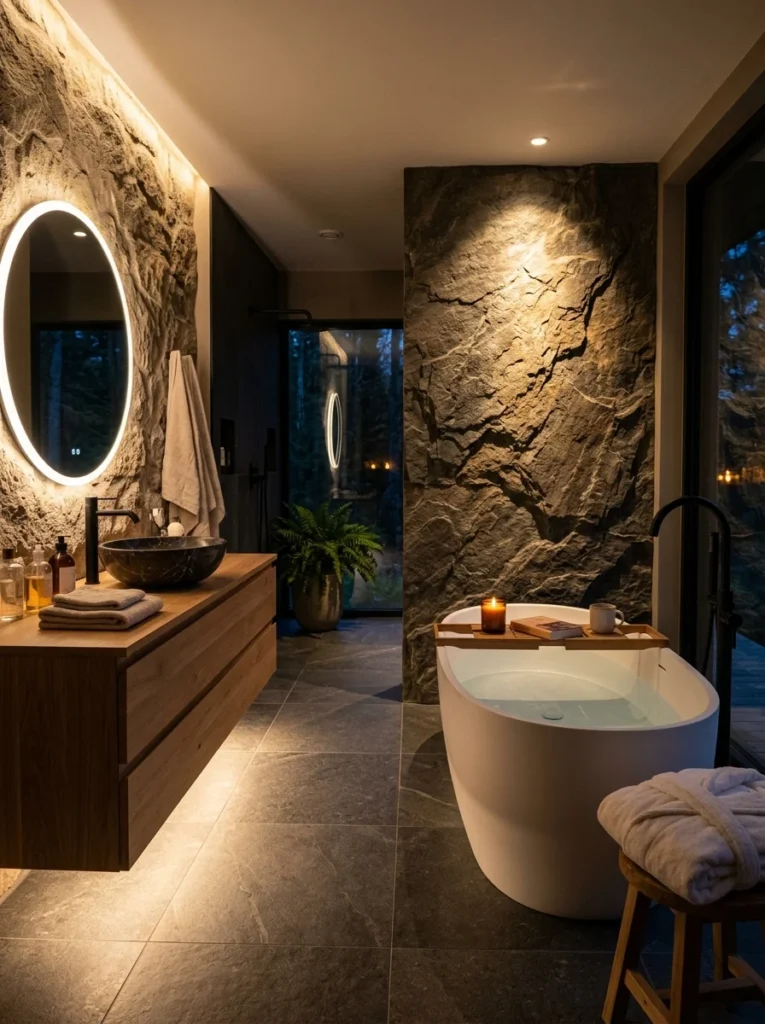
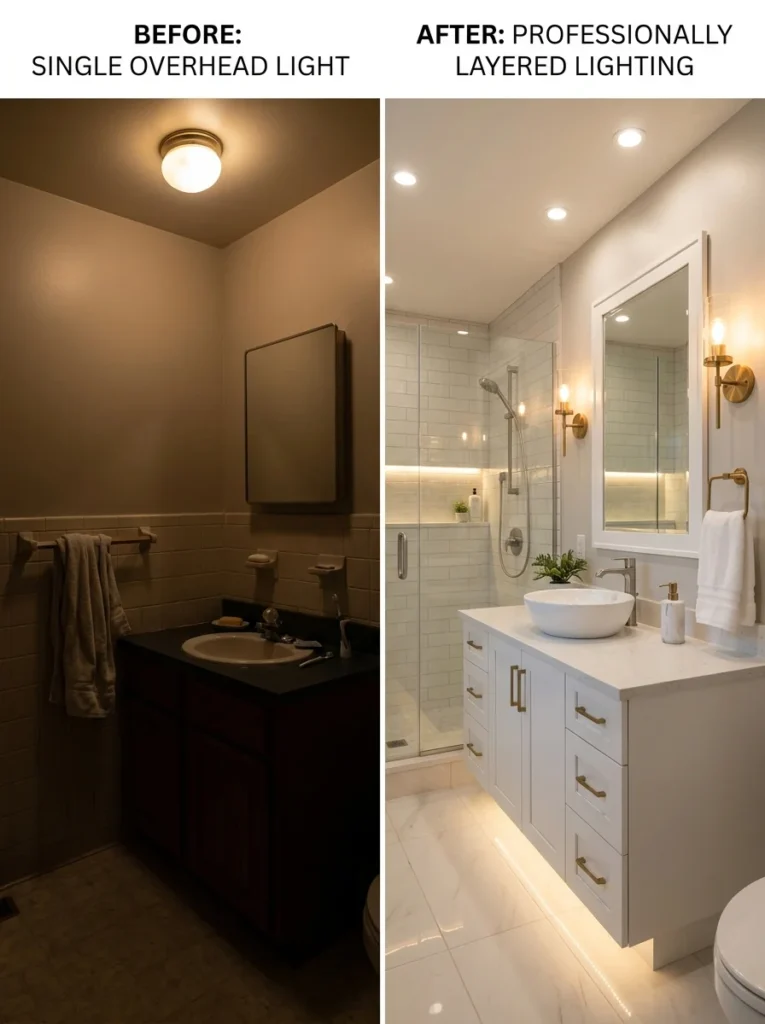
Accent lighting is the smallest but often most visually impactful layer, used to highlight a specific feature, a piece of art, an interesting tile pattern, a freestanding tub, or a niche, rather than to light the whole room. A small directional light aimed at a textured accent wall, a warm strip light inside a floating vanity’s toe-kick space, or a pendant light above a freestanding tub all fall into this category. This layer isn’t strictly necessary for a functional bathroom, but it’s what elevates a room from purely practical to genuinely well designed, giving it a sense of depth and intention that flat, single-source lighting never achieves.
Choose the right color temperature
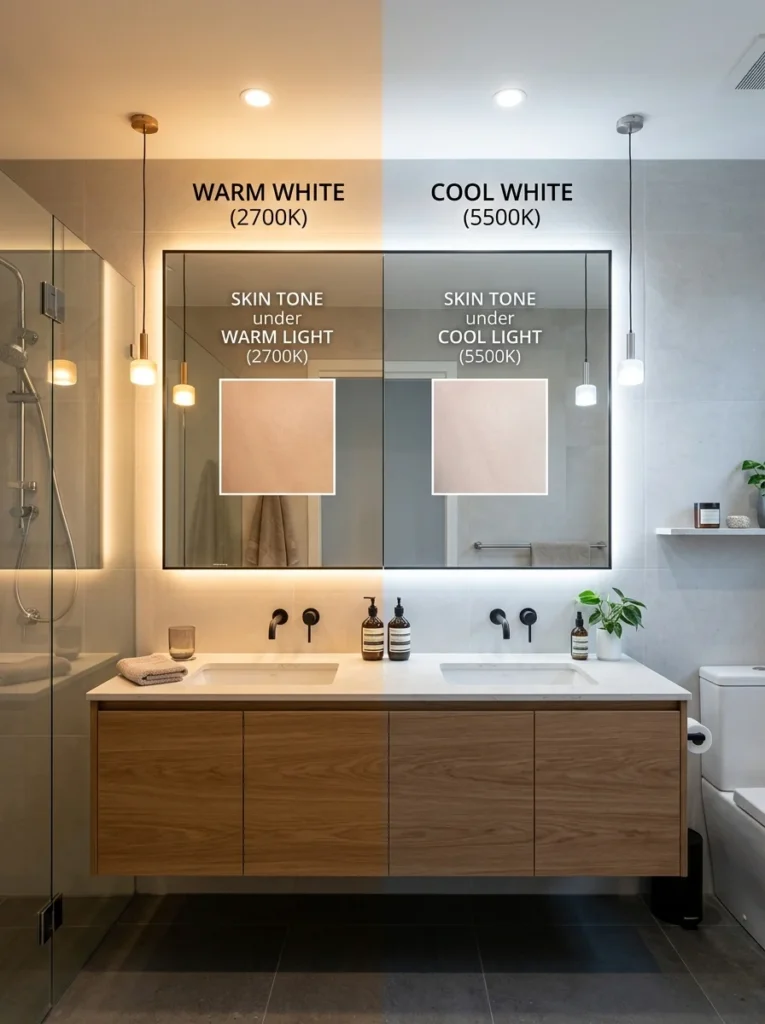
Color temperature, measured in Kelvin, has a significant effect on both mood and how accurately a bathroom mirror reflects true skin tones and colors. A warmer light, generally in the range associated with cozy, residential spaces, feels more inviting and flattering for most skin tones, while a cooler, bluer light can feel more clinical, though it can also make colors and details appear crisper, which some people prefer for tasks like applying makeup precisely. A reasonable approach for most bathrooms is choosing a warm-to-neutral light for ambient and accent fixtures, then considering a slightly cooler, more neutral light specifically at the vanity if color accuracy for makeup or grooming is a priority.
Add dimmers for flexibility throughout the day
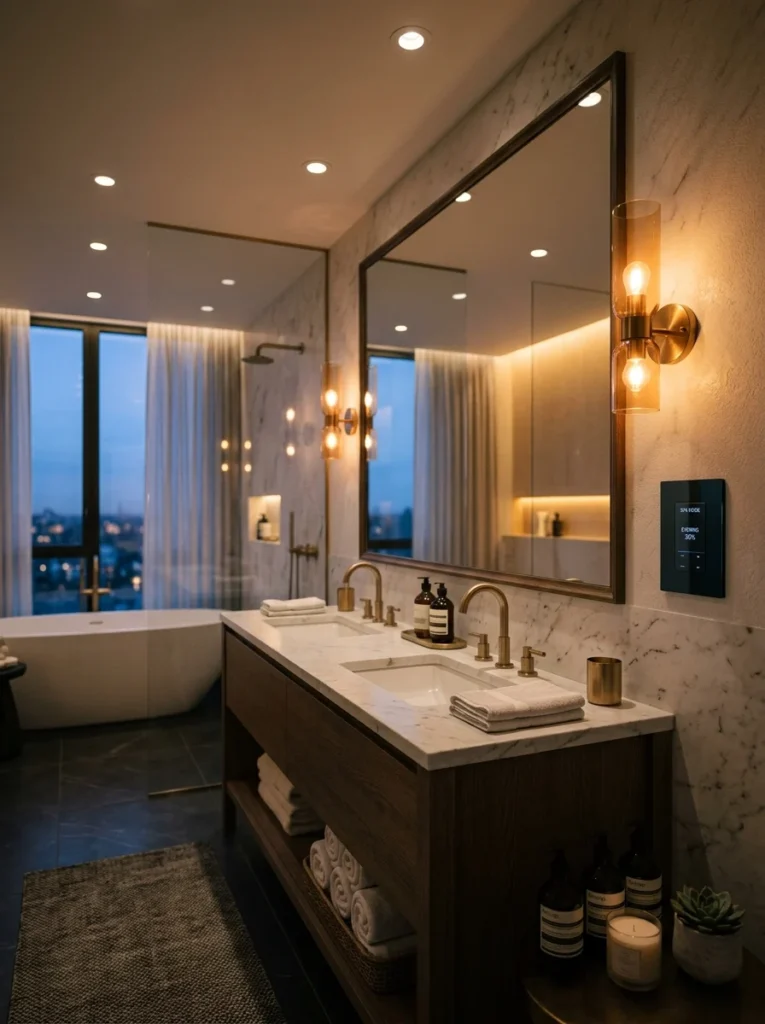
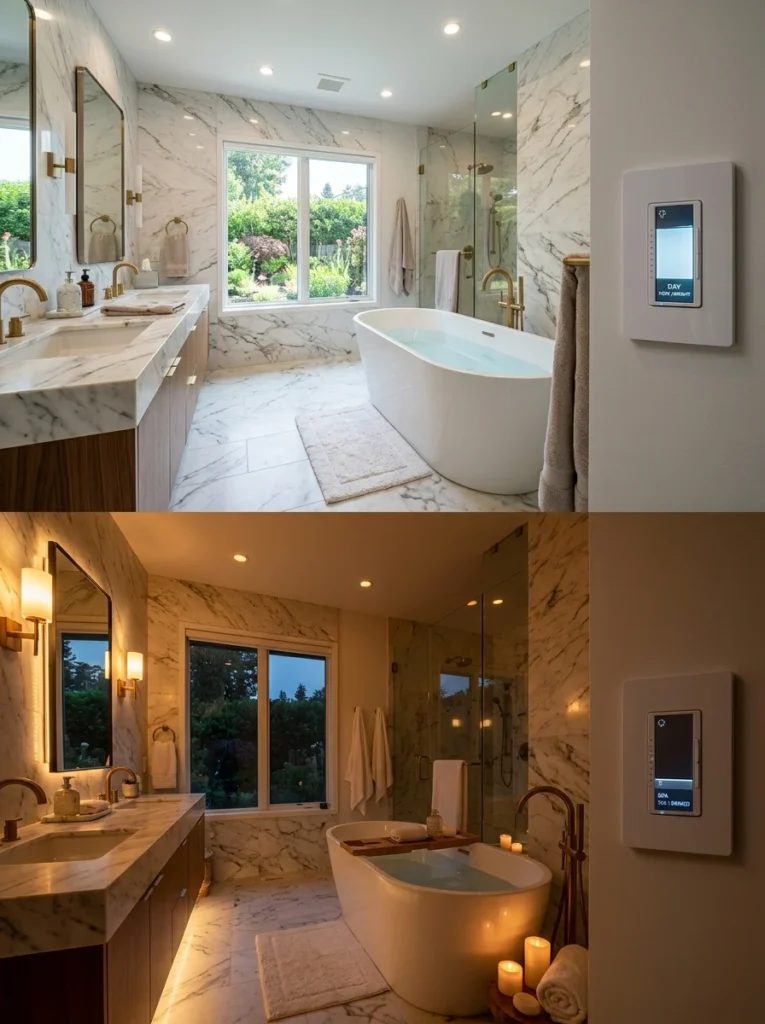
A bathroom serves very different purposes throughout the day, a bright, energizing space in the morning versus a calmer, dimmer one for an evening bath, and dimmer switches let the same fixtures serve both moods without needing separate lighting systems. Installing dimmers on at least the ambient and accent layers, if not all three, is a relatively inexpensive upgrade that adds significant flexibility, and it’s especially useful for anyone who uses the bathroom late at night or early in the morning without wanting a fully bright room immediately upon waking.
Plan lighting specifically around the shower and tub
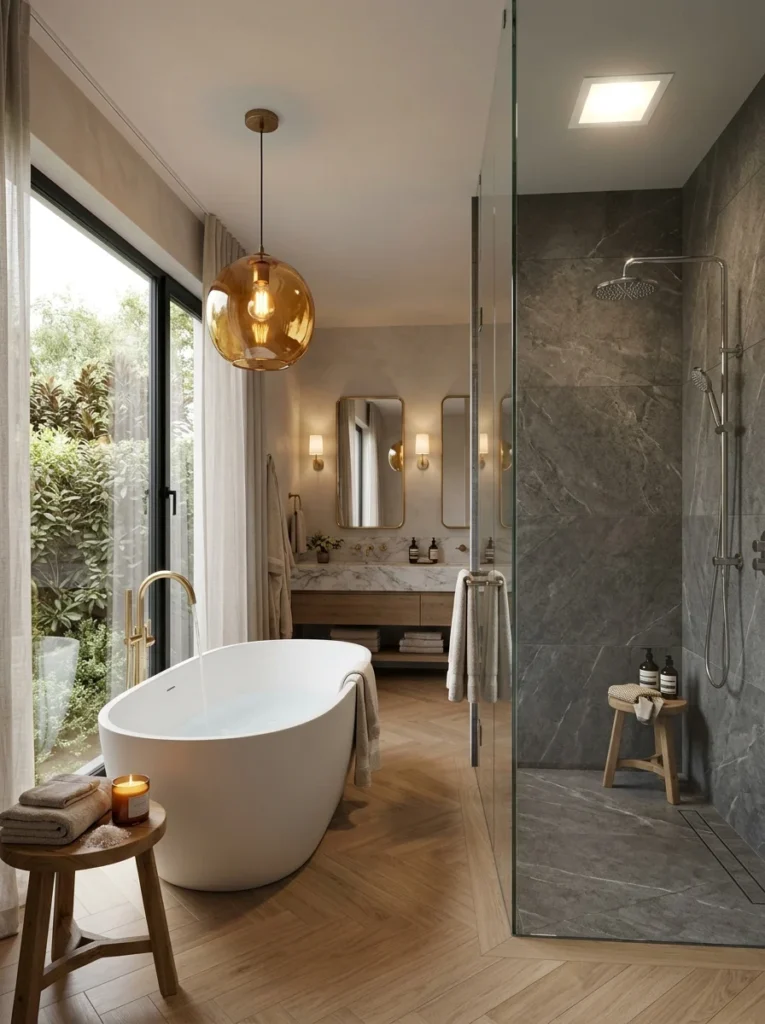
Wet areas require fixtures specifically rated for damp or wet locations, and it’s worth confirming this rating before installing any light inside or directly above a shower or tub. A recessed, wet-rated light directly above the shower ensures the space is well lit for washing and shaving, which is often an overlooked task-lighting need separate from the vanity mirror. Around a freestanding tub, a slightly dimmer, warmer accent light, rather than a bright, direct one, tends to support the more relaxing purpose that space typically serves.
Consider natural light as part of the overall plan
If your bathroom has a window or skylight, factor natural light into the overall lighting plan rather than treating artificial lighting as a completely separate consideration. A bathroom that’s bright and well-lit during the day from natural light may need less ambient artificial lighting than a windowless one, though task lighting at the mirror is still necessary regardless of natural light, since daylight direction and intensity change throughout the day and can’t be relied on for consistent, even grooming light.
Common lighting mistakes to avoid
Beyond relying on a single overhead fixture, a few other common mistakes undermine an otherwise well-planned bathroom. Placing task lighting only above the mirror, rather than on the sides as well, is one of the most frequent issues, since it recreates the same shadow problem regardless of how bright the single fixture is. Choosing fixtures with a low lumen output to save on the electric bill, rather than choosing efficient LED fixtures with adequate brightness, often leaves a room under-lit for years, since most people don’t think to reconsider a fixture’s brightness after installation. Finally, mismatched color temperatures across different fixtures in the same room, one warm, one cool, create a visually inconsistent, slightly uncomfortable feeling even when each individual fixture is functioning correctly on its own.
A simple layering plan for a typical bathroom
For a standard-sized bathroom, a workable starting layering plan looks like this: two to three recessed ceiling lights for ambient coverage, a pair of vertical sconces or a well-lit mirror at the vanity for task lighting, and one small accent fixture, a pendant, a toe-kick light, or a directional accent light, for visual interest. Adding dimmers to the ambient and vanity circuits rounds out the plan, giving you a room that’s genuinely functional for daily tasks while still feeling intentional and well designed rather than purely utilitarian.
Match fixture finishes to your hardware
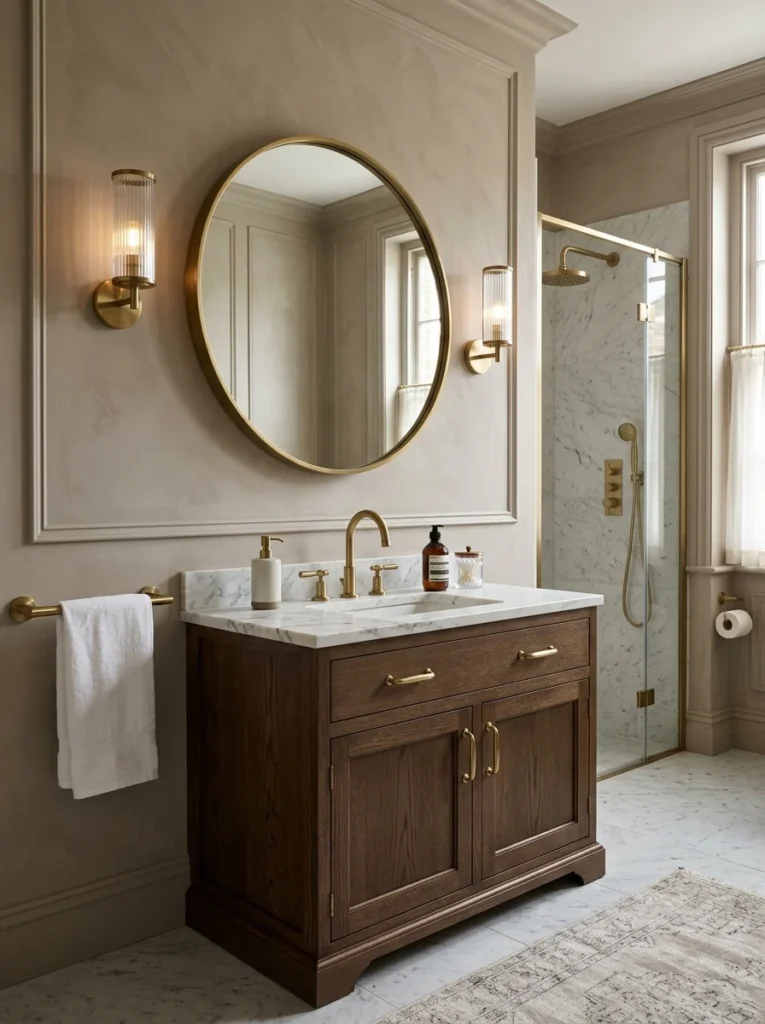
Light fixtures are part of the overall hardware story in a bathroom, and mismatched metal finishes between the lighting, faucet, and cabinet pulls can make an otherwise well-planned room feel slightly disjointed. Choosing light fixtures in the same finish as the rest of your hardware, matte black, brushed nickel, or warm brass, ties the whole room together visually, even when the fixtures themselves come from different manufacturers or product lines. If you already have hardware installed and are only updating the lighting, bring a sample or photo of your existing finish when shopping to make sure the new fixtures match closely rather than approximately.
Adjust the plan for small versus large bathrooms
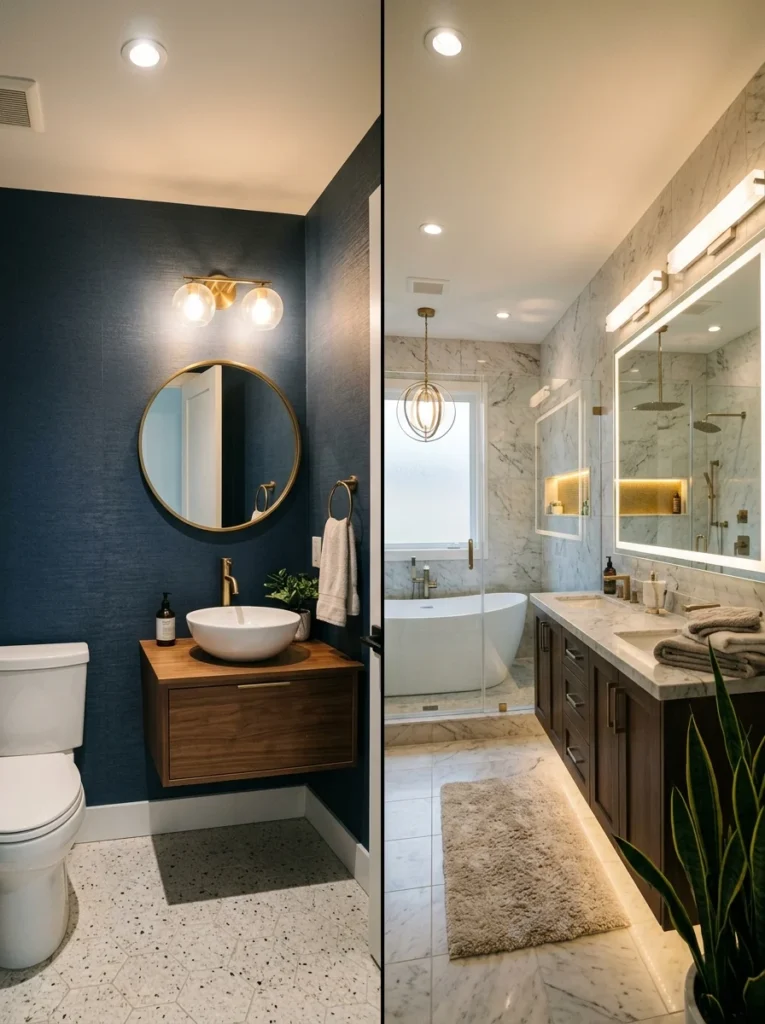
A small bathroom or powder room often needs less overall lighting volume but still benefits from the same layered approach in miniature, a single small ambient fixture, a well-lit mirror, and perhaps one small accent detail rather than a full three-layer plan with multiple fixtures per layer. In a larger primary bathroom, especially one with a separate shower, tub, and vanity area, it’s worth thinking of each zone somewhat independently, ensuring the shower has its own adequately bright, wet-rated light, the tub area has its own softer accent lighting, and the vanity has strong, dedicated task lighting, rather than trying to light the entire room evenly from a single central plan.
How many light fixtures does a bathroom actually need?
Most bathrooms benefit from at least two to three light sources across the ambient and task layers: general ceiling lighting plus dedicated vanity lighting positioned at face height. A larger or more design-forward bathroom often adds a third accent layer, but even a small bathroom typically needs more than the single central fixture many builders install by default.
What’s the best light placement for a vanity mirror?
Lights placed vertically on either side of the mirror, at roughly face height, provide the most even, flattering illumination for grooming tasks, since they light the face from both sides rather than casting shadows from a single point above. If side lighting isn’t possible, a mirror with integrated edge or ring lighting is a strong alternative.
What color temperature is best for bathroom lighting?
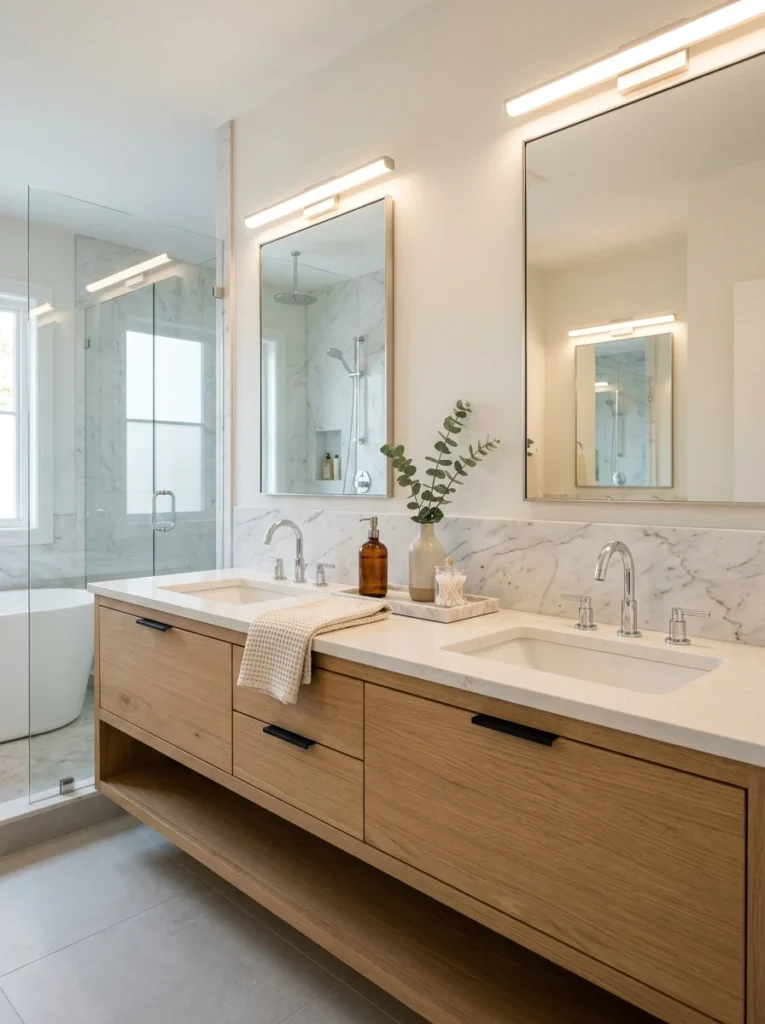
A warm-to-neutral color temperature generally feels most flattering and comfortable for everyday bathroom use, while a slightly cooler, more neutral light at the vanity specifically can help with color accuracy for tasks like applying makeup. Keeping all fixtures within a similar color temperature range prevents a visually inconsistent look.
Are dimmers worth installing in a bathroom?
Yes, dimmers add meaningful flexibility for very little cost, allowing the same fixtures to provide bright, functional light in the morning and a calmer, softer light in the evening, particularly useful for anyone using the bathroom late at night or during a relaxing bath.
Should bathroom lighting finishes match the faucet and hardware?
Matching the light fixture finish to your faucet, cabinet pulls, and other hardware creates a more cohesive, intentional look throughout the room. If exact matching isn’t possible, choosing finishes within the same general tone, all warm metals or all cool metals, still reads as coordinated rather than mismatched.
Good bathroom lighting comes down to layering ambient, task, and accent light rather than relying on a single fixture to do every job at once. Prioritize task lighting at the vanity first, since that’s where most daily grooming happens and where poor lighting is most noticeable, then round out the room with adequate ambient coverage and, if you want the space to feel genuinely considered rather than purely functional, a touch of accent lighting somewhere in the room.
My own bathroom now has sconces on either side of the mirror instead of that single overhead strip, and it’s a small change that made an outsized difference, no more shadows, no more second-guessing how I actually look before walking out the door. If you only make one lighting change from this guide, make it that one; it’s the layer most bathrooms are missing, and it’s the one you’ll notice every single morning.