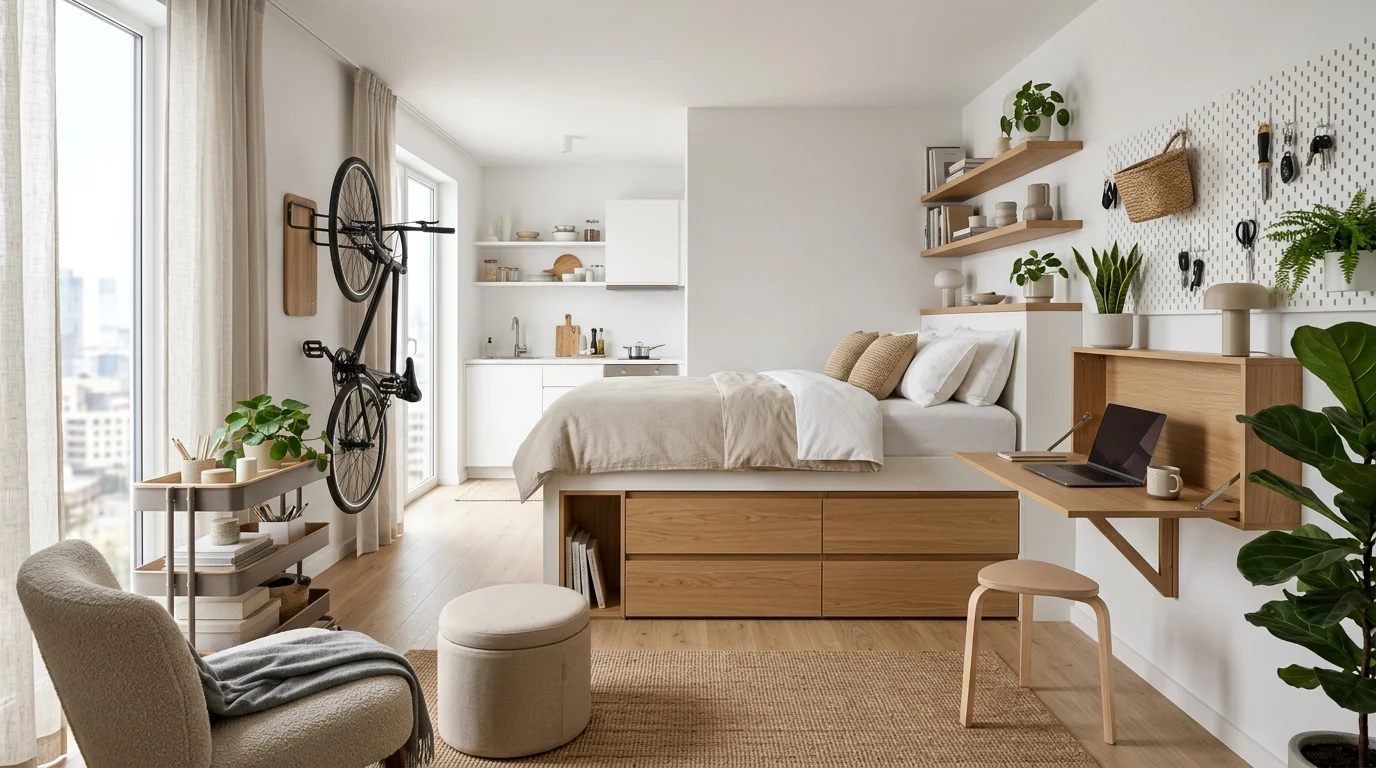
When I moved into my first studio, three hundred and eighty square feet that had to be a bedroom, living room, office, and kitchen storage all at once, I owned exactly the same amount of stuff I’d had in a two-bedroom apartment. For the first few months it showed. Boxes stayed half-unpacked because there was nowhere obvious to put them, my bike leaned against the one wall I actually wanted to use for something else, and the kitchen counter functioned as overflow storage for everything else in my life.
Related Reading
What eventually fixed it wasn’t buying more storage furniture, though some of that helped. It was realizing a studio has far more storage potential than it looks like it does, in the walls, under the furniture, behind doors, above eye level, if you’re willing to look past the obvious floor space. A one-room apartment forces you to think about storage completely differently than a home with separate bedrooms and a hallway closet, since there’s no spare room to absorb the overflow. Every surface, vertical or horizontal, visible or hidden, has to justify itself.
Here are twenty ideas that, together, turned that same three hundred and eighty square feet into a place that no longer felt like it was overflowing, organized loosely from the biggest structural changes to the smallest daily habits. You don’t need all twenty to see a real difference, even five or six of these, chosen for your specific layout, can change how a studio feels to live in.
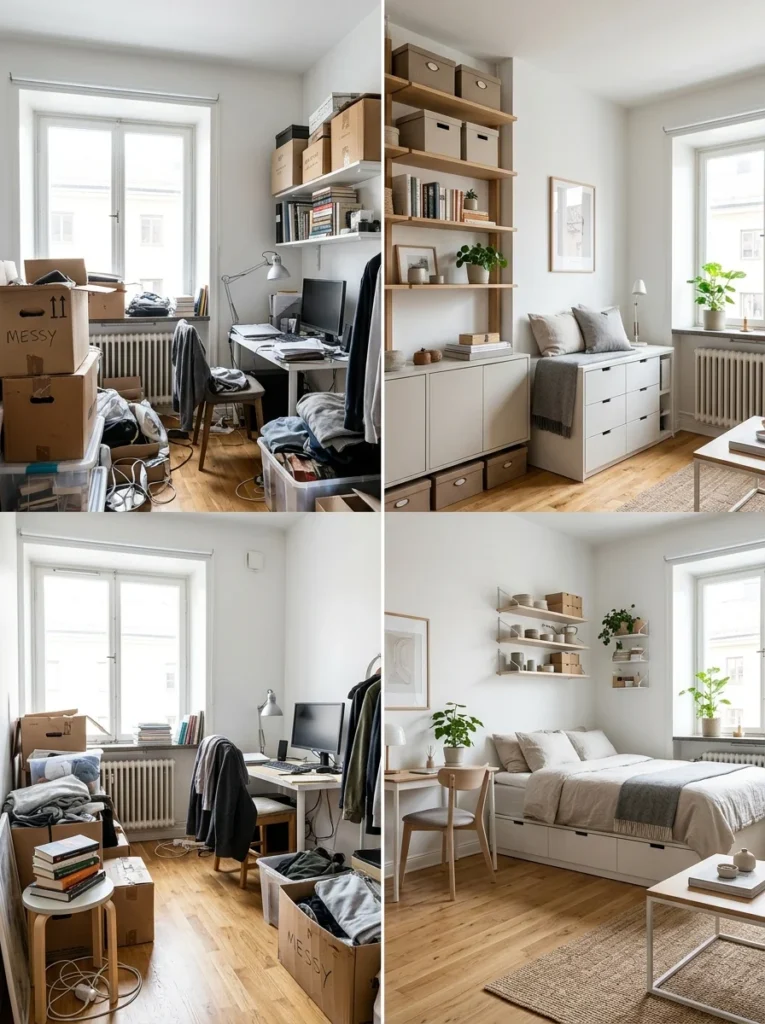
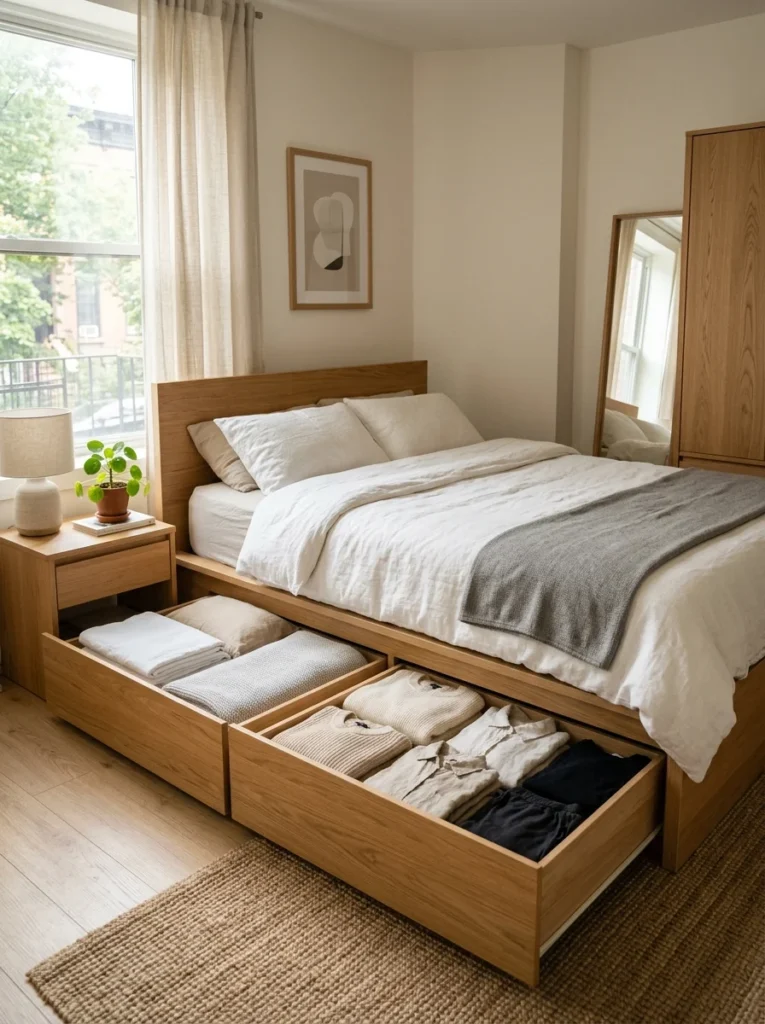
1. Choose a bed with built-in storage drawers
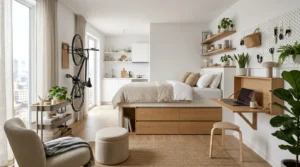
A bed frame with drawers built into the base turns your largest single piece of furniture into one of your biggest storage assets instead of dead space. Bedding, off-season clothing, or anything you access only occasionally fits well here, since it’s not something you need to reach several times a day.
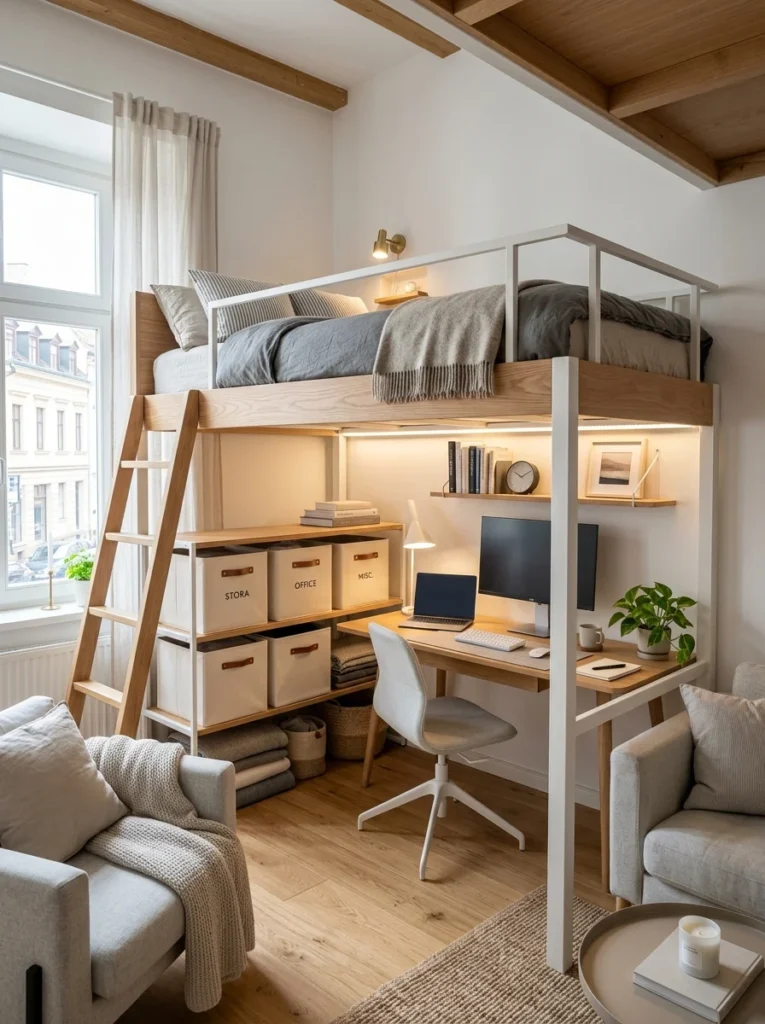
2. Use the space under a raised bed or loft
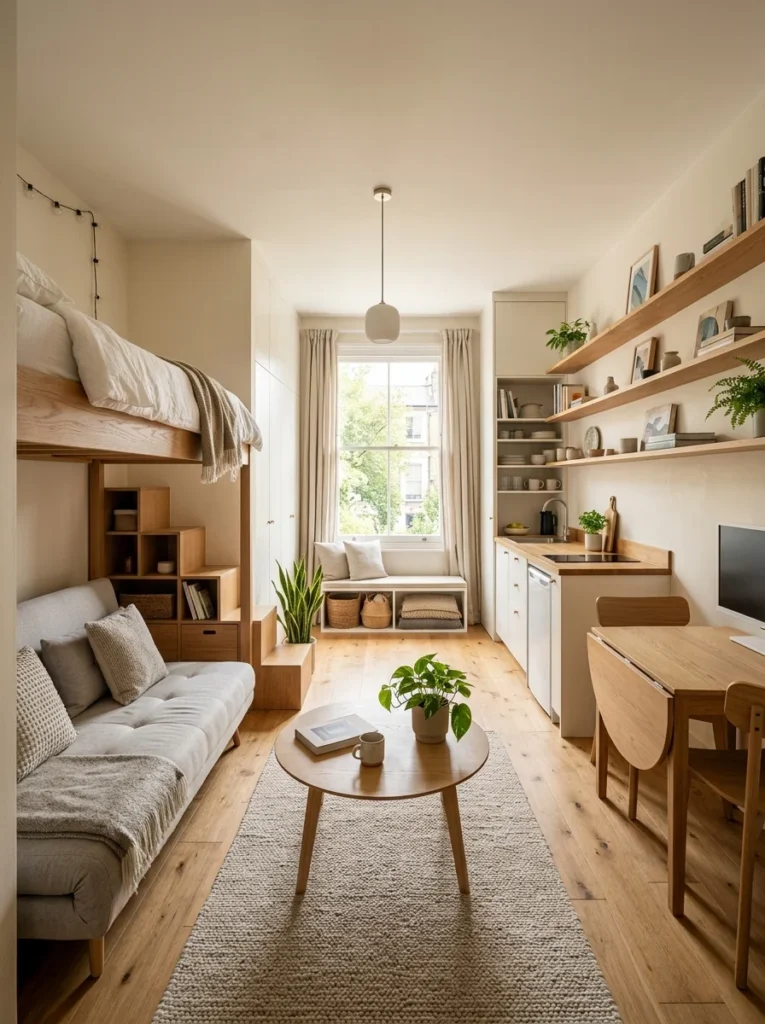
If your ceiling height allows it, a loft bed frees up the entire floor area underneath for a desk, a small seating area, or stacked storage bins. Even a bed raised on risers, rather than a full loft, creates enough clearance for flat under-bed storage boxes that would otherwise need a closet.
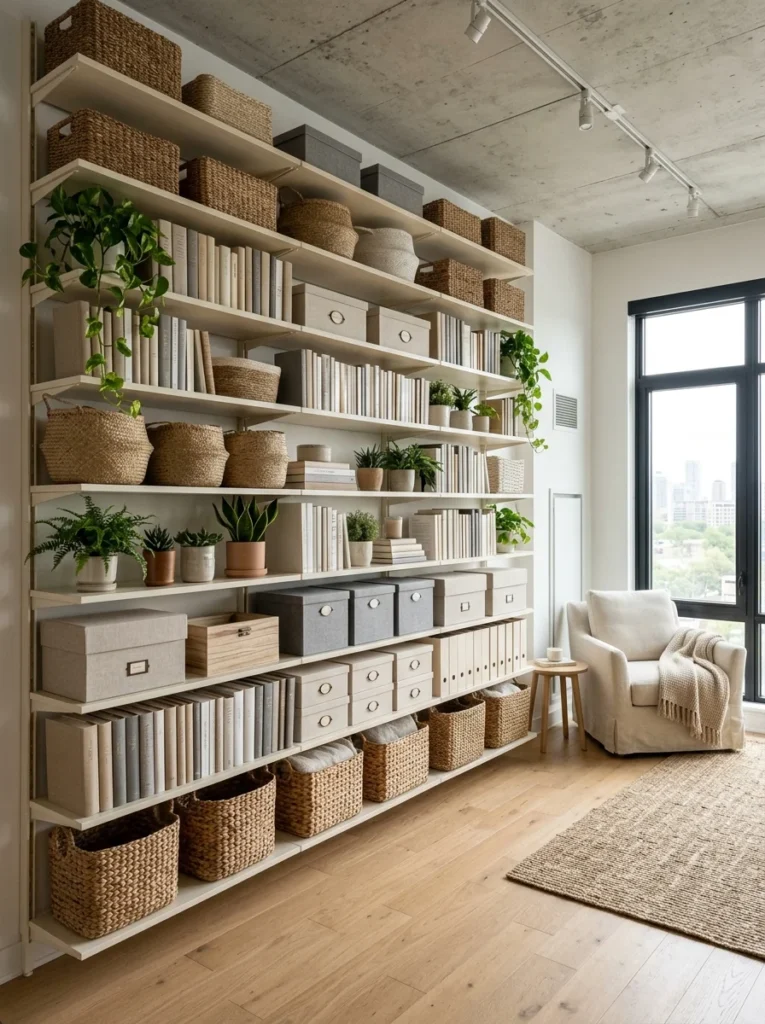
3. Install floor-to-ceiling shelving on one wall
Dedicating a single wall to shelving that runs all the way to the ceiling uses vertical space that’s otherwise completely empty above eye level. Keep everyday items on the lower, easily reached shelves and store rarely used items, seasonal decor, spare linens, up top where they’re out of the way but still accessible with a step stool.
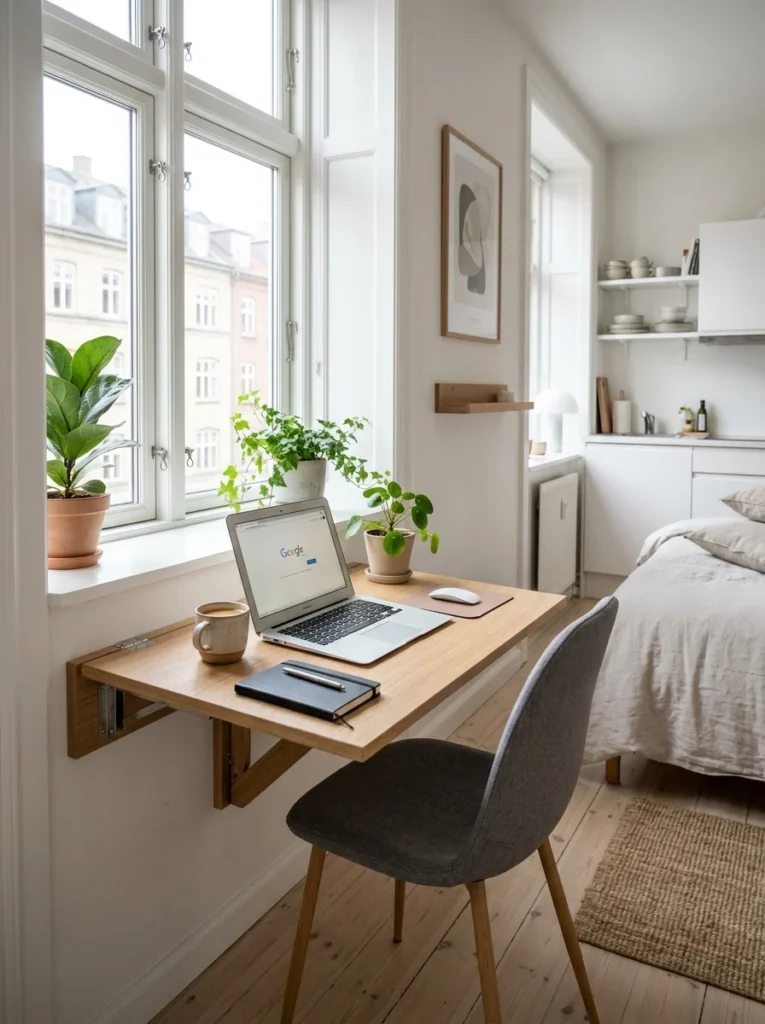
4. Add a fold-down desk or table
A wall-mounted table that folds flat when not in use gives you a full work surface for meals or a laptop without permanently sacrificing floor space. This is especially useful in a studio, where a fixed desk can end up eating room you need for other things most of the day.
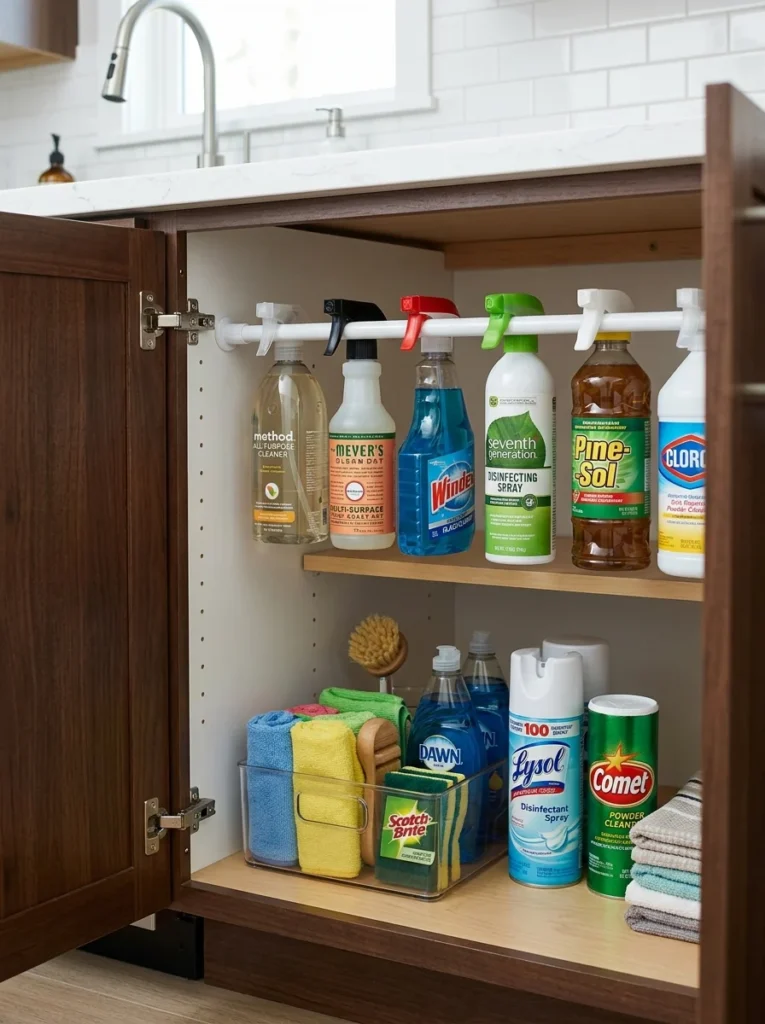
5. Use tension rods inside cabinets to create extra levels
A tension rod installed horizontally partway up inside a kitchen or bathroom cabinet creates an extra shelf for hanging spray bottles or small items by their handles, doubling the usable storage in a cabinet that would otherwise waste its vertical height.
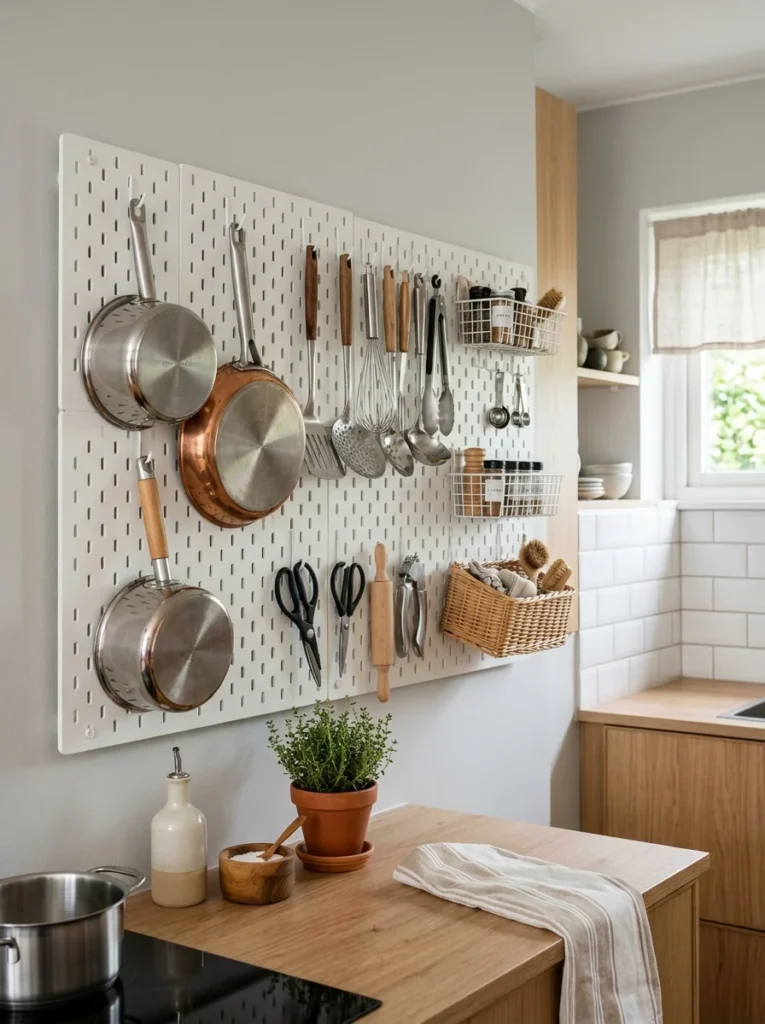
6. Hang a pegboard for kitchen tools or craft supplies
A pegboard mounted on any spare wall section turns empty vertical space into flexible, reconfigurable storage for pots, tools, or hobby supplies. Because the hooks can be rearranged anytime, it adapts as your storage needs change, which matters more in a studio than in a home with spare closets to absorb new stuff.
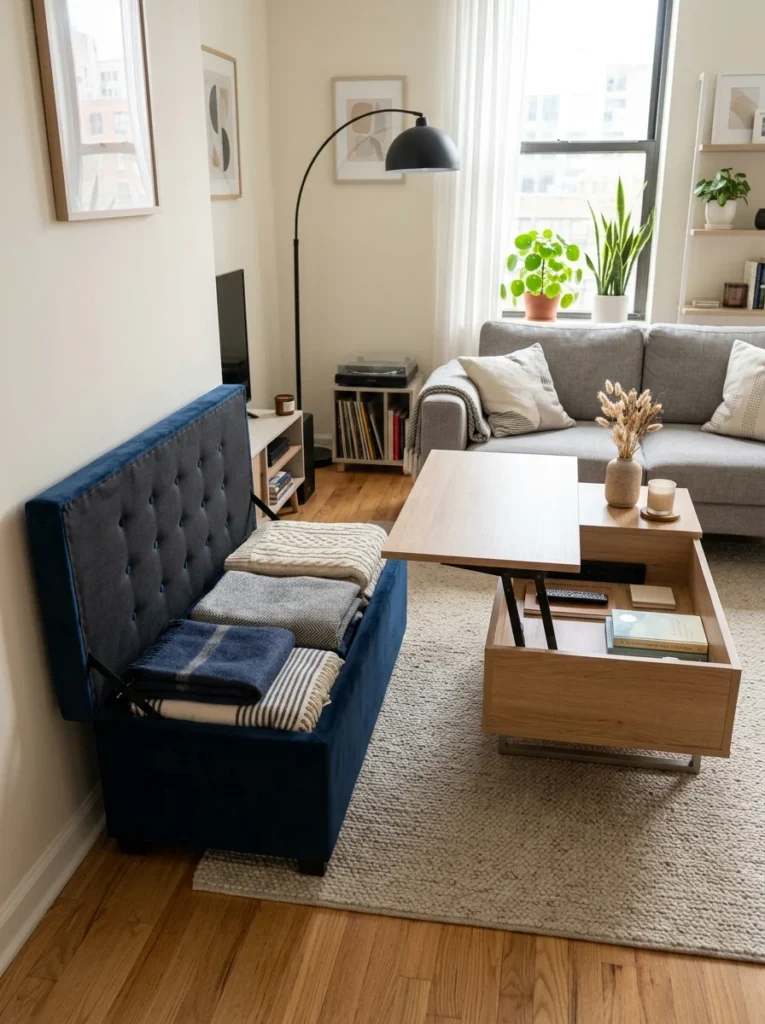
7. Choose ottomans and coffee tables that open for storage
A storage ottoman or a coffee table with a lift-top or drawer gives your living area seating and a surface while quietly hiding blankets, remotes, or books inside. It’s one of the easiest ways to add storage without adding a single extra piece of furniture to the floor plan.
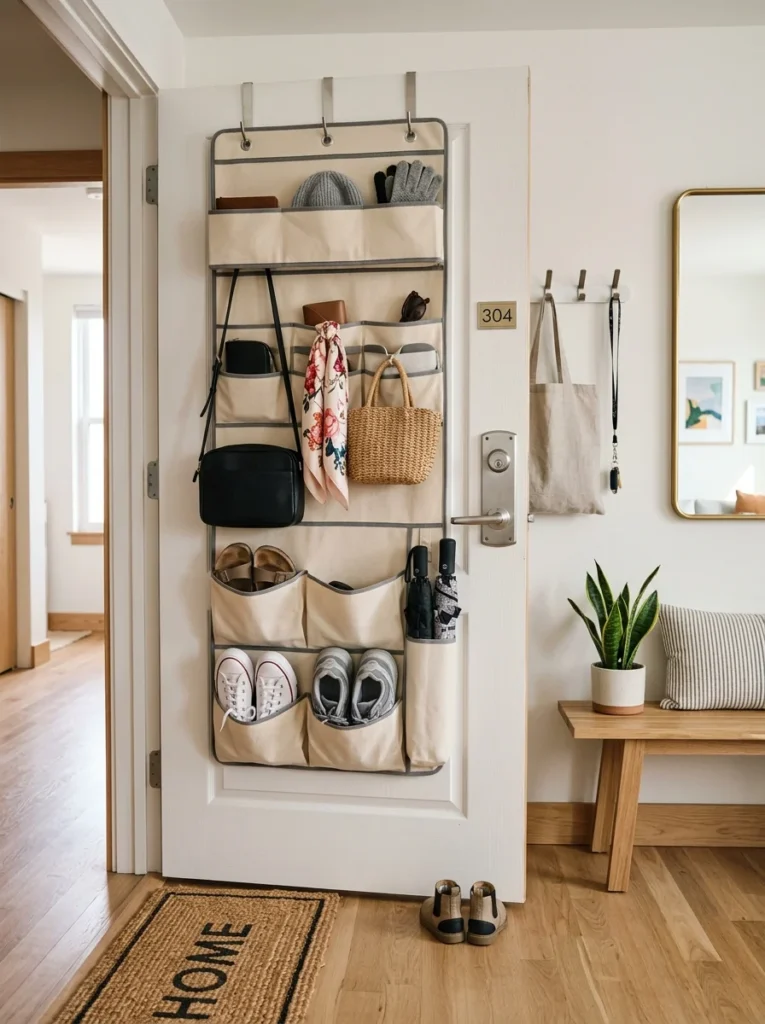
8. Use the back of doors for hanging storage
An over-the-door organizer, whether a shoe rack, a set of hooks, or a slim pocket organizer, uses a surface that almost always sits completely empty. This works on closet doors, the bathroom door, and even the front door for keys, bags, and umbrellas.
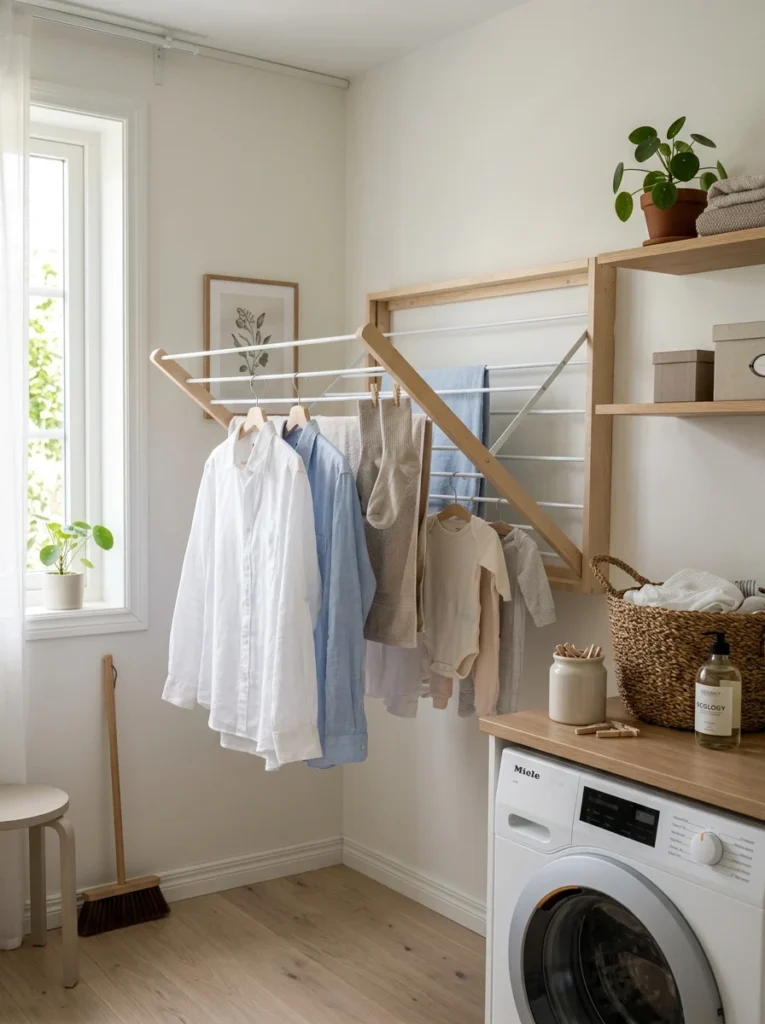
9. Install a wall-mounted drying rack that folds away
A foldable, wall-mounted drying rack gives you laundry-drying space when you need it and folds flat against the wall the rest of the time, avoiding the need for a permanent floor-standing rack that eats space in a studio all week long.
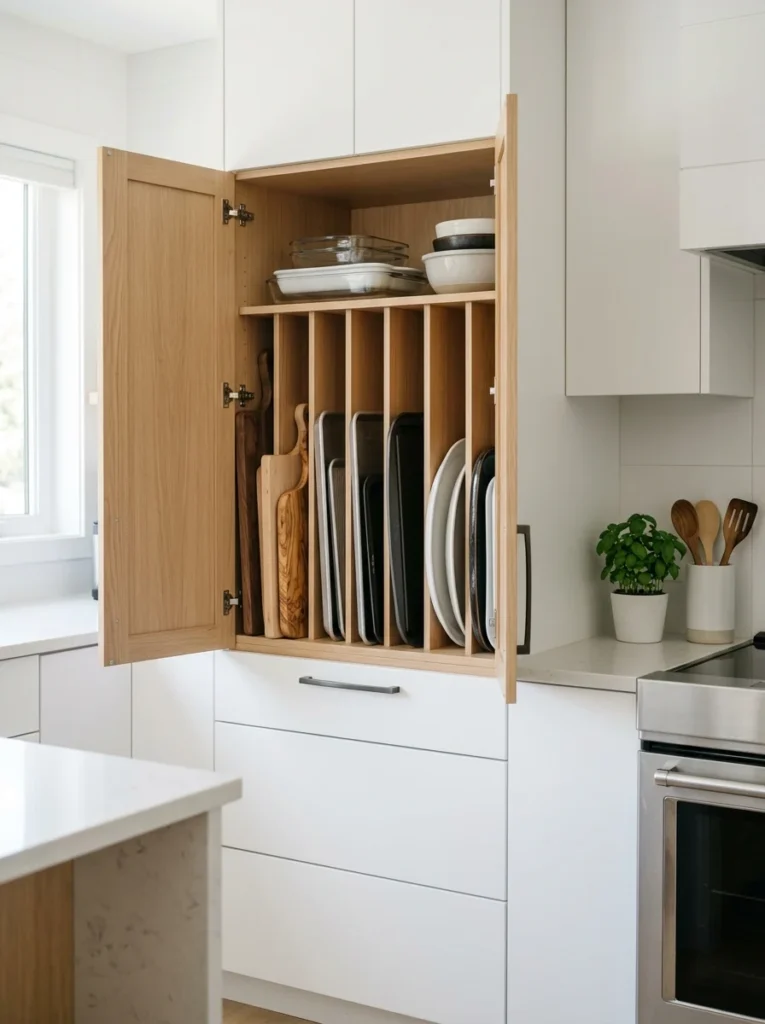
10. Use vertical dividers in deep cabinets and closets
Vertical dividers turn a deep cabinet or closet shelf into slots for trays, cutting boards, or folded linens standing on edge, which is easier to see and access than a stack that has to be fully unloaded to reach the item at the bottom.
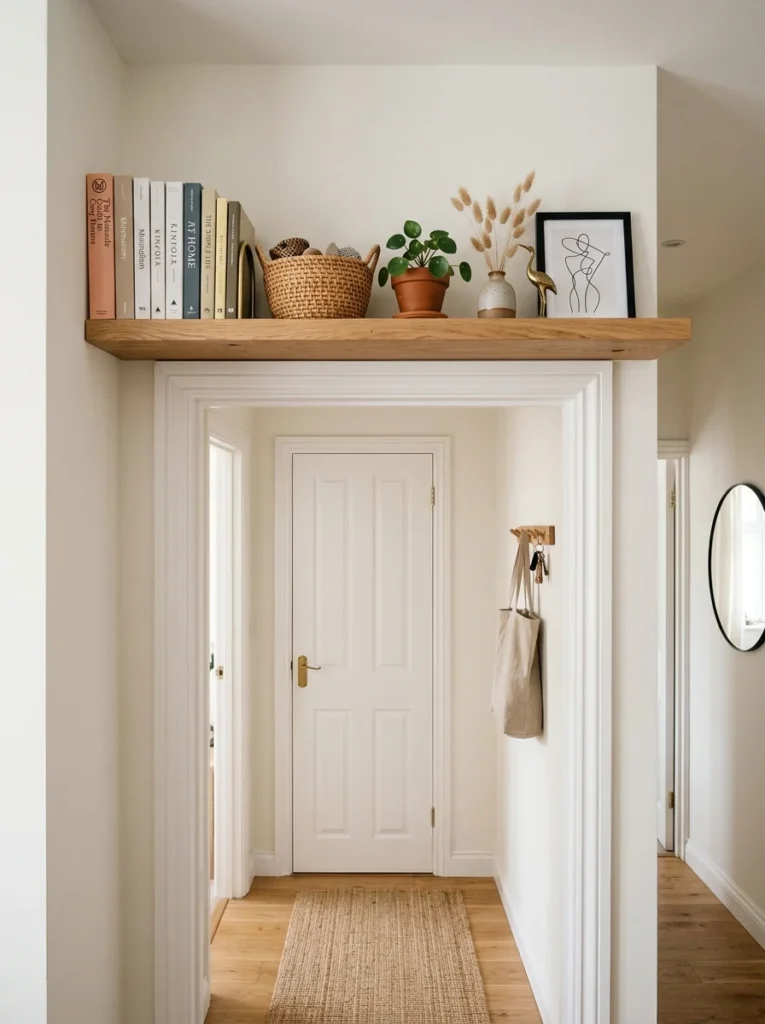
11. Mount floating shelves above doorways
The space above a doorway is almost universally wasted, yet it’s tall enough for a floating shelf that holds books, baskets, or display items. It’s a small addition, but in a studio where every surface matters, reclaiming this space adds up.
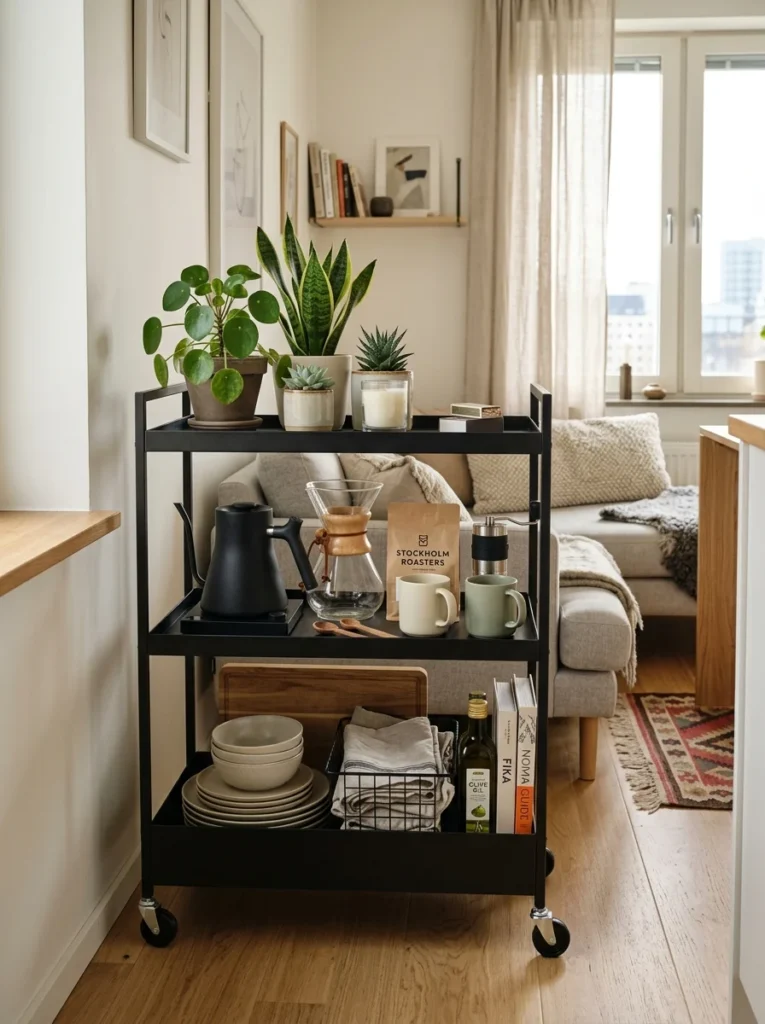
12. Use a bar cart or rolling storage cart for flexibility
A rolling cart can serve as a bar, a plant stand, a bedside table, or extra kitchen storage, and it can be moved wherever it’s needed on a given day. This kind of mobility is particularly useful in a studio, where a single room needs to function as several different rooms throughout the day.
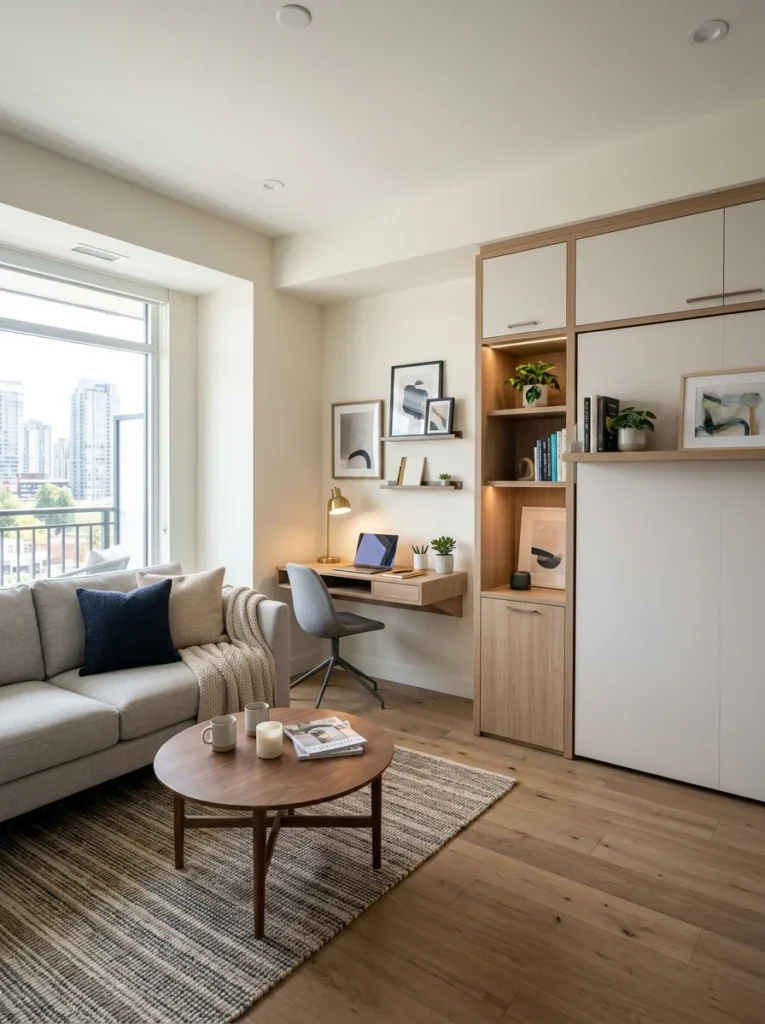
13. Use a Murphy bed to free up an entire zone during the day
A wall bed that folds up when not in use gives back an entire section of floor for daytime activities, effectively creating a second room’s worth of usable space within the same square footage. It’s a bigger investment than most items on this list, but it solves the studio’s core challenge directly: one room, multiple functions.
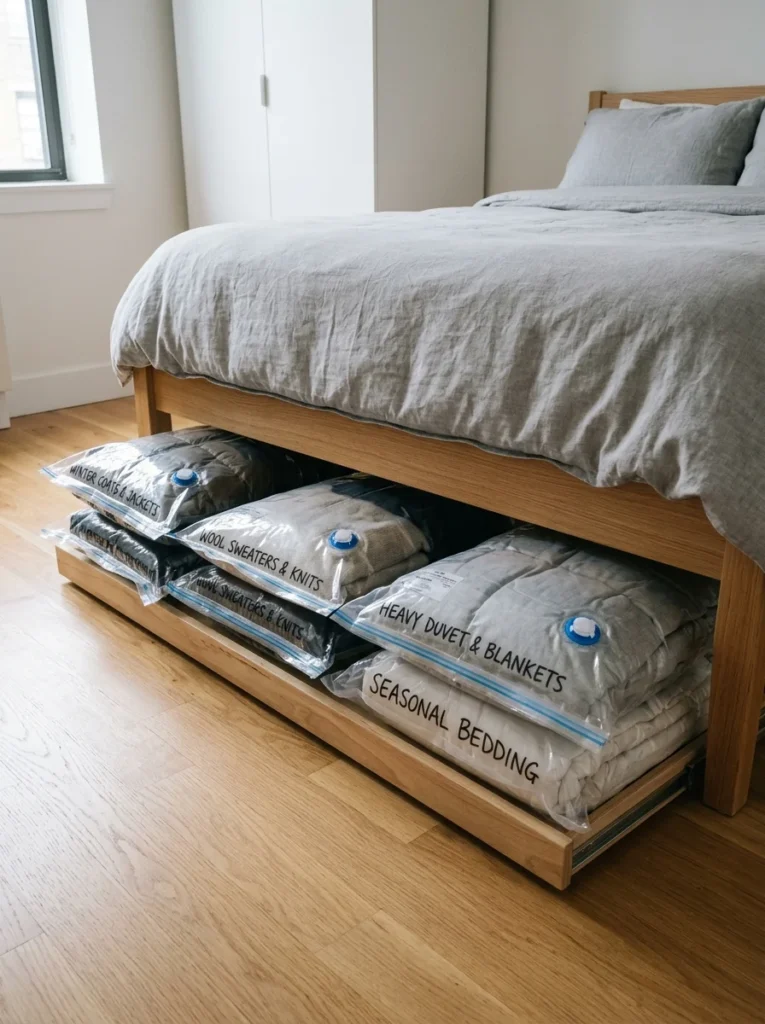
14. Store out-of-season items in vacuum-sealed bags
Vacuum-sealed storage bags compress bulky items like winter coats or extra bedding to a fraction of their normal size, which matters enormously when closet space has to serve every season at once rather than being split across multiple rooms.
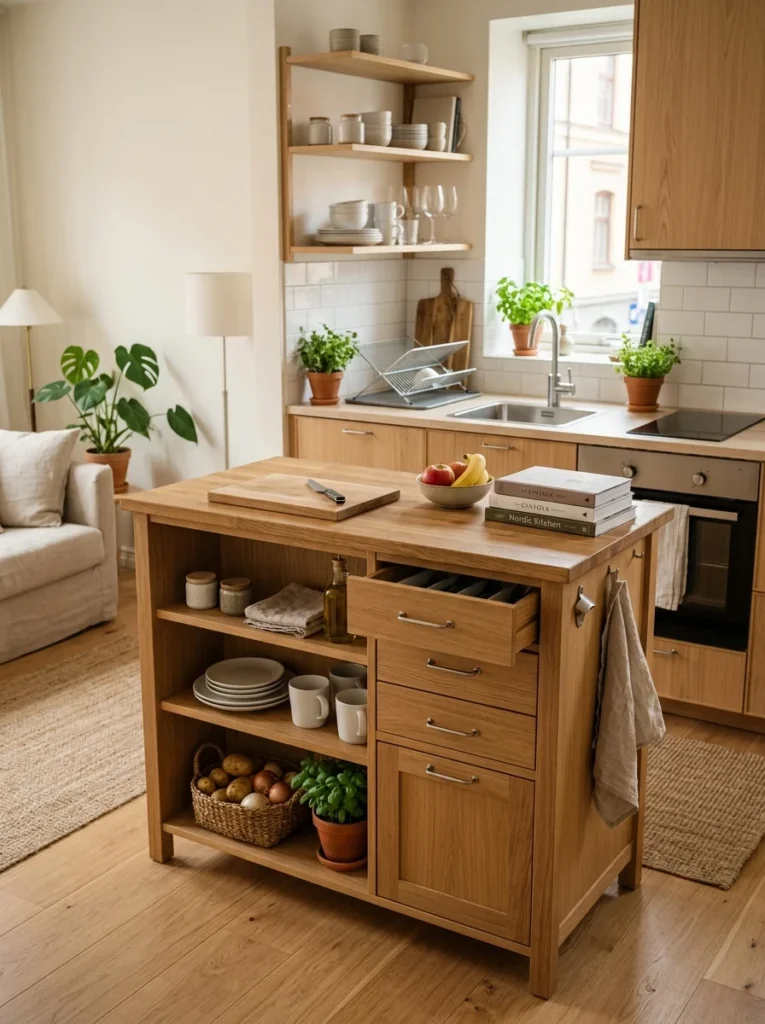
15. Use a kitchen island or cart with built-in storage
A small kitchen island or cart with shelves or drawers underneath adds counter space and storage in one piece of furniture, which is especially valuable in a studio kitchen that’s often smaller than what a full apartment would offer.
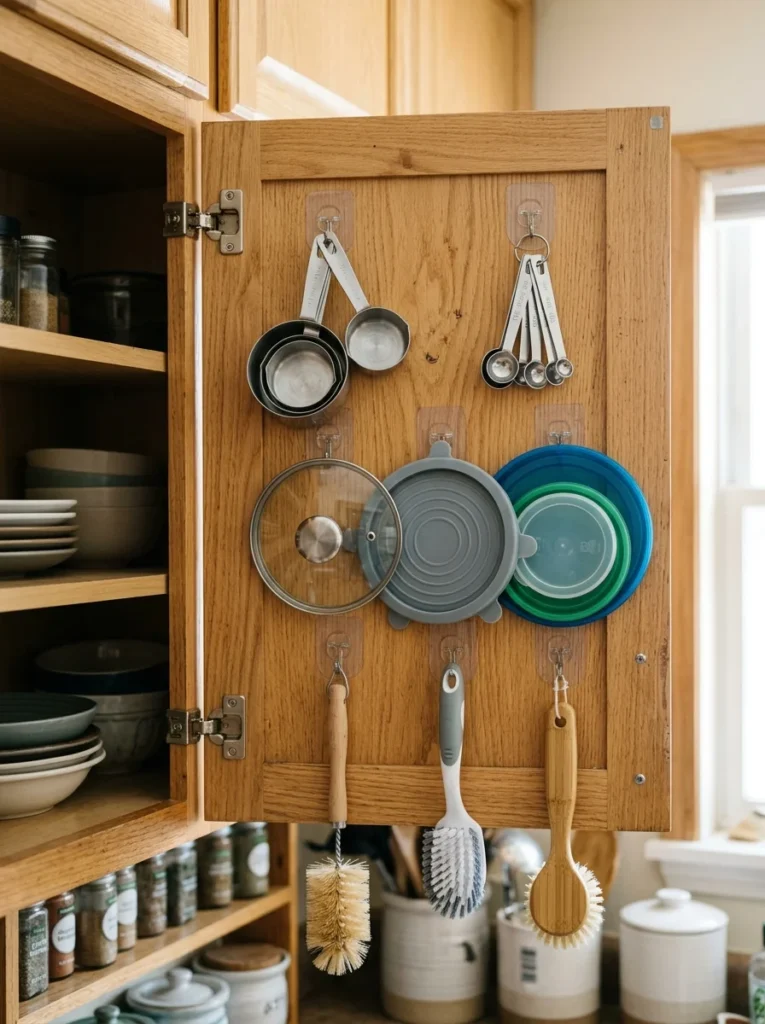
16. Add hooks inside cabinet doors
Small adhesive or screw-in hooks mounted on the inside of a cabinet door can hold measuring cups, lids, or cleaning brushes, using a surface that would otherwise sit completely unused every time the door is closed.
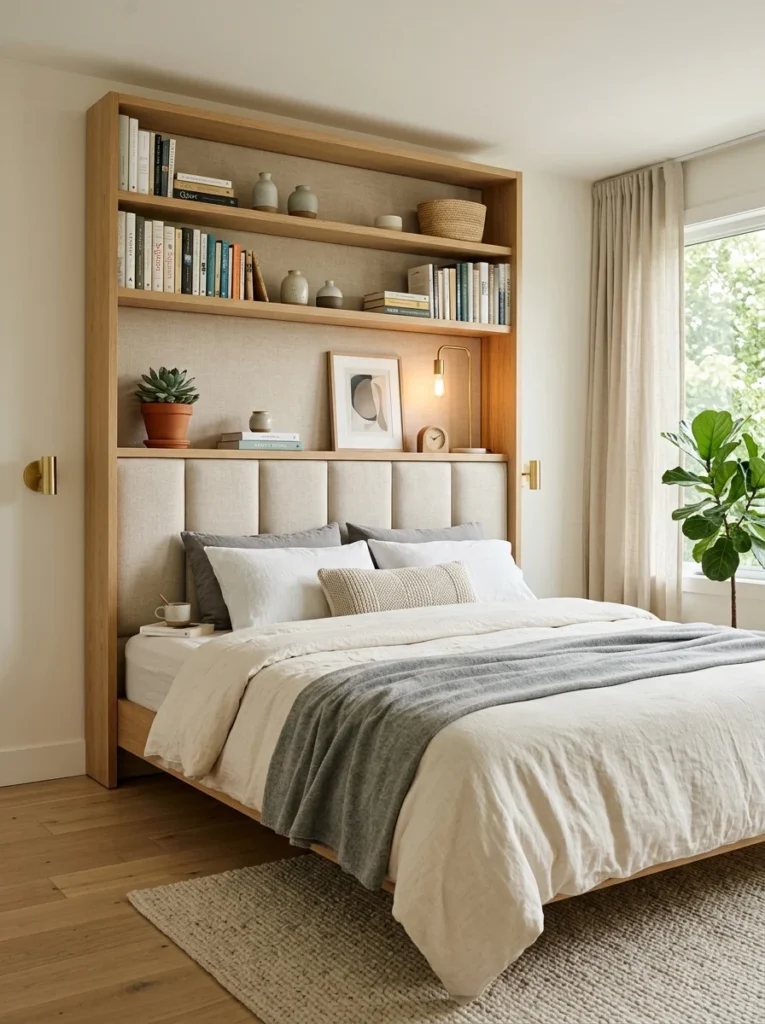
17. Choose a headboard with built-in shelving
A headboard with shelves or small cubbies built in gives you bedside storage without needing a separate nightstand, which can be a meaningful amount of floor space saved next to a bed in a tight layout.
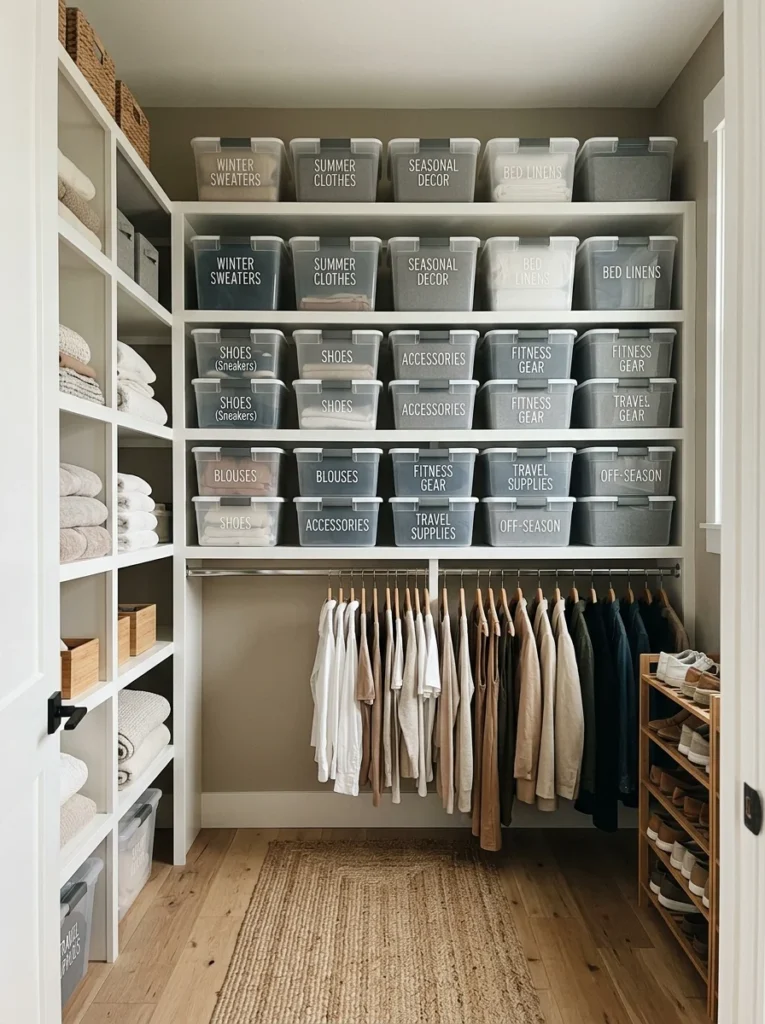
18. Use stackable, labeled bins in closets
Uniform, stackable bins make far better use of closet height than a mix of mismatched boxes and bags, and labeling each one means you’re not opening three bins to find what you need. This alone can meaningfully increase how much a single closet actually holds.
19. Mount a bike rack or hooks for large items
Bulky items like a bicycle rarely have an obvious home in a studio, but a wall-mounted bike hook lifts it off the floor entirely, turning what was a constant obstacle into something that barely registers as taking up space.
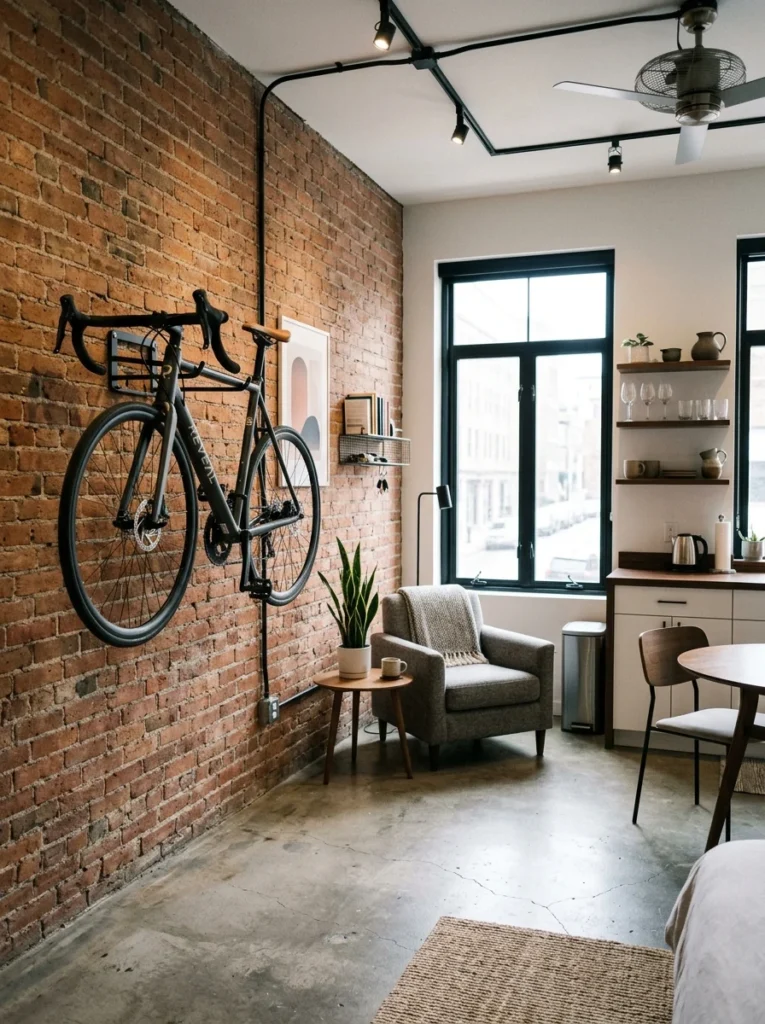
20. Give everything a designated home, no exceptions
The final and most important idea isn’t a product at all. In a studio, every item needs an assigned spot, because there’s no spare room for things to drift into. Once everything has a home, tidying becomes putting things back rather than deciding where they go, which is what actually keeps a small space feeling calm day to day rather than just on move-in day.
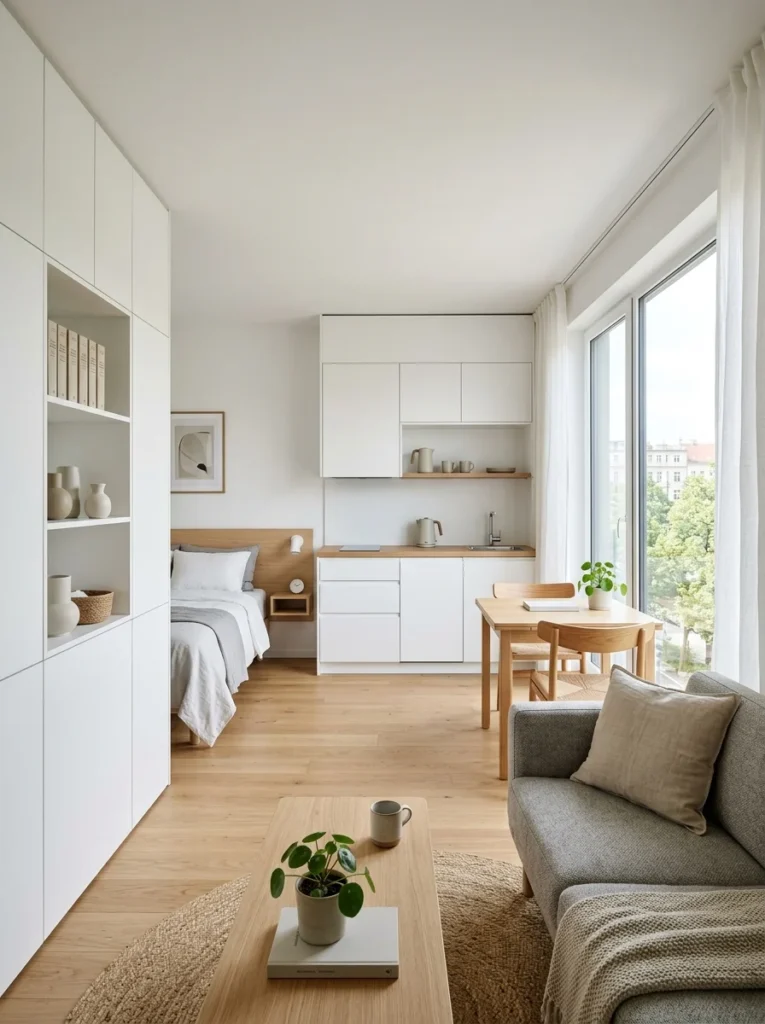
The habit that matters more than any single product
All twenty of these ideas help, but the single biggest shift for me wasn’t a product at all, it was routinely asking whether something needed to live in my one room permanently or could be stored elsewhere, lent out, or let go of entirely. A studio simply can’t hold as much as a bigger home, and pretending otherwise, buying storage to hide problems instead of actually reducing what I owned, was the mistake that kept my first few months so cluttered.
Once I paired a few of the structural ideas above, the under-bed storage and the floor-to-ceiling shelving in particular, with a genuinely smaller amount of stuff, the apartment stopped feeling like it was working against me. The square footage never changed, but how much of it I could actually see and use did. I also found it worth revisiting the setup every few months rather than treating it as a one-time project, since what worked when I moved in didn’t always keep working as my belongings and routines changed.
It’s also worth prioritizing rather than trying to implement all twenty ideas in a single weekend. Start with whichever structural change addresses your biggest daily frustration, whether that’s a lack of surfaces, a lack of hidden storage, or simply too little floor space during the day, and build outward from there as budget and time allow.
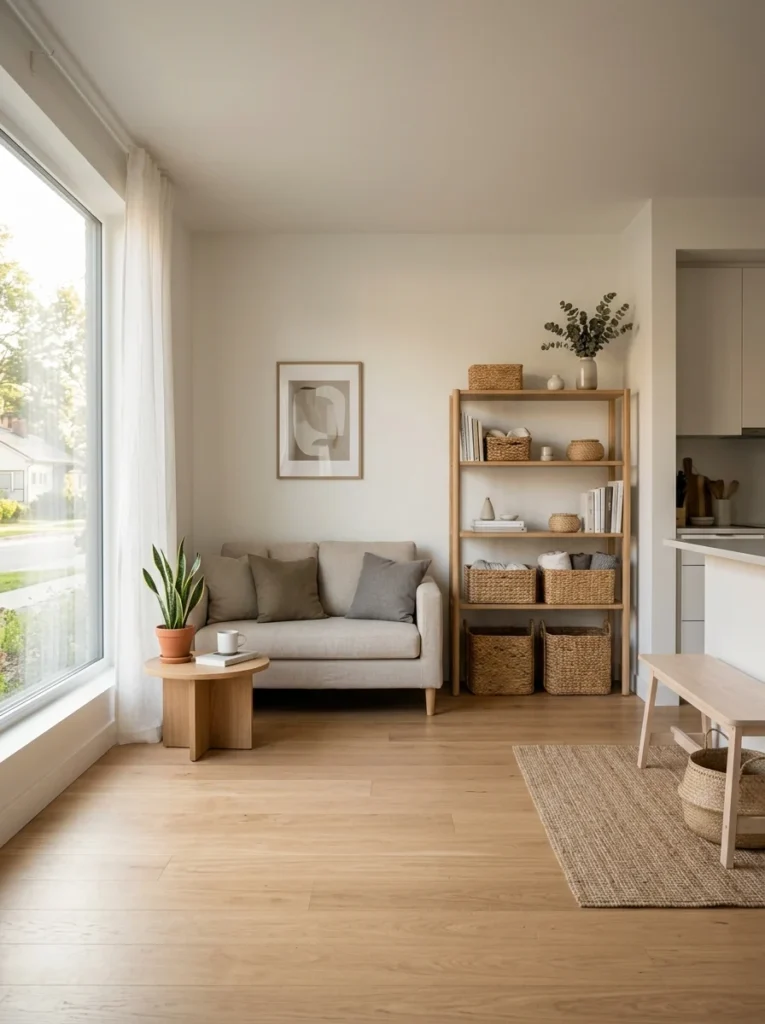
Common studio apartment storage questions
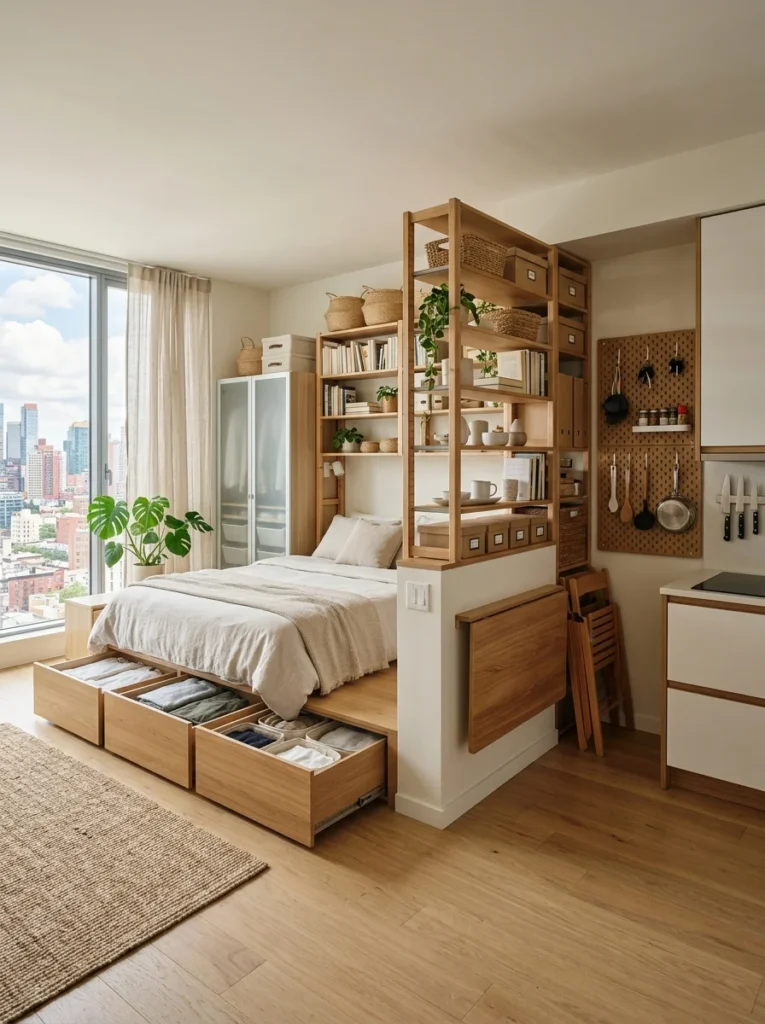
What is the best storage solution for a small studio apartment?
There’s no single best solution, but vertical storage, floor-to-ceiling shelving, wall-mounted systems, and furniture with built-in storage like a bed with drawers or a storage ottoman, tends to make the biggest difference, since it uses space that would otherwise sit empty above and around your existing furniture.
How do I maximize storage in a studio apartment without renovating?
Freestanding shelving units, over-the-door organizers, rolling carts, and stackable bins all add significant storage without any permanent changes to the apartment, making them ideal for renters. Combining a few of these with a genuine declutter tends to make more difference than any single purchase.
Is a Murphy bed worth it in a studio apartment?
For many studio dwellers, yes, since a wall bed effectively creates a second usable zone within the same square footage by freeing up the floor during the day. It’s a bigger investment than most storage solutions, so it’s worth considering primarily if daytime floor space is your biggest ongoing frustration.
How do I stop a small studio from feeling cluttered?
Giving every item a specific, designated spot is the single most effective habit, since it turns tidying into simply putting things back rather than deciding where they belong each time. Combining this with vertical storage solutions and periodically reassessing what you actually use keeps a studio feeling calm well beyond move-in day.
More room than it looks like you have
A studio apartment’s real limitation usually isn’t its square footage; it’s how much of that footage gets used well. Between furniture that pulls double duty, storage that climbs the walls instead of spreading across the floor, and a habit of giving everything a home, the same room can hold considerably more than it first appears to.
My own studio went from a space I was constantly negotiating with to one that quietly works, not because it got bigger, but because I finally stopped treating the walls, the space under the bed, and the backs of doors as unusable. If your studio feels like it’s overflowing, start by looking up and looking under your furniture before you assume you simply don’t have enough room. There’s almost always more space than the floor plan suggests.