
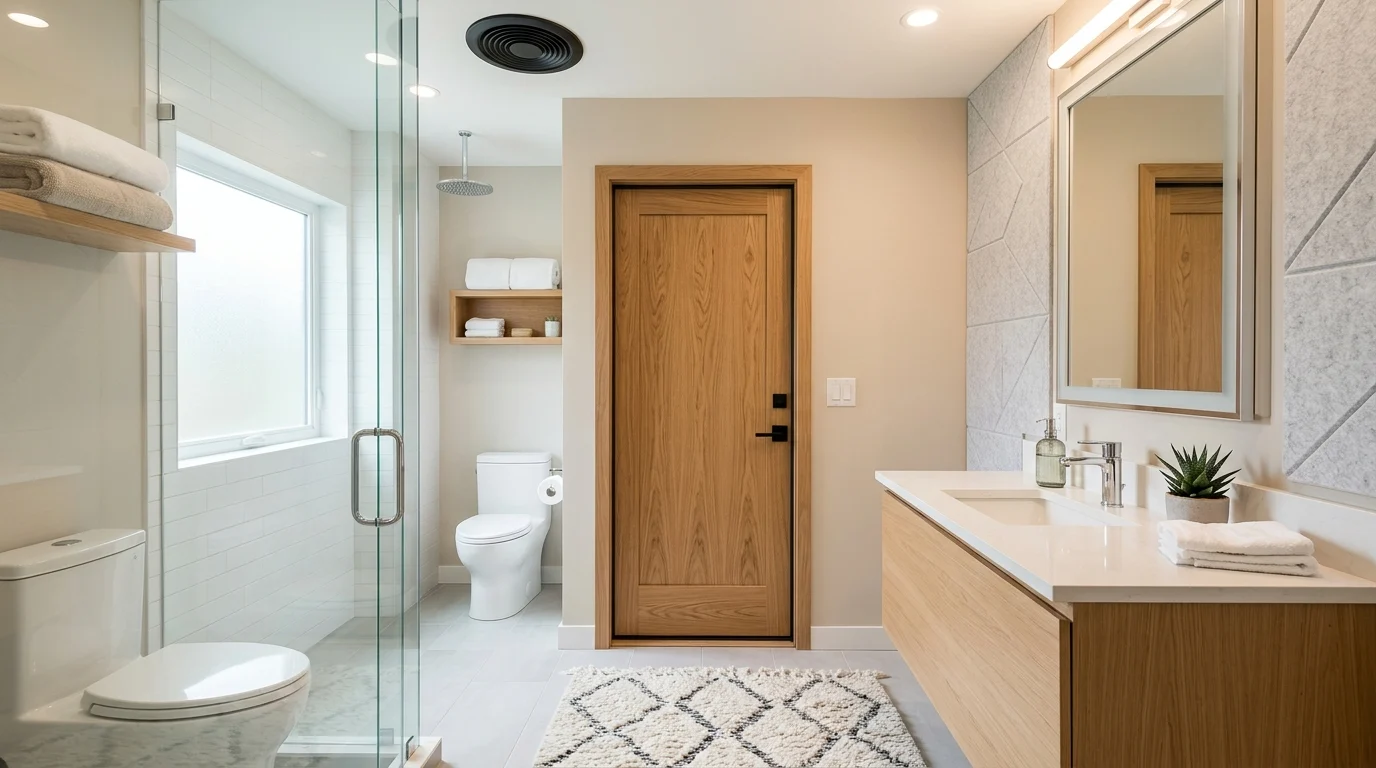
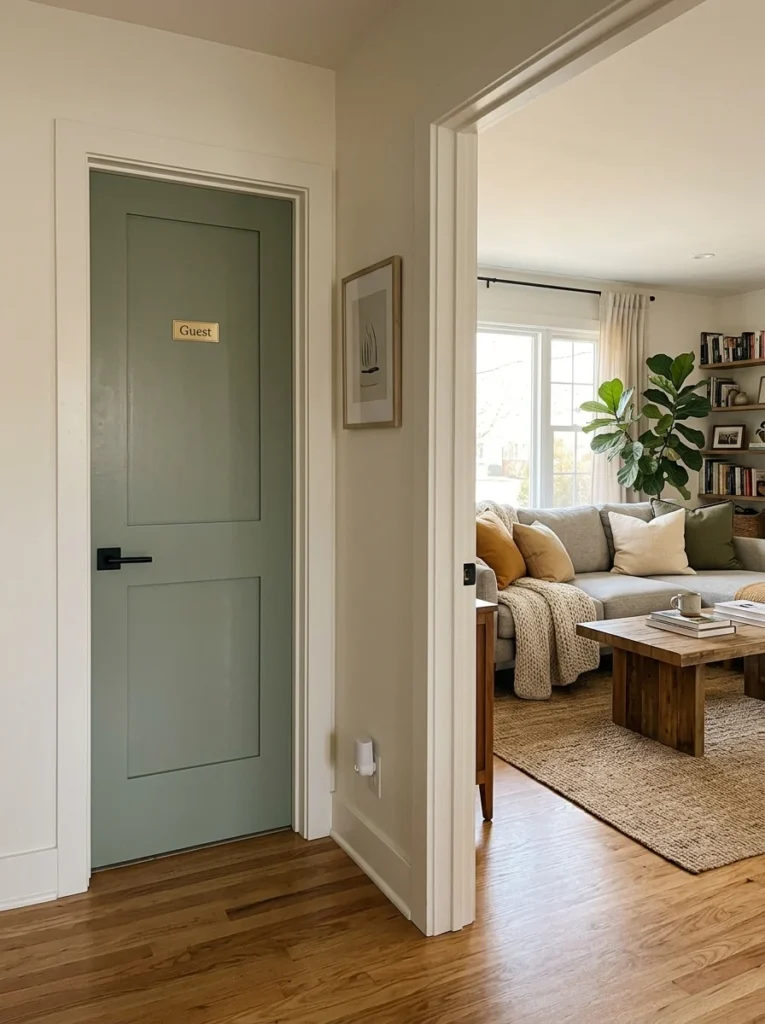
When my in-laws moved in with us for a few months, I quickly realized our house had a problem I’d never noticed before: the guest bathroom shared a thin wall with the living room, and literally every sound carried straight through. It wasn’t anyone’s fault, the house was just built with standard, minimal wall construction, but it made everyone a little more self-conscious than they should have been about using that bathroom whenever the living room had company. That discomfort sent me looking into how to actually fix the problem, and it turns out meaningful bathroom privacy doesn’t require ripping out walls, just a handful of targeted changes that address exactly where sound tends to travel.
Below is what actually worked in our own house, organized from the simplest, cheapest fixes to the more involved changes worth considering if you’re already planning a renovation, so you can start with whatever matches both your budget and how much privacy you genuinely need.
Understand where sound actually travels first
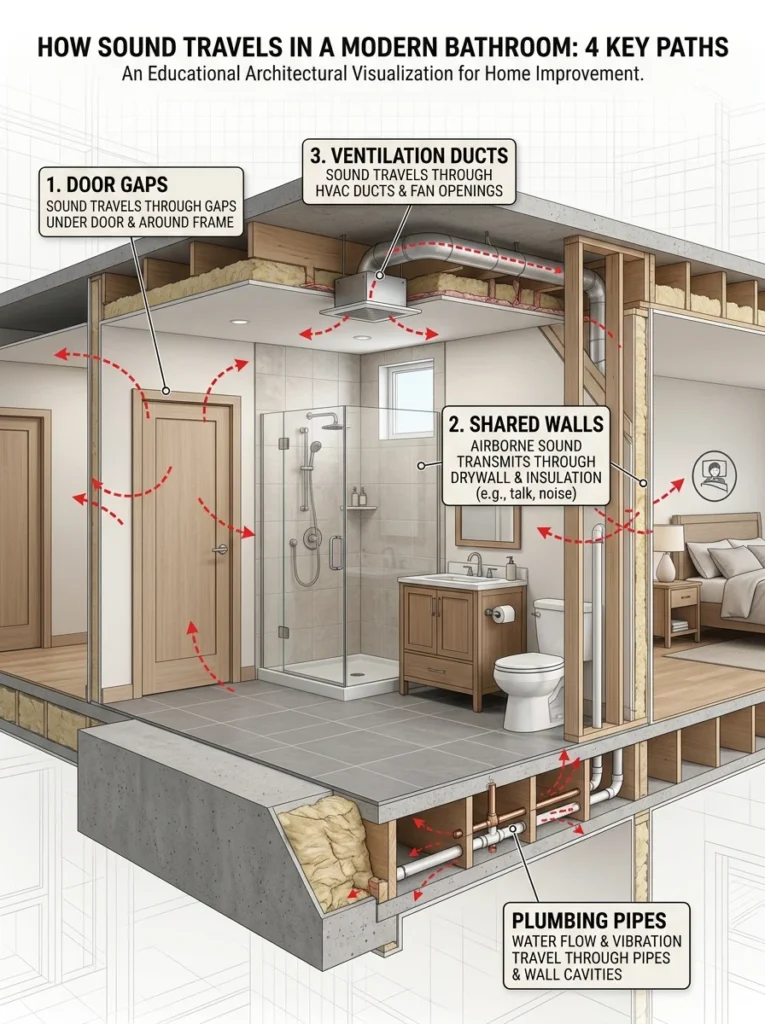
Before spending money on soundproofing, it helps to understand that sound generally escapes a bathroom through a few specific, predictable paths: the door and its gaps, the walls themselves, the ventilation ductwork, and any plumbing pipes running through shared walls. Addressing all four matters more than focusing heavily on just one, since sound will simply find the weakest remaining path if the others are sealed. Walking through your specific bathroom and identifying which of these four is the most obvious weak point, an ill-fitting door, a hollow-core wall, a loud fan, is a useful first step before choosing where to invest first.
Start with the door, the biggest and cheapest fix
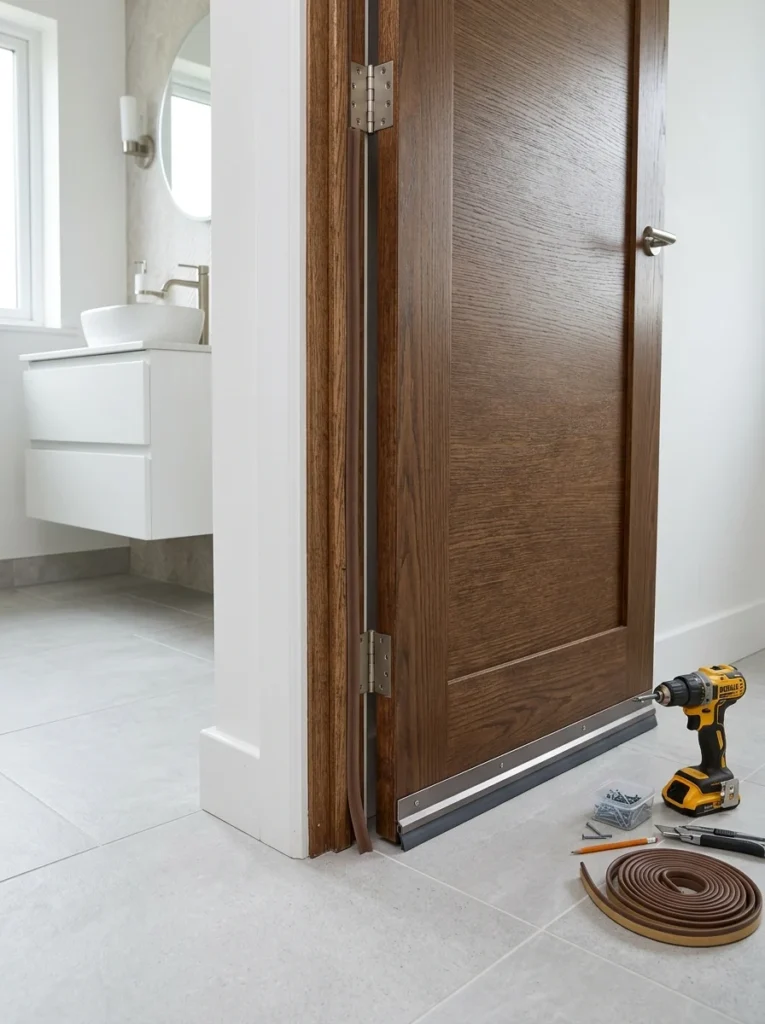
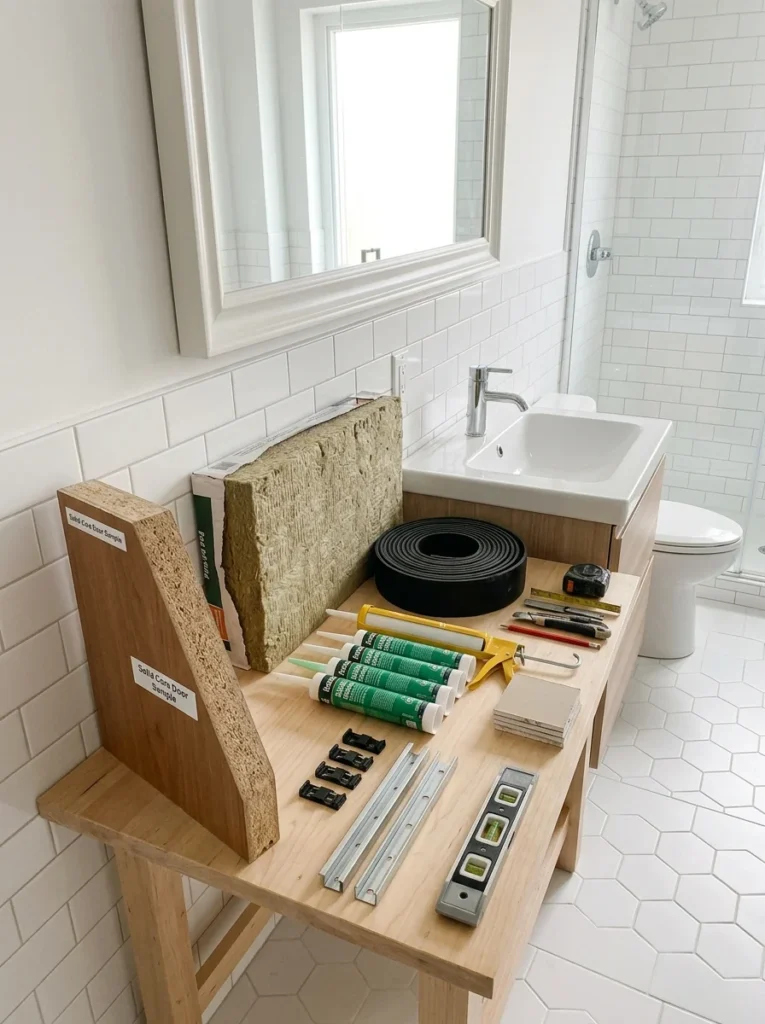
In most bathrooms, the door is the single largest source of sound leakage, both because hollow-core doors are common in residential construction and because gaps around the door frame let sound pass through easily. Adding a door sweep along the bottom, weatherstripping around the frame, and, if the current door is hollow-core, swapping it for a solid-core door meaningfully reduces sound transmission, since solid-core doors are significantly denser and block far more sound than their hollow counterparts. This single swap, combined with sealing the gaps around the frame, is often the highest-impact, most affordable change on this entire list.
Address the walls if sound is coming through them
If a shared wall is the primary source of sound transfer, as it was in our case, adding mass and dampening material to that wall makes a real difference without necessarily requiring a full wall rebuild. Options range from adding a layer of sound-dampening drywall or a dedicated acoustic underlayment during a renovation, to simpler retrofits like acoustic panels or a dense, decorative textile wall hanging on the shared wall, which won’t fully soundproof a wall on its own but can noticeably reduce the amount of sound that transfers through. For a more significant improvement without full demolition, adding a second layer of standard drywall with a viscoelastic damping compound between the layers is a middle-ground option that meaningfully increases a wall’s sound-blocking performance.
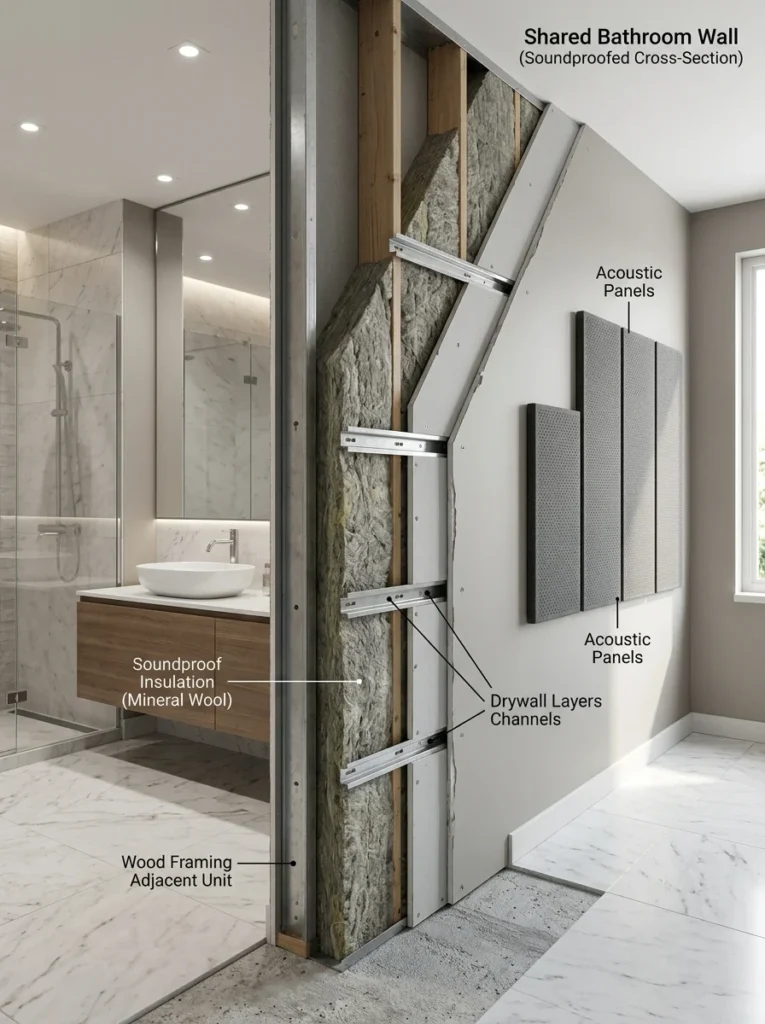
Don’t overlook the exhaust fan
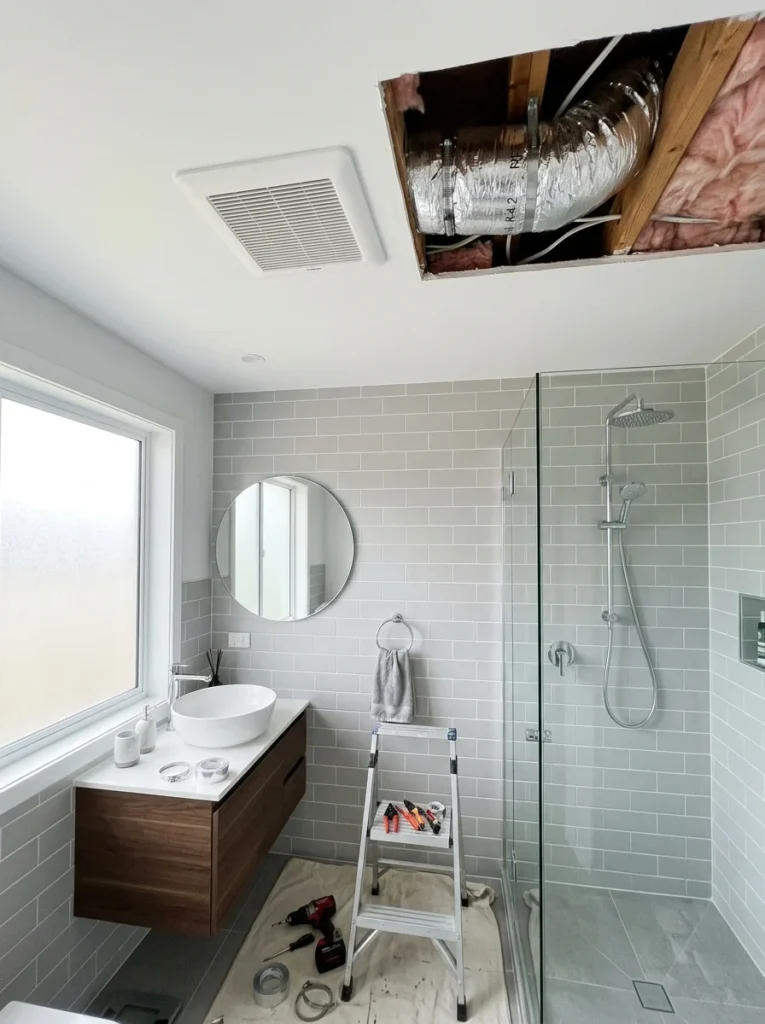
A loud, older exhaust fan can itself become a source of noise that travels both within the bathroom and through the ductwork into adjacent rooms. Replacing an old, noisy fan with a modern, quiet-rated model, many now specifically marketed by their sound rating, addresses this directly, and it’s a relatively simple electrical swap for most bathrooms. Ductwork itself can also transmit sound between rooms if it’s not properly insulated or if it runs close to a shared wall, so if noise seems to be coming specifically from the vent rather than the door or walls, insulating the surrounding ductwork is worth investigating.
Insulate and seal around plumbing pipes
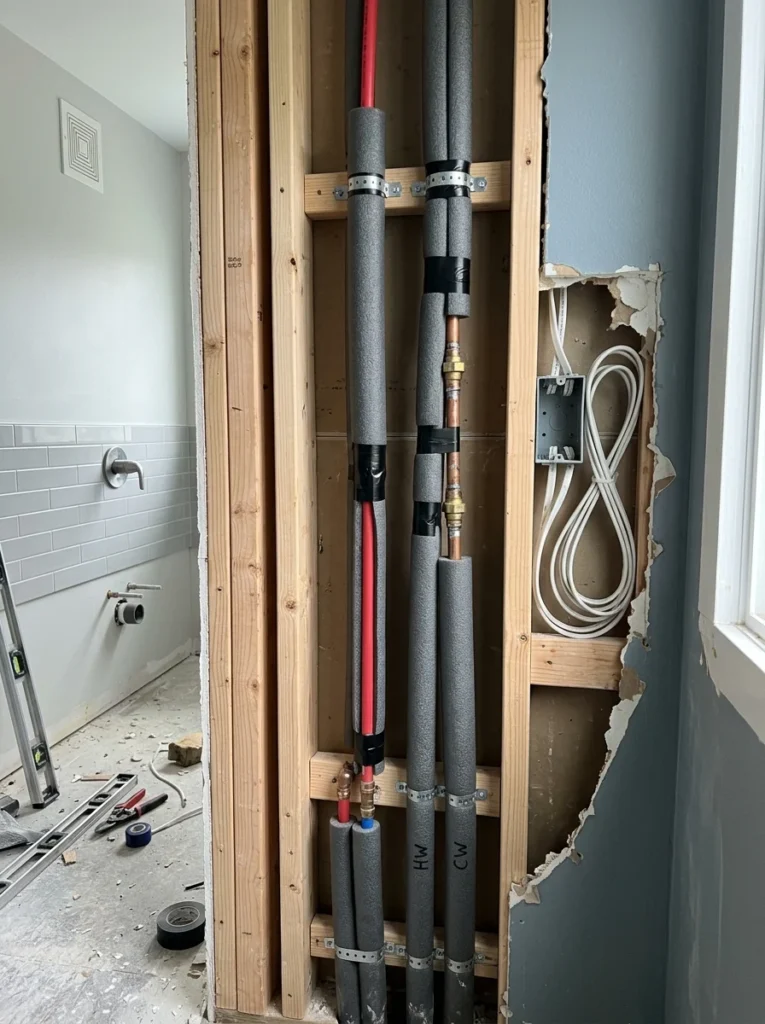
Plumbing pipes running through walls can carry both the sound of running water and vibrations from usage into adjacent rooms, particularly with older, uninsulated copper piping. Wrapping exposed or accessible pipes with pipe insulation reduces this transmission, and during a renovation, using pipe insulation or isolating pipes from direct contact with wall studs, using isolation clips or a similar product, prevents vibrations from transferring directly into the wall structure and, from there, into the room next door.
Add a rug or dense flooring underlayment
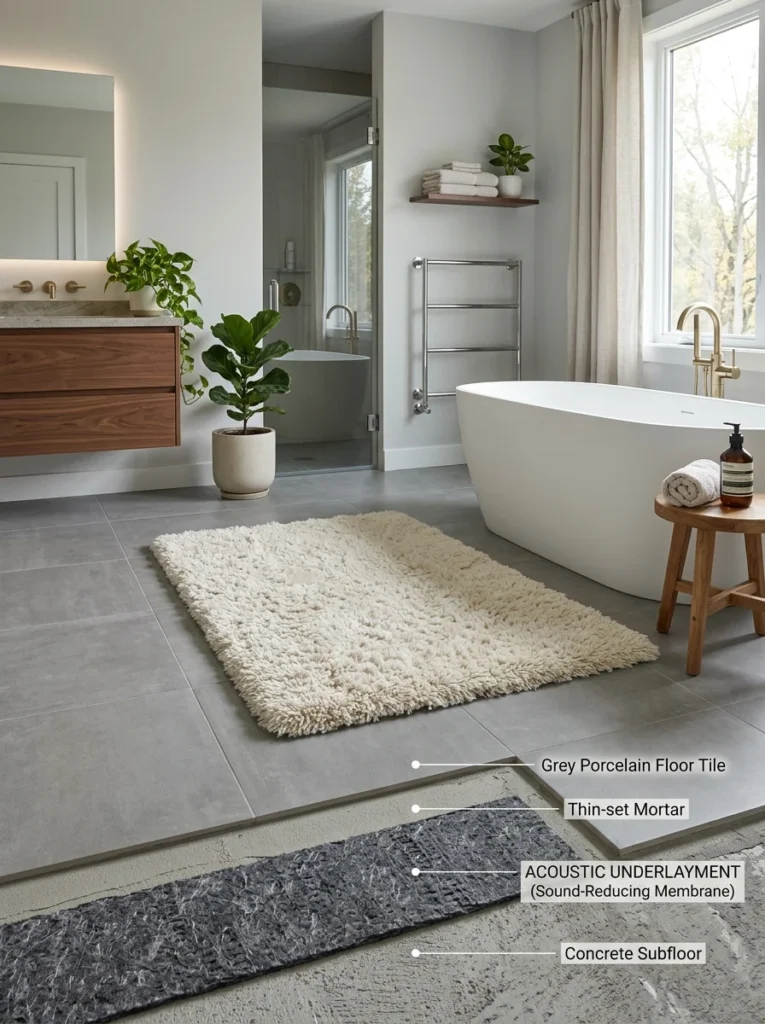
Hard flooring, like tile, can amplify and transmit footstep and impact sound more than carpet or a cushioned surface would, particularly on an upper floor with a room below. A dense, non-slip bath rug helps somewhat, but for a more significant improvement, adding a sound-dampening underlayment beneath tile during a renovation reduces both the impact sound transmitted downward and some of the echo within the bathroom itself, which can make voices and other sounds feel less sharp and carrying even before they reach an adjacent room.
Consider white noise as a practical, low-cost addition
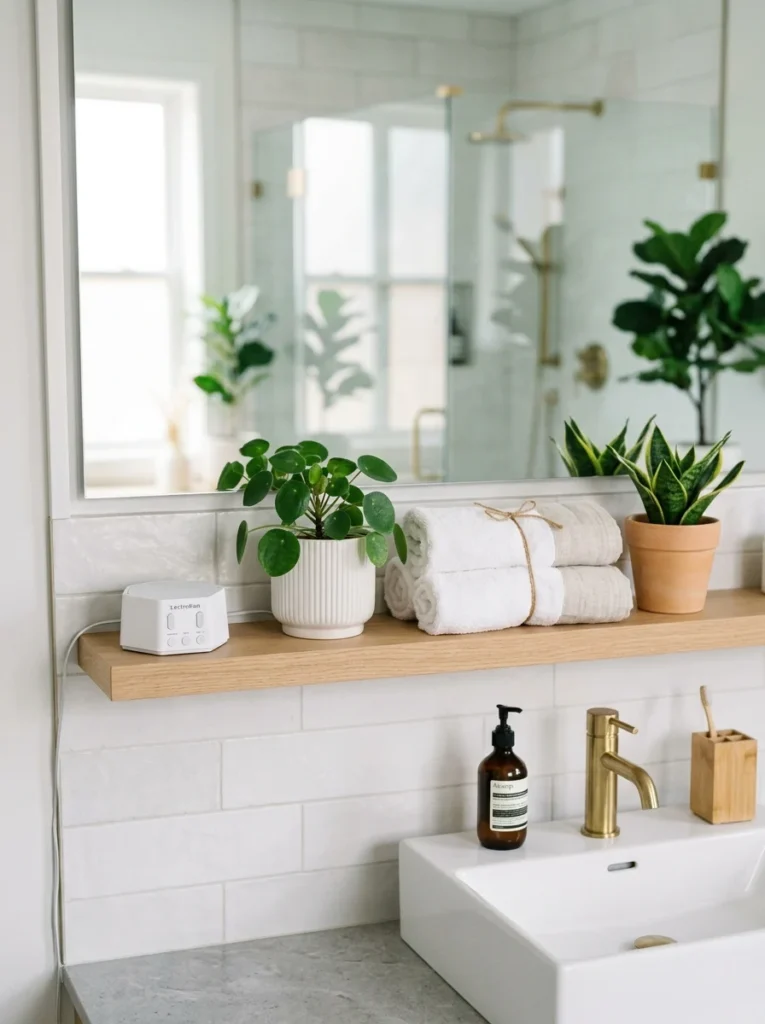
While it doesn’t reduce actual sound transmission, a small white noise machine or a bathroom fan left running provides effective, immediate masking that makes whatever sound does transfer far less noticeable and identifiable to anyone in an adjacent room. This is a genuinely practical, low-cost solution worth combining with the physical fixes above, especially in a shared or multi-generational household where privacy matters day to day rather than only during a future renovation.
Prioritize based on your specific situation
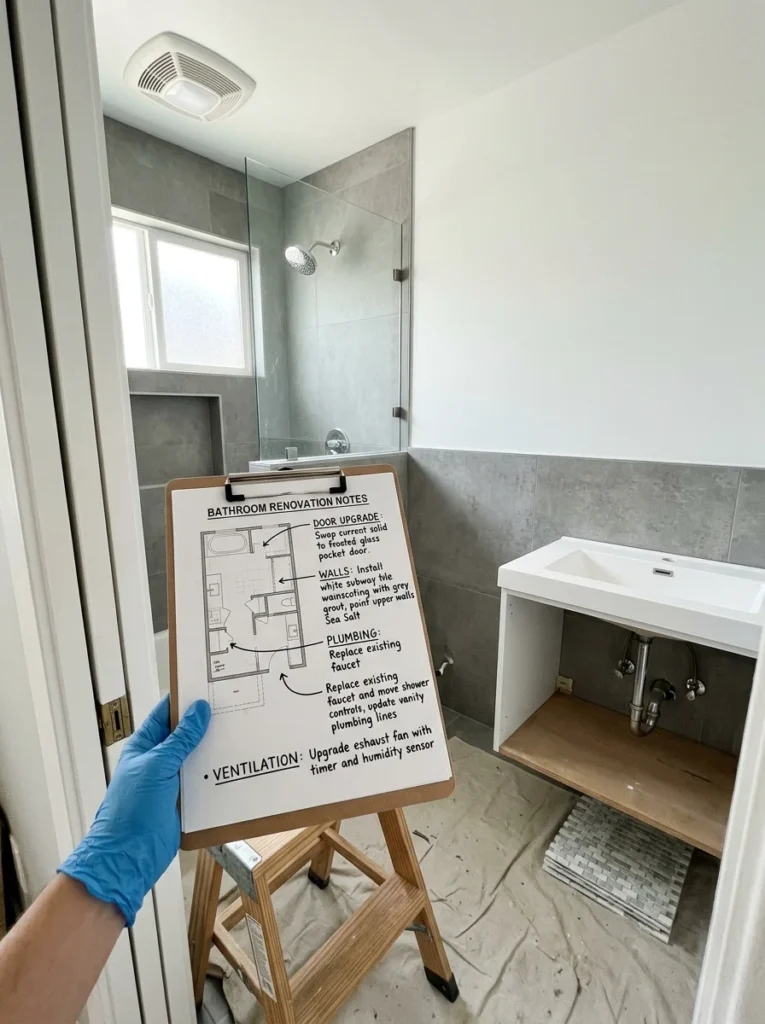
Not every bathroom needs every fix on this list, and prioritizing based on your specific weak point saves both money and effort. If the door is clearly the main issue, start there before considering a wall renovation. If you’re already planning a fuller bathroom renovation for other reasons, that’s the ideal time to address wall assembly and pipe insulation, since retrofitting those elements outside of a renovation is considerably more disruptive and expensive than including them while the walls are already open.
Address sound traveling through the ceiling or floor
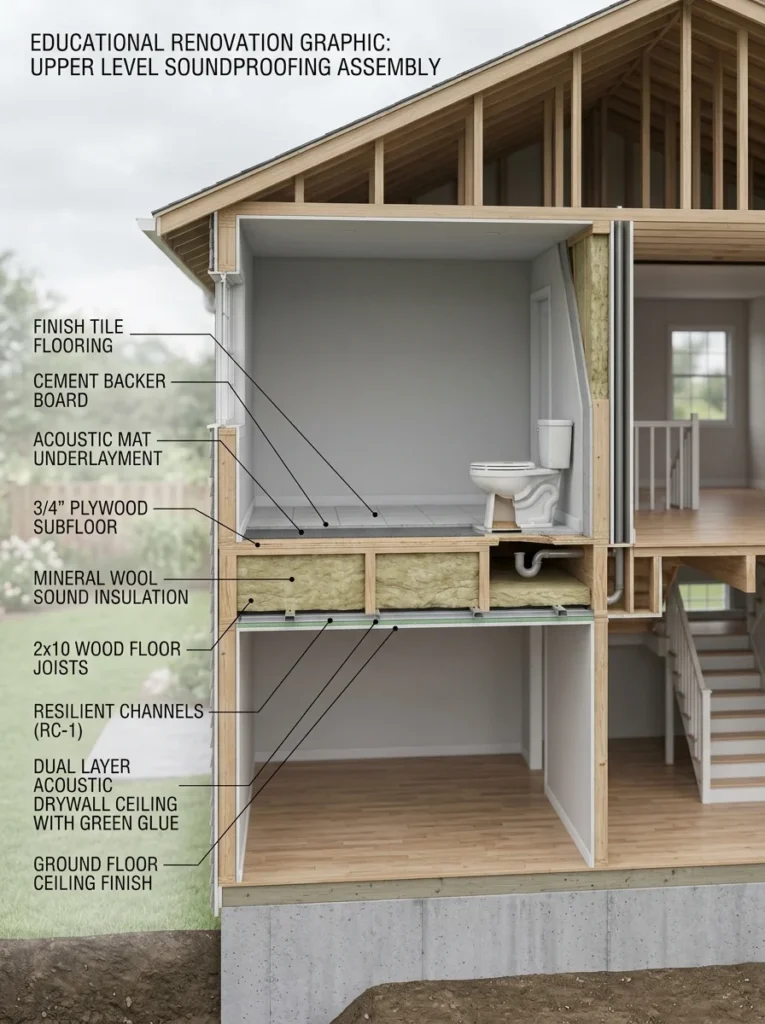
In a multi-story home, sound often travels vertically as much as it does horizontally, particularly footsteps, a running shower, or a flushing toilet heard from the room below. Adding a resilient sound-isolation channel to the ceiling below the bathroom, along with an extra layer of sound-dampening drywall, is one of the more effective ways to address this during a renovation, since it decouples the ceiling from the floor joists above and significantly reduces impact noise transmission. If a full ceiling renovation isn’t practical, adding acoustic tiles or a dense, textured ceiling treatment in the room below can still meaningfully soften how much sound comes through, even if it doesn’t eliminate it entirely.
Consider the cumulative effect of small gaps and openings
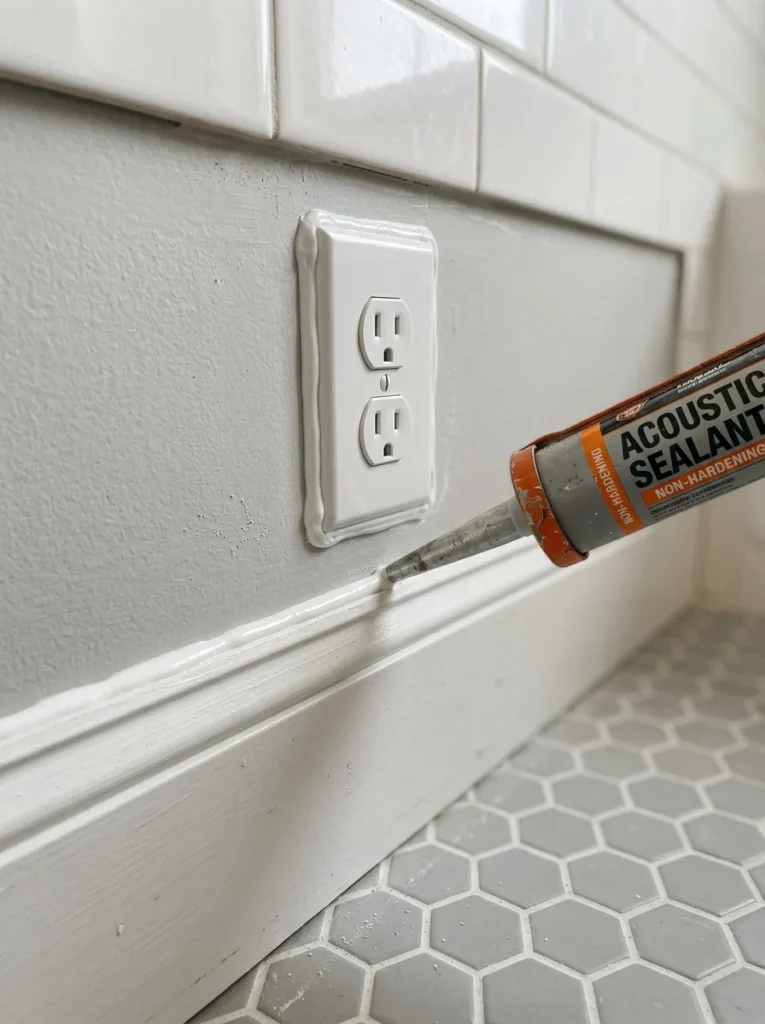
Beyond the door itself, small gaps around electrical outlets, light switches, and any other penetrations through a shared wall can all act as tiny sound leaks that add up more than people expect. Acoustic sealant, a flexible caulk designed specifically to block sound rather than just air or water, can be applied around outlet boxes, baseboards, and any other small gaps in a shared wall without needing to open the wall itself. This is a low-cost, relatively quick fix that’s often overlooked in favor of bigger changes like wall insulation, but it closes some of the smaller paths sound uses to slip through even a well-insulated wall.
Budget realistically based on the level of privacy you actually need
Not every household needs a professional-grade soundproofed bathroom, and it’s worth being honest about how much privacy improvement is actually necessary before committing to the more expensive options on this list. A household mainly concerned about everyday privacy from a neighboring living room or home office is often well served by the door, sealant, and fan upgrades alone, all of which are relatively inexpensive and can typically be completed in a single weekend. A household dealing with a bathroom adjacent to a bedroom used by someone with noise sensitivity, or a shared wall with frequent, sustained use on both sides, may find the added cost of wall or ceiling treatments genuinely worthwhile, since the improvement in daily comfort can be significant enough to justify the larger investment.

Test your changes as you go
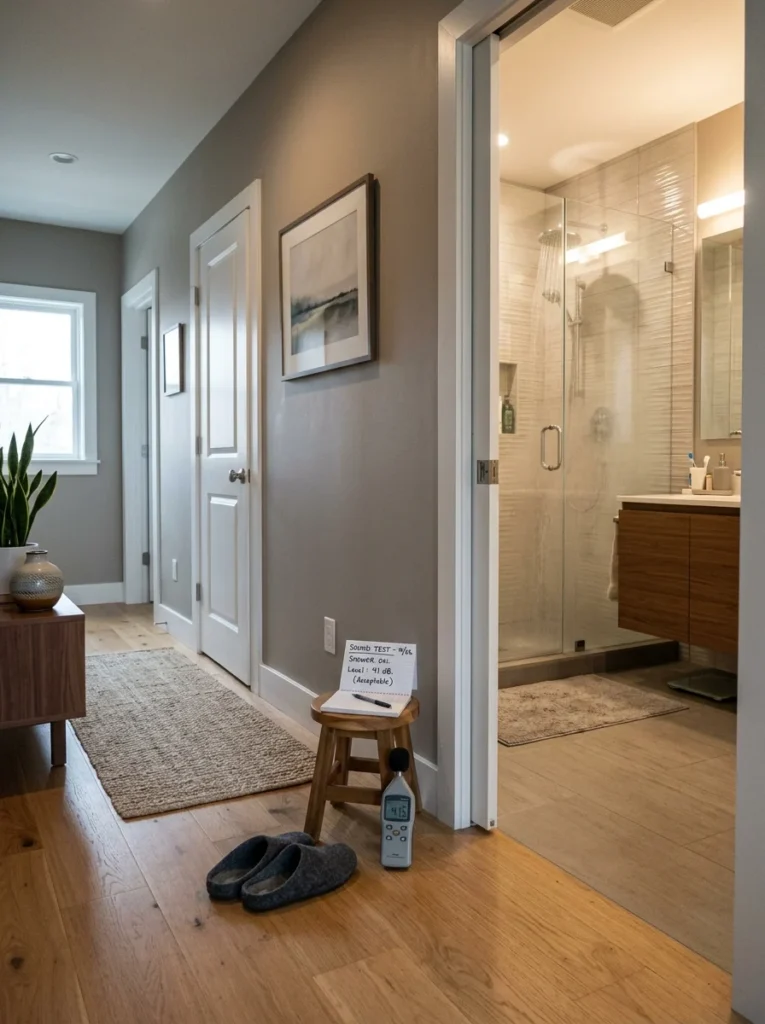
Rather than making every change at once, it’s worth testing sound levels after each fix, having someone speak normally or run the shower while you listen from the adjacent room, so you can gauge how much each individual change actually helped before investing further. This step-by-step approach also helps identify whether a remaining sound issue is coming from a different path than expected, the ceiling rather than the wall, for instance, which can save you from spending on the wrong fix based on an assumption rather than an actual test.
Common bathroom soundproofing questions
What’s the single most effective soundproofing fix for a bathroom?
Upgrading to a solid-core door and properly sealing the gaps around the frame typically offers the biggest improvement for the lowest cost, since the door is usually the largest single source of sound leakage in most bathrooms.
Can I soundproof a bathroom without a full renovation?
Yes, a solid-core door, weatherstripping, a quieter exhaust fan, pipe insulation on accessible pipes, and a dense rug can all meaningfully improve sound privacy without any wall demolition or major construction, making them accessible options for most households.
Does adding insulation inside the wall actually help with sound?
Yes, adding insulation inside a wall cavity, combined with sound-dampening drywall or a damping compound between drywall layers, meaningfully reduces sound transmission through a shared wall, though this typically requires opening the wall, making it most practical during a planned renovation.
Will a white noise machine fully solve a bathroom privacy issue?
A white noise machine doesn’t reduce actual sound transmission, but it effectively masks whatever sound does pass through, making it far less noticeable and identifiable. It works best as a complement to physical soundproofing fixes rather than a complete standalone solution.
Does acoustic sealant around outlets really make a difference?
Yes, small gaps around outlets, switches, and baseboards can add up to a meaningful amount of sound leakage, even in an otherwise well-insulated wall. Acoustic sealant is inexpensive and quick to apply, making it a worthwhile addition alongside bigger fixes like a solid-core door.
How do I stop sound from traveling between floors in a multi-story home?
Adding a resilient sound-isolation channel and an extra layer of sound-dampening drywall to the ceiling below the bathroom is one of the most effective fixes, though it requires opening the ceiling. A simpler, lower-cost option is adding acoustic tiles or a dense ceiling treatment in the room below, which softens sound without a full renovation.
Meaningful bathroom soundproofing comes down to addressing the specific paths sound actually travels through, the door, the walls, the ventilation, and the plumbing, rather than assuming a single fix will solve the whole problem. Starting with the door and exhaust fan offers the most improvement for the least cost and effort, while wall and pipe insulation are better tackled during a planned renovation when the wall is already open.
After swapping our guest bathroom’s hollow-core door for a solid-core one and adding proper weatherstripping, the difference was immediate and noticeable, enough that nobody in the house thinks twice about that bathroom anymore. If you’re dealing with a similar issue, start there; it’s the cheapest, fastest fix on this entire list, and it’s very likely the source of most of the problem in the first place, with everything else on this list available to layer on top once you’ve seen how much that single change alone improves things.