

For years, the bathroom in my old apartment had a fan that technically worked, in the sense that it made noise and moved a little air, but it never actually cleared the steam after a shower. The mirror stayed fogged for twenty minutes, the paint near the ceiling slowly started peeling, and eventually a faint mildew smell showed up in the corner behind the toilet. I assumed the room just had bad luck with humidity. It turned out the fan installed by the previous owner was rated for a room half the size of mine. It wasn’t a luck problem, it was a math problem, and nobody had done the math.
Related Reading
Bathroom ventilation is one of those things that’s invisible when it’s working and obvious, in the worst way, when it isn’t. A properly sized and installed exhaust fan protects your paint, your grout, your drywall, and your air quality, while an undersized or poorly placed one leaves you with lingering moisture no matter how expensive your finishes are. This guide walks through exactly how to choose and size an exhaust fan, so you never have to guess the way my old apartment’s previous owner apparently did.

Why bathroom ventilation matters more than people think
Every shower and bath sends a significant amount of water vapor into the air, and that moisture has to go somewhere. Without proper ventilation, it settles onto walls, ceilings, mirrors, and grout lines, creating the damp environment mold and mildew need to take hold. Over time, trapped moisture can also damage drywall, warp wood trim, and peel paint, turning what starts as a cosmetic annoyance into a genuine repair bill. A correctly sized exhaust fan removes that moisture before it has a chance to settle, which is a far cheaper habit than fixing mold damage or repainting a ceiling every couple of years.

Understand what CFM actually measures
Exhaust fans are rated in CFM, or cubic feet per minute, which measures how much air the fan can move out of the room in that time. A higher CFM rating means the fan clears moisture and odor faster, but higher isn’t automatically better, since an oversized fan for a small room can be noisier and less efficient than necessary, while an undersized fan for a large room, like the one in my old apartment, simply can’t keep up no matter how long it runs. Getting the CFM number right for your specific room size is the single most important step in choosing a fan.
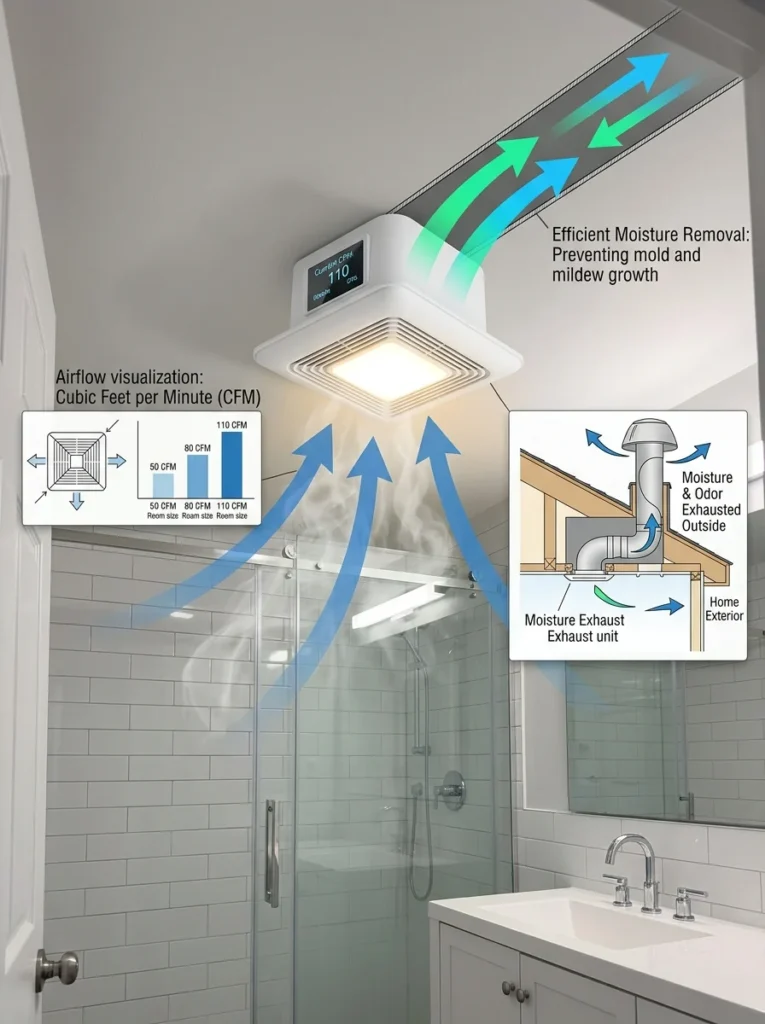
Calculate the CFM your bathroom actually needs
The standard baseline calculation most professionals use is one CFM per square foot of bathroom floor space, for rooms up to about 100 square feet. To find your number, multiply the length and width of the room in feet to get the square footage, and that figure becomes your minimum CFM requirement. A bathroom that’s 8 feet by 10 feet, for example, is 80 square feet, so it needs a fan rated for at least 80 CFM. For larger bathrooms, over 100 square feet, or bathrooms with multiple fixtures, the calculation shifts to adding fixed amounts per fixture, typically around 50 CFM each for a toilet, shower, and bathtub, since each one contributes its own source of moisture or odor.
It’s worth rounding up rather than down when your calculation lands between two common fan sizes, since a slightly stronger fan clears the room faster and runs for a shorter total time, which can actually mean less overall noise exposure than a smaller fan running on a longer cycle.
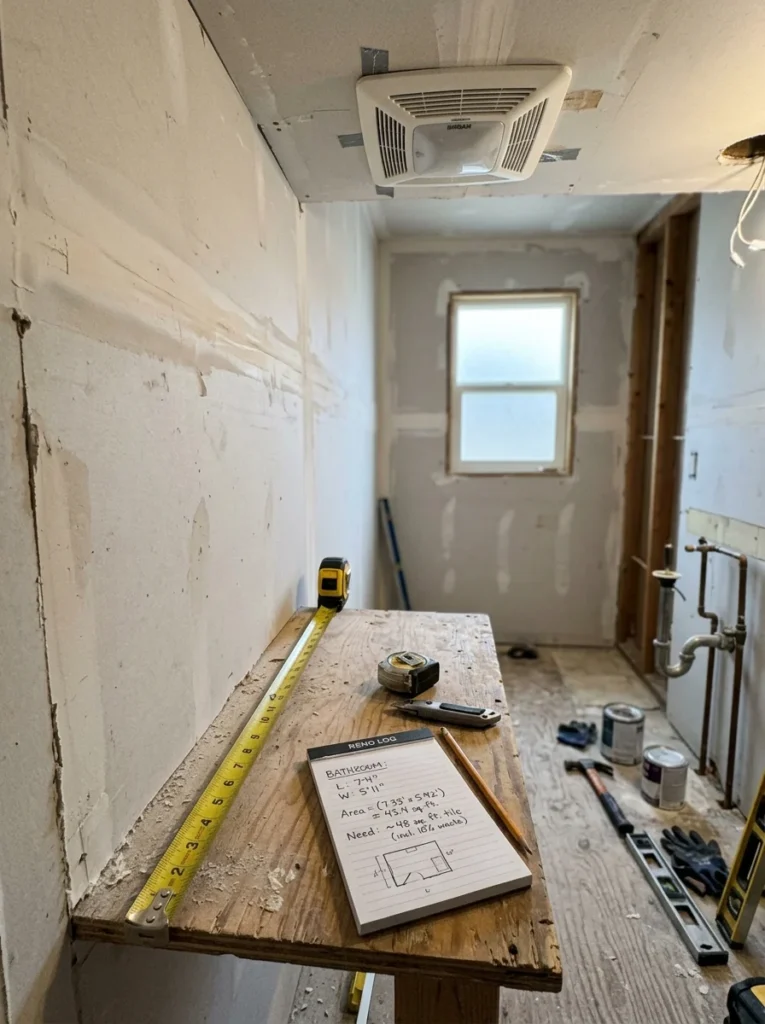
Account for ceiling height
The standard one-CFM-per-square-foot formula assumes a fairly typical eight-foot ceiling. If your bathroom has noticeably higher ceilings, a vaulted ceiling or a converted room with ten or twelve-foot ceilings, the room contains significantly more total air volume, and the CFM calculation should scale up accordingly. A simple way to adjust is calculating the room’s volume in cubic feet, length times width times height, and using eight air changes per hour as a target, then dividing by sixty to get the CFM needed. Skipping this adjustment is a common reason fans that seem correctly sized on paper still feel underpowered in rooms with tall ceilings.

Factor in fixtures beyond the basic room size
A bathroom with just a toilet and sink needs meaningfully less airflow than one with a large soaking tub and a separate walk-in shower, even if the two rooms are the same square footage, because each additional fixture adds its own moisture load. When sizing a fan for a bathroom with multiple fixtures, professionals often use the higher of either the square footage calculation or the sum of per-fixture requirements, then round up to the nearest common fan size. This is especially relevant for larger primary bathrooms with a separate tub and shower, where relying on the square footage number alone can leave the fan underpowered for how much moisture the room actually produces.

Choose the right type of fan for your ceiling and space
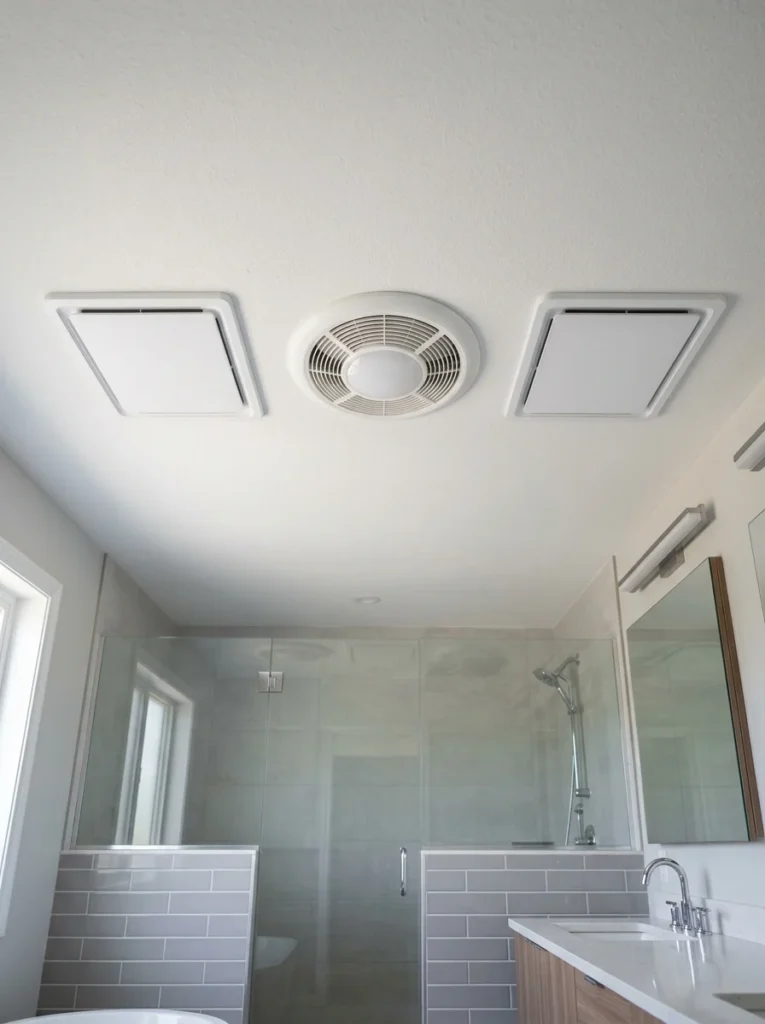
Standard ceiling-mounted exhaust fans are the most common option and work well for most bathrooms, but they do require enough space above the ceiling for the fan housing and ductwork. In bathrooms with limited attic or joist space, a low-profile or inline fan, mounted farther away in the duct run rather than directly in the ceiling, can solve tight clearance problems while still delivering full airflow. Combination units that include a light, a heater, or a speaker are convenient but shouldn’t be chosen purely for those extras; make sure the CFM rating still matches your room’s actual needs before considering the additional features.
Pay attention to noise ratings, not just airflow
Fan noise is measured in sones, and lower numbers mean quieter operation. A fan rated at 0.5 to 1.0 sones is considered very quiet, while anything above 3 sones starts to feel noticeably loud in a small, enclosed room. A powerful fan that’s also loud tends to get switched off early by frustrated homeowners, which defeats the purpose of installing it in the first place. When comparing two fans with similar CFM ratings, the quieter one is almost always the better long-term choice, since it’s the one that will actually get used for as long as it needs to run.
Make sure the fan vents outside, not into the attic
An exhaust fan only works as intended if the moist air it removes actually leaves the building, vented through the roof or an exterior wall, rather than dumped into an attic or crawlspace. Venting into an enclosed attic space simply relocates the moisture problem, often leading to hidden mold growth and wood rot that isn’t discovered until it’s already extensive. If you’re installing a new fan or inspecting an existing one, trace the duct run to confirm it terminates outside the home through a proper roof or wall vent cap, not just into an open attic space.

Install a timer or humidity sensor for consistent use
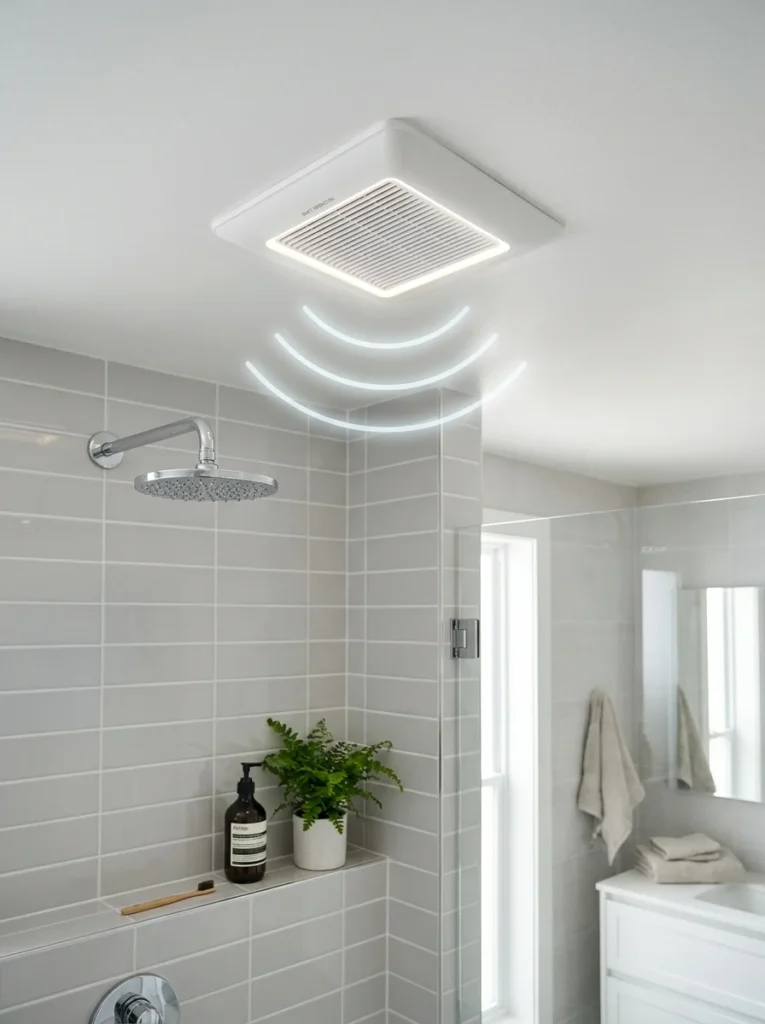
A fan is only effective if it runs long enough to actually clear the moisture, and most people underestimate how long that takes, typically twenty to thirty minutes after a shower, not just during it. A timer switch that keeps the fan running after you leave the room, or a humidity-sensing switch that automatically activates once moisture rises past a set level, solves this without requiring you to remember to flip a switch on your way out. This single upgrade fixed the lingering fog and musty smell in my old apartment almost as much as replacing the undersized fan itself did, since the previous fan had simply been switched off too early every single time.
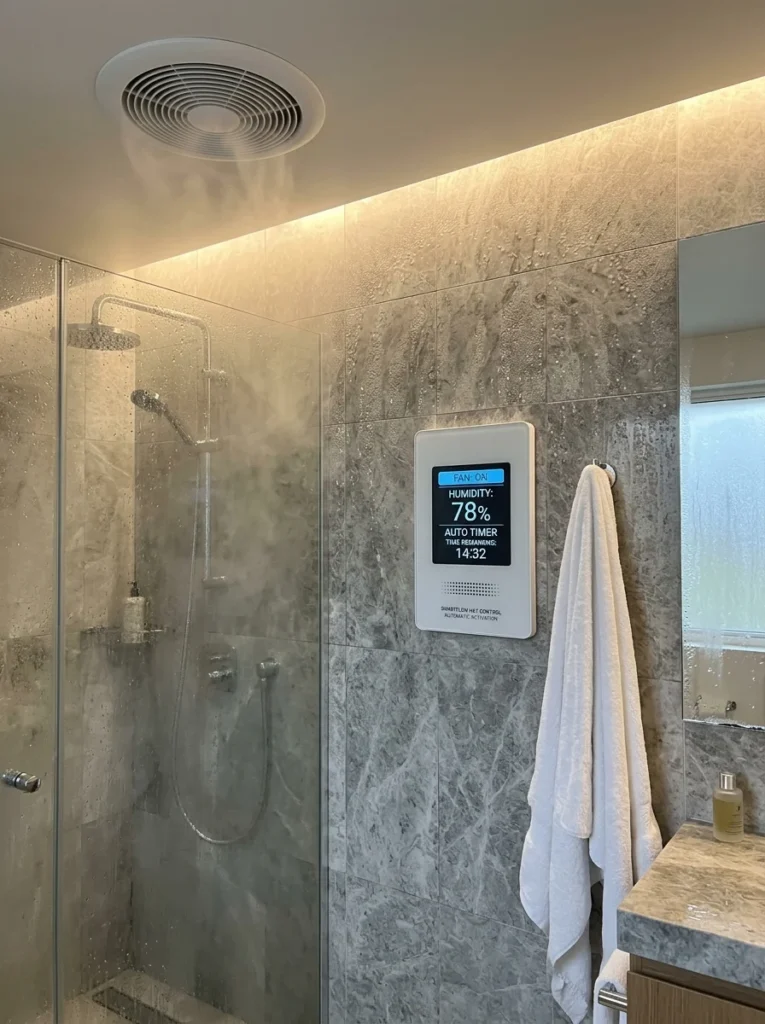
Signs your current fan is undersized or failing
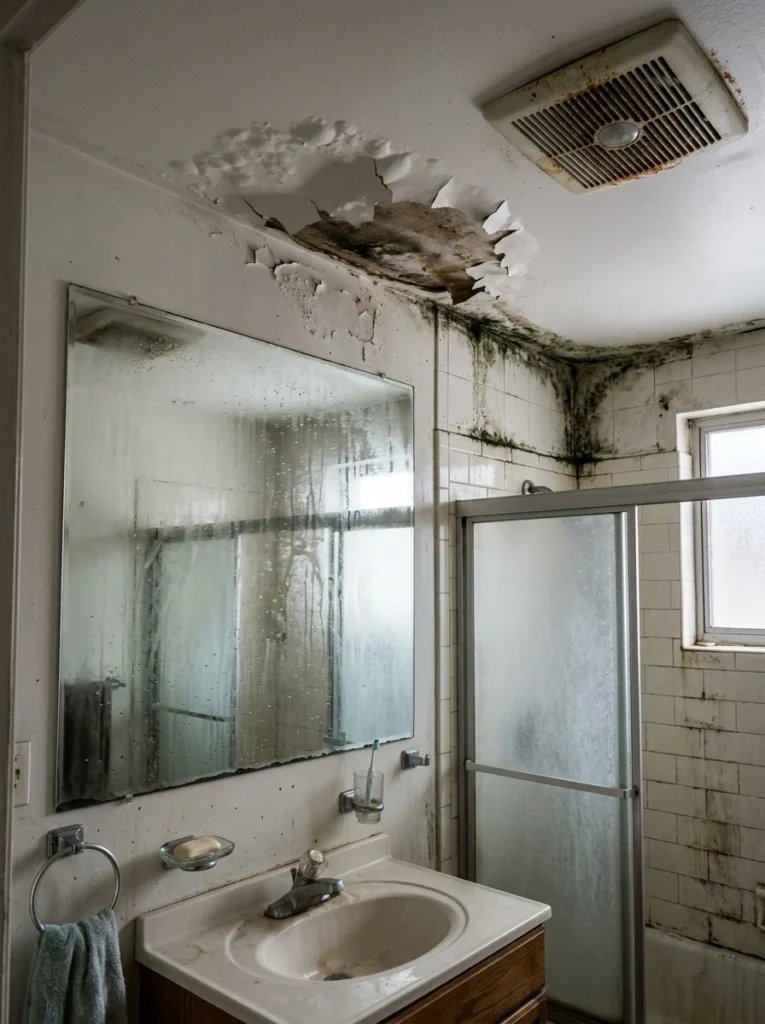
A few warning signs usually show up well before any real damage does. If your mirror stays fogged for more than ten or fifteen minutes after a shower, or if condensation visibly beads on the ceiling or walls, the fan almost certainly isn’t moving enough air for the room. A persistent musty smell, even after cleaning, often means moisture is lingering somewhere the fan isn’t reaching effectively. Physically, a fan that rattles, hums louder than it used to, or barely moves a tissue held near the grille is either underpowered for the room or simply wearing out and due for replacement. Catching these signs early is far cheaper than waiting until paint peels or mold appears, since at that point you’re paying for repairs on top of the fan itself.
The most common mistake is sizing the fan for the room’s square footage without accounting for ceiling height or multiple fixtures, which leaves the fan technically installed but functionally underpowered. The second is running long, twisting duct routes with sharp bends, which reduce airflow significantly even from a powerful, correctly sized fan; keeping duct runs as short and straight as possible preserves more of the fan’s rated performance. The third, and the one that affected my old apartment most directly, is simply turning the fan off too soon after a shower, before the room has actually had time to clear. Any one of these issues can undo the benefit of an otherwise correctly chosen fan, which is why it’s worth checking all three, sizing, duct routing, and run time, rather than assuming a good fan alone solves the whole problem.
Common bathroom exhaust fan questions

What size exhaust fan do I need for my bathroom?
For most bathrooms under 100 square feet, use one CFM per square foot of floor space as a baseline, then round up to the nearest common fan size. For larger bathrooms or those with multiple fixtures, calculate the sum of per-fixture requirements as well and use whichever number is higher.
Can an exhaust fan be too powerful for a small bathroom?
An oversized fan isn’t dangerous, but it can be noisier and less efficient than necessary for a small room, and it may pull conditioned air out faster than needed, slightly increasing energy costs. Matching the CFM rating closely to your calculated need, rather than simply buying the strongest fan available, gives the best balance of performance and efficiency.
How long should a bathroom fan run after a shower?
Most bathrooms need the fan running for twenty to thirty minutes after a shower to fully clear built-up moisture, not just during the shower itself. A timer switch or humidity-sensing control makes this consistent without relying on remembering to switch it off manually.
Where should a bathroom exhaust fan vent to?
A bathroom fan should always vent to the outside of the home, through a roof cap or exterior wall vent, never into an attic, crawlspace, or soffit. Venting into an enclosed space simply relocates moisture rather than removing it, which can lead to hidden mold and structural damage over time.
Getting ventilation right the first time
Choosing the correct exhaust fan comes down to a few concrete numbers: your room’s square footage or volume, the number of fixtures producing moisture, and a noise rating you can actually live with running for half an hour after every shower. None of this requires guesswork once you know the formulas, and getting it right the first time avoids the slow, creeping damage that an undersized fan allows, peeling paint, musty smells, and eventually mold that costs far more to fix than the fan itself would have cost to size correctly.
If you’re not sure what your current fan is rated for, check the housing for a label, or look up the model number online, and compare it against your room’s square footage using the formula above. It took me replacing one badly matched fan to realize how much of what I’d blamed on “just how humid bathrooms are” was actually a straightforward sizing mistake, one that a bit of arithmetic before buying would have caught immediately.