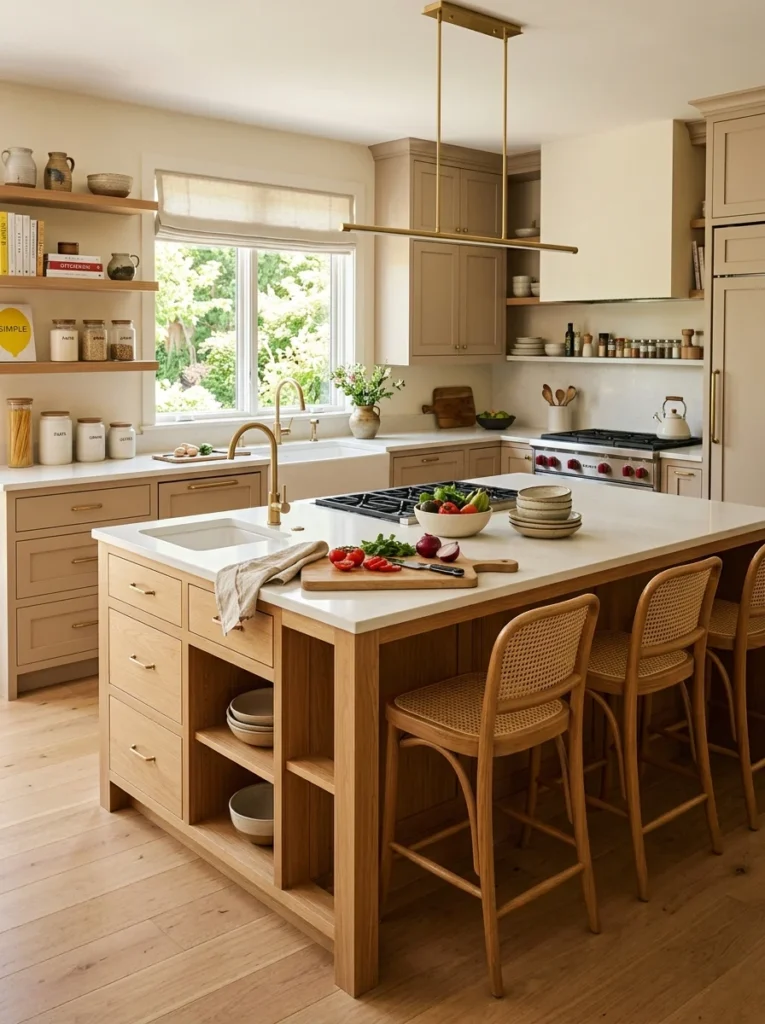
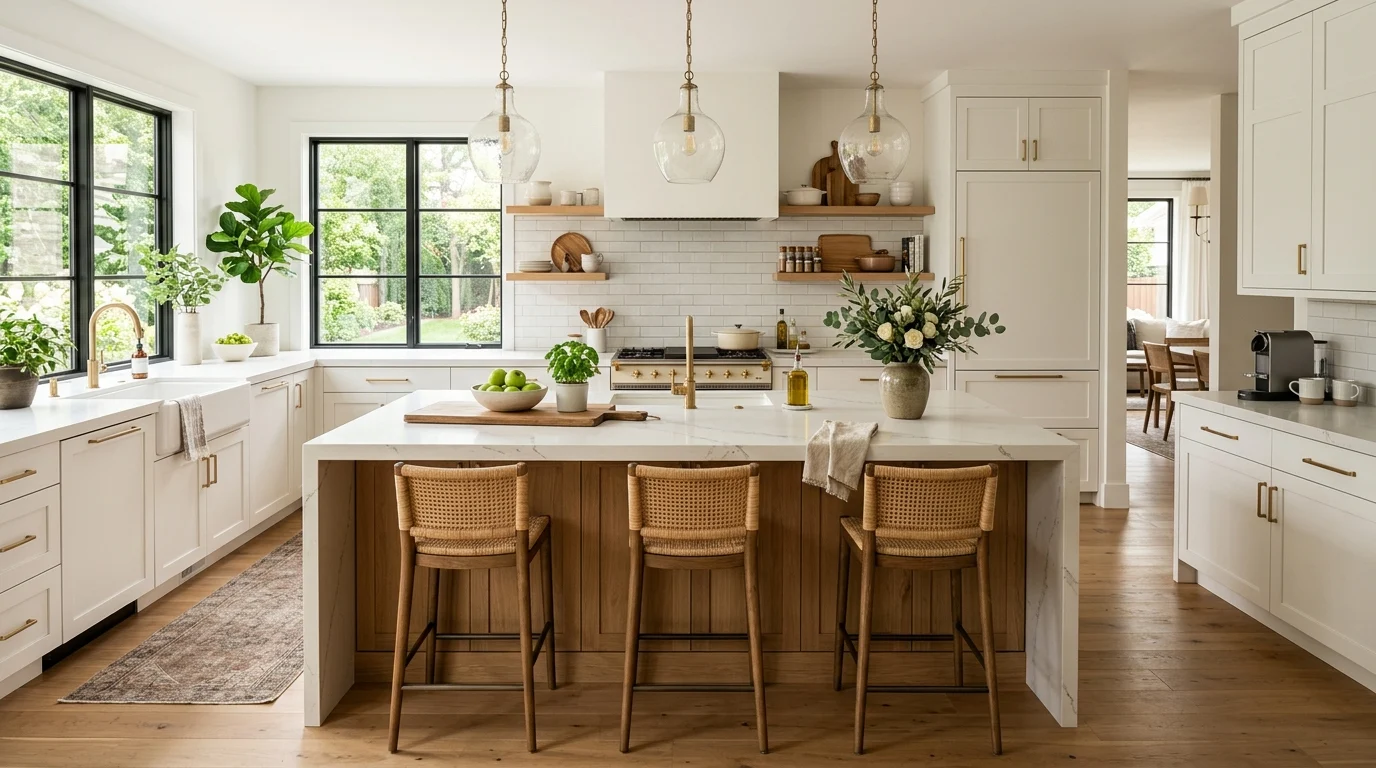
My first kitchen island cost me the price of a secondhand dresser and one very stubborn Saturday. I’d wanted an island for years, assumed it was a wall-knocking, contractor-hiring project, and never had the budget for it. Then I saw an old sideboard at a furniture resale shop, the right height, solid wood, ugly varnish, and something clicked. I sanded it down, sealed the top, added a small towel rail to one end, and rolled it into the middle of my kitchen. It wasn’t fancy. But it gave me the one thing my kitchen had always lacked: a surface in the middle where I could actually stand and work with counters on more than one side.
Since then I’ve helped plan islands at three very different price points, from that dresser to a fitted one with a stone top and a built-in socket. What I’ve learned is that a kitchen island is one of the most misunderstood upgrades in home décor. People fixate on how it looks and skip the two questions that decide whether it’s useful at all: does the room have space for it, and what is it actually for? Get those right and you can build a genuinely functional island on almost any budget. Get them wrong and even an expensive one becomes a beautiful obstacle you squeeze past forty times a day.
Start with space, not the island
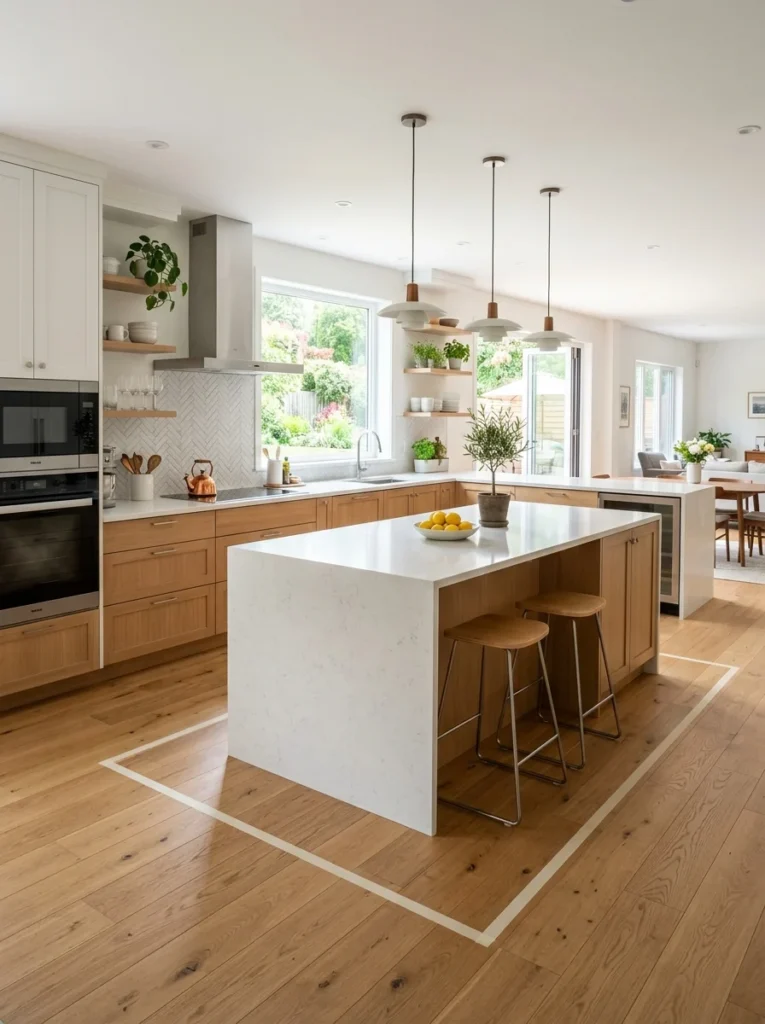
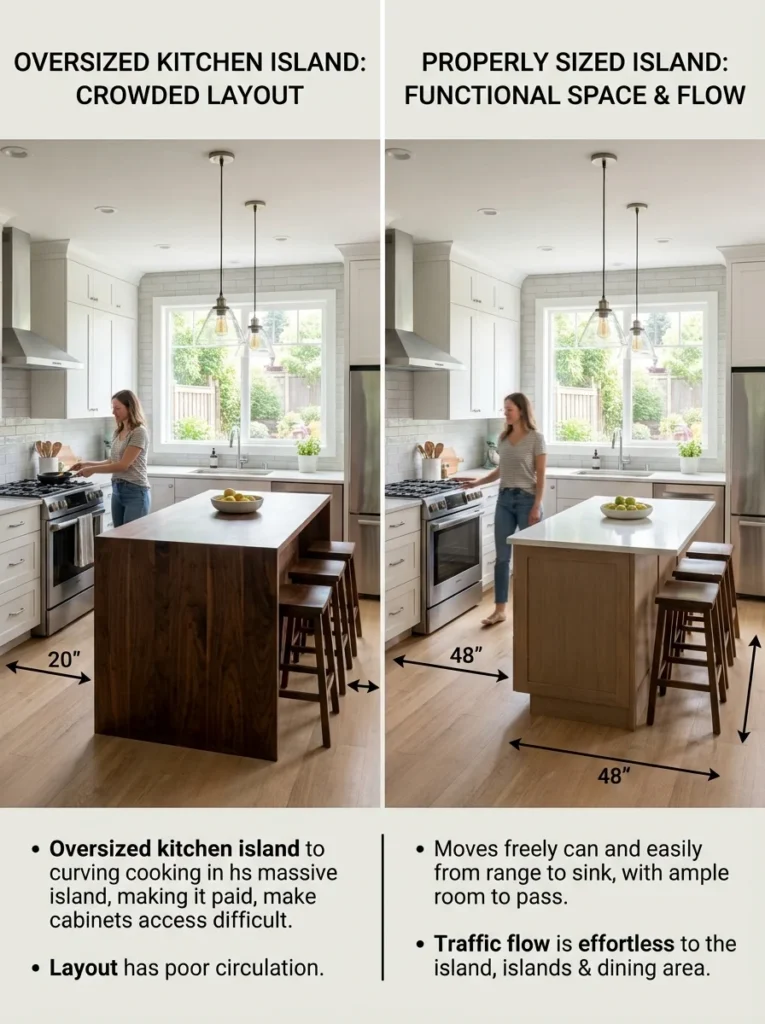
Before you fall for a design, measure. This is the step that saves people from the single most common island regret, which is an island that’s too big for the room and turns cooking into a squeeze. The number to remember is clearance: you want at least 36 inches of clear floor between the island and every surrounding counter, wall or appliance. Around 42 to 48 inches is more comfortable, especially on the side where the oven or dishwasher door swings open, because you need room to stand behind that open door.
Here’s the quick test I always do before anyone buys anything. Cut the island’s footprint out of cardboard or mark it on the floor with masking tape, at the real dimensions, and live with it for a few days. Walk your normal routes. Open the oven. Pull out a chair. It sounds silly and it’s the most useful ten minutes you’ll spend, because it turns an abstract measurement into something your body understands. I’ve watched a taped-out rectangle talk someone out of an island that would have been a daily nuisance, and it cost nothing to find out. If your room can’t give up 36 inches all the way around, an island isn’t right for it, and a slim rolling cart or a peninsula attached to existing counters will serve you far better.
Decide what the island is actually for
An island can do a lot of jobs, but it cannot do all of them well at once, especially a smaller one. So pick the one or two that matter most to how you live, and design around those rather than trying to cram everything in. Here are the main jobs, and what each one really asks of the island.
Extra prep surface
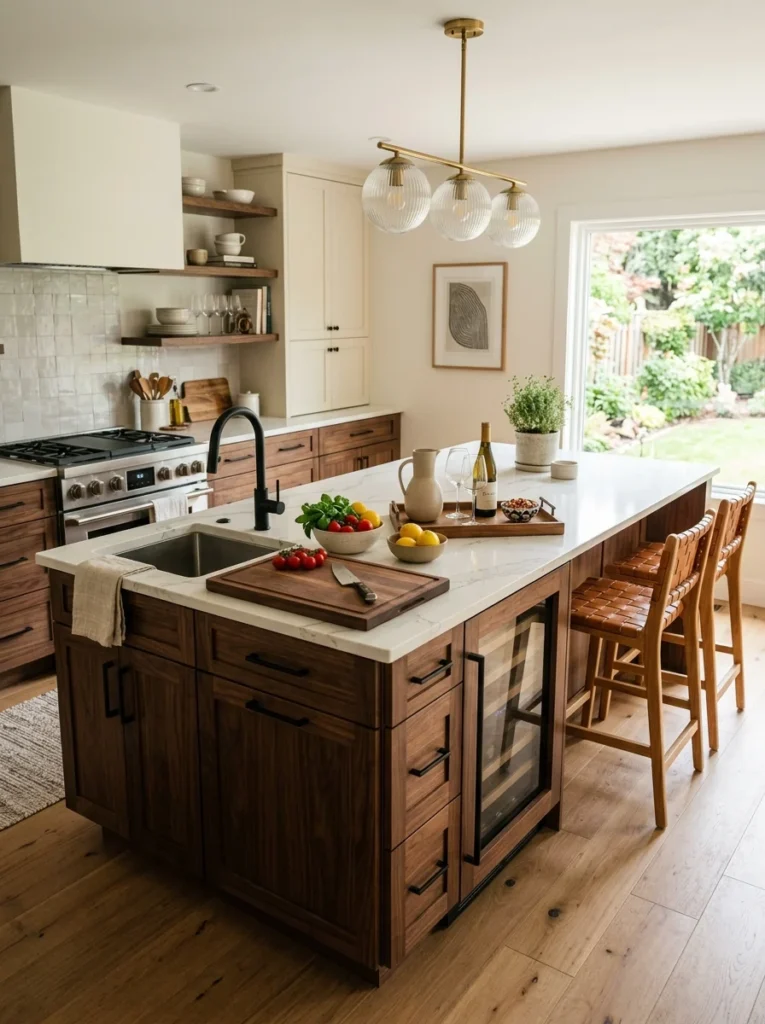
If your main problem is that you never have enough room to chop, roll dough or lay ingredients out, then the top is the whole point. Prioritise a large, uncluttered, hard-wearing worktop and don’t crowd it with a cooktop or sink. This is the cheapest kind of island to get right, because a good flat surface at the correct height is the one thing every budget can deliver. Height matters more than people expect: standard counter height of about 36 inches suits most prep work, and getting it wrong by even an inch or two makes chopping oddly uncomfortable.
Storage
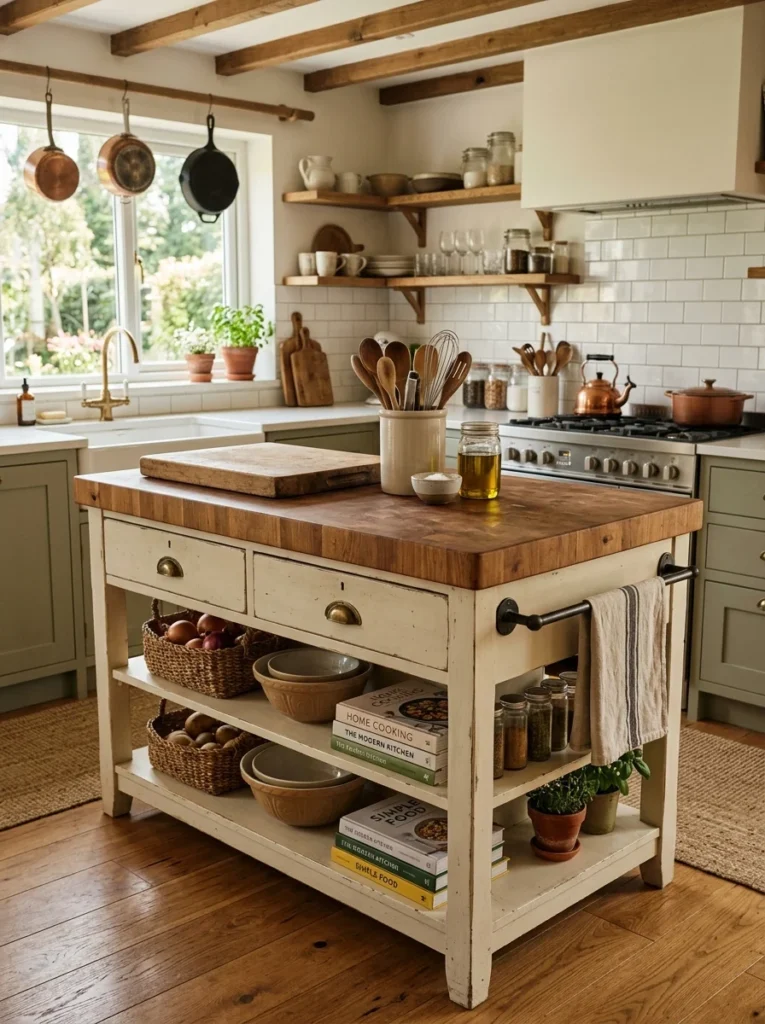
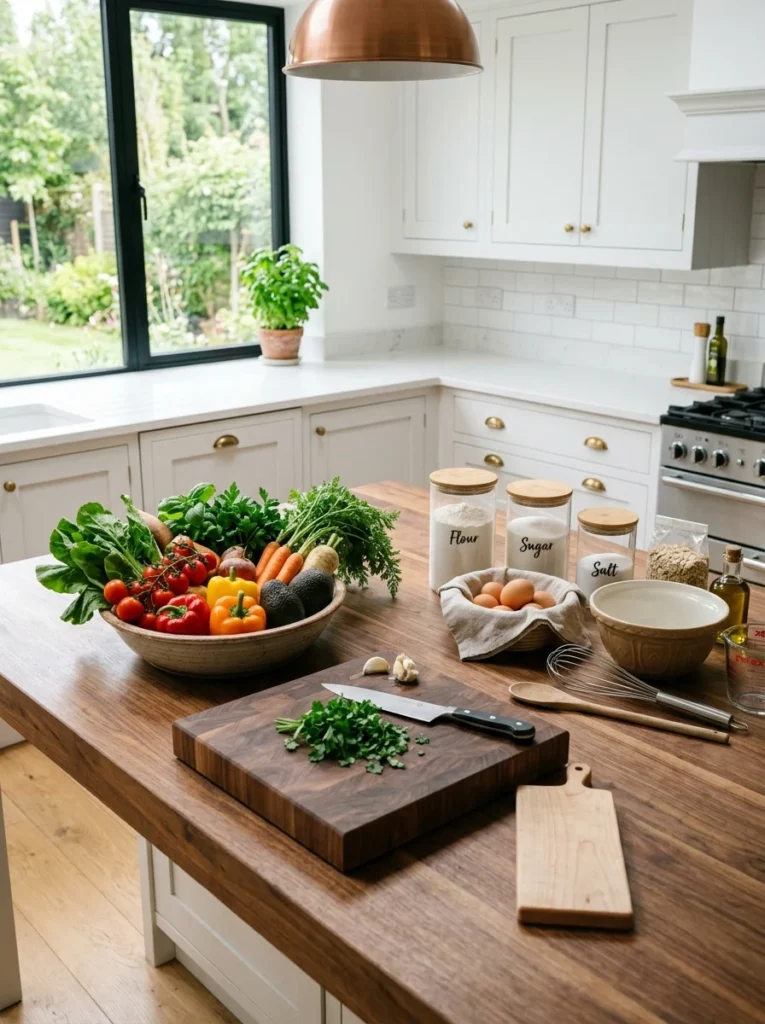
If your kitchen is short on cupboards, build the island as a storage unit with a top. Drawers on one side, open shelves or a cabinet on the other, maybe a rack for cookbooks or a wine cubby on the end. My repurposed dresser was really a storage island first and a prep surface second, and it swallowed an astonishing amount of the clutter that used to live on my counters. If storage is the goal, look hard at the sides and ends, not just the top, because that’s where the capacity hides.
Seating and gathering
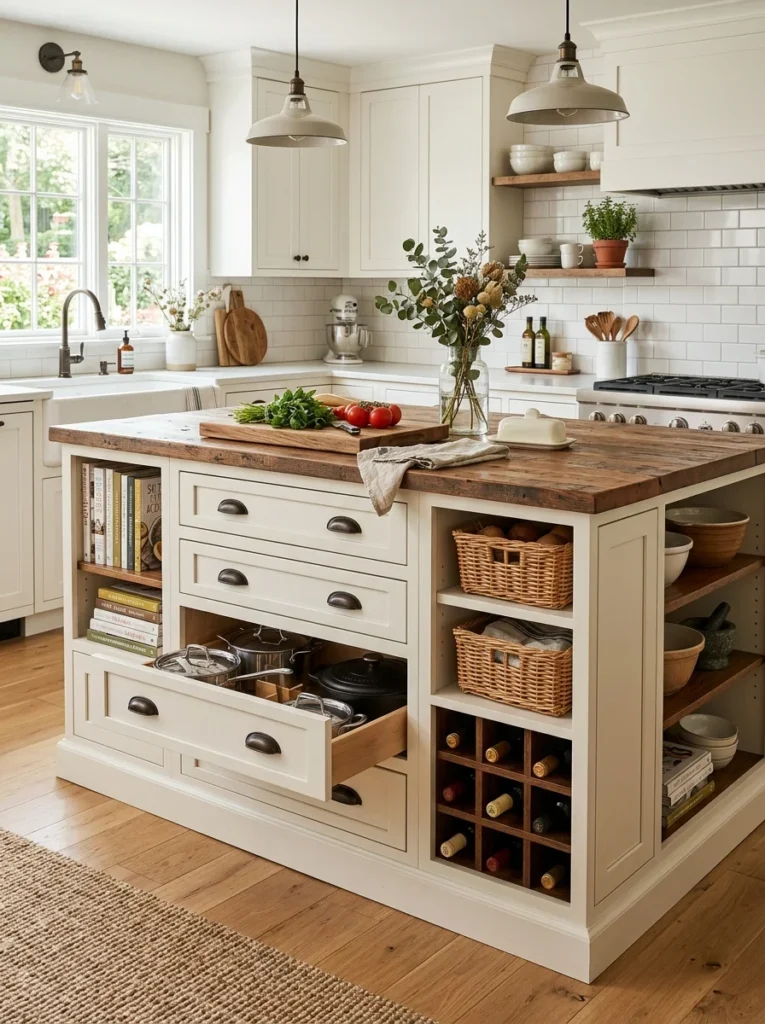
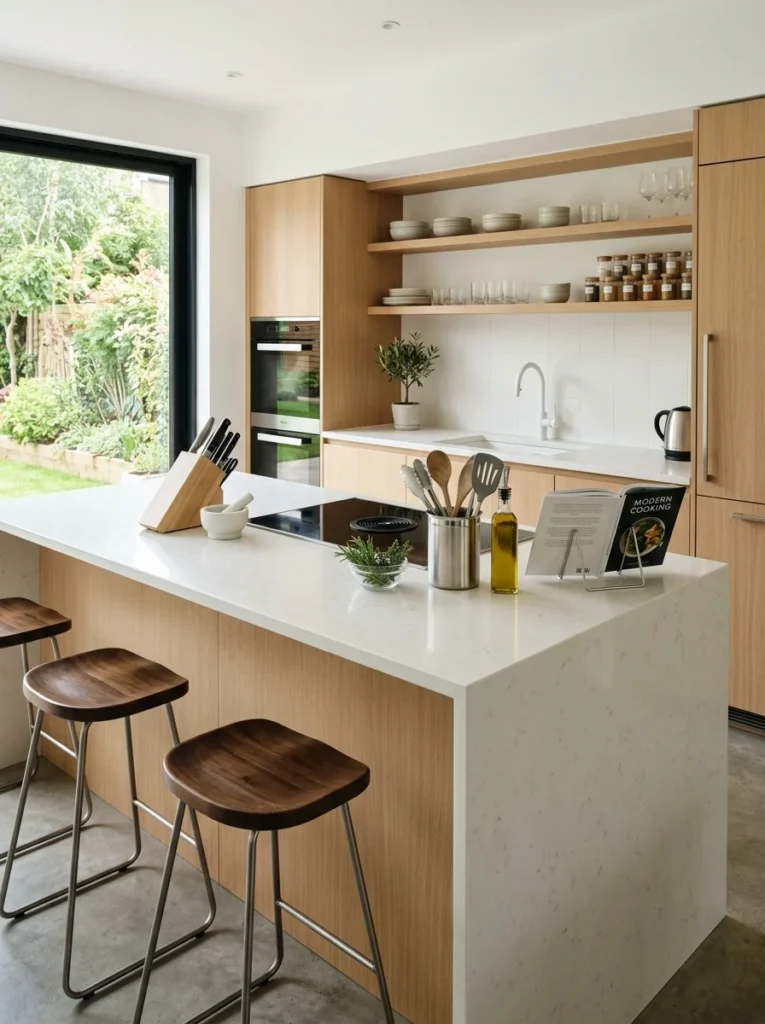
If you want people to perch and chat while you cook, or you need a casual eating spot, plan for an overhang. To tuck stools underneath comfortably you need roughly 12 inches of overhang on the seating side and about 24 inches of width per stool. This is where a lot of DIY islands fall down, because a repurposed piece of furniture rarely has that overhang built in, and a stool pushed against a flat vertical side leaves nowhere for your knees. If seating is essential, either buy or build with the overhang designed in, or accept that the island is for standing at, not sitting at.
Cooking or washing (the ambitious one)
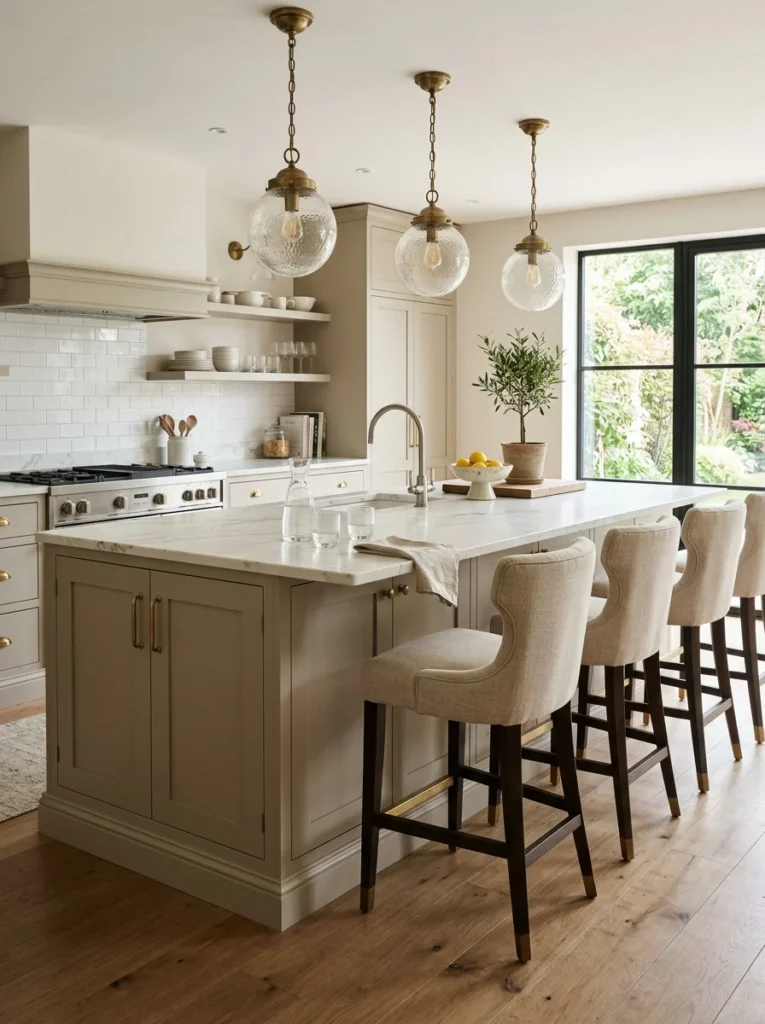
Putting a hob or a sink in the island looks impressive and is by far the most expensive route, because it means running plumbing, electrics or gas and ventilation into the middle of the room. I’d gently steer most people away from this unless they’re doing a full renovation with a proper budget. It permanently commits the island to that spot, complicates every other decision, and rarely earns its cost in a normal home kitchen. A great prep-and-storage island with a couple of power sockets does 90 percent of the job for a fraction of the money and hassle.
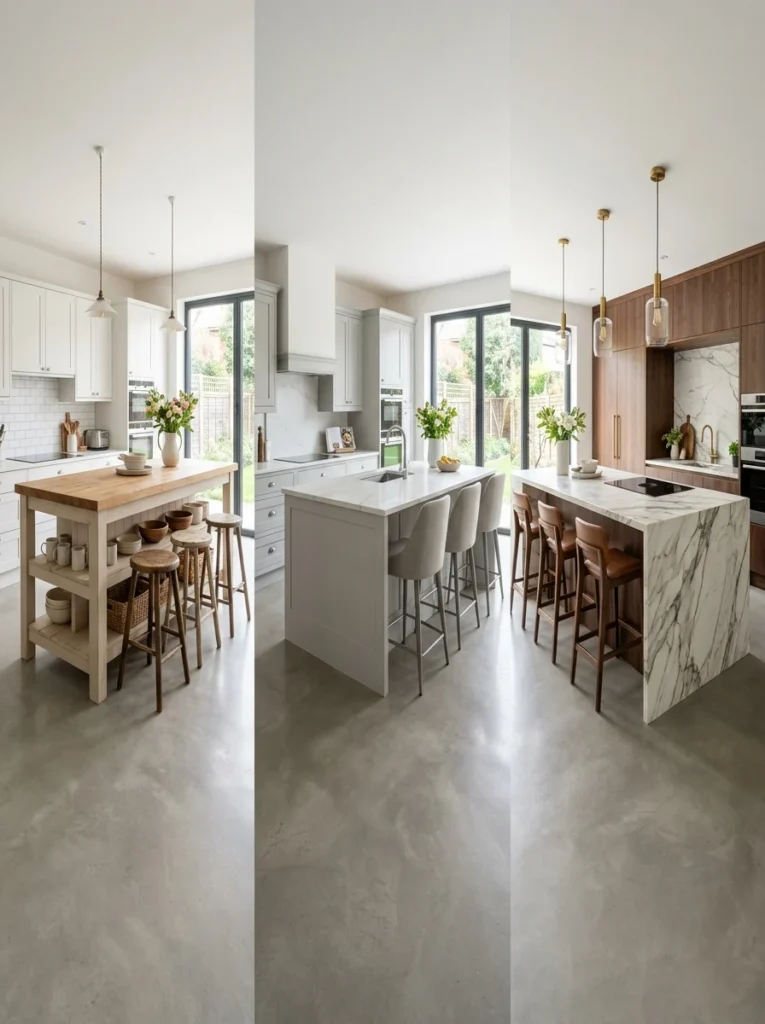
Building your island at three budget levels
The low-budget island: repurpose and adapt
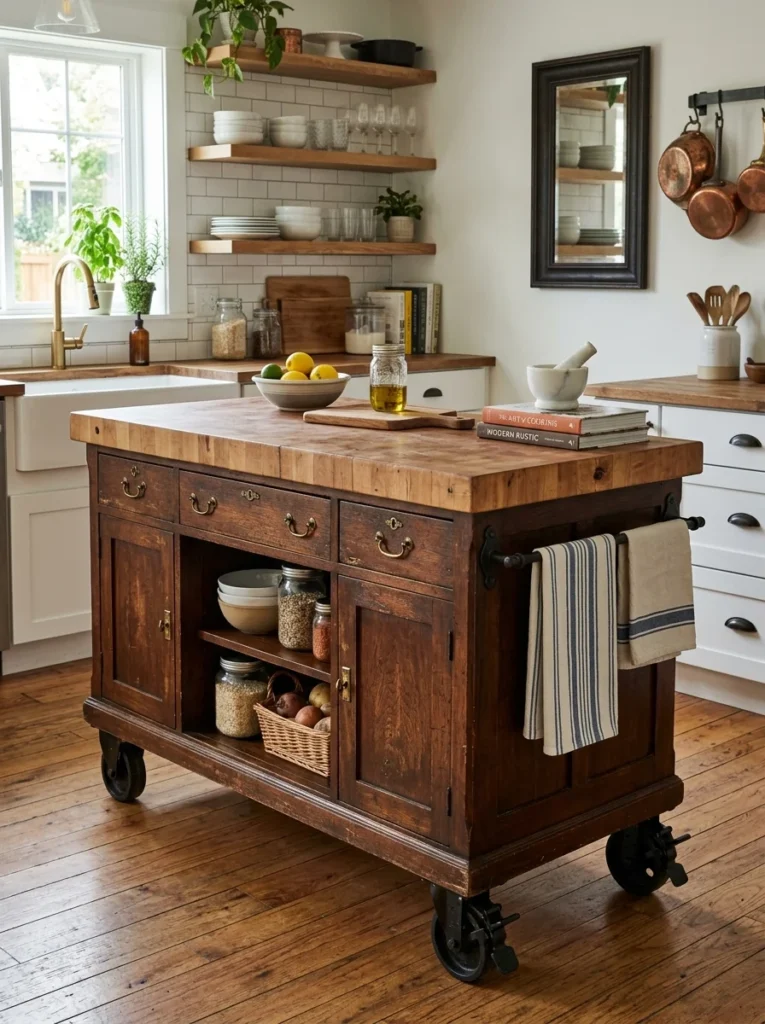
You do not need a fitted unit to have a working island. My favourite low-cost route is exactly what I did first: find a solid piece of furniture at roughly counter height, a sturdy dresser, a sideboard, an old work table, and adapt it. Seal the top so it can take spills and knife work, or fit an inexpensive butcher-block offcut on top. Add hooks or a rail to the end for tools and towels, and if the piece is light, put good lockable castors on it so it becomes mobile. A flat-pack kitchen carcass with a cheap worktop laid over it is another route, and there are endless tutorials for turning basic flat-pack cabinets into a custom-looking island. At this level you’re often spending the price of one nice piece of furniture and a weekend, and getting most of the daily function of an island that costs ten times as much.
The mid-budget island: flat-pack cabinets and a good top
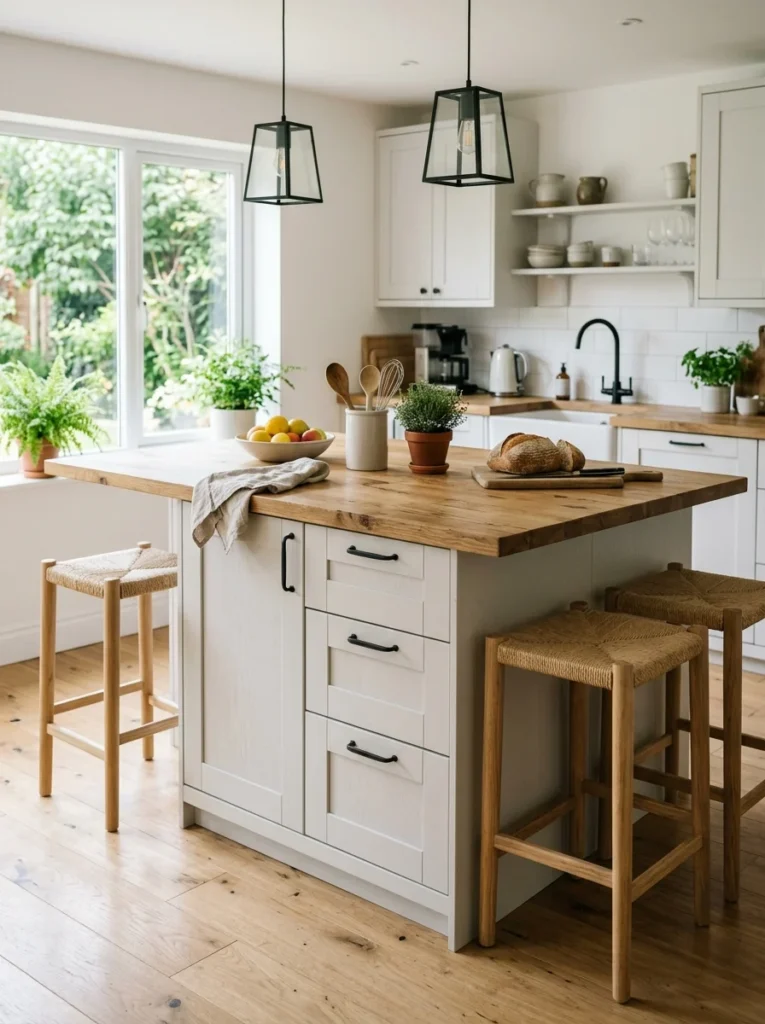
If you have a bit more to spend and want something that looks fitted, build the base from standard kitchen base cabinets, the same ones you’d use on the walls, arranged back to back or in a row, and finish with a solid worktop and matching or contrasting door fronts. This is the sweet spot for most people. You get real drawers and cabinets, a proper worktop, and an overhang for seating if you plan it, all without custom joinery prices. Spend the money where it shows and gets used: a hard-wearing worktop you’ll be chopping and leaning on daily, and drawers with decent runners, because cheap runners on a heavily used island are the first thing to fail. You can economise on the parts nobody touches.
The higher-budget island: fitted and bespoke
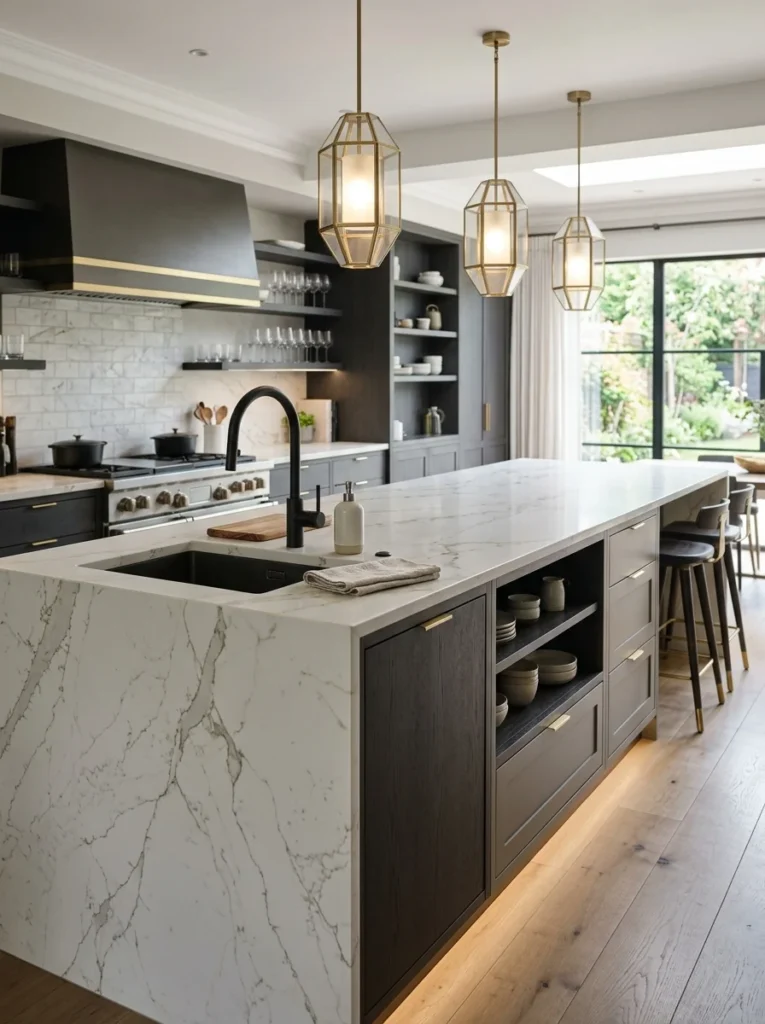
At the top end you’re commissioning something built to your exact room, with the finishes, stone top and possibly the sink or hob you want, and integrated lighting and sockets. If you’re doing a full renovation and the space genuinely supports it, this is lovely and worth it. My advice here is simply to keep function leading the spend. It’s easy to pour the whole budget into a dramatic waterfall stone edge and forget to plan enough drawers or a comfortable overhang. Beautiful and useless is still useless. Sort the working details first, then spend what’s left on the showpiece finishes.
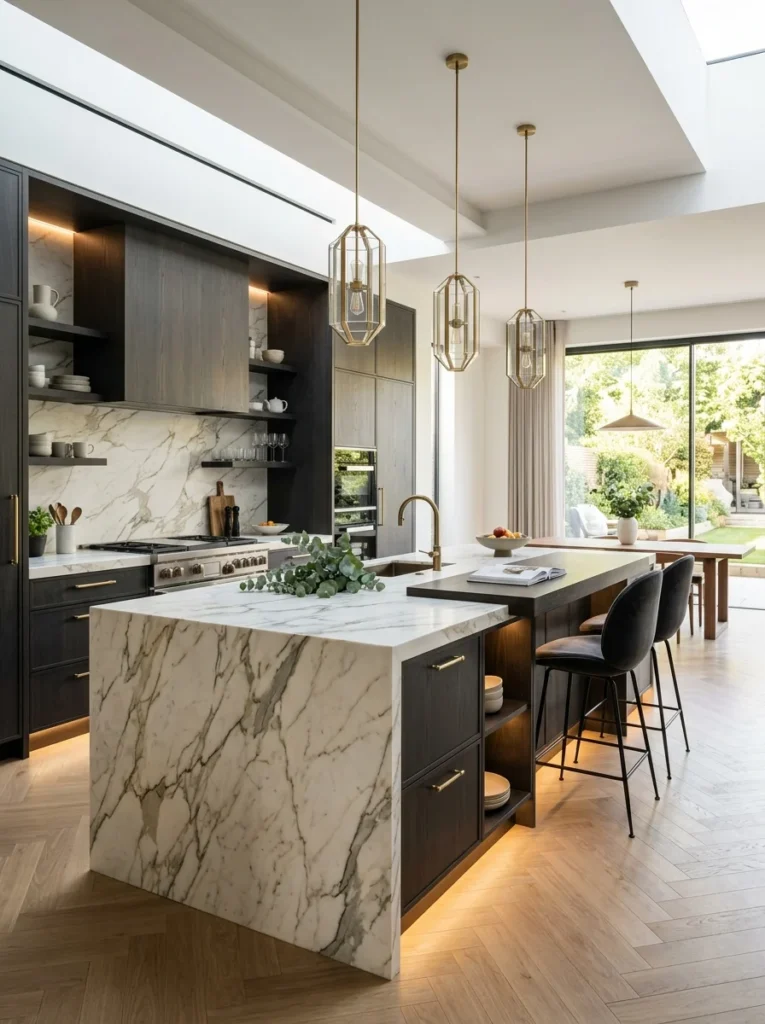
The functional details that make or break an island
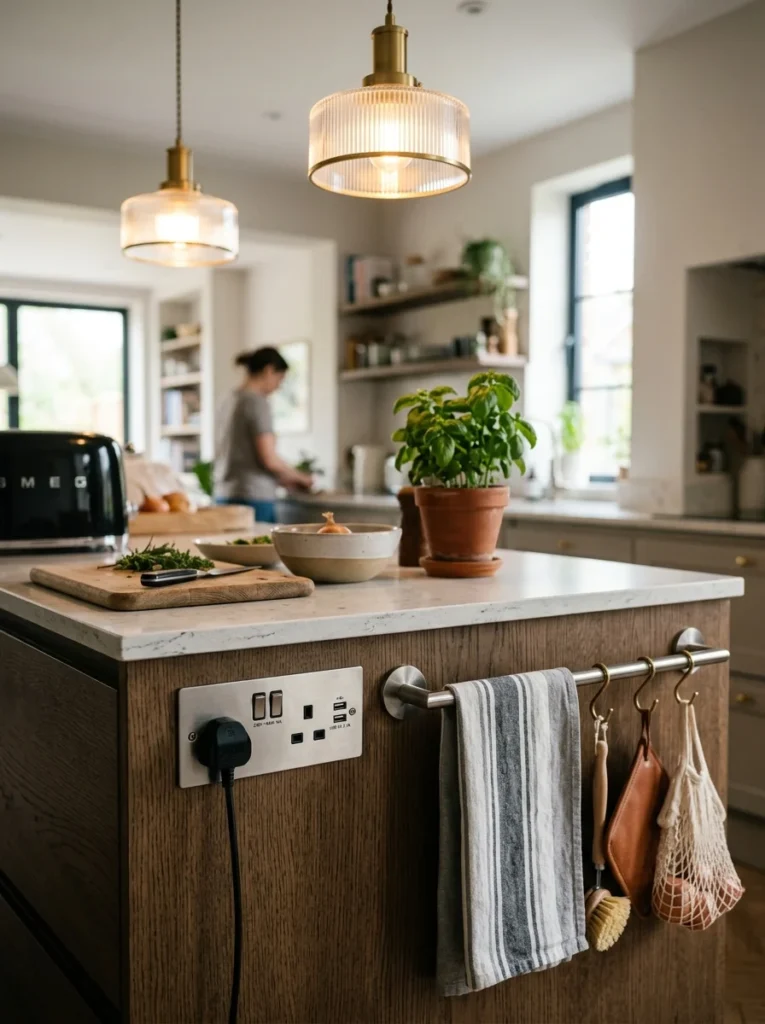
Whatever your budget, a handful of small decisions separate an island you love from one you tolerate. A couple of power sockets on the island are transformative, because it means you can actually use it as a work surface for a mixer, a kettle or a laptop instead of trailing a lead across the room; even on a budget island you can add a safe, surface-mounted socket. A towel rail or a couple of hooks on the end keep cloths and utensils to hand. A small overhang, even four or five inches on a standing island, gives you somewhere to grip when you move it and stops your legs banging the base.
Lighting matters more than people realise too. An island sits in the middle of the room, often away from the main light, so it can end up as the darkest work surface in the kitchen, which is the opposite of what you want for chopping. A pendant or two over the island, or even a discreet strip light underneath the overhang, fixes this cheaply. And think about the floor beneath it before you commit a heavy island to a spot, because an island parked on a rug or a soft floor covering will crush and mark it over time. These are small things, but they’re the difference between an island that quietly works every day and one you keep meaning to improve.
The island mistakes I’ve made and seen
My biggest early mistake was chasing size. When my dresser island worked, I got greedy and briefly planned a much larger fitted one, until the cardboard test showed it would leave barely two feet to pass the oven. I scaled right back and the smaller island is far nicer to live with. Bigger is not better once you cross the clearance line; it just eats the walking room that made the kitchen usable in the first place.
The second lesson was about permanence. I once helped someone install a heavy fitted island in a kitchen they’d only just moved into, before they’d really learned how they used the room. A year later they wished it were a foot to the left and it was far too late and expensive to move. If you’re not certain, start with something movable. A rolling island or an adapted piece of furniture lets you test the position and your habits for months before you commit anything permanent, and honestly, for a lot of kitchens the movable version is all you ever actually need.
Common kitchen island questions
How much space do I need around a kitchen island?
Leave at least 36 inches of clear floor between the island and every surrounding counter, wall or appliance, and ideally 42 to 48 inches on sides where an oven or dishwasher door opens. If your room can’t spare that all the way around, a slim rolling cart or a peninsula is a better fit than a full island.
Can I make a kitchen island cheaply?
Yes. The cheapest reliable route is to repurpose a solid piece of furniture at roughly counter height, seal or top it for kitchen use, and add hooks or castors. Building an island from standard flat-pack base cabinets with a good worktop is the next step up and still far cheaper than a bespoke unit.
What is the right height for a kitchen island?
Standard counter height of about 36 inches suits most prep work and matches the rest of your kitchen. If you want a raised bar for stools, around 42 inches is typical for that section. Getting the prep height right matters, since even an inch or two off makes chopping uncomfortable.
Should I put a sink or hob in my island?
Only if you’re doing a full renovation with the budget for plumbing, electrics and ventilation, and you’re sure of the layout. For most home kitchens, a prep-and-storage island with a couple of power sockets delivers almost all the usefulness at a small fraction of the cost and permanent commitment.
Build for how you cook, not for the photo
A kitchen island earns its place by making the room work better, not by looking impressive in a picture. Start by proving the space can take one, using nothing more than tape on the floor and a few days of walking around it. Decide the one or two jobs it really needs to do and design around those. Then match the build to your budget, from a repurposed dresser to a fitted stone-topped unit, keeping the working details ahead of the finishes at every level. Do that, and even the cheapest island will pull its weight for years. My secondhand dresser did, and it taught me more about good kitchen design than any showroom ever has.
If you’re weighing one up, try the cardboard test this week before you spend a rupee. It’s the single best predictor I know of whether you’ll love your island or trip over it, and it costs you nothing but a bit of tape and ten honest minutes.