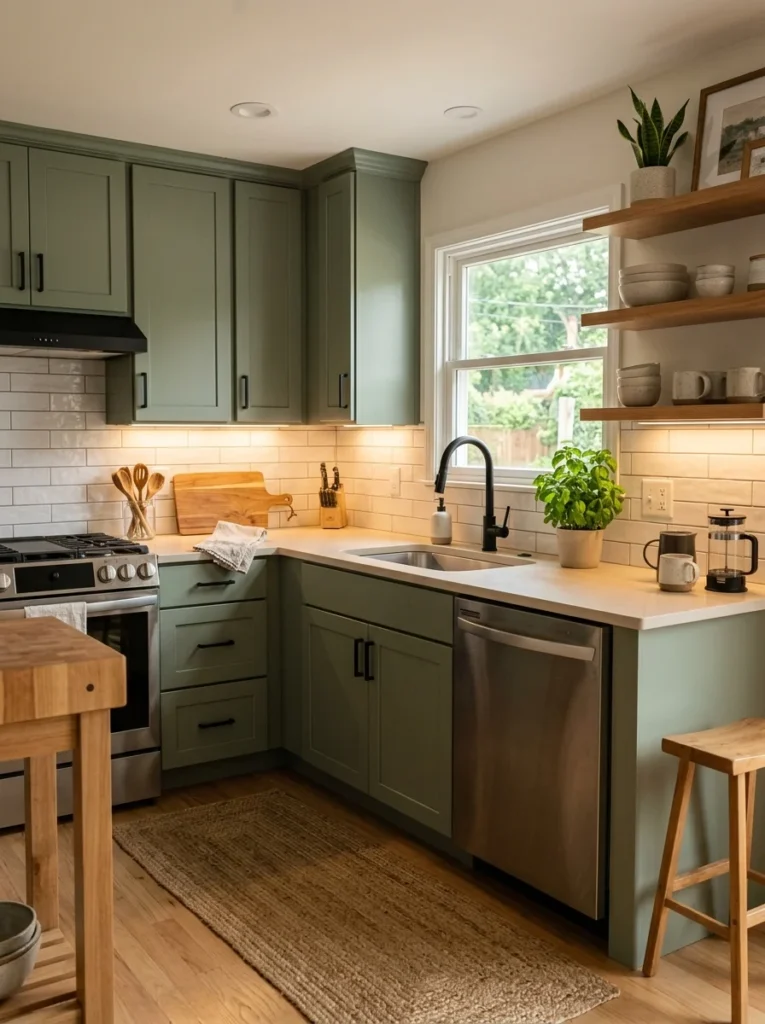
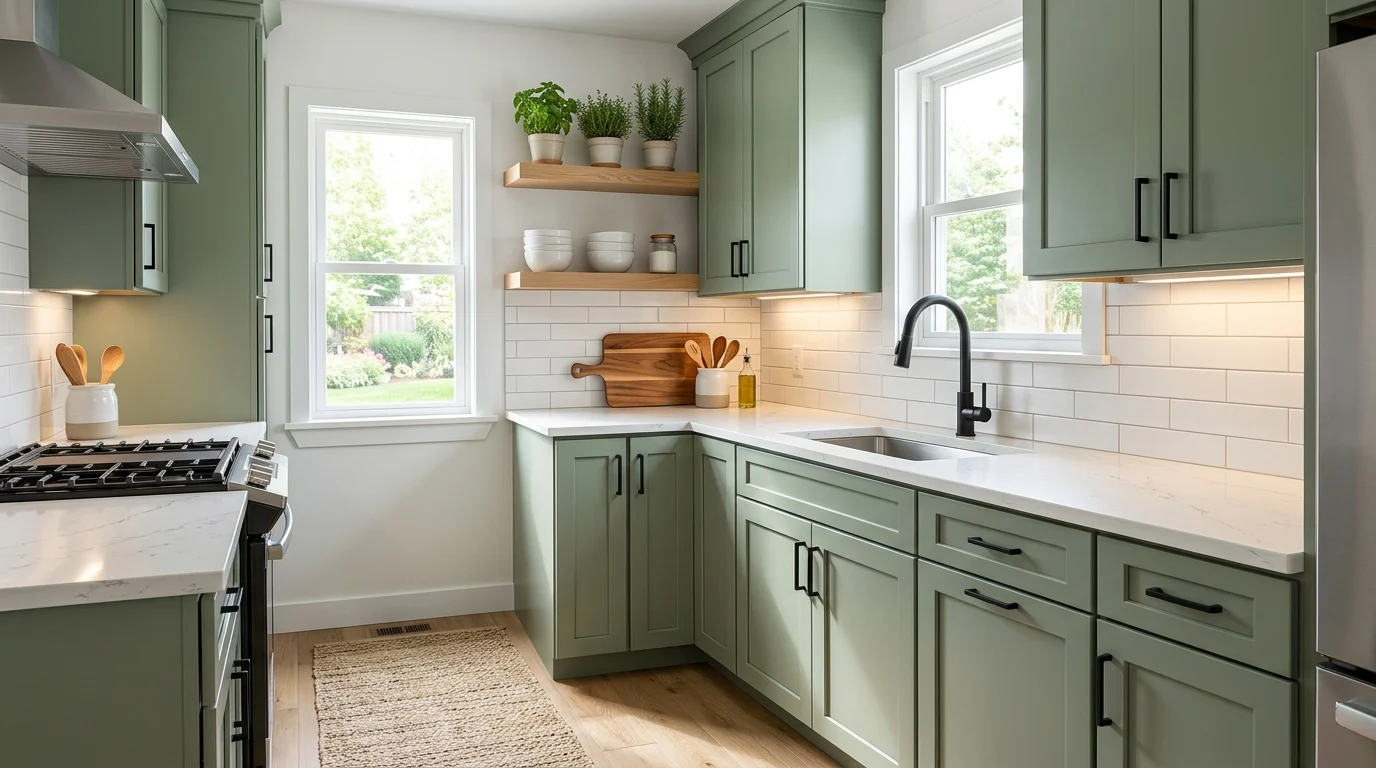
The kitchen in my first flat was dated in that specific, soul-sapping way: orange-toned wooden cabinets, dull brassy handles gone dark with age, a limescale-crusted tap, and a bare bulb overhead. I couldn’t afford to rip any of it out, and I didn’t own the place anyway. So I did what I could with a small budget and a couple of weekends, and the result surprised me more than almost any big renovation has since. For well under the price of a single new appliance, the room went from something I apologised for to something I was quietly proud of.
That’s the thing about kitchen makeovers: the biggest visual changes rarely come from the most expensive parts. New cabinets and worktops cost a fortune, but they’re often not what makes an old kitchen look tired. It’s the colour, the handles, the tap, the lighting and the clutter, and every one of those is cheap to change. Spend your limited money where it shows, in the right order, and $500 goes a genuinely long way. Here’s how I’d spend it, roughly in order of how much visible improvement each pound or dollar buys, plus a sample budget at the end so you can see it add up.
Where budget makeovers go wrong
Before the ideas, one principle that will save you money: don’t spread a small budget thinly across everything, and don’t blow it on one big-ticket item that doesn’t change how the room reads. People often sink their whole makeover fund into, say, replacing the worktop, and then wonder why the kitchen still looks dated, because the cabinets and handles and lighting, the things your eye actually lands on, are all unchanged. A makeover works when the cheap, high-impact surfaces all get refreshed together so the room reads as renewed. A worktop swap alone rarely does that; new paint, new handles and better light together almost always do.
The other trap is chasing perfection on a budget that can’t support it. On $500 you are not getting a flawless magazine kitchen, and trying to will just leave you frustrated and broke. What you can get, very reliably, is a kitchen that looks fresh, clean, intentional and years newer than it did. Aim for that. Judge each spend by one question: how much visible difference does this buy per pound? Order your list by that answer, work down it until the money runs out, and you’ll be amazed how far you get.
The changes that buy the most improvement per pound
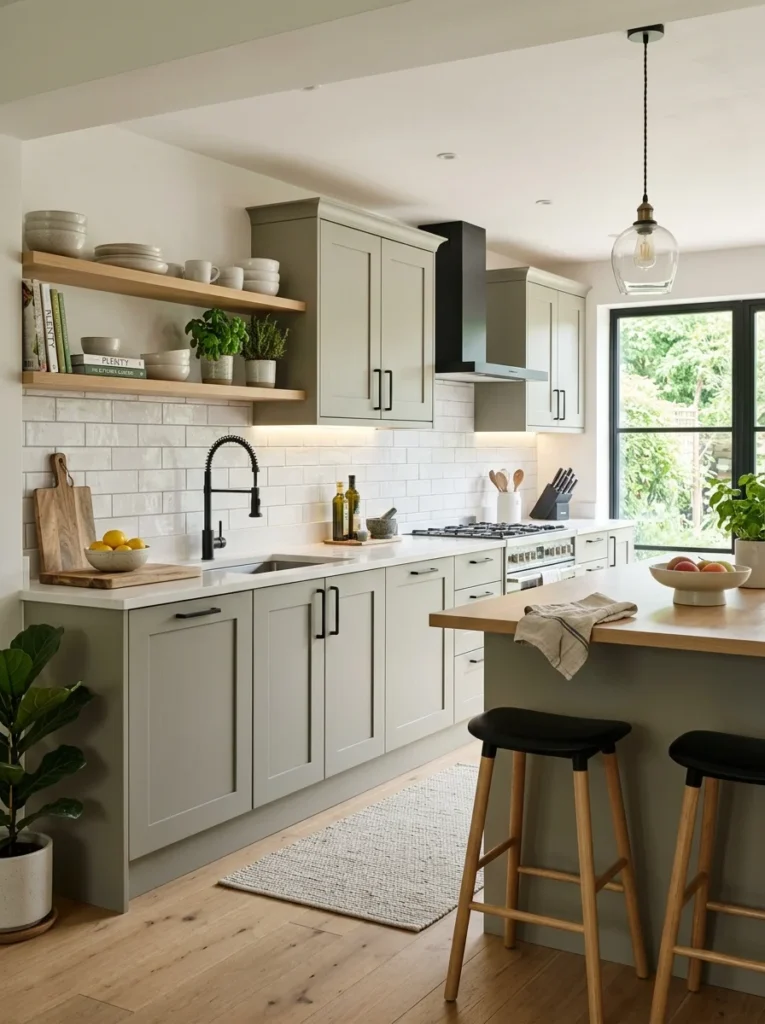
1. Paint the cabinets
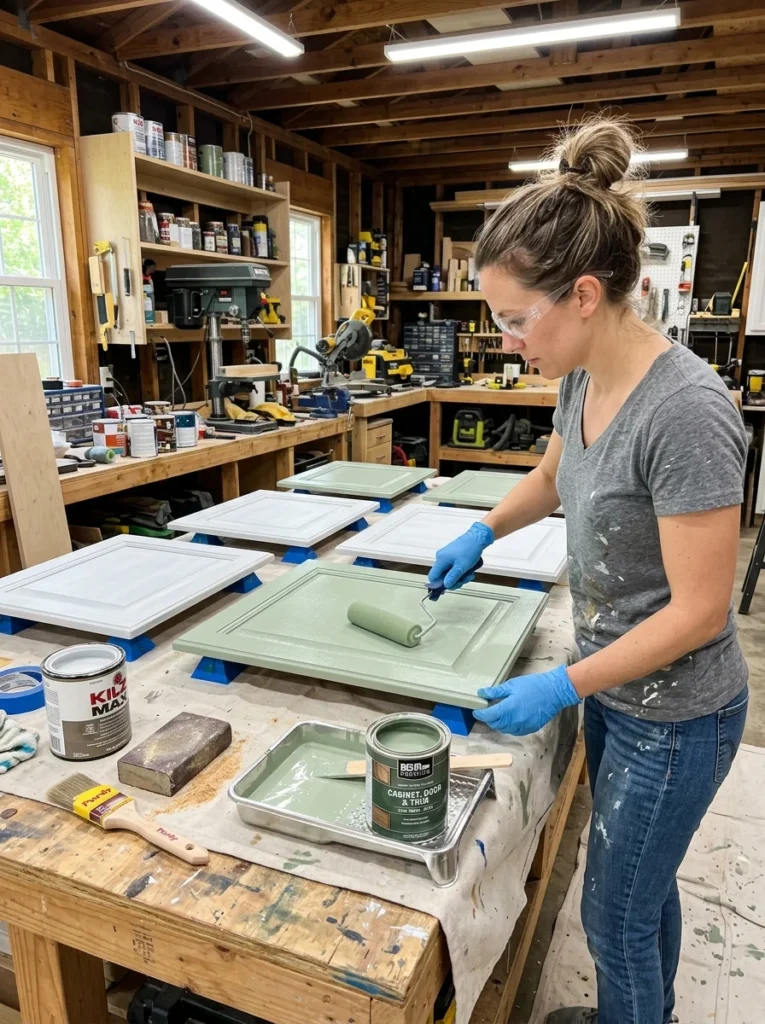
If your cabinets are dated but structurally fine, painting them is far and away the highest-impact change you can make for the money, and it’s what rescued my first kitchen. Fresh paint on the cabinet doors can make an entire kitchen look renewed for the cost of a few tins and some sandpaper, a fraction of replacing them. The work is more about patience than skill: clean the doors thoroughly to cut through years of kitchen grease, sand or prime so the new paint grips, and use a hard-wearing paint made for cabinetry or woodwork so it survives daily handling. Take the doors off to paint them flat if you can, it gives a far smoother finish. It’s a weekend job, and no single thing on this list transforms a tired kitchen more.
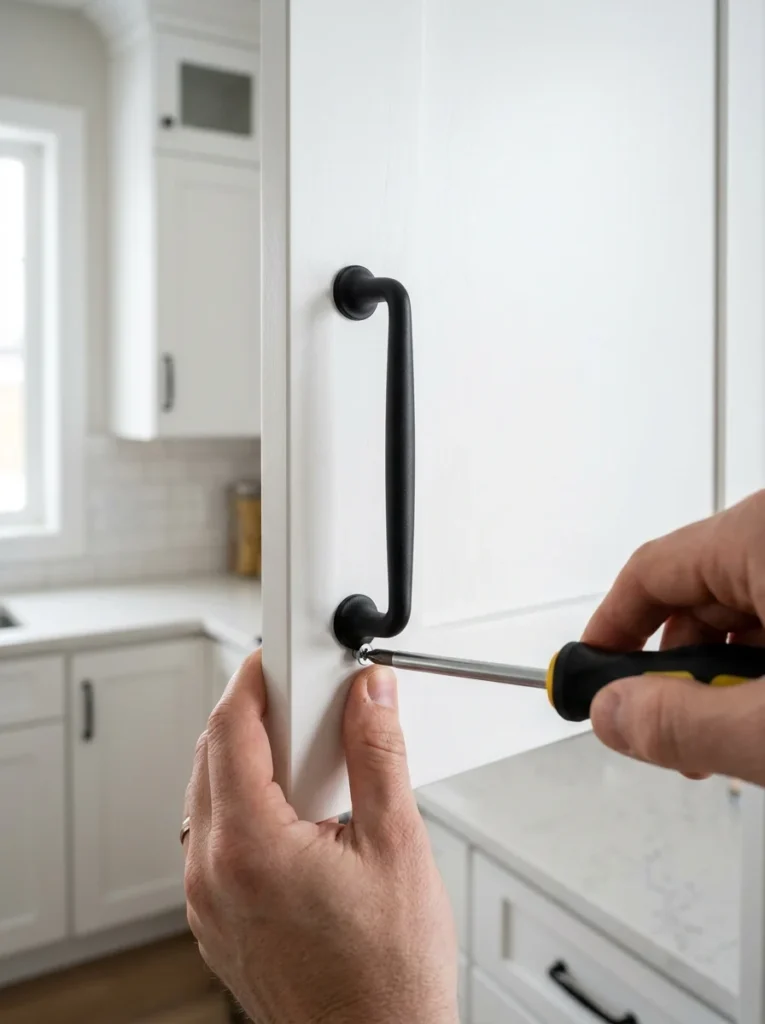
2. Swap the handles and knobs
This is the cheapest change with the most disproportionate effect, the kitchen equivalent of new jewellery on an outfit. Old, dated or tarnished handles instantly age a kitchen, and swapping them for something current, matte black, brushed brass, simple modern bar handles, refreshes the whole look for very little. It’s usually a screwdriver job with no skill required. The one thing to check before you buy is the hole spacing on your existing handles (the distance between the screw holes), so the new ones line up with the existing drilled holes and you don’t have to fill and re-drill. Do this alongside painting the cabinets and the two together make the units look genuinely new.
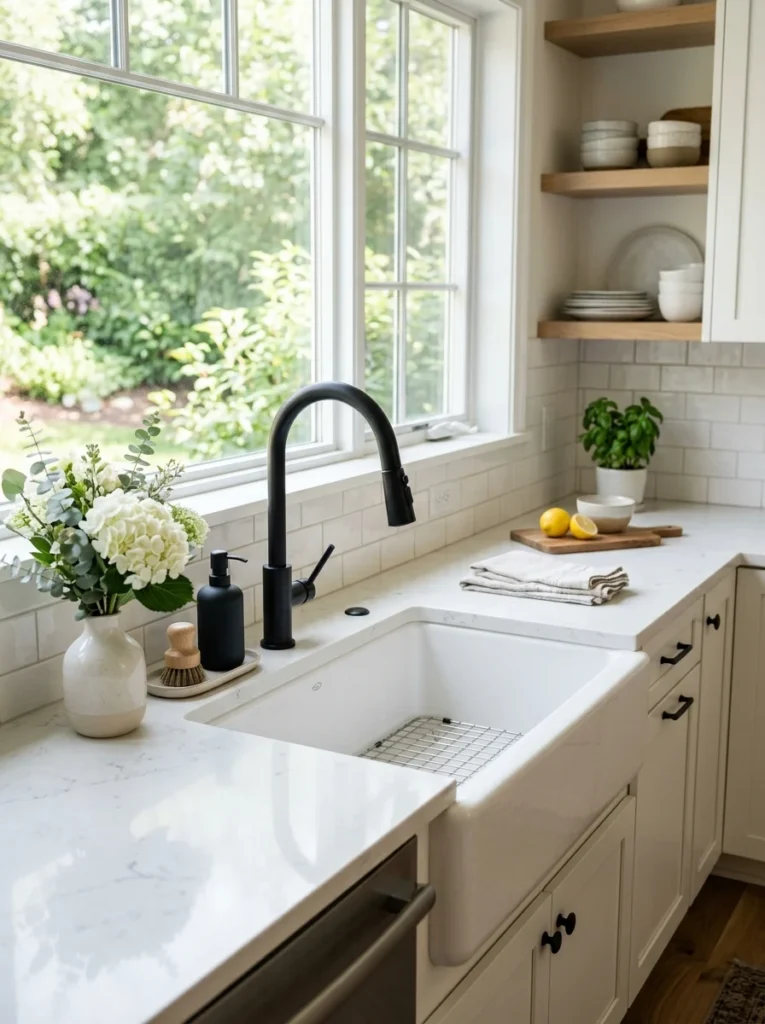
3. Replace the tap
A tired, limescaled or dated tap drags down the whole sink area, and a new one lifts it immediately, because the tap is a focal point you use and look at constantly. A modern mixer tap in a finish that matches your new handles ties the kitchen together and reads as a considered upgrade rather than a patch. Decent-looking taps are surprisingly affordable, and if you’re reasonably handy, swapping one is a manageable DIY job, though it’s fine to pay someone for the hour if plumbing makes you nervous. It’s a small change that punches well above its cost because of where it sits and how often your eye and hands land on it.
4. Fix the lighting
Bad lighting makes even a nicely decorated kitchen feel grim, and good lighting flatters everything, so a little money here goes a long way. Swap any harsh or mismatched bulbs for consistent warm-white LEDs, and add a plug-in or peel-and-stick under-cabinet strip to light the worktop and kill the shadow you prep in. If there’s a sad, dated ceiling fixture, replacing the shade or the whole flush light is cheap and changes the room’s character. Lighting is the upgrade people most often forget in a makeover and then can’t believe the difference once it’s done, because it changes not just how the kitchen looks but how it feels to stand in.
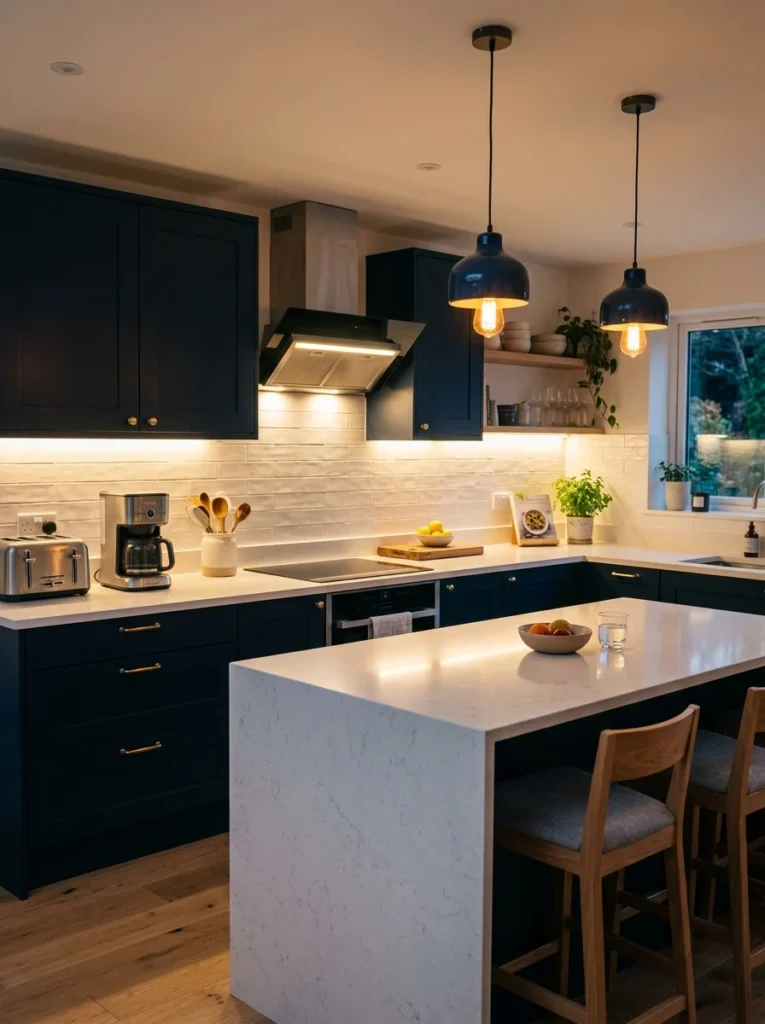
5. Add a peel-and-stick or tile backsplash
A backsplash gives a kitchen a finished, designed look, and you don’t need a tiler or a big budget. Good peel-and-stick tiles and panels convince at a glance, wipe clean, cost little, and, if you rent, come off again without damaging the wall. Even real tile can be affordable if you do a small area yourself. Adding a backsplash where there was just a painted wall is one of those changes that makes a kitchen look properly put-together rather than half-finished, and it slots neatly into a tight budget.
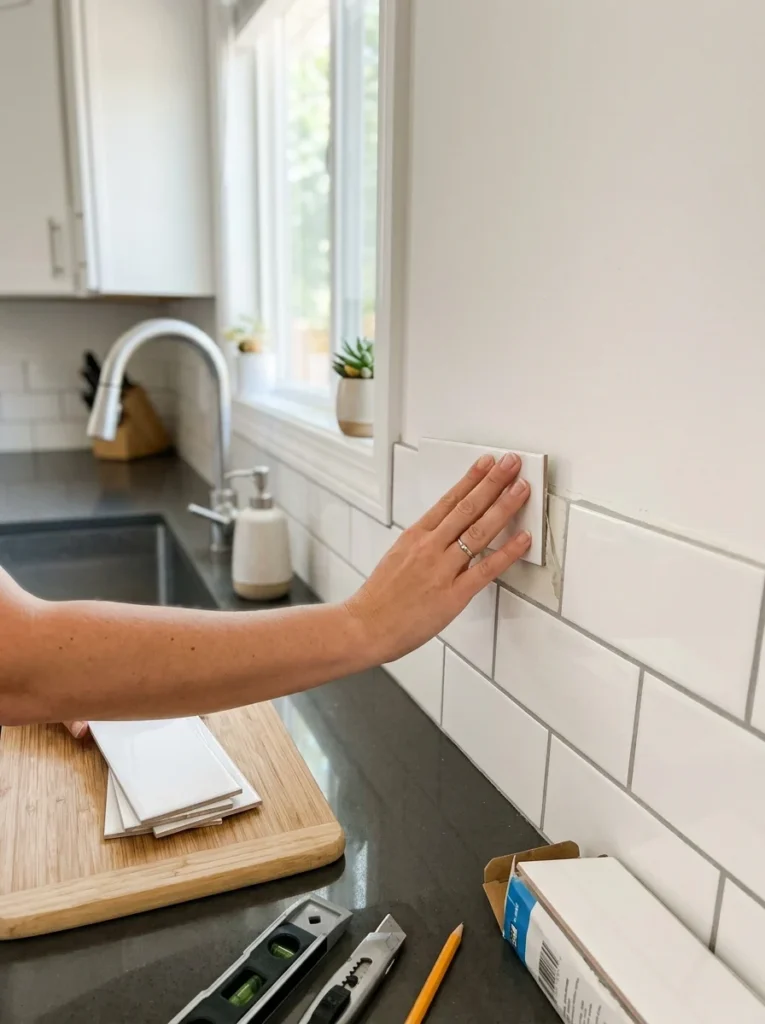
6. Refresh the walls and declutter the counters
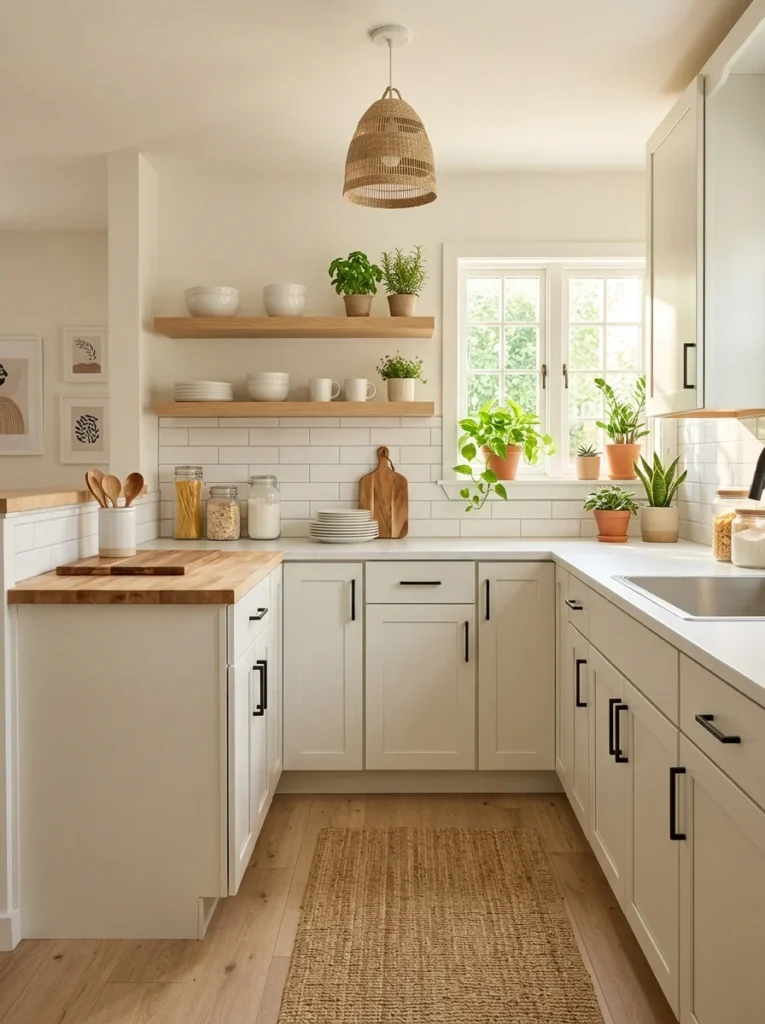
Never underestimate a tin of paint on the walls and a serious declutter, which together cost almost nothing and change a room dramatically. A fresh, light wall colour brightens the whole space, and clearing the counters of the accumulated jumble of appliances, jars and post, keeping out only what you use daily and what looks good, makes a kitchen feel bigger, calmer and cleaner instantly. Honestly, decluttering is free and it’s often the single most transformative thing on this entire list. A clear, styled counter with a plant, a nice board and a bowl of fruit reads as a cared-for kitchen no matter how old the units are.
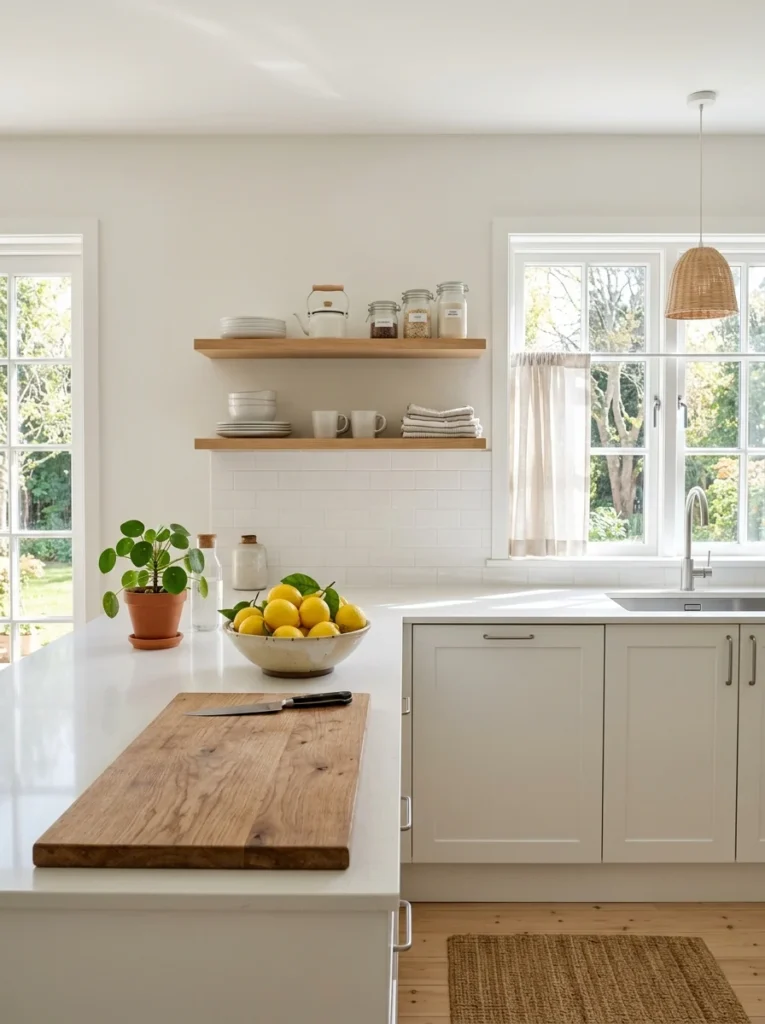
7. Update textiles and small styling
The finishing layer costs the least and pulls everything together: new tea towels, a small rug or runner in front of the sink, a couple of plants, a nice utensil pot, an open shelf styled with a few good pieces. These soft, cheap touches add warmth and personality and make the kitchen feel decorated rather than merely painted. Because they’re inexpensive and easy to change, they’re also where you can safely bring in a trend colour without committing real money to it. Save a small slice of your budget for this layer, because it’s what makes the whole makeover feel intentional rather than unfinished.
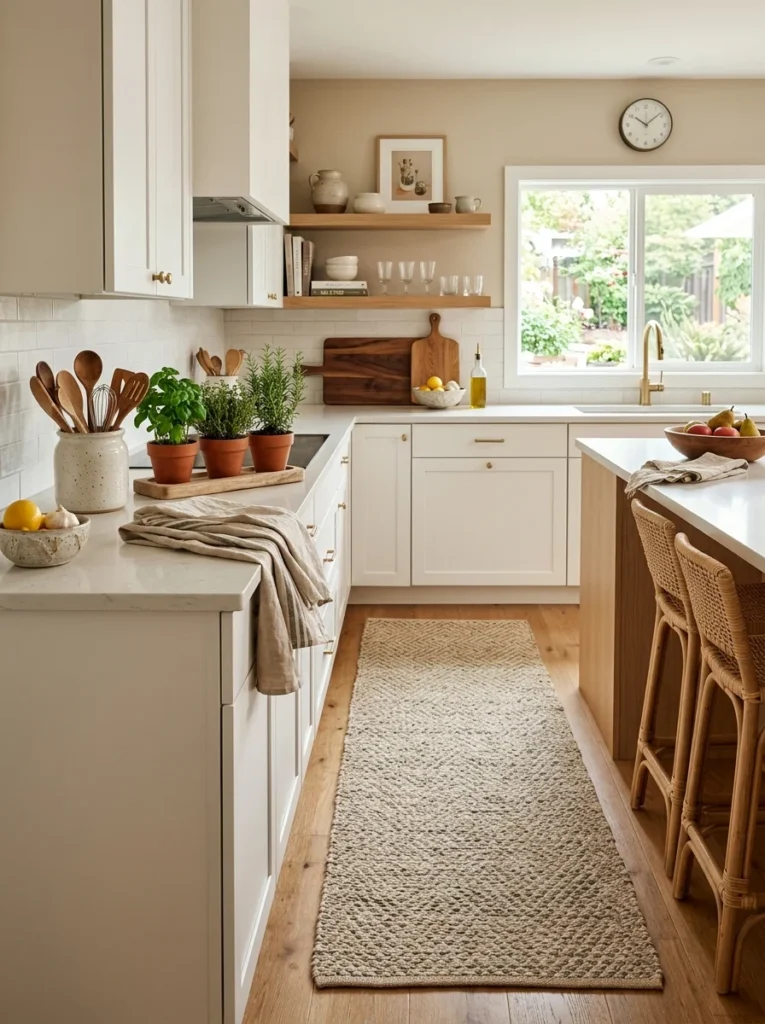
A sample $500 makeover, roughly costed
Exact prices vary by where you live and shop, but here’s how a $500 budget might realistically split to hit the highest-impact changes, so you can see it add up. Treat these as ballpark figures to adjust to your own prices, not exact quotes.
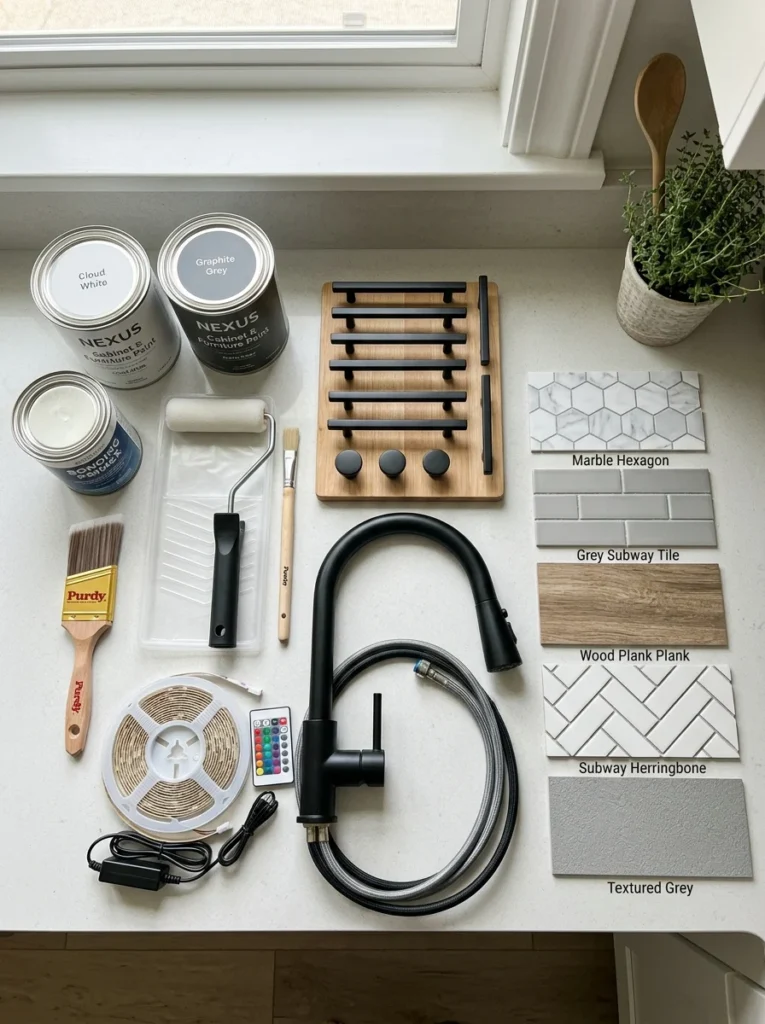
Cabinet paint, primer, sandpaper and a good brush or small roller: around $80 to $120. New handles and knobs for the whole kitchen: around $40 to $100 depending on how many and how fancy. A new mixer tap: around $50 to $120. Under-cabinet LED strip lighting plus a set of consistent warm-white bulbs: around $40 to $80. A peel-and-stick backsplash for the main run: around $40 to $80. Wall paint and a few styling pieces, plants, textiles, a rug: around $40 to $80. Add the low ends and you’re comfortably under $300; add the higher ends and you’re around $500 with every major visible surface refreshed. The beauty of the list is that it’s modular: do the top items first, and if the money runs out you still have a transformed kitchen, just without the last few touches.
The order to do it in
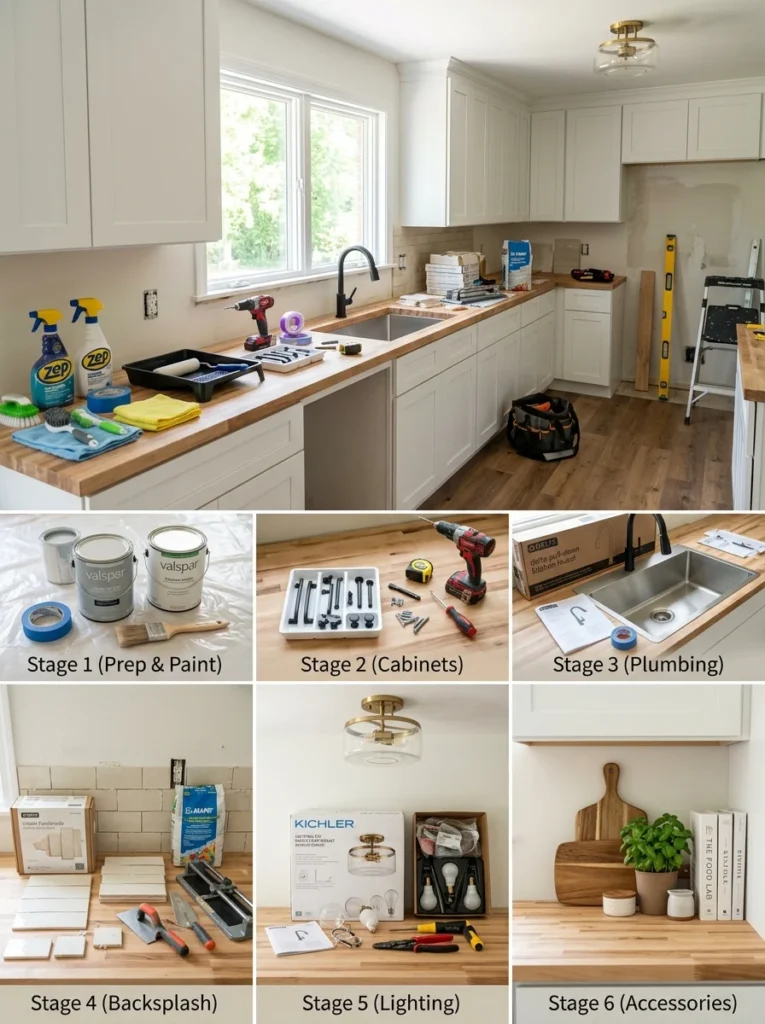
Sequence matters, both for the result and for your budget. Start with decluttering and a deep clean, because it’s free, it instantly shows you what the room could be, and there’s no point painting around clutter. Then paint, cabinets first and walls, since paint is messy and you want it done before you install nice new things. Next the hardware, tap and backsplash, the fitted changes that dress the freshly painted room. Lighting can go in around the same time. Finish with the styling layer, textiles, plants and the counter arrangement, last, once everything else is clean and dry. Working in this order means each stage builds on the last and you’re not, say, splashing paint onto handles you just fitted.
If your budget is smaller than $500, just do fewer items from the top of the impact list rather than doing all of them badly. Even $100 spent purely on cabinet paint and new handles will visibly transform a kitchen. The list is designed to be stopped at any point, so start at the top, go as far as your money allows, and you’ll have made a real difference at every level of budget.
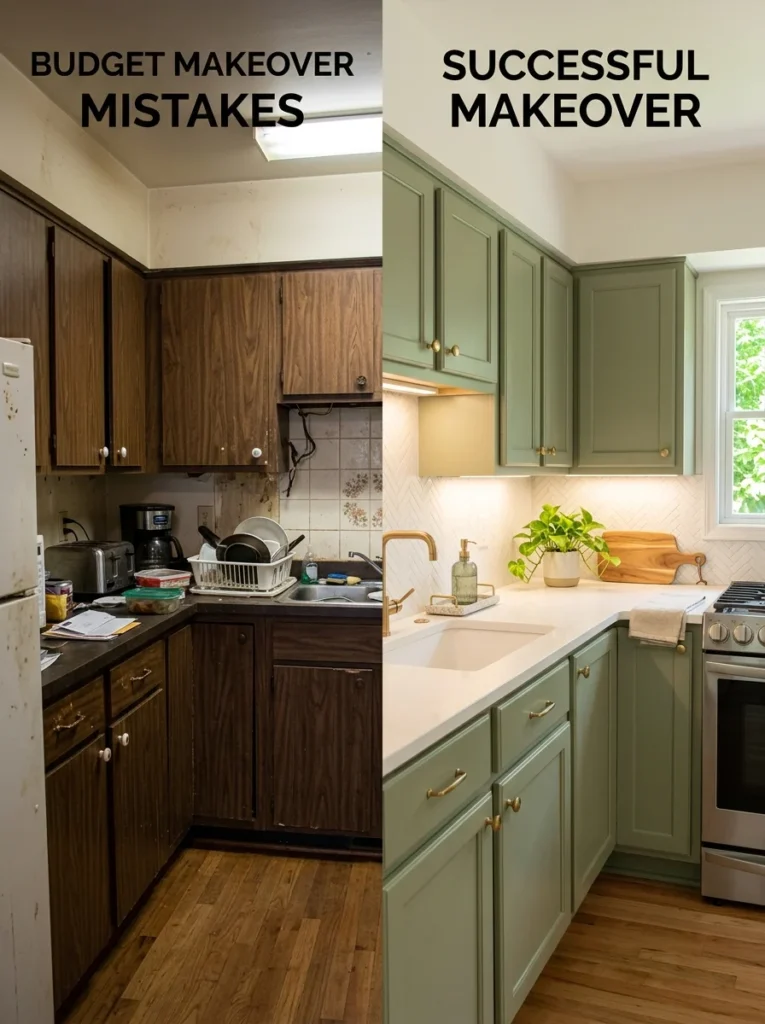
Budget makeover mistakes I made
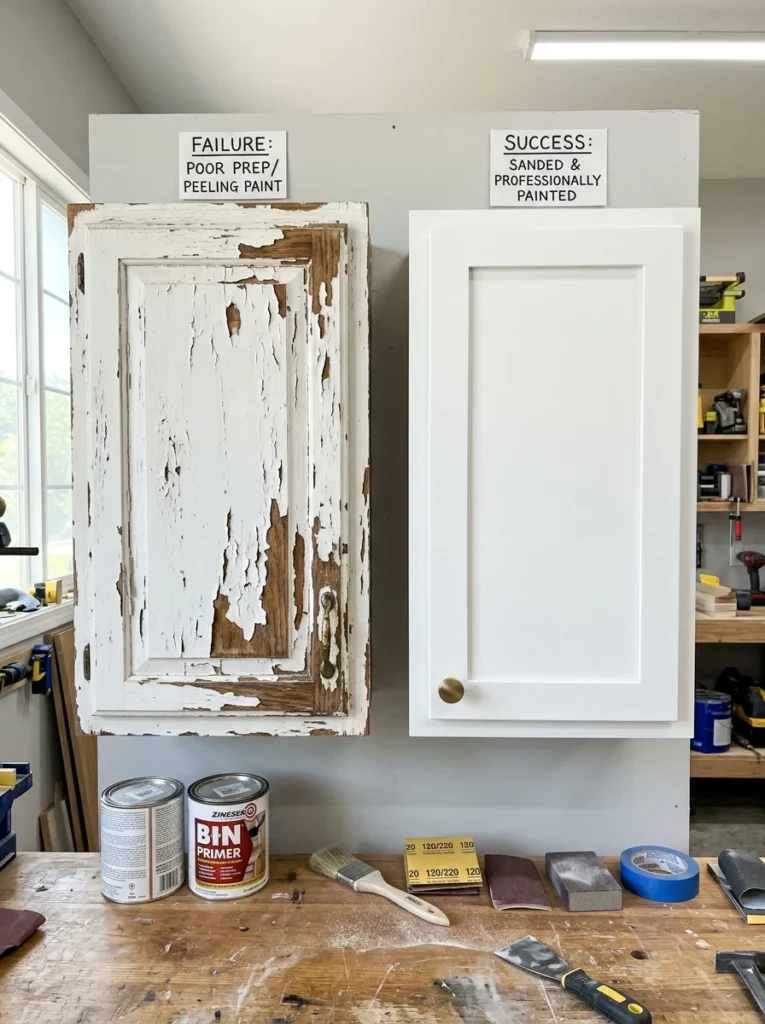
My first cabinet-painting attempt, I skipped the cleaning and priming because I was impatient, and within weeks the paint was chipping and peeling off the greasy doors. I had to strip it and start again, which cost me more time and paint than doing it right the first time would have. The lesson: on cabinets, the boring prep, degreasing, sanding, priming, is the entire job. The painting itself is the easy bit, and skipping the prep is the one mistake that turns a cheap makeover into a redo.
The other thing I got wrong early was mismatching my finishes. I bought black handles, then a chrome tap, then a brass light fitting, all at different times without a plan, and the kitchen looked like a jumble of unrelated decisions. Now I pick one metal finish and carry it across the handles, tap and any visible fittings, so the whole room feels coordinated. It costs exactly the same to match your finishes as to clash them; you just have to decide on one before you start buying, rather than picking whatever caught your eye that week.
Common budget makeover questions
What is the cheapest way to make a big difference in a kitchen?
Painting the cabinets, if they’re structurally sound, gives the most visible transformation per pound. Right behind it are swapping the handles and decluttering the counters, both extremely cheap. Those three together can make an old kitchen look years newer for a very small outlay.
Can you really makeover a kitchen for under $500?
Yes, if you focus on the high-impact, low-cost surfaces rather than big-ticket items like new units or worktops. Cabinet paint, new handles, a new tap, better lighting, a peel-and-stick backsplash and some styling can all fit inside $500 and together refresh the whole room. The key is spending where it shows.
Is painting kitchen cabinets worth it?
For dated but sound cabinets, it’s the single most cost-effective upgrade there is. The catch is preparation: the doors must be thoroughly degreased, sanded and primed, and painted with a durable cabinet or woodwork paint, or the finish will chip. Do the prep properly and painted cabinets can look genuinely new for years.
What should I do first in a budget kitchen makeover?
Declutter and deep-clean first, because it’s free, it shows you the room’s potential, and everything else looks better on a clean base. Then paint, then hardware, tap and backsplash, then lighting, and finish with styling. Working top-down through the highest-impact changes means you gain a lot even if the budget runs out early.
Small budget, real transformation
A tired kitchen usually doesn’t need tearing out; it needs the cheap, visible parts refreshed all at once. Paint the cabinets, change the handles and the tap, sort the lighting, add a backsplash, clear the clutter and style the room, and you’ll have a kitchen that looks years newer for a few hundred rather than a few thousand. Spend where the eye lands, match your finishes, do the boring prep properly, and work down the impact list until the money’s gone. My first flat’s dated orange kitchen taught me that the gap between embarrassing and lovely is often just a couple of weekends and a very modest budget spent in the right places.
If you only have money for one thing, buy cabinet paint and a set of new handles and start there. That single combination did more for my kitchen than anything else, and it’s the cheapest, most reliable first step I can point you toward.