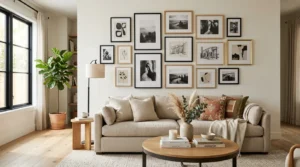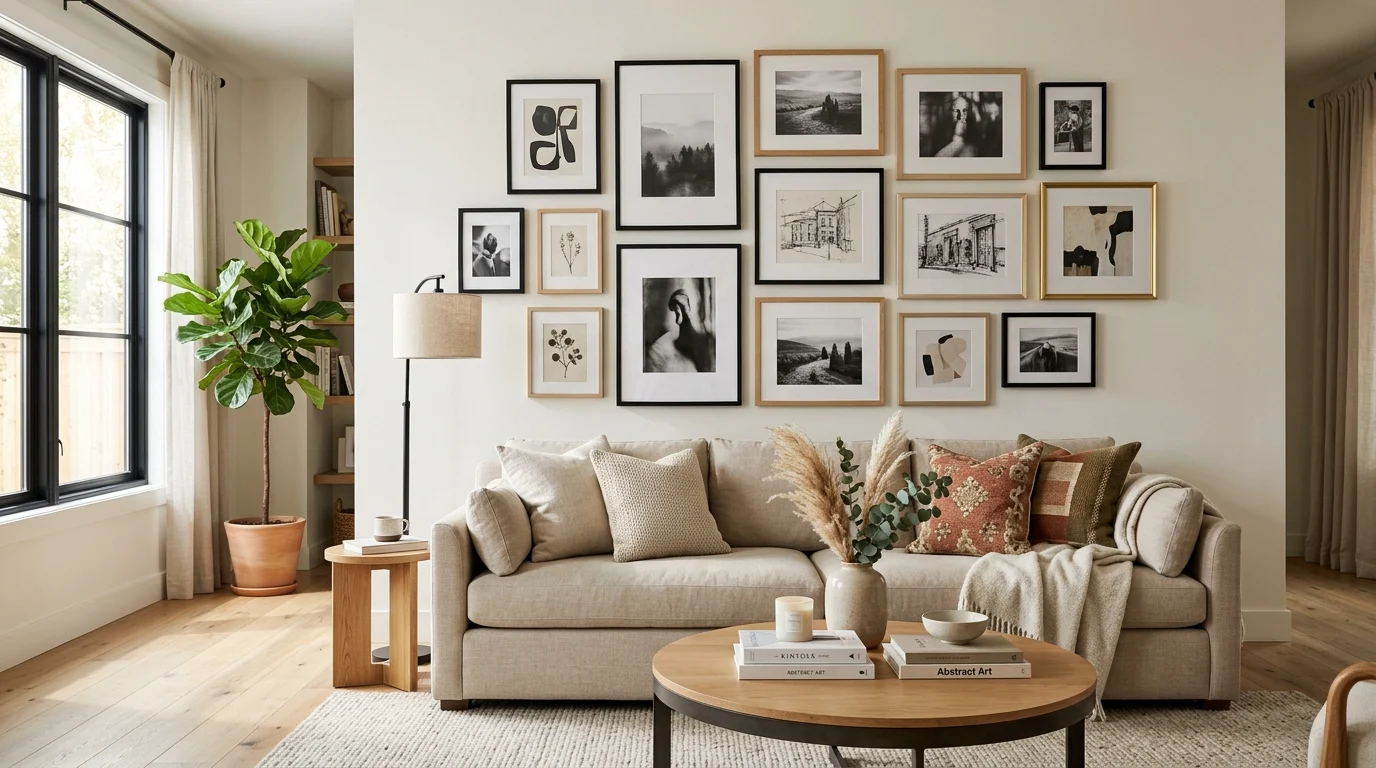
A gallery wall is one of the most personal and impactful ways to decorate a living room. Done well, it transforms a blank wall into something that tells a story and makes the room feel curated and unique to the people who live there. Done poorly, it looks random and chaotic. The difference is almost entirely in the planning — a gallery wall that looks effortlessly casual has almost always been mapped out very carefully before a single nail went into the wall.
Step 1: Choose your wall and establish boundaries
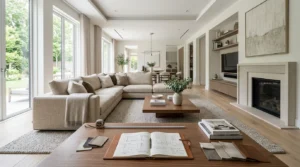
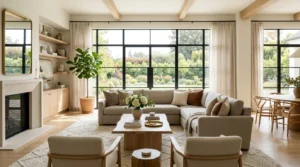
Not every wall suits a gallery arrangement. The best gallery walls are typically behind a sofa, above a sideboard, or on a large blank wall that is seen immediately upon entering the room. Establish the outer boundaries of your gallery before anything else — this defines how large the collection needs to be and prevents the arrangement from looking like it is sliding off one end.
Step 2: Decide on a visual style
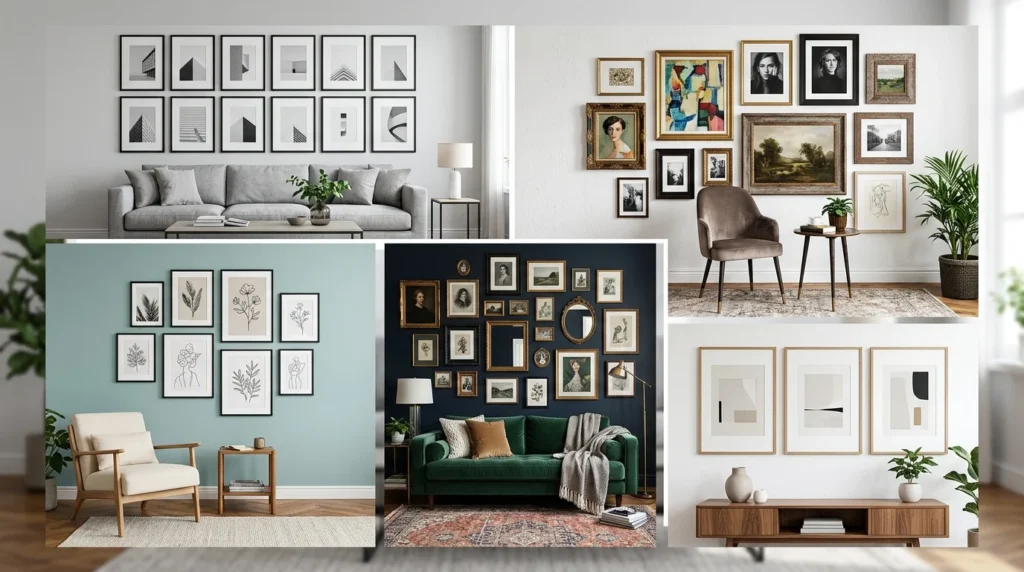
- Cohesive and curated: same frame color, similar artwork styles — looks polished and intentional
- Eclectic and collected: mixed frames and media — looks personal and layered over time
- Grid format: evenly spaced matching frames — very clean, modern, and symmetrical
- Salon style: large mixed arrangement with varied spacing — maximalist, artful, dramatic
- Linear strip: frames arranged in a horizontal or vertical line — minimal and architectural
Step 3: Select your artwork and objects
A gallery wall does not need to be only framed prints. The most interesting arrangements include a mix of framed art, small mirrors, plates, sculptural wall objects, and even floating shelves with small objects on them. Vary the shapes — round mirrors, rectangular prints, and square photographs create more visual interest than all-rectangular arrangements.
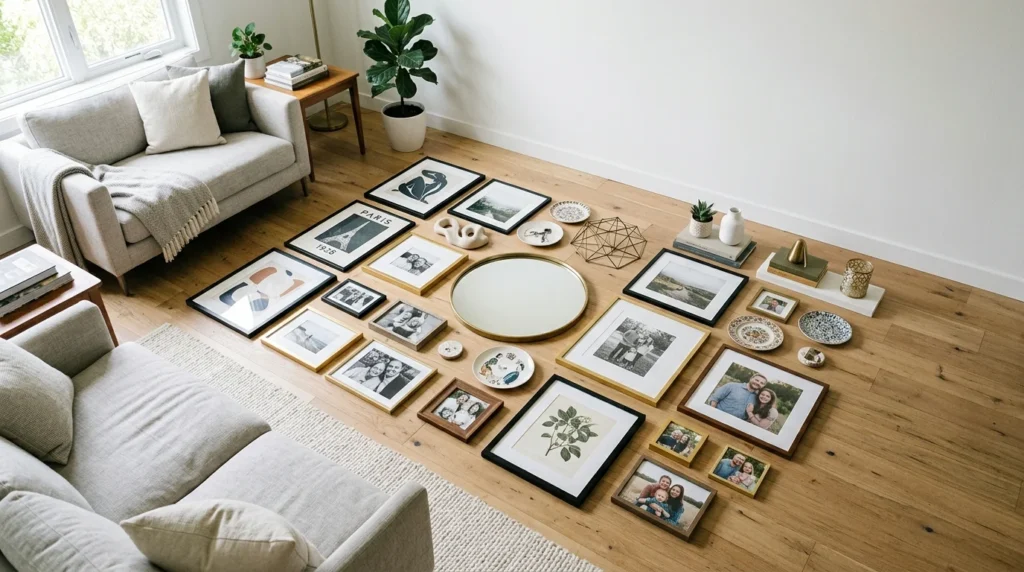
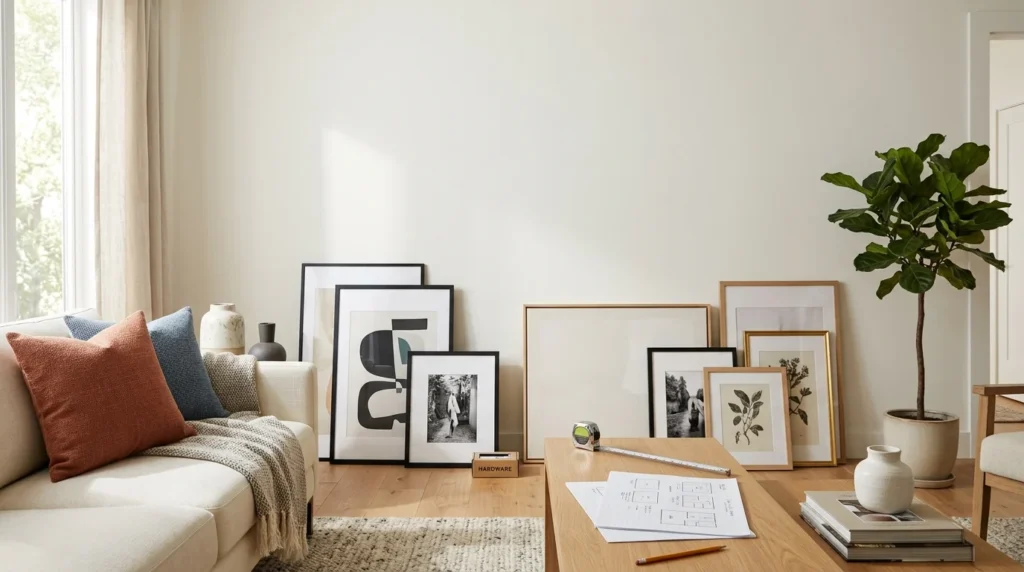
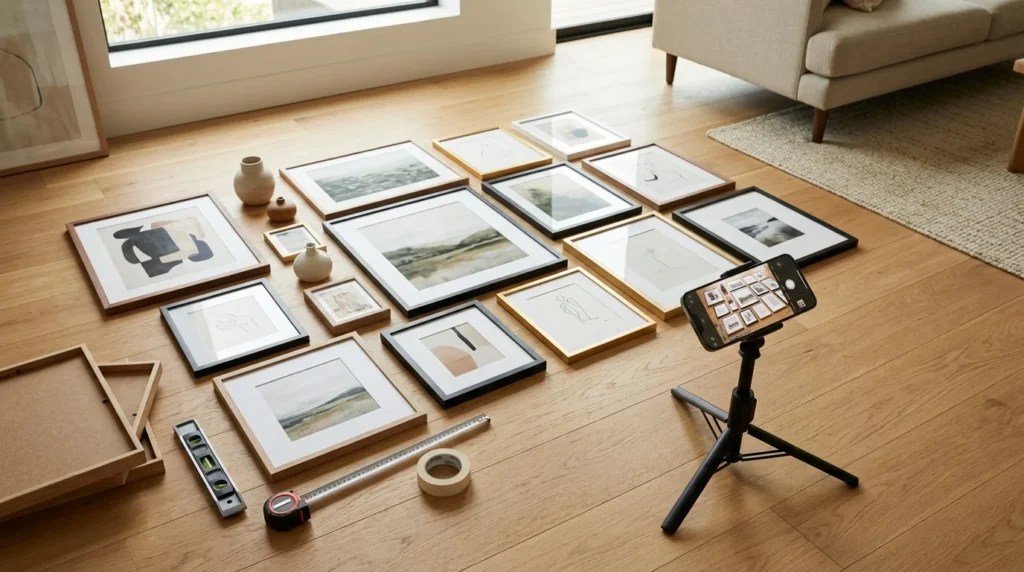
Step 4: Plan the layout on the floor first
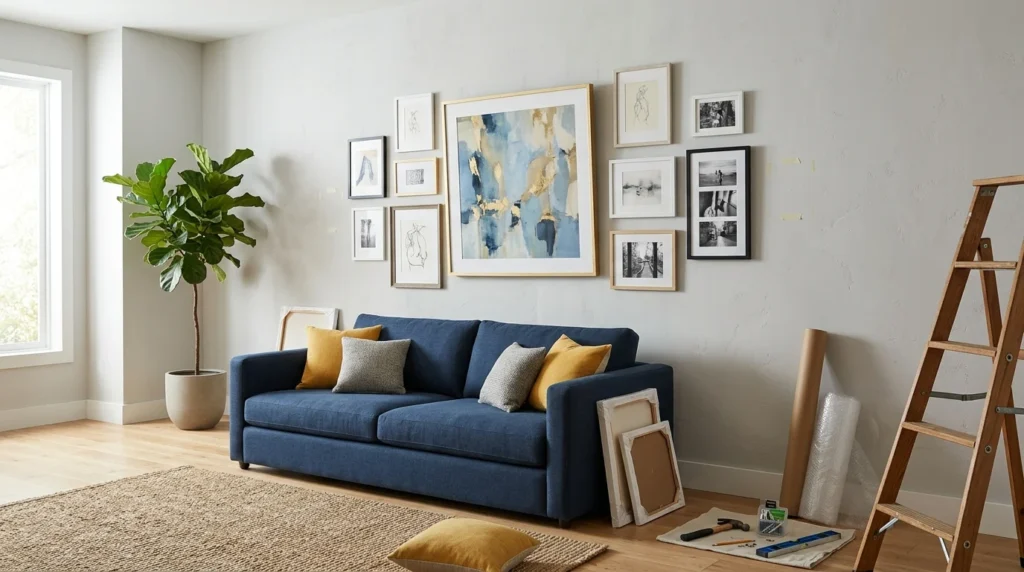
Lay all your pieces on the floor in the space in front of the wall. Arrange and rearrange until the grouping feels balanced. The heaviest visual weight (largest or darkest pieces) should generally sit toward the center or lower portion of the arrangement. Photograph the floor layout before you begin hanging so you have a reference.
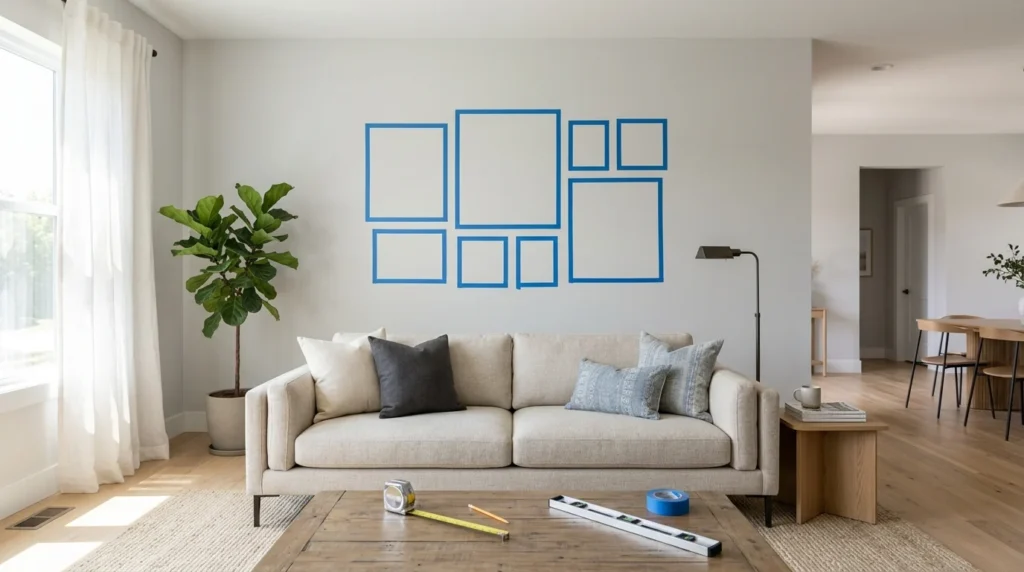
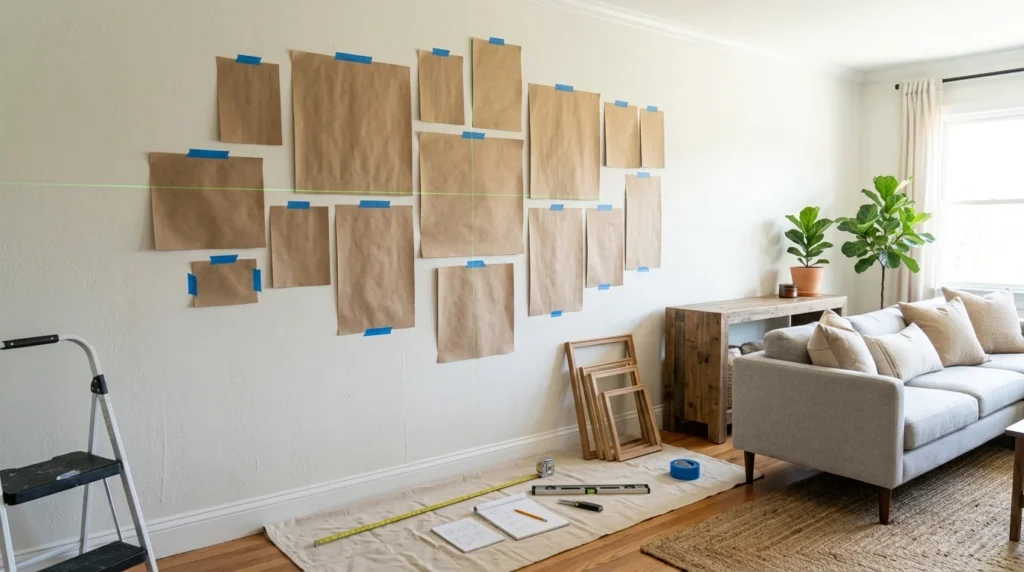
Step 5: Use paper templates to plan the wall
Trace each frame onto kraft paper or newspaper and cut out the silhouette. Mark the hanging point on each template. Tape the templates to the wall with painter’s tape and stand back to assess the arrangement from a distance. Adjust until satisfied, then use the template hanging marks to drive the actual nails or hooks.
Step 6: Hang from the center outward
Start with the centerpiece or the visual anchor of the arrangement — usually the largest piece or a pair of matching prints — and work outward. This keeps the composition balanced as it grows. Hanging from an edge outward often leads to one side becoming heavier than the other.
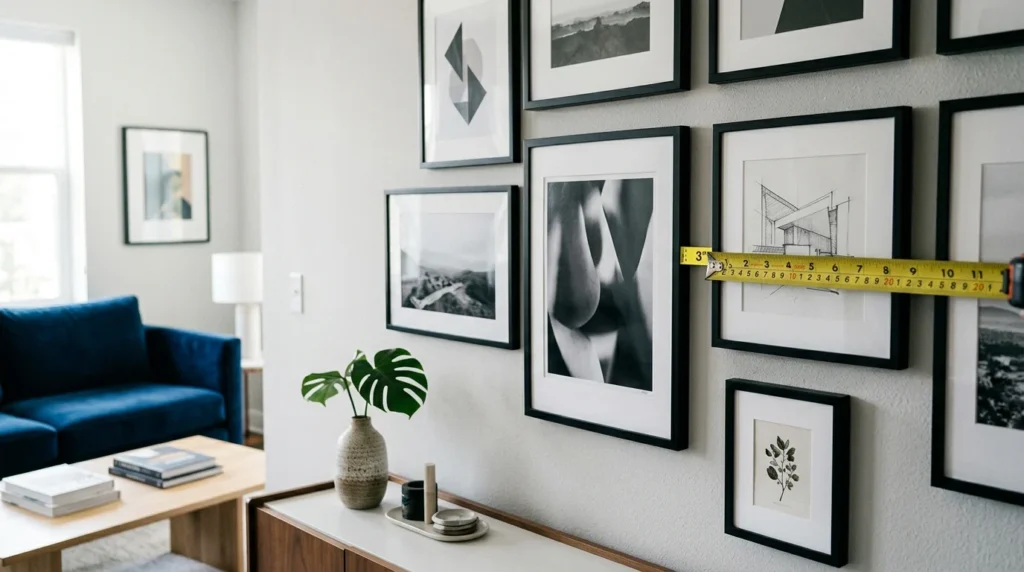
Spacing guidelines that work
- 2 to 3 inches between frames for a tight, curated gallery look
- 4 to 6 inches between frames for a more relaxed, airy arrangement
- Keep the overall bottom edge of the arrangement at least 8 to 10 inches above the sofa back or furniture below it
- The center of the gallery arrangement should sit at average eye level — approximately 57 to 60 inches from the floor
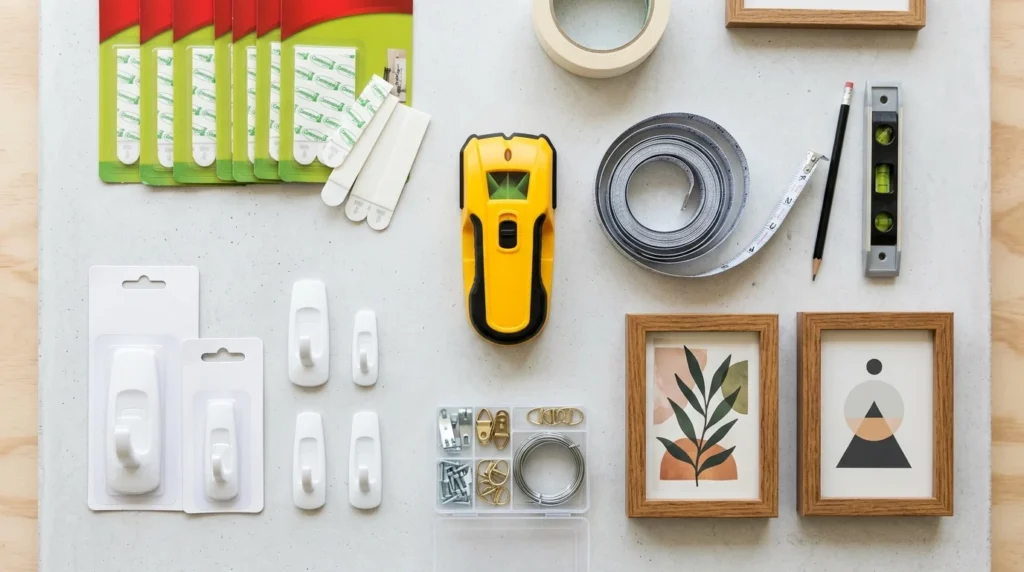
How to hang without damaging walls
- Command strips hold up to 16 pounds per strip and leave no damage on removal
- Use a stud finder for heavier pieces — hang into wall studs whenever possible
- Picture rail hooks are ideal in older homes with picture rails already installed
- For rentals, use adhesive hooks rated for the weight of your frames